Fermentation can feel technical at first, but the safest way to start is simple: use a tested method, measure the salt accurately, work with clean food-safe equipment, and keep the food managed as the recipe directs.
This beginner guide is written for a U.S. audience. It explains the core process in plain English, uses Fahrenheit and common U.S. kitchen terms, and points you toward research-based guidance for sauerkraut and fermented pickles.
What happens during fermentation?
In vegetable fermentation, naturally occurring microorganisms use available carbohydrates and produce acids, including lactic acid. For a home cook, the important part is not memorizing the microbiology. It is creating the conditions specified by a reliable recipe: the correct ingredients, enough salt where required, a suitable container and controlled exposure to air.
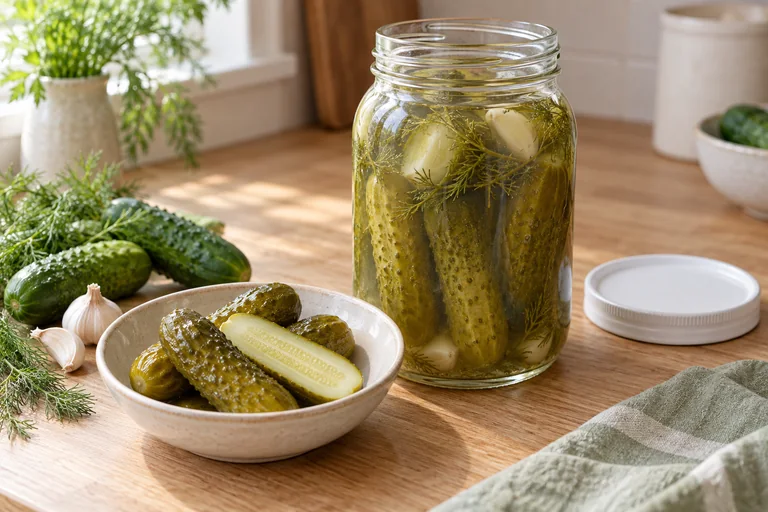
What equipment do beginners actually need?
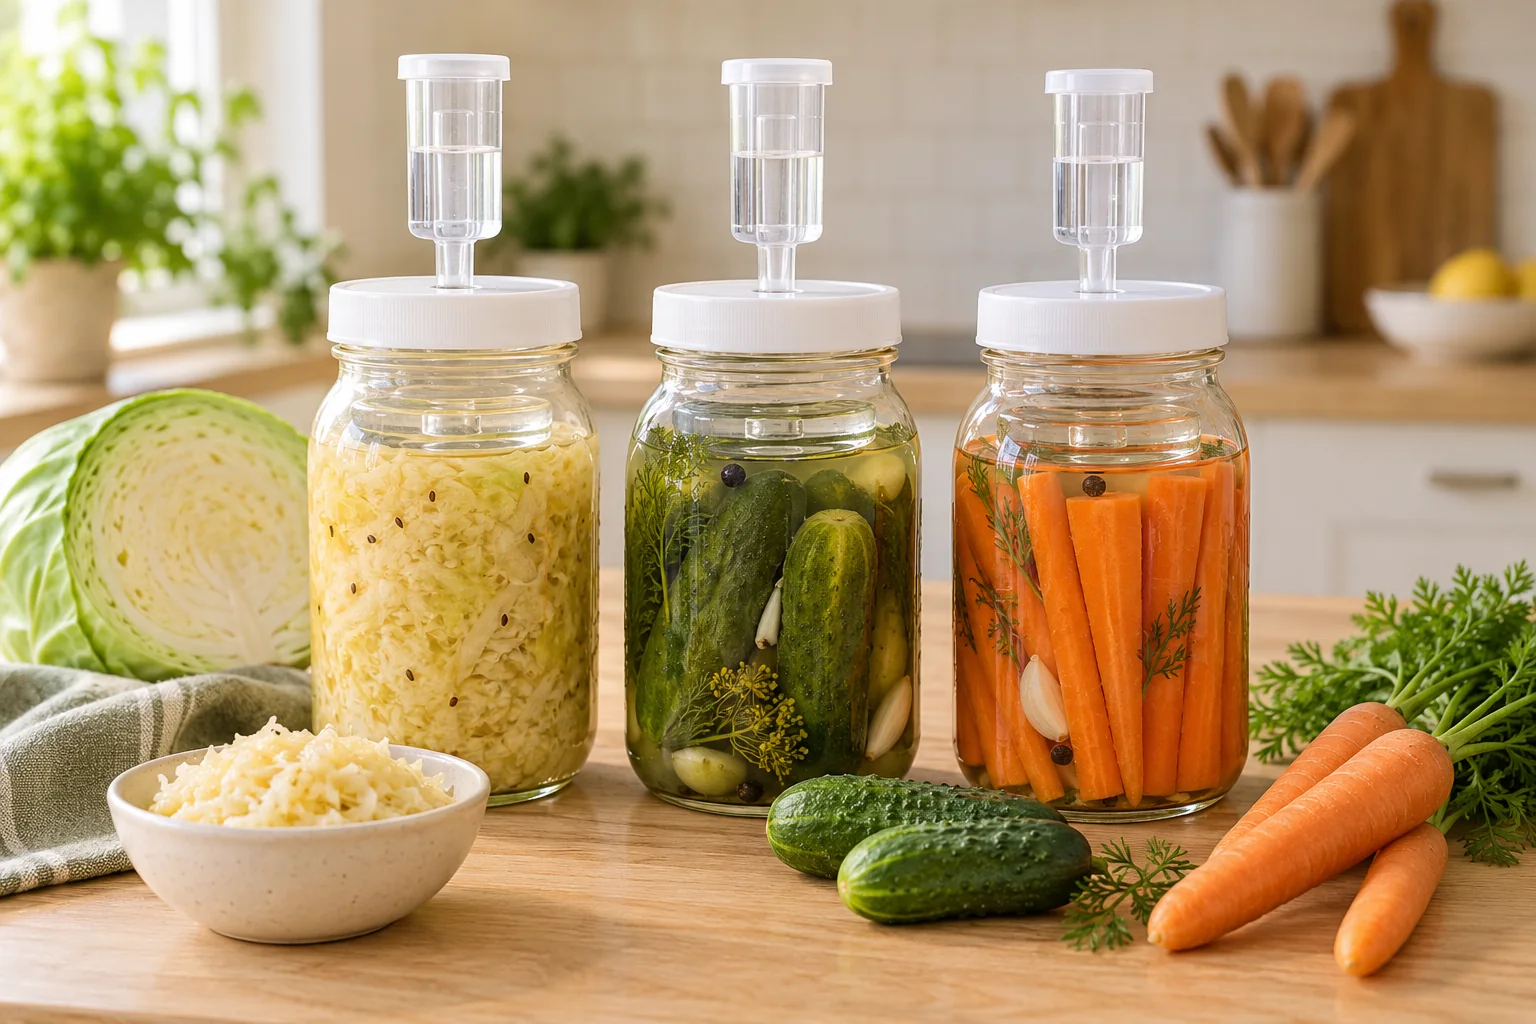
You do not need a complicated fermentation station. Start with a food-safe container that can be cleaned thoroughly. A fermentation weight can make it easier to keep vegetables where the recipe requires them to be. An airlock lid can be convenient, but it is not a substitute for a tested method.
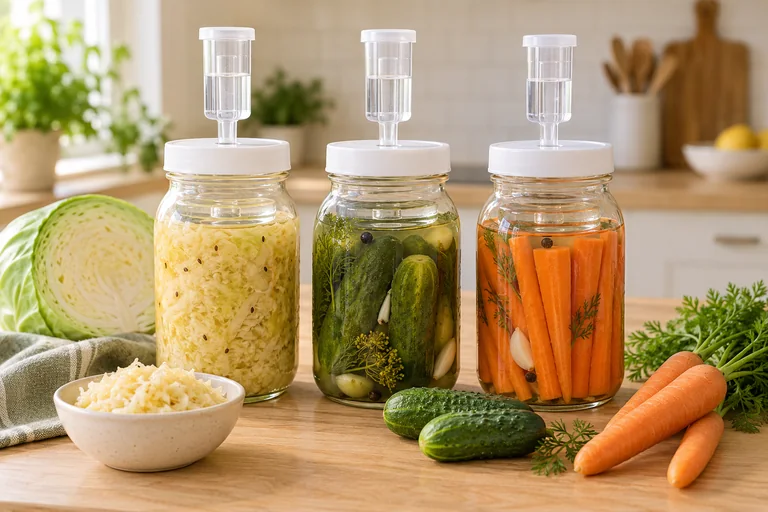
| Equipment | What it does | Beginner priority |
|---|---|---|
| Glass jar or food-safe fermentation container | Holds the food in a clean, suitable environment | Essential |
| Fermentation weight | Helps keep vegetables covered as directed | Very useful |
| Airlock lid | Lets gas escape while reducing outside air exchange | Optional convenience |
| Kraut pounder | Helps compact salted cabbage and release liquid | Useful for sauerkraut |
Choose a fermentation setup for your batch size
Compare the exact model, size and included parts before ordering. Equipment supports the process; follow the food-specific method and safety checks.
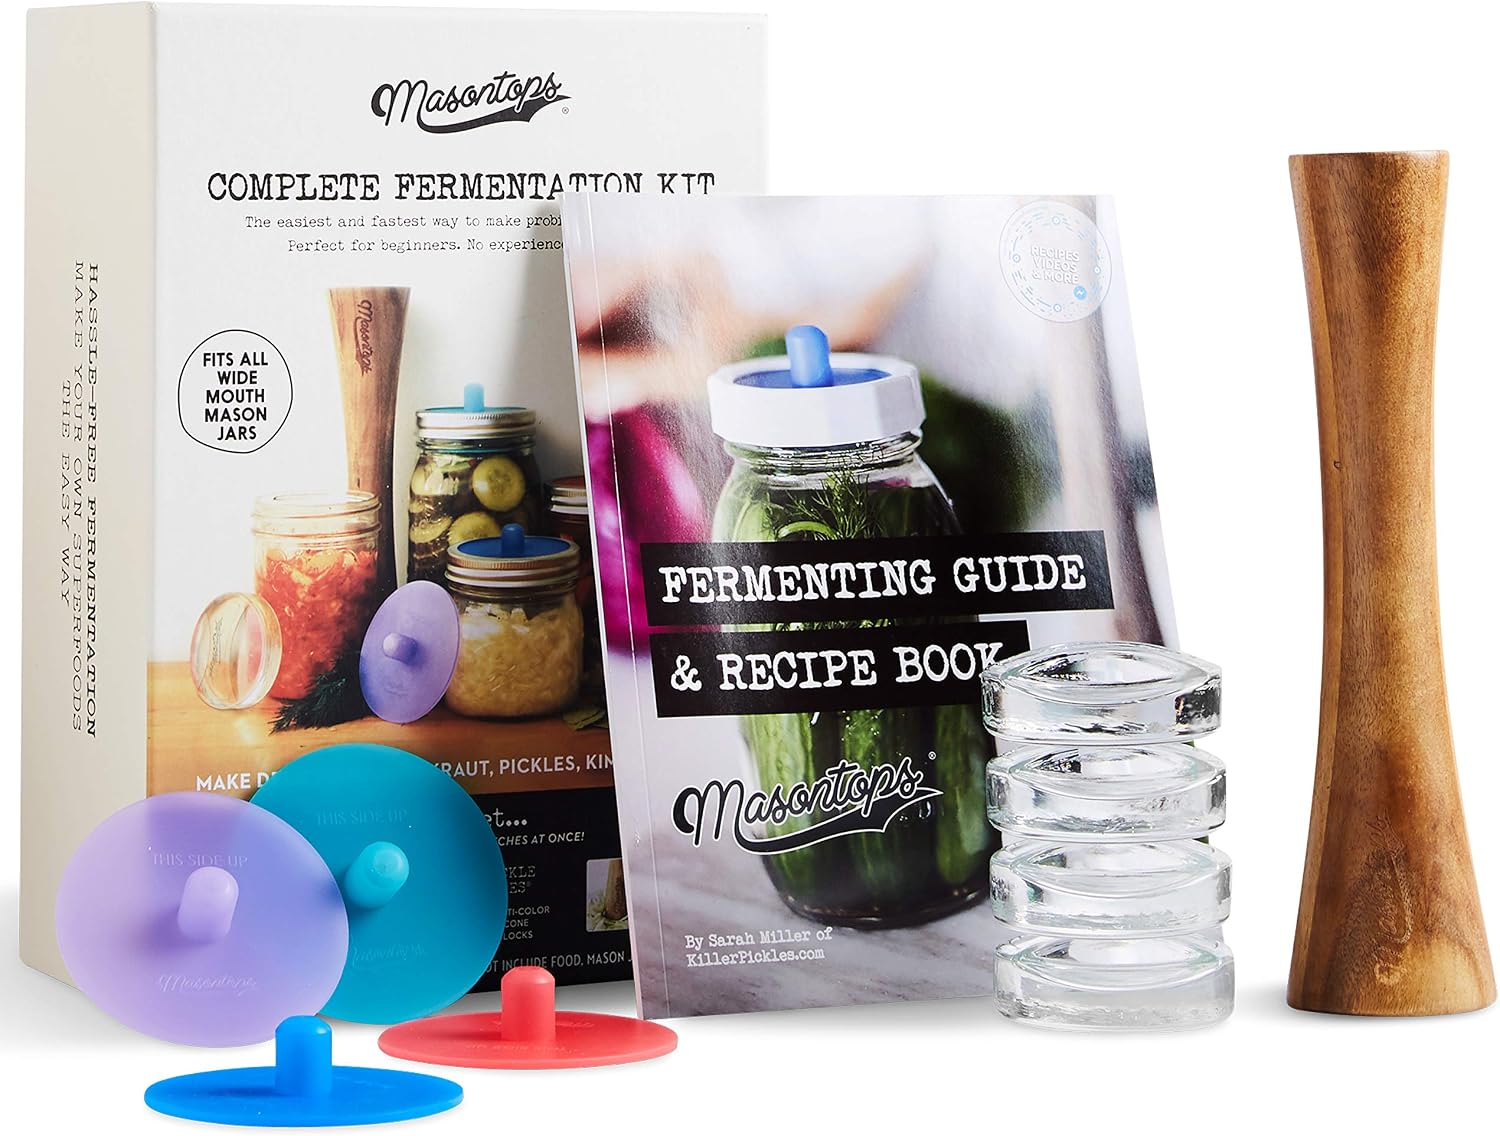
Masontops Complete Mason Jar Fermentation Kit
Airlock lids, fermentation weights and accessories for wide-mouth Mason jars.
View on Amazon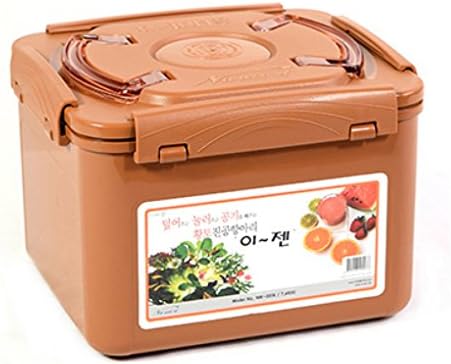
Premium Kimchi & Sauerkraut Fermentation Container
6.4 L earthenware-brown container with an inner vacuum-style lid for larger batches.
View on Amazon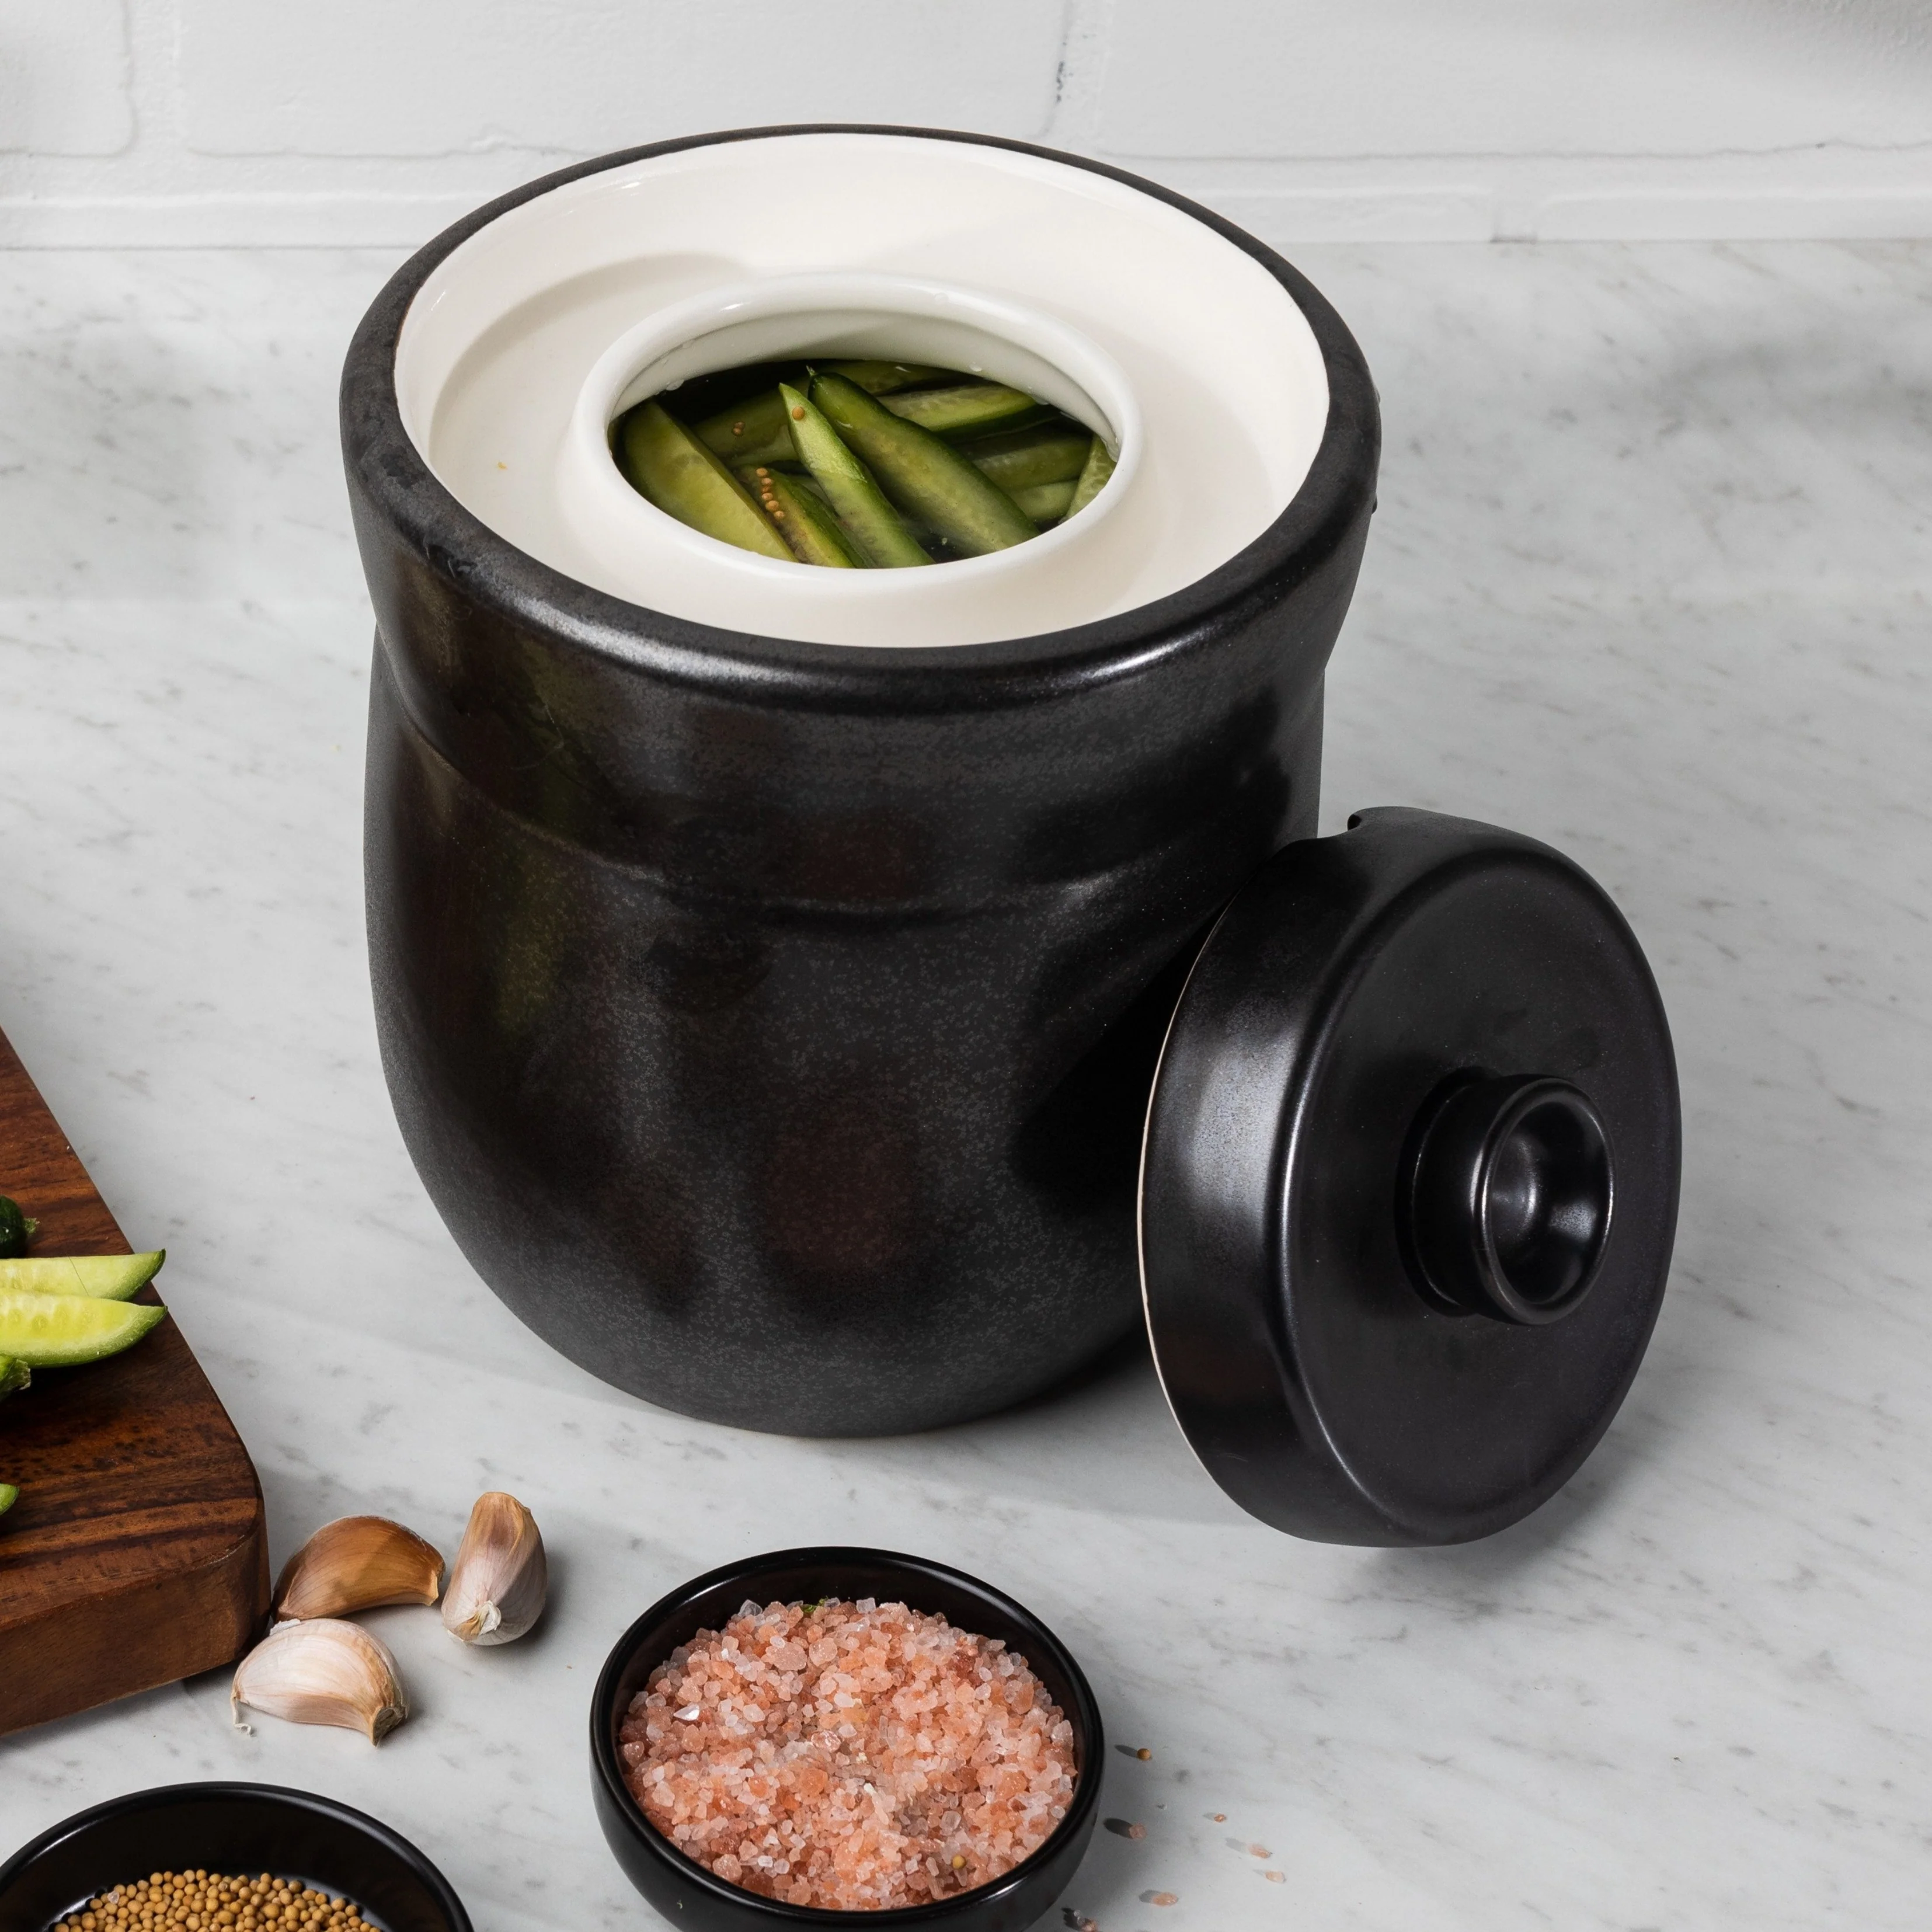
TOMO 7L Fermentation Crock with Weights
Large glazed stoneware crock with waterlock, two ceramic weights and wooden tamper for bigger kimchi batches.
View on AmazonAffiliate links · Your price stays the same.
Fermentation in five clear steps
1. Choose a tested recipe and weigh the ingredients
Start with a method that gives specific ingredient amounts, salt quantities, temperature guidance and a clear endpoint. Avoid combining a salt percentage from one recipe with the timing or process from another.
2. Clean the container and tools
Wash the jar, weight and utensils thoroughly. Use food-safe materials. You do not need to turn the kitchen into a laboratory, but visibly dirty equipment or unsuitable containers add avoidable risk.
3. Prepare and pack the vegetables
Prepare the vegetables as the recipe directs. Sauerkraut is mixed with the specified amount of canning or pickling salt until the cabbage releases enough liquid. Brined pickles use a separately prepared liquid with a tested salt concentration and recipe-specific ingredients.
4. Keep the food positioned as the recipe directs
For classic sauerkraut and fermented pickles, keeping the cabbage or cucumbers submerged helps reduce surface exposure. A suitable plate, jar weight or commercial fermentation weight can help, depending on the container and recipe.
5. Ferment at the recommended temperature and inspect before tasting
Temperature changes the speed and quality of fermentation. Follow the range given by the recipe. Before tasting, inspect the surface, smell and texture. If you see mold, notice a slimy texture or smell a bad odor, do not taste the batch.
Salt, brine and temperature: the U.S. beginner baseline
There is no single salt percentage that should be applied to every vegetable ferment. For U.S. research-based home-preservation recipes, the safest approach is to copy the exact salt amount and method from the tested recipe you are using.
For sauerkraut, the National Center for Home Food Preservation recommends fermenting at about 70–75°F (21–24°C). At that range, a traditional batch generally takes about three to four weeks. Cooler temperatures slow fermentation, while temperatures above the recommended range can soften the kraut and reduce quality.
| Control | What matters | Do not improvise when |
|---|---|---|
| Salt | Measure the amount specified by the tested recipe | Making sauerkraut or fermented brined pickles |
| Brine / liquid | Keep the vegetables covered as the recipe directs | Food is floating above the liquid or liquid is insufficient |
| Temperature | Use the recipe-specific range | The room is substantially warmer or colder than recommended |
Mold, yeast and warning signs
Cloudiness, bubbles and changing aromas can be part of active fermentation, depending on the food and method. That does not mean every change is harmless. The final decision should be based on the tested recipe and clear spoilage checks rather than on a single visual cue from social media.
- Visible mold: do not taste the batch.
- Slimy or unusually soft texture: treat it as a warning sign.
- Rotten or strongly unpleasant odor: do not taste.
- Bubbles or temporary cloudiness: may occur during fermentation; judge them in the context of the recipe and the rest of the batch.
Good first fermentation projects
For beginners, choose projects with specific quantities, a clear temperature range and unambiguous spoilage guidance. These English guides give you three practical starting points.
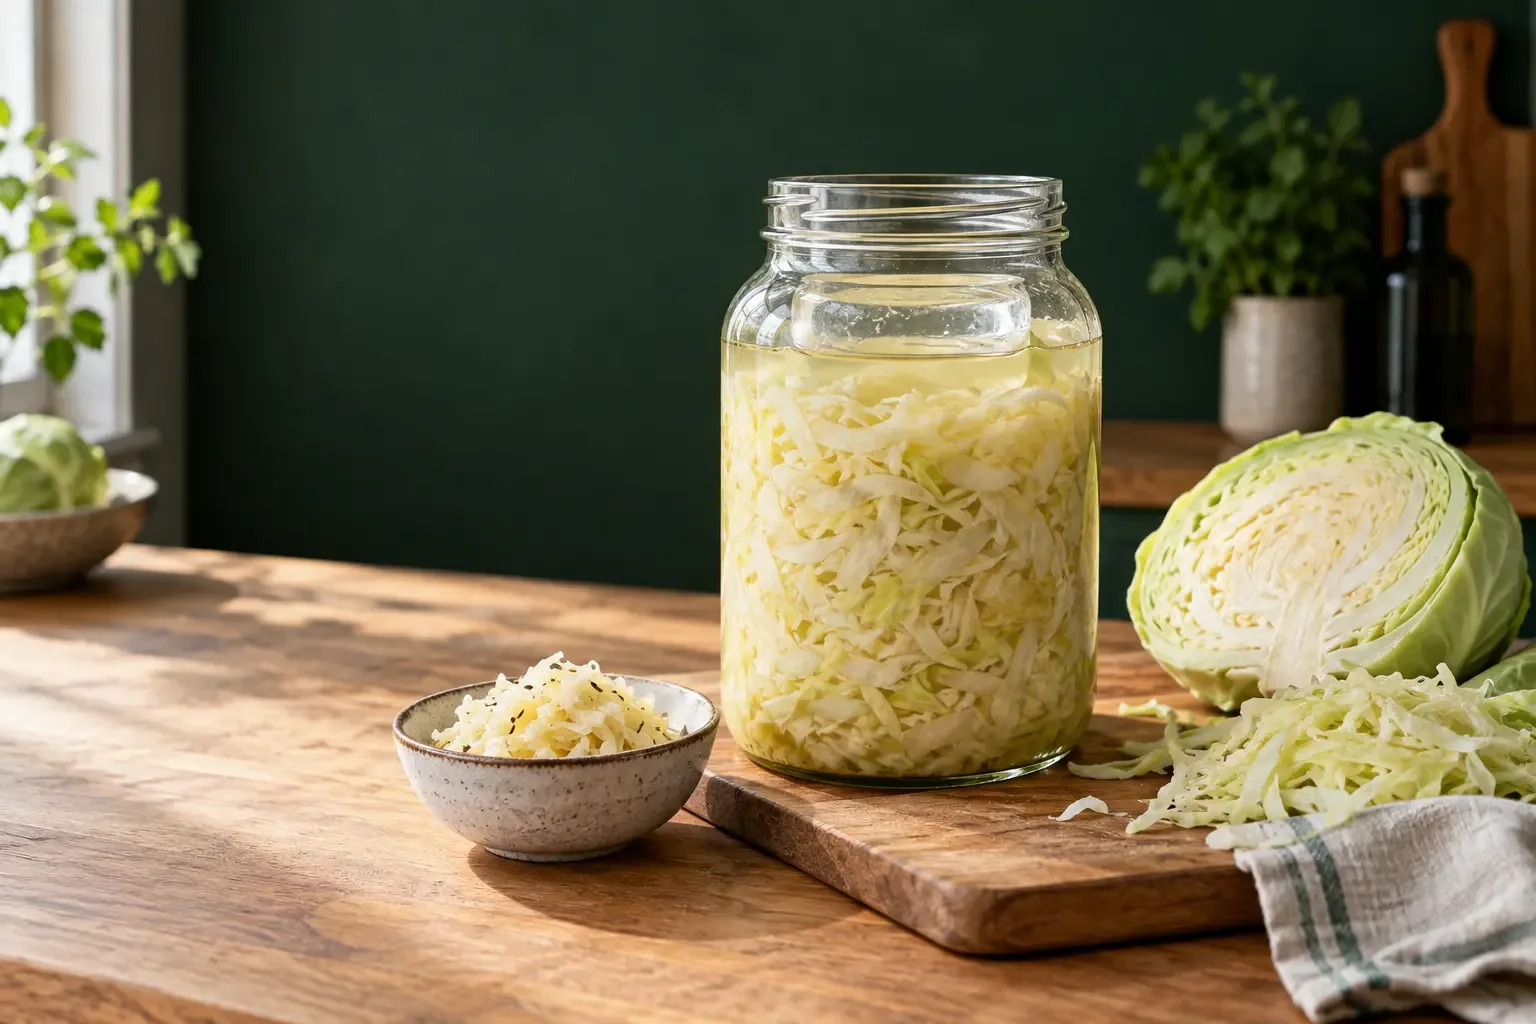
- How to Make Sauerkraut in a Mason Jar – a research-based small-batch method with U.S. measurements.
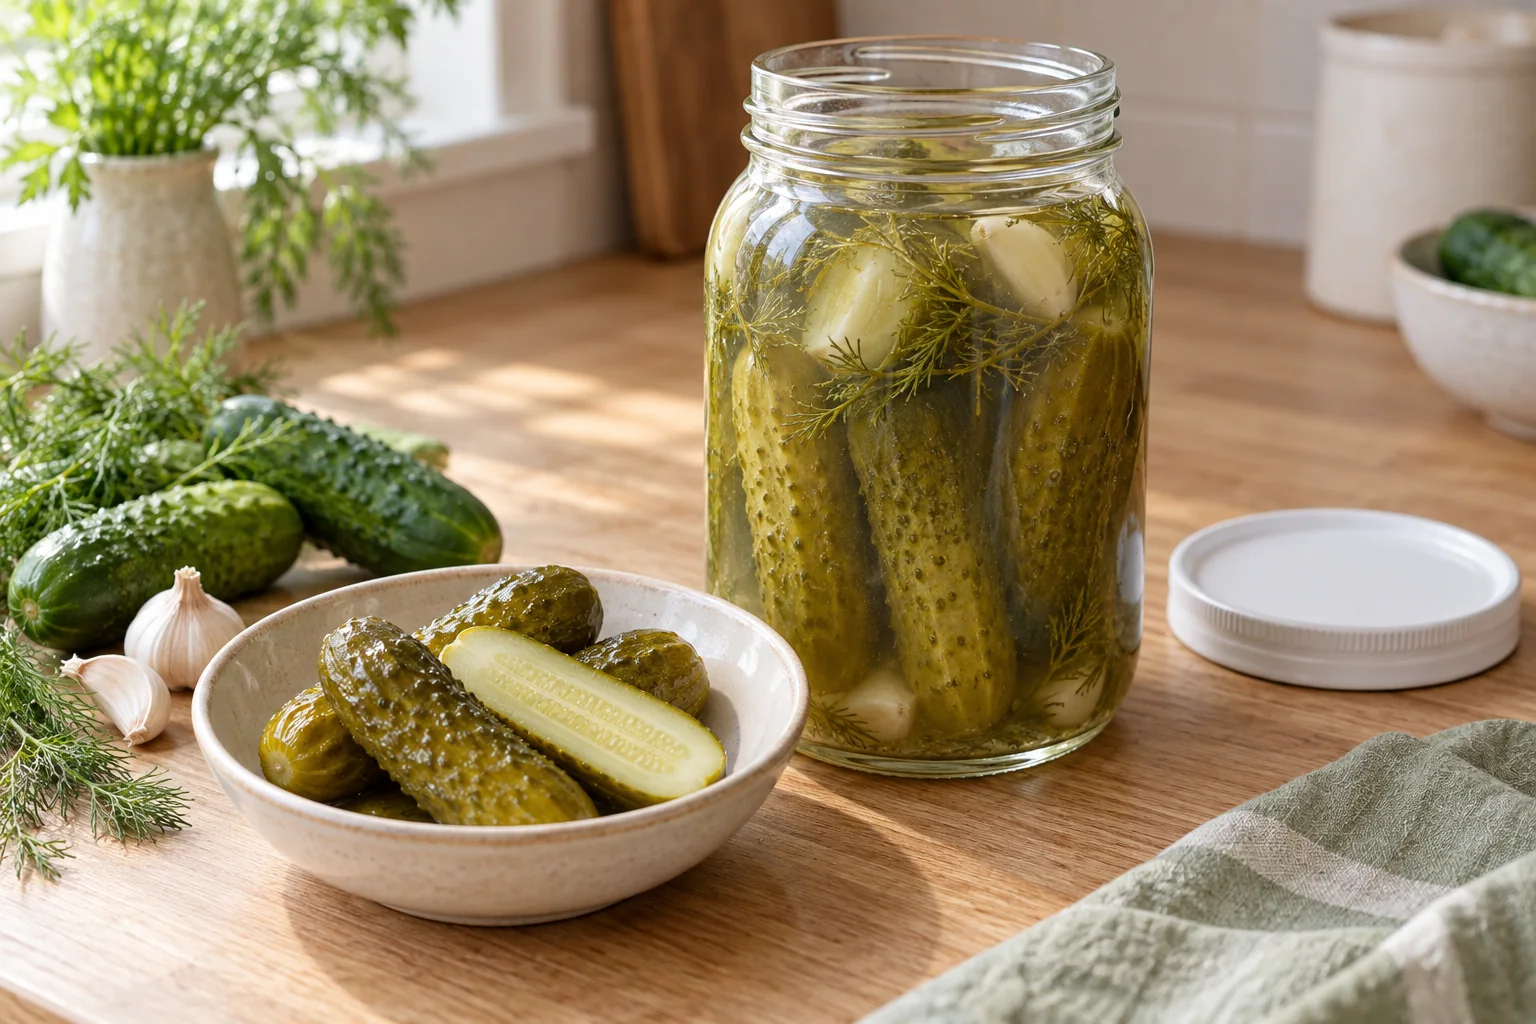
- How to Make Fermented Pickles – a clear dill-pickle method with tested temperature and brine guidance.
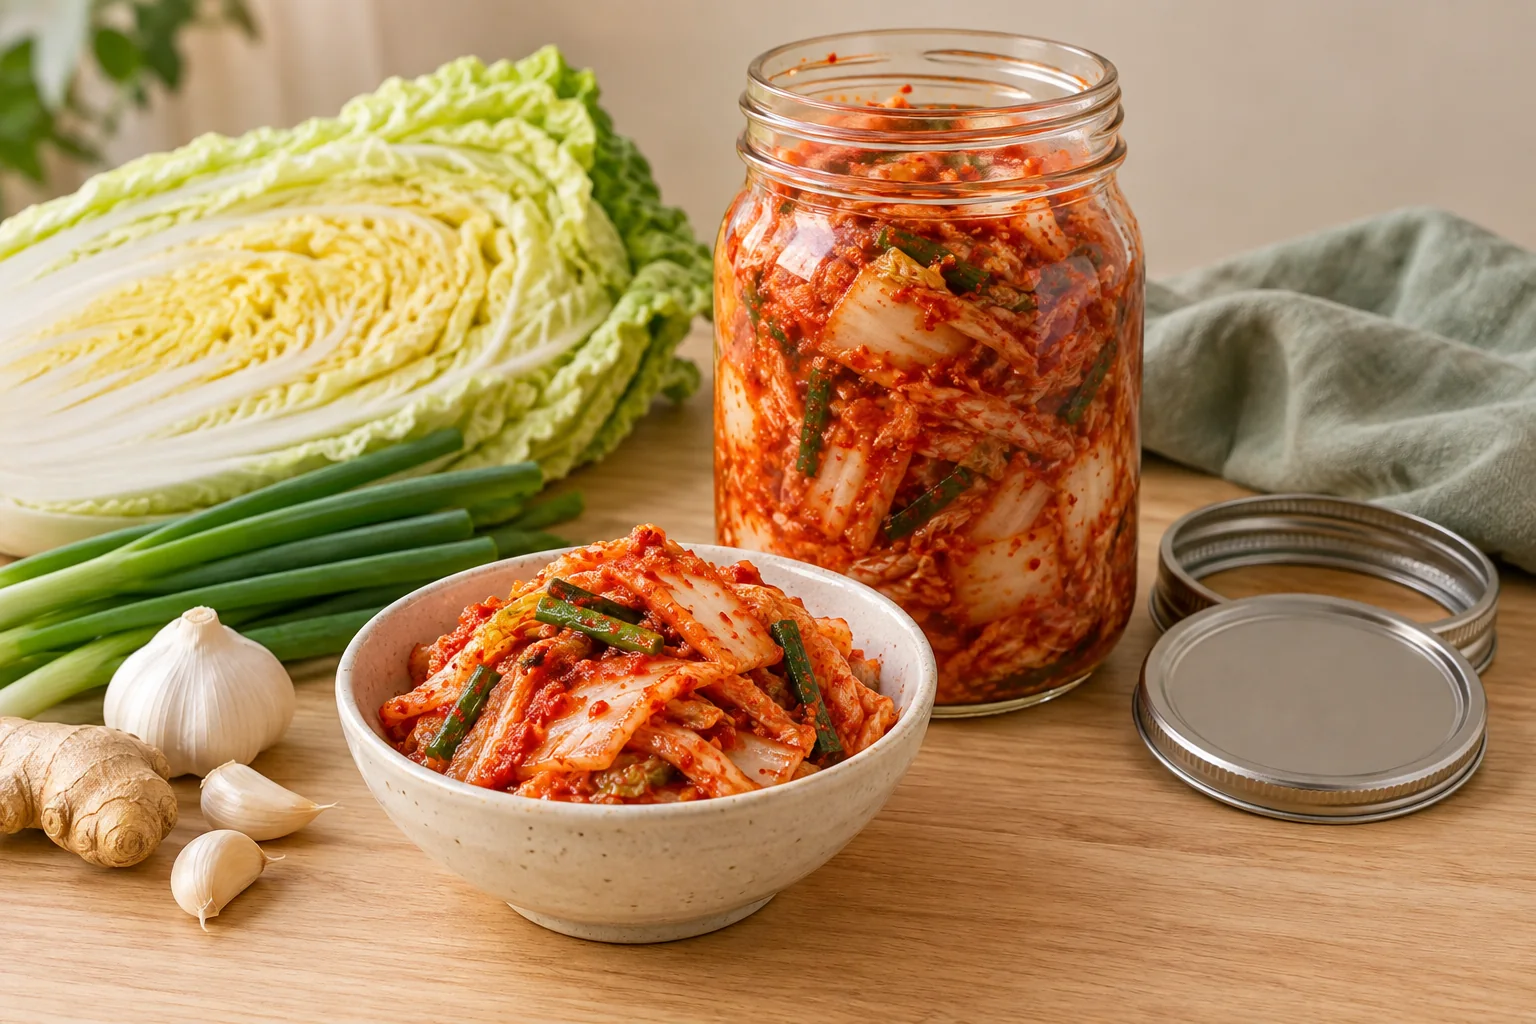
- How to Make Kimchi – a practical step-by-step recipe for a more seasoned ferment.
Fermentation FAQ
Do I need a special fermentation jar?
No. A suitable food-safe container can be enough for many tested methods. Weights and airlock lids can make the process easier to manage, but they do not replace correct ingredient ratios or temperature control.
Can I simply use less salt?
Not for research-based sauerkraut or fermented brined pickle recipes. U.S. preservation guidance specifically warns against cutting back the required salt because it affects the fermentation environment as well as flavor and texture.
Does everything have to stay below the brine?
For classic sauerkraut and fermented pickles, research-based guidance emphasizes keeping the vegetables submerged. Follow the exact covering and weighting method in the recipe you are using.
How long does fermentation take?
There is no universal answer. The food, recipe, temperature, batch size and desired endpoint all matter. For sauerkraut, about three to four weeks at 70–75°F is a common research-based reference range, but other ferments can differ substantially.
Your next step
Once the basics make sense, move directly into one tested project. Sauerkraut and fermented pickles are especially useful starting points because U.S. extension guidance provides detailed salt, temperature and spoilage instructions.