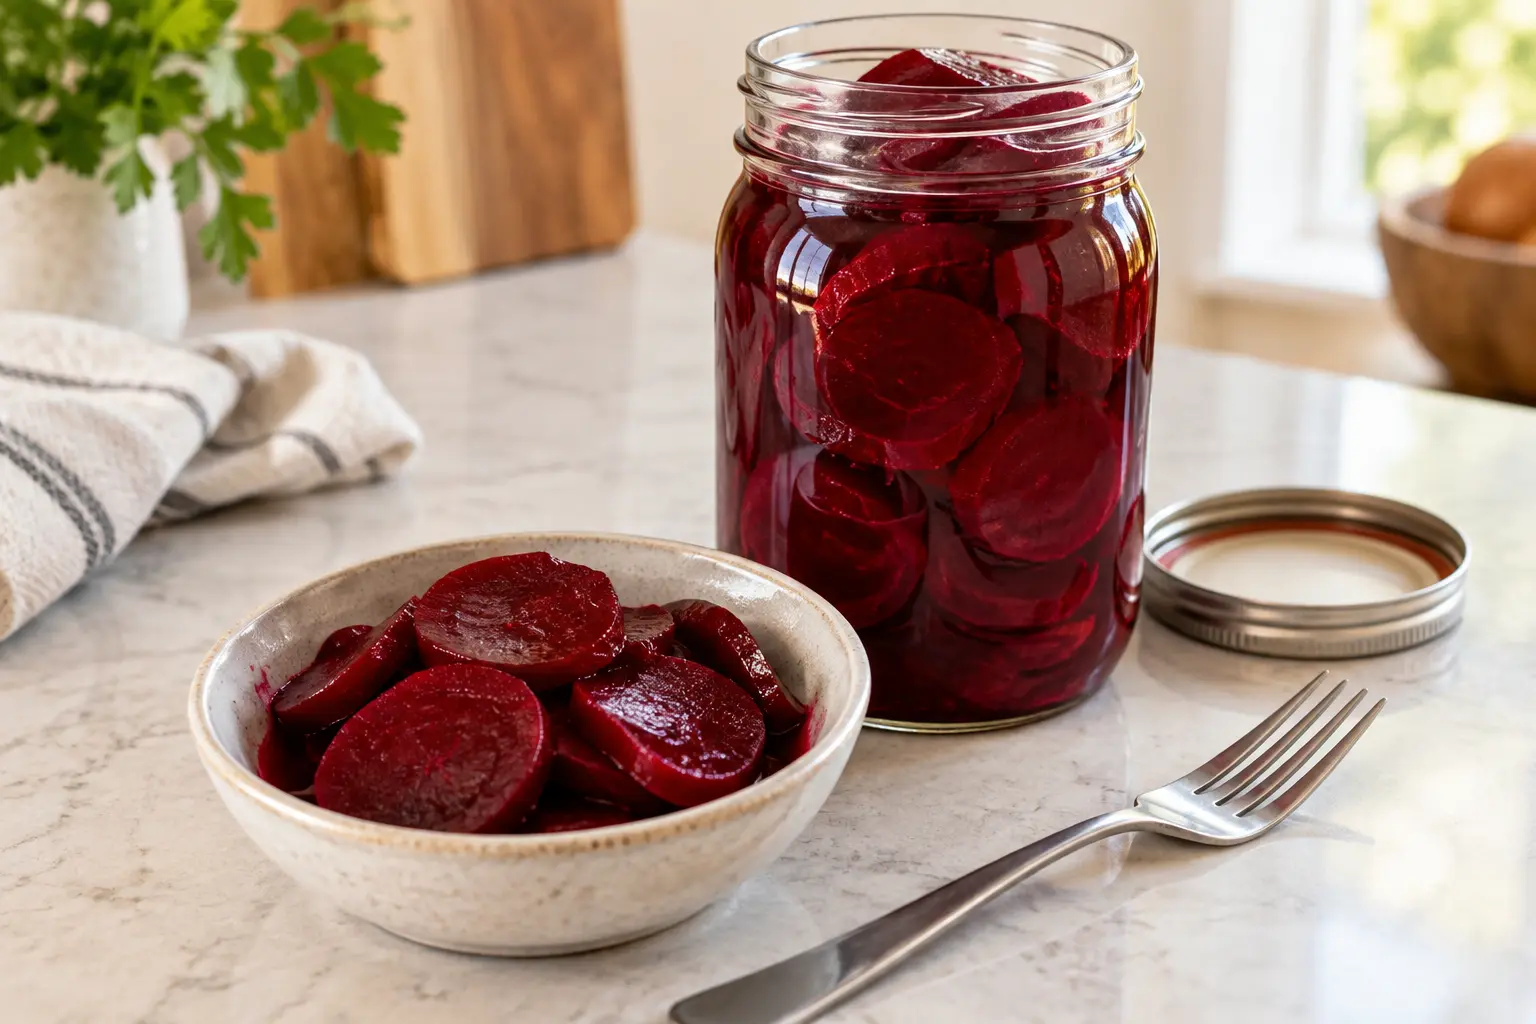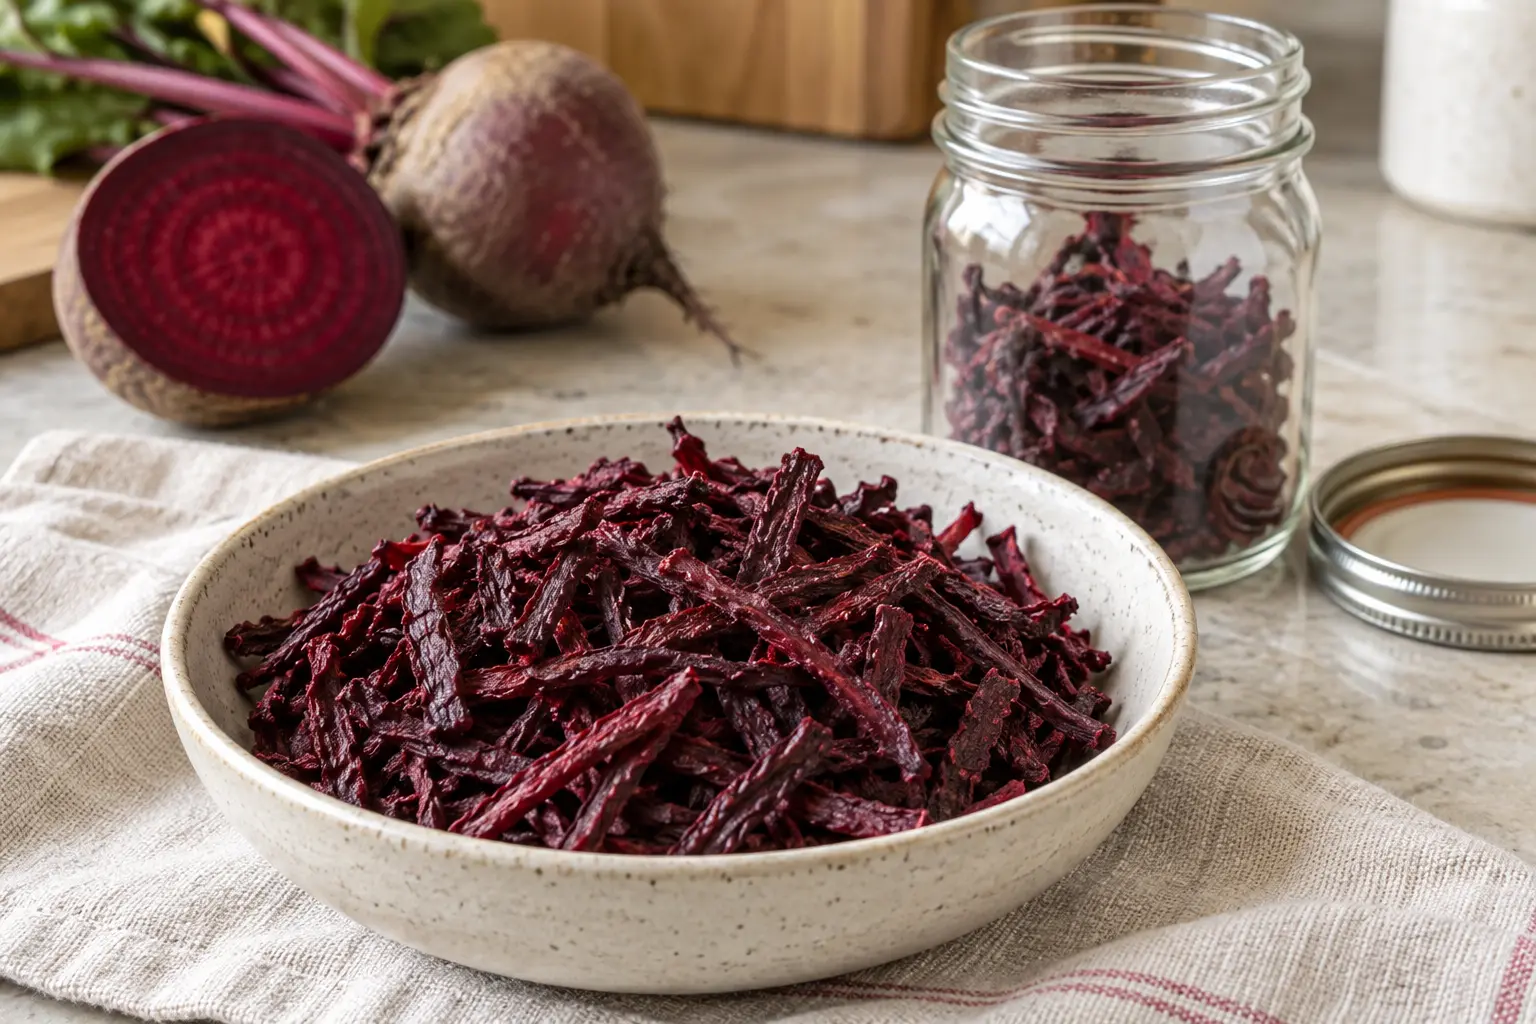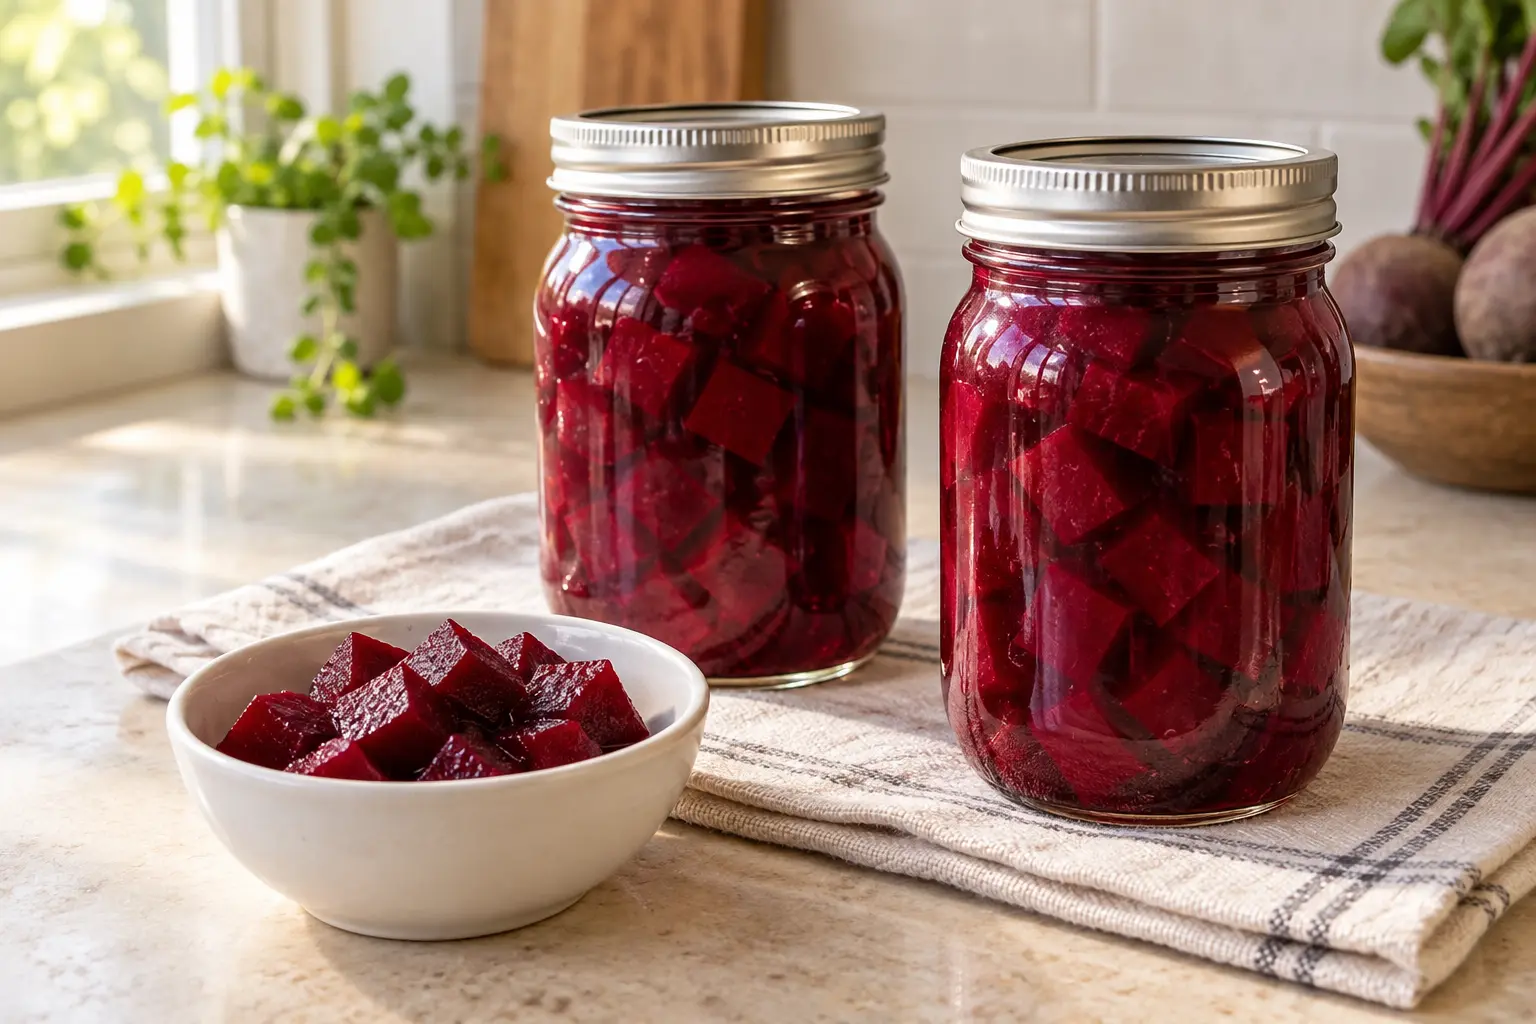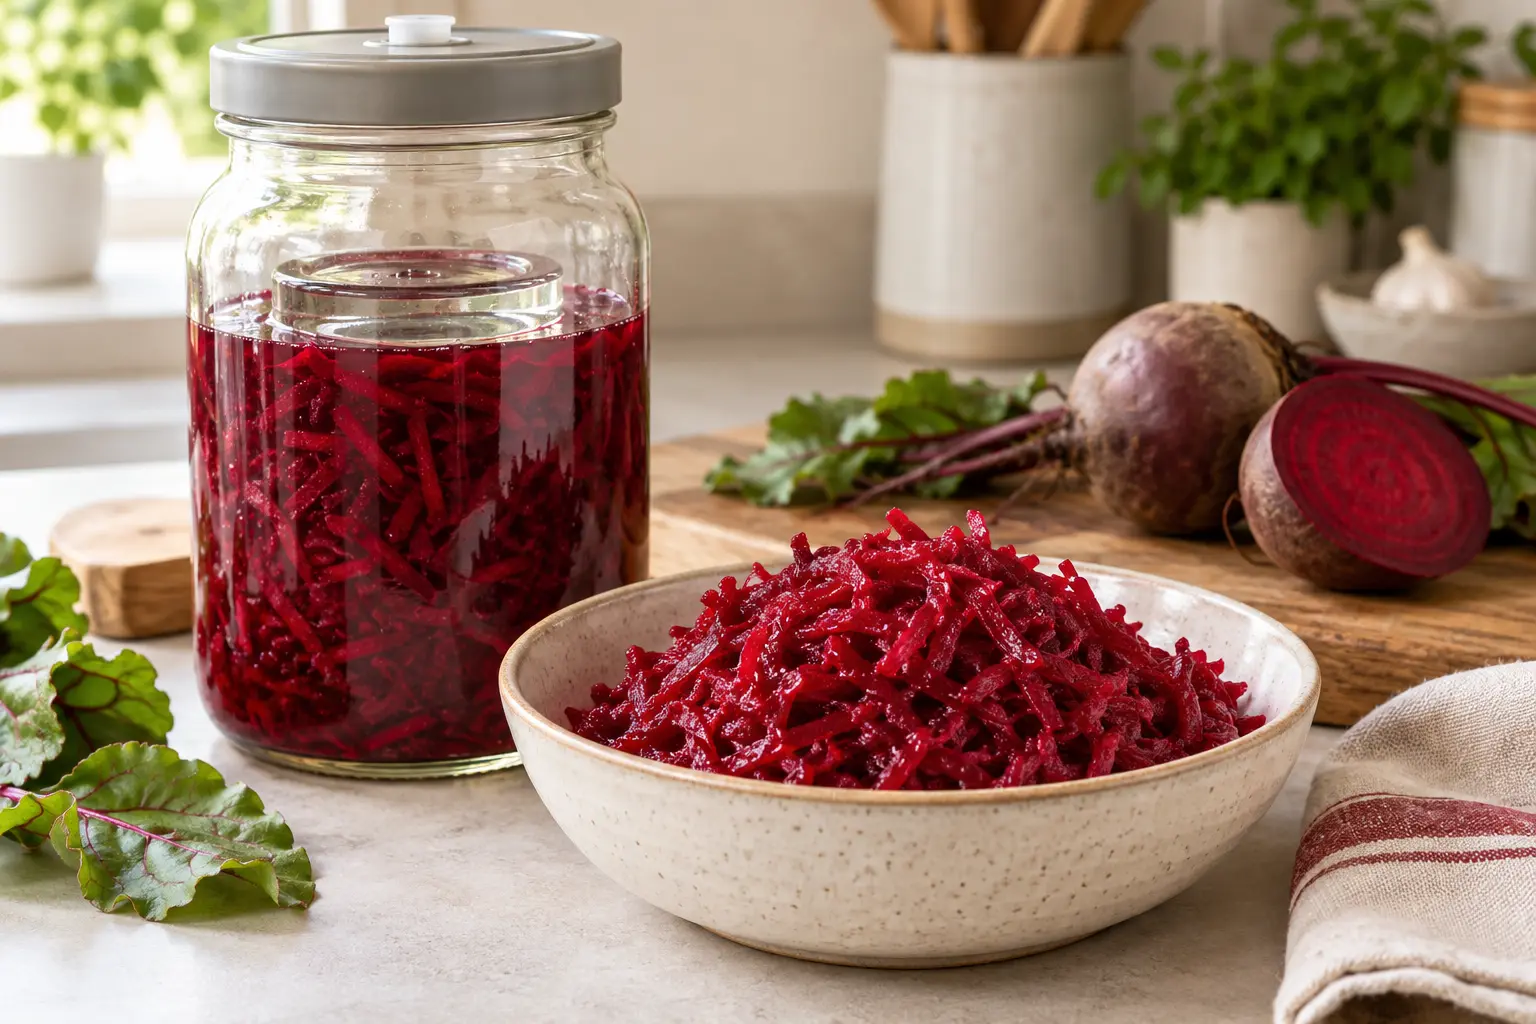
Beet kraut, quick pickles or a pantry ingredient?
This is a shredded vegetable condiment. Its acidity develops through lactic fermentation; you are not adding vinegar. The finished shreds are easy to spoon onto a sandwich without a large slice sliding out of the bread.
Want vinegar-seasoned beets for the refrigerator? Choose Quick Pickled Beets. Prefer a dry ingredient for soup? Follow How to Dehydrate Beets. These are separate preparations, with their own instructions.
Start with good roots and a measured batch
Choose firm beets with sound, smooth skin. Leave out roots with mold or decay. Keep the first batch plain so you can decide how you like it before planning a larger harvest project. Save the extra dill, pepper or dressing for individual servings.
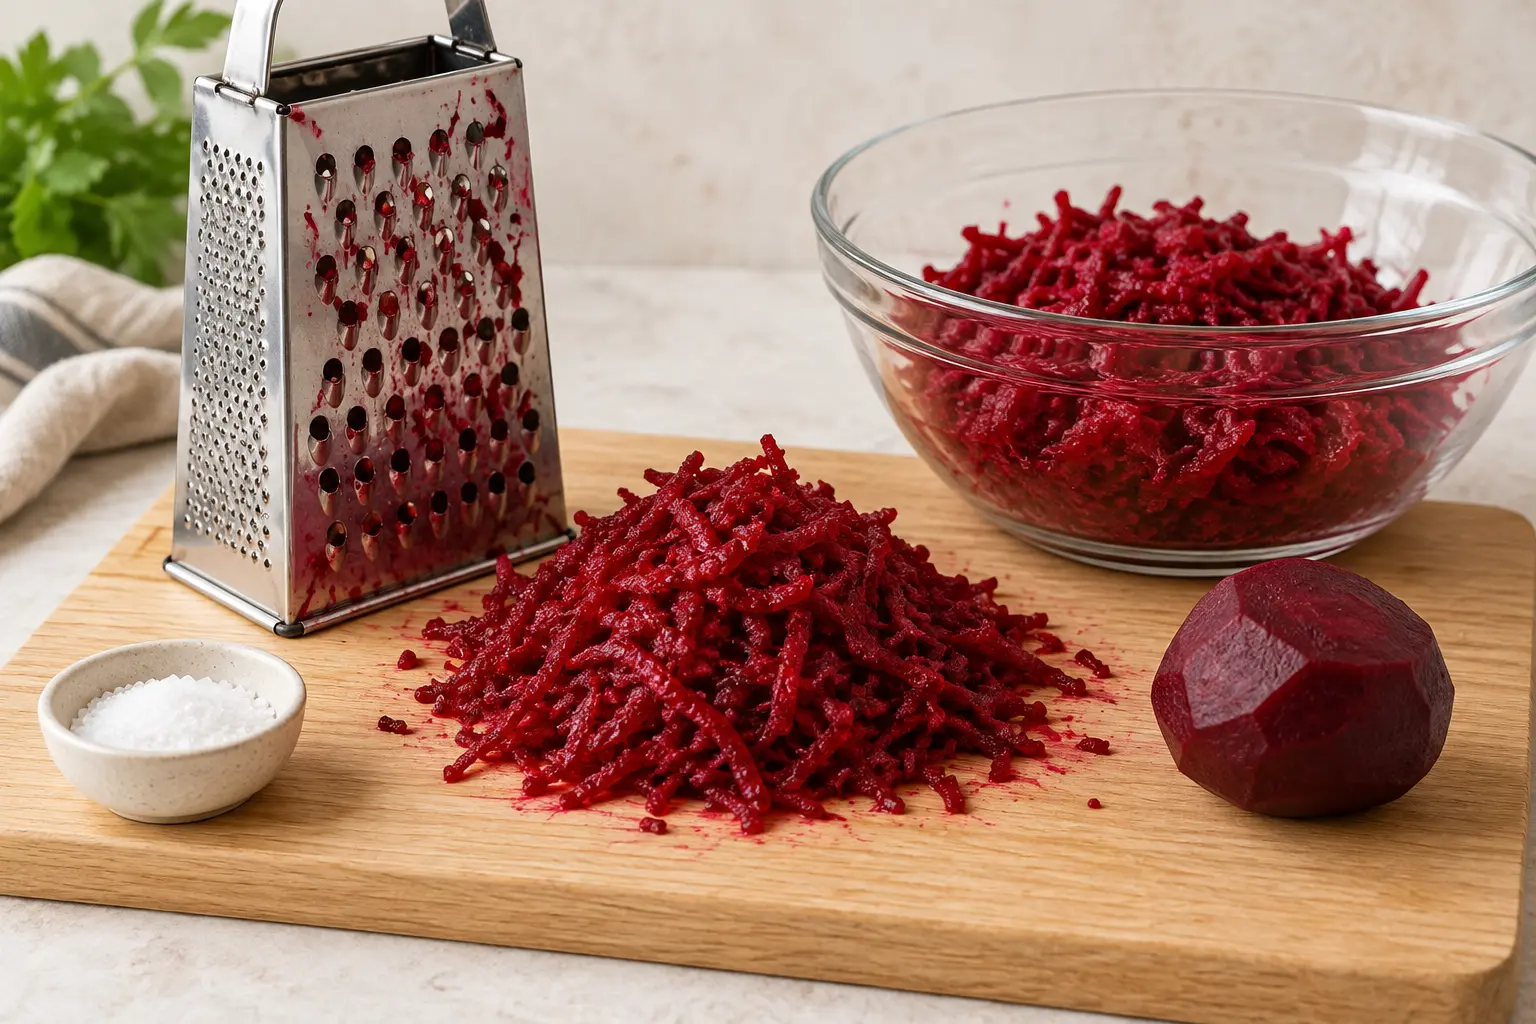
Use a stable board and a box grater, or a food processor fitted with its shredding attachment. Beet juice stains: protect the counter and wear gloves if you prefer. A bowl placed beside the grater catches the shreds and keeps the weighing step straightforward.
- Raw beets About 2.2 lb (1 kg), weighed after washing, trimming and peeling if needed.
- Canning or pickling salt 20 g for this 1 kg batch. Weigh it; spoon measures vary with the salt crystals.
- Extra brine, only if needed Dissolve 20 g salt in 1.06 US quarts (1 liter) of water measured after boiling and cooling. Add only the amount needed to cover the packed shreds.
Jar yield varies with the roots and packing. Allow room for the weight and headspace below the rim, following the vessel instructions; use more than one suitable jar if necessary.
The source gives 5–10 days at room temperature, followed by another week refrigerated. Treat this as a planning window, subject to the completion checks below.
The jar, weight and lid should work together
Use an intact food-safe fermentation jar or crock, a matching weight and a lid designed to let fermentation gas escape. For Mason jars, check the exact mouth size before buying an airlock kit. A wide opening makes packing and removing the weight easier.
Clean the container and tools thoroughly, following their heat and cleaning instructions. NCHFP recommends hot soapy washing and thorough rinsing for fermentation containers. Use purpose-made food-safe weights; an unidentified garden stone is not a kitchen shortcut.
Have a scale that reads grams, a room thermometer and a food-suitable pH tester ready before starting. Choose a jar location you can check each day, with a tray beneath it to catch possible overflow.
A fermentation setup you can use again
Choose capacity, a compatible weight and controlled gas release before extra accessories. An existing suitable jar may only need the correct kit. For a larger set, check that its pieces fit your batch and are easy to clean. The small jars and a compatible accessory kit can work together; the large crock is for a different batch size. Check the exact fit and supplied parts before choosing.
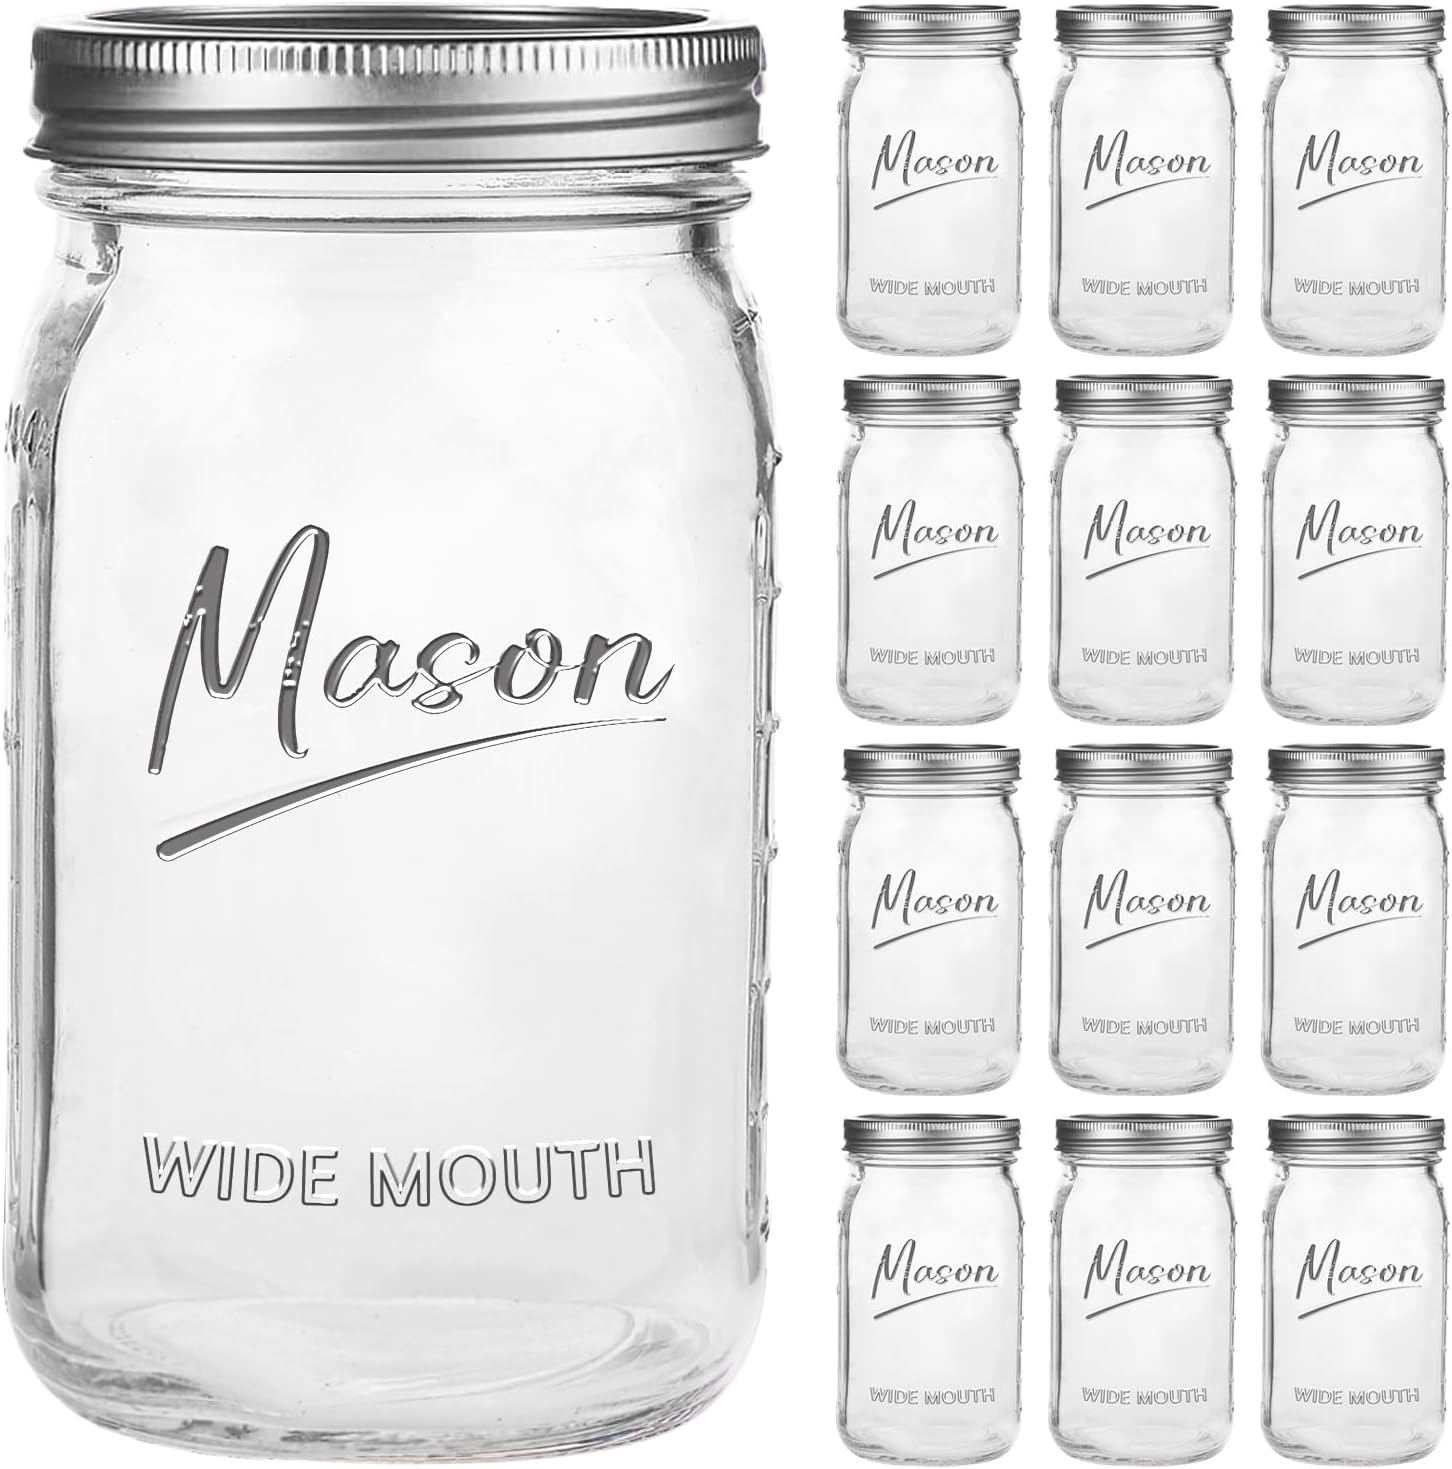
Wide-Mouth Mason Jars · 32 oz
Quart jars for dividing a batch into manageable portions. Add a fermentation weight and a venting lid that fit the exact jar opening; standard storage lids are not a complete fermentation setup.
View on Amazon
Masontops Complete Fermentation Kit
Fermentation lids, weights and accessories for compatible wide-mouth Mason jars. Choose the matching mouth size and check what is included. Treat this as an accessory kit; do not assume jars come with it.
View on Amazon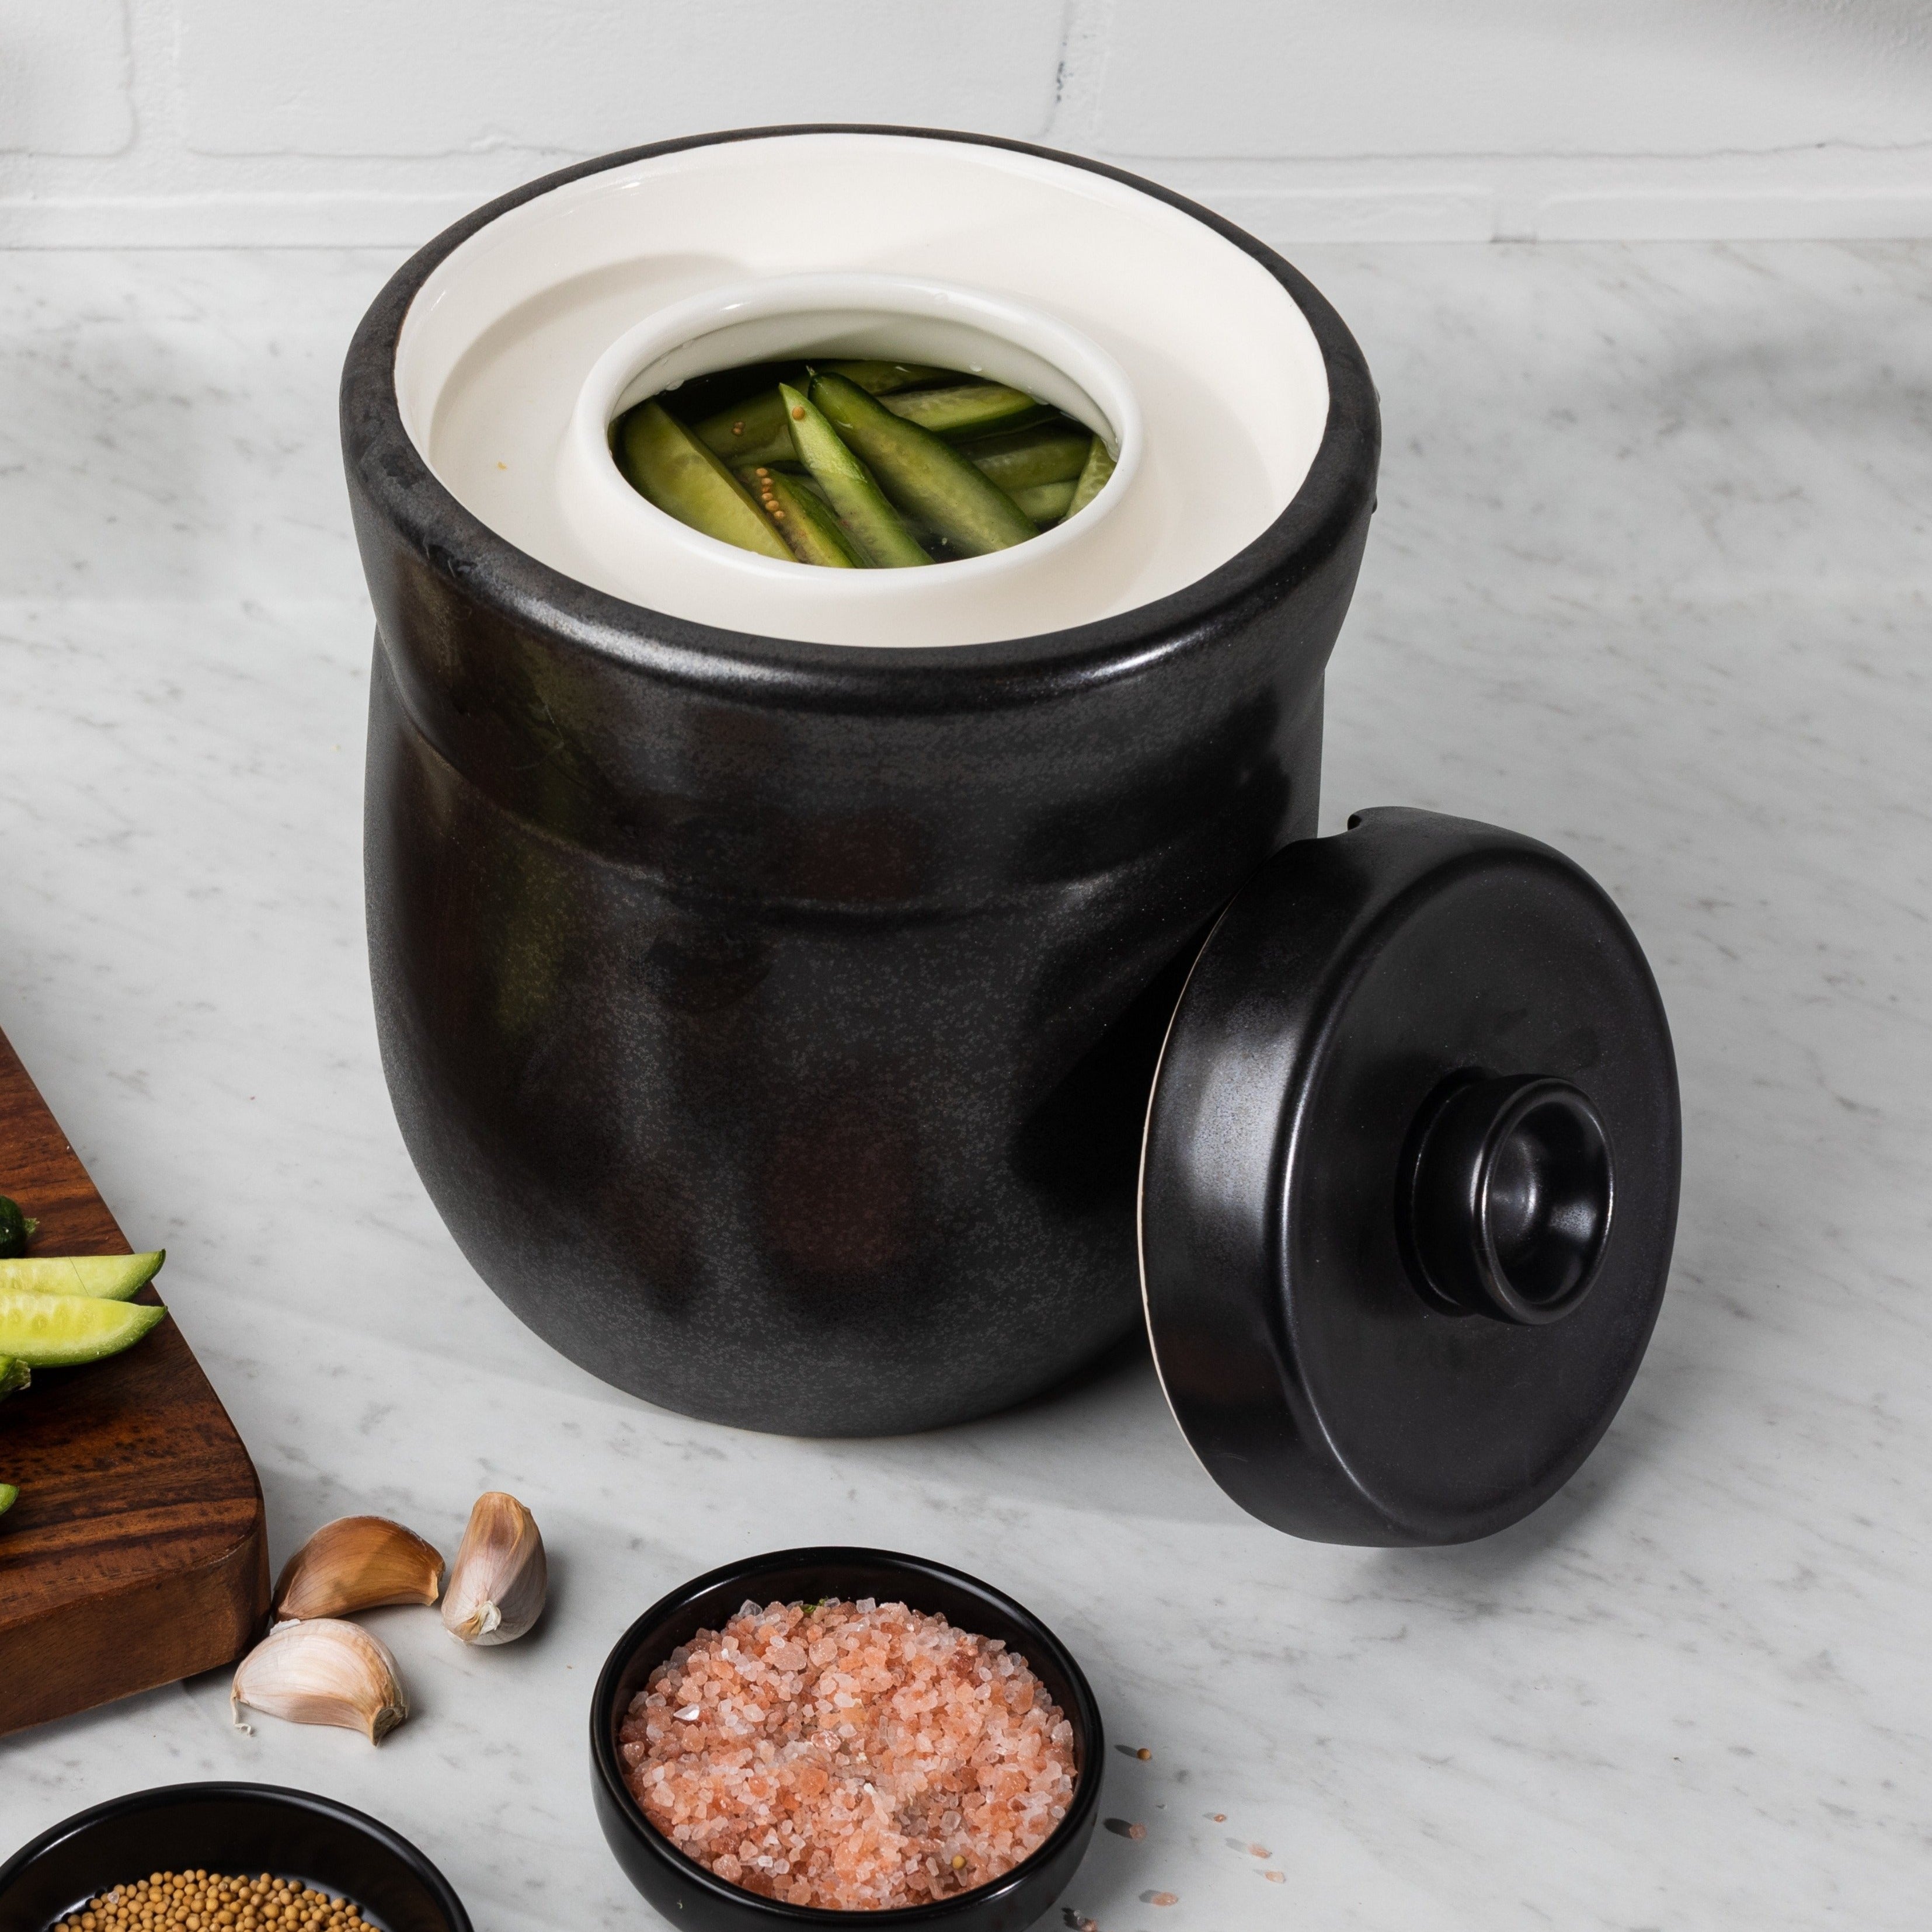
TOMO Fermentation Crock · 7 L
A stoneware crock with a waterlock and ceramic weights for larger future batches. It is oversized for a first small beet batch. Plan the batch size, counter space and refrigerated storage before choosing it.
View on AmazonAffiliate links · Your price stays the same.
For help checking lids, weights and the rest of the setup, start with Fermentation for Beginners.
Ferment beets in 7 steps
Prepare the raw roots
Wash the beets under running water, trim and peel if needed. Finely grate them. Use raw roots for this method, rather than cooked or vacuum-packed beets.
Weigh and salt
Weigh 1 kg of prepared shreds and mix with 20 g salt. Massage or pound in a bowl until juice collects. Keep that liquid with the beets.
Pack with their juice
Press the shreds and juice into the clean fermentation container, removing trapped air. Leave headspace below the rim for the weight and fermentation activity, following the vessel instructions.
Keep the shreds submerged
Fit the weight. If the natural juice does not cover the beets, add a little of the cooled supplementary brine from the ingredient list. Keep loose shreds below the surface.
Fit the lid and monitor
Install the airlock or venting lid as its manufacturer directs. Keep out of direct light at about 68–72°F (20–22°C). Check liquid coverage, temperature, the vent and pH daily; note your readings.
Check completion
Within the source's 5–10-day window, look for both a brine pH of 4.60 or below and bubbling that has stopped. Neither the calendar nor one measurement overrides spoilage or a failed process. See the checks below if the endpoint is unclear.
Refrigerate
Once the completion checks are met, refrigerate for another week as the method describes. Keep at 40°F (4°C) or below thereafter. Label the jar with the batch date; follow the lid maker's directions for refrigerated storage.
What should you check each day?
Use the same short checklist: shreds covered, vent working, room temperature suitable, no spoilage, pH recorded. Bubbles and cloudy brine can accompany fermentation, but do not replace acidity monitoring.
University of Minnesota Extension advises testing the brine throughout fermentation. Use a suitable calibrated instrument and follow its instructions for sampling, cleaning and calibration. If beet color makes a strip reading unclear, do not guess the result.
Endpoint still unclear by day 10? Do not simply extend the schedule, add vinegar or salt, or taste the batch to decide whether it is safe. Seek advice from your local Extension food-preservation service; discard a batch when safe acidification cannot be established.
Keep the basics nearby with the free fermentation starter guide. Use this full article for the beet quantities and completion checks.
When to discard the batch
Discard the whole batch if you find mold, suspicious surface growth, a rotten odor or a slimy texture. Do not scrape off a questionable layer and serve what is underneath. A favorable pH reading does not rescue spoiled food.
For a sound, completed ferment, keep the jar covered and refrigerated. Use a clean utensil for each serving, return the jar promptly and keep the remaining shreds under their liquid. Check the refrigerator with a thermometer. This guide gives no universal months-long shelf-life promise for a homemade batch.
Four easy ways to use the finished shreds
A lunch sandwich: spoon a little onto hummus, turkey or cheese, letting excess liquid drain first. Pack the beet topping separately if the sandwich needs to travel, then add it at lunchtime.
A grain bowl: pair the shreds with cooked barley or rice, white beans and cucumber. Add a creamy tahini dressing to your serving and finish with a handful of herbs.
A potato dinner: put a small bowl alongside roasted potatoes and a dill yogurt sauce. Keeping each element separate lets everyone choose how much tang they want.
A simple slaw: mix a serving with freshly shredded cabbage just before eating. Start with the beets as a topping, then adjust the balance to your taste. Add dressings to the plate rather than the storage jar.
Choose your next fermentation project
Keep a note of the starting date, jar setup and serving combinations you enjoyed. That turns one batch into a useful kitchen routine. For a cabbage project, read How to Make Sauerkraut in a Mason Jar; use that recipe's quantities and process. The Fermentation for Beginners guide covers the wider picture.
Questions about fermented beets
Does lacto-fermentation need milk or whey?
No. Lactic fermentation refers to the acid-producing process. This preparation uses beets and salt, with supplementary brine only when necessary; it includes no dairy starter.
Is 2% salt based on the water or the beets?
For the initial dry salting, it is 2% of the prepared beet weight. The optional top-up liquid is a separate formula. Do not calculate one percentage using the jar, water and vegetables together.
Can I ferment slices instead of shreds?
This guide is written for finely grated beets packed with their own juice. Slices or large chunks need an appropriate separate recipe; do not assume the same timing applies.
Is this beet kvass?
No. The goal is a fermented vegetable topping, not a beet drink. This article does not provide a kvass process or beverage storage instructions.
Can I keep the finished jar in the pantry?
No. This is a refrigerated ferment with no canning process. For plain shelf-stable beets, start with the separate Canning Beets guide and its pressure-canning method.
Can I use cooked or vacuum-packed beets?
Use fresh raw beets for this method. Cooked, vacuum-packed or vinegar-pickled beets are different starting ingredients; do not substitute them into this process.
Sources and editorial notes
The preparation follows VZ Südtirol's dry-salting advice, which names beets among suitable vegetables. UMN supplies general temperature and acidity checks; NCHFP covers equipment, FDA refrigeration, and BZfE produce selection and context. The timing is guidance, not a validated safety schedule for every beet batch. This is not an in-house fermentation test or a separately lab-validated beet-only recipe. Please verify the current sources and your equipment instructions.
- VZ Südtirol: How to ferment vegetables at home (German PDF)
- University of Minnesota Extension: Preserving food at home—Fermentation
- NCHFP: Suitable Containers, Covers, and Weights for Fermenting Food
- FDA: Are You Storing Food Safely?
- BZfE: How-to Rote Bete—choosing and preparing beets (German)
- BZfE: Fermenting freshly harvested vegetables (German)
AI-generated food illustration; not a photograph of an in-house fermentation test.