Making kimchi at home is easier than it looks. This beginner-friendly napa cabbage kimchi recipe walks you through salting the cabbage, making the seasoning paste, packing the jar, fermenting, refrigerating and troubleshooting your first batch.
Salt ratios, equipment basics, safety guidance and a simple beginner checklist in one practical PDF.
What Is Kimchi and How Does It Ferment?
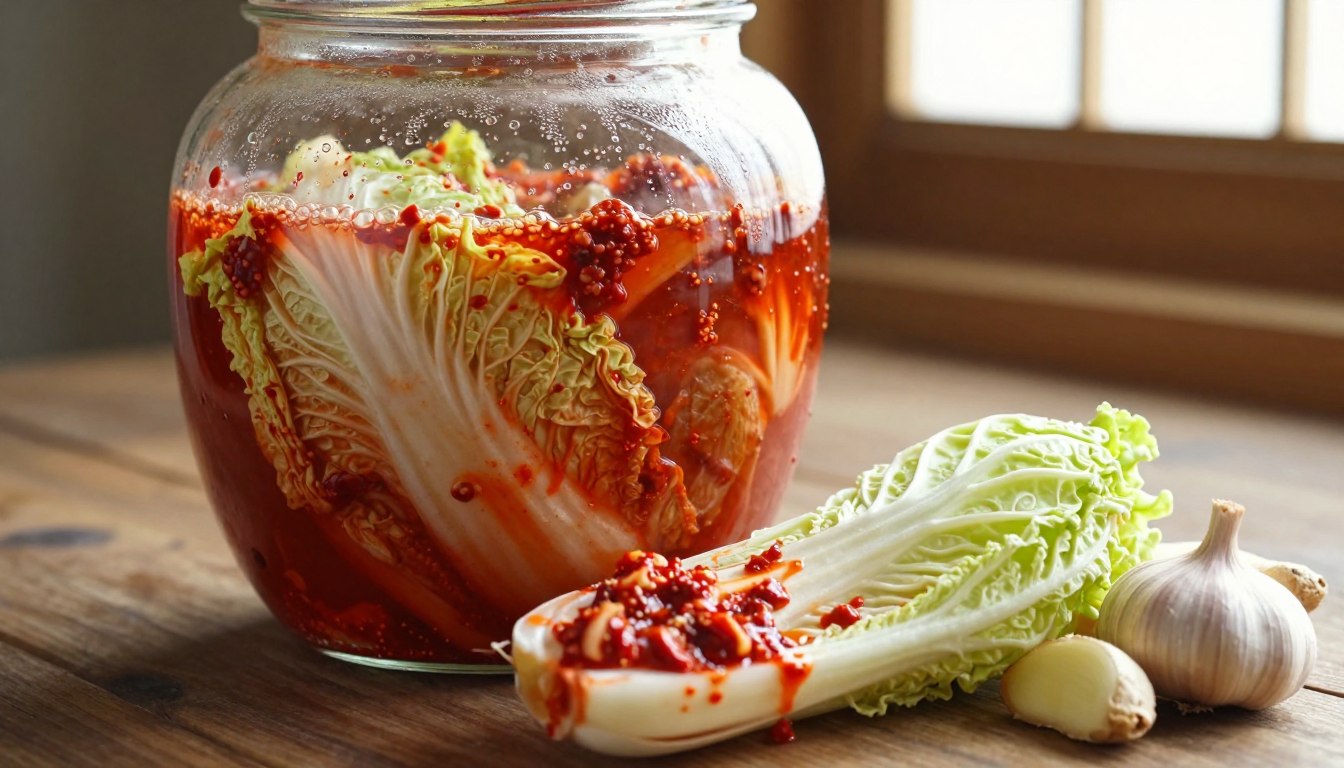
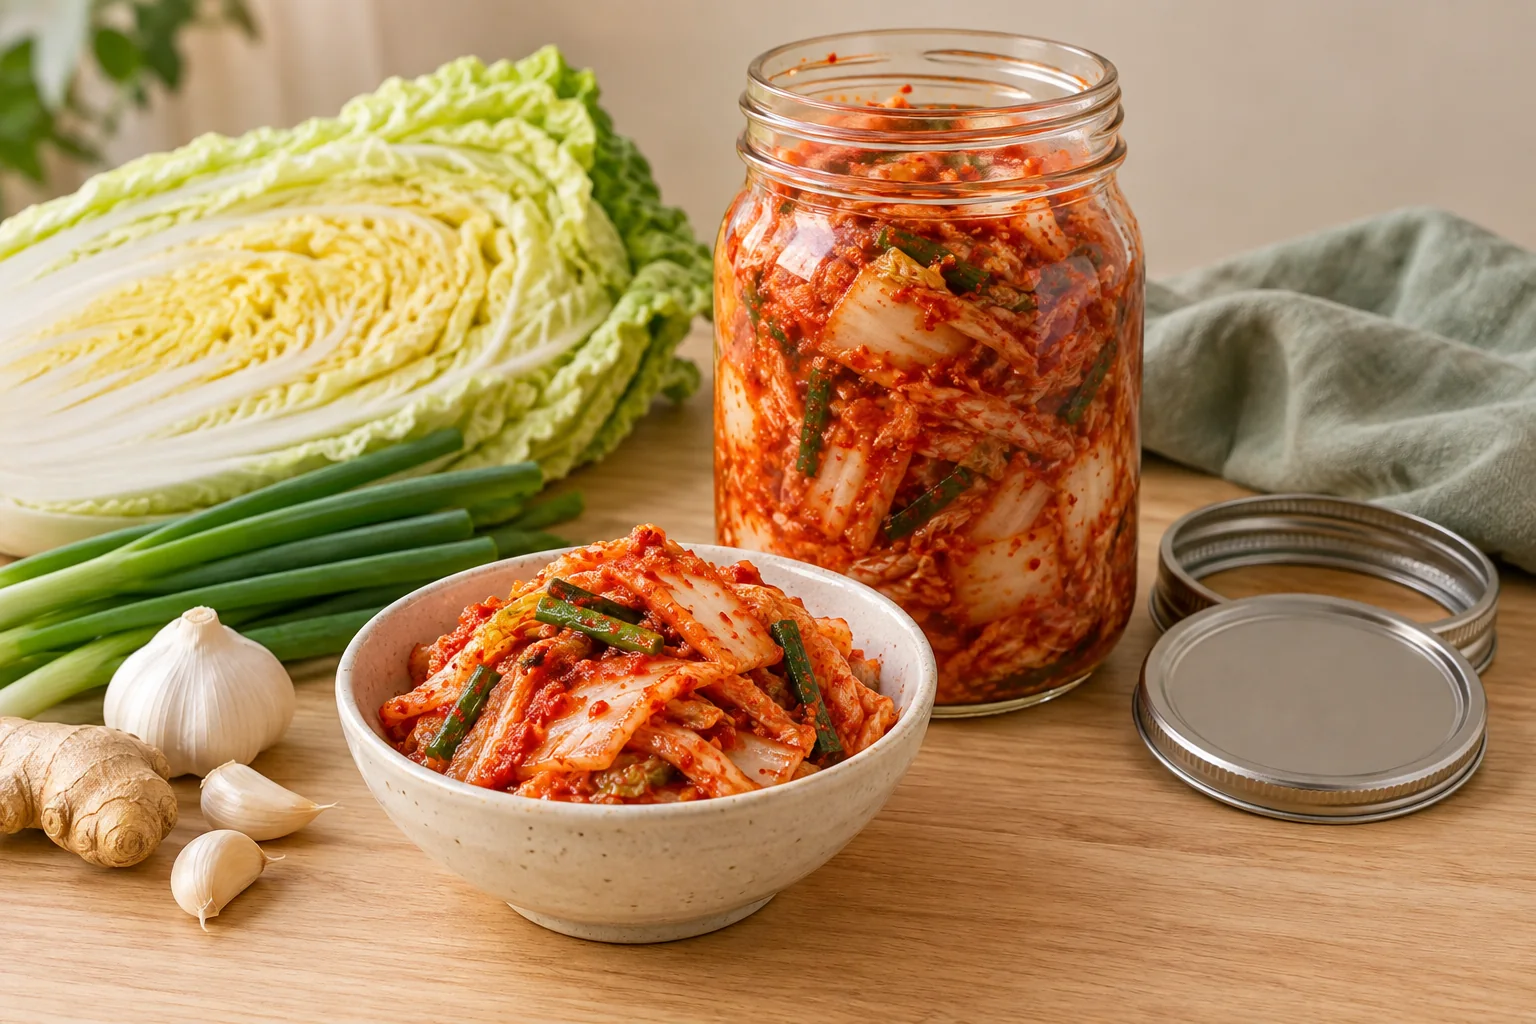
Kimchi is a broad family of Korean vegetable preparations, not one single recipe. Napa cabbage kimchi is one of the best-known versions. Salt, vegetables and seasonings create conditions in which lactic-acid bacteria can acidify the food and develop kimchi's characteristic sour, savory flavor.
Regional, seasonal and family recipes vary widely. Some include fish sauce or salted shrimp; others are vegetarian. This guide is designed as an approachable first batch rather than a claim to be the only “authentic” way to make kimchi.
Kimchi Ingredients and Equipment for Beginners
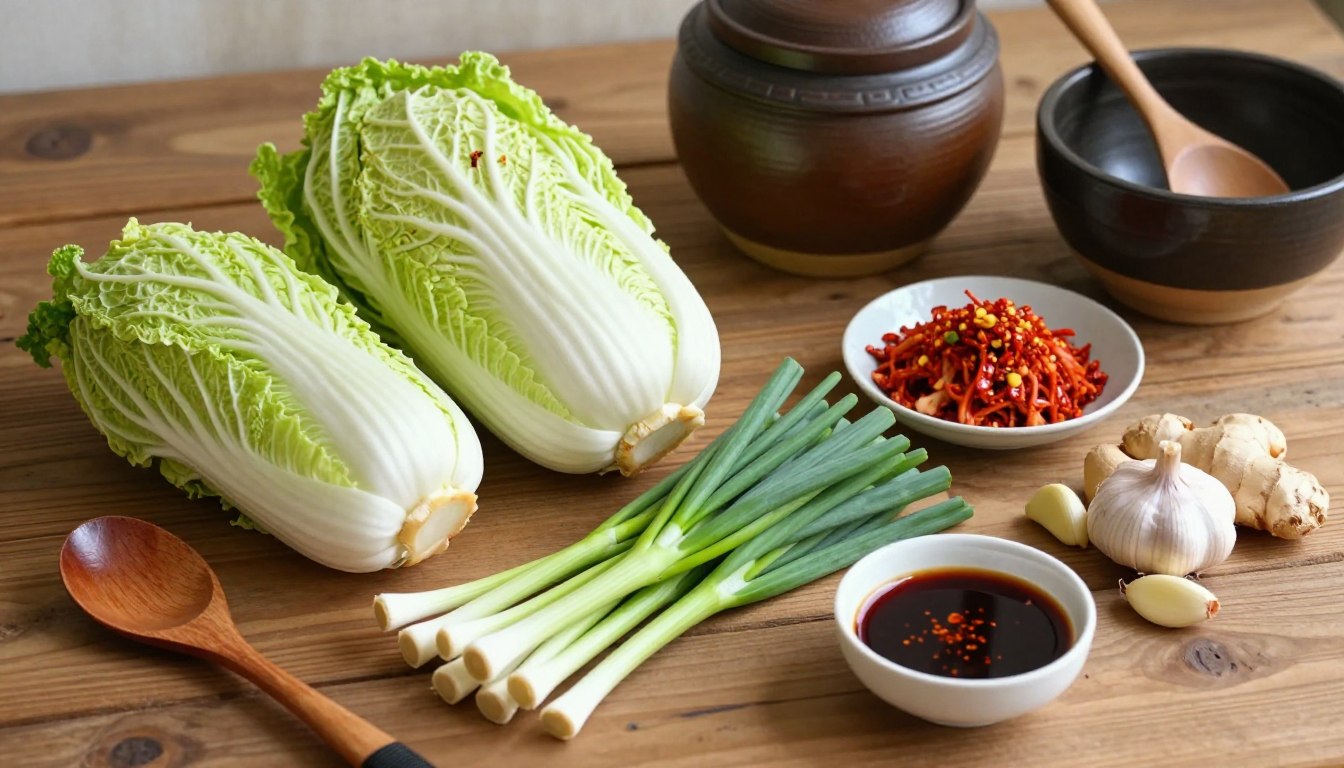
This small batch is scaled to about 2 lb (900 g) napa cabbage. The seasoning proportions are adapted from established Korean kimchi methods and kept practical for a first-time home cook.
| Ingredient | Amount | Role |
|---|---|---|
| Napa cabbage | 2 lb / 900 g | Main vegetable |
| Kosher or pickling salt | about 0.85 oz by weight (24 g) | Salting the cabbage |
| Water | ⅔ cup / 160 ml | Rice-flour porridge |
| Sweet/glutinous rice flour | 2 tsp | Helps bind the seasoning paste |
| Sugar | 2 tsp | Balances the paste |
| Gochugaru | ⅓–⅔ cup | Heat, color and flavor |
| Fish sauce | 2 tbsp + 2 tsp | Savory depth |
| Garlic | about 8 cloves | Aromatic base |
| Fresh ginger | ⅔ tsp minced | Aromatic heat |
| Onion | ⅓ medium | Flavor and sweetness |
| Korean radish or daikon | ⅔ cup matchsticks | Crunch |
| Carrot | ⅓ cup matchsticks | Optional texture |
| Green onions | 2–3 | Fresh allium flavor |
Weigh the salt on a digital kitchen scale. The ounce amount is a weight, not fluid ounces; use 24 g for the measured salt amount in this recipe.
Kimchi Pantry Essentials
The core staples that make the seasoning and brining steps easier to reproduce.
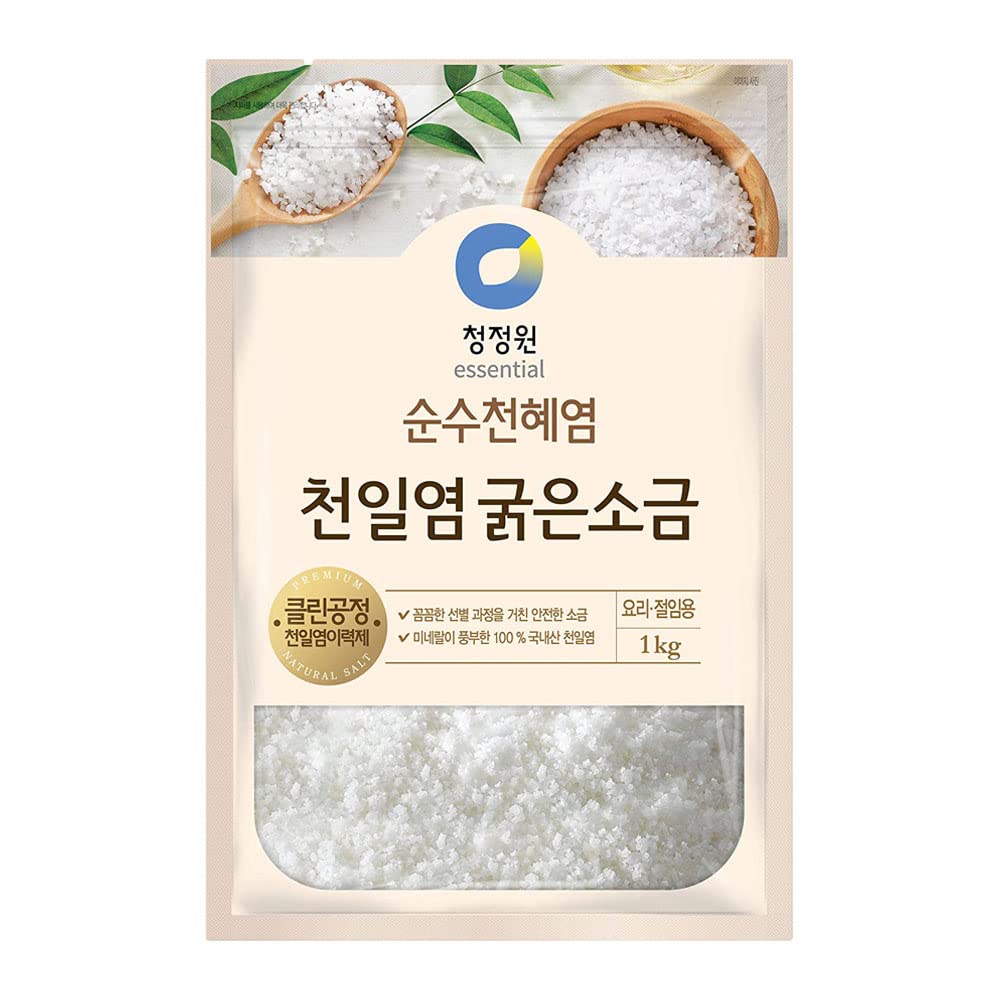
Chung Jung One Korean Coarse Sea Salt
Coarse Korean sea salt for brining napa cabbage.
View on Amazon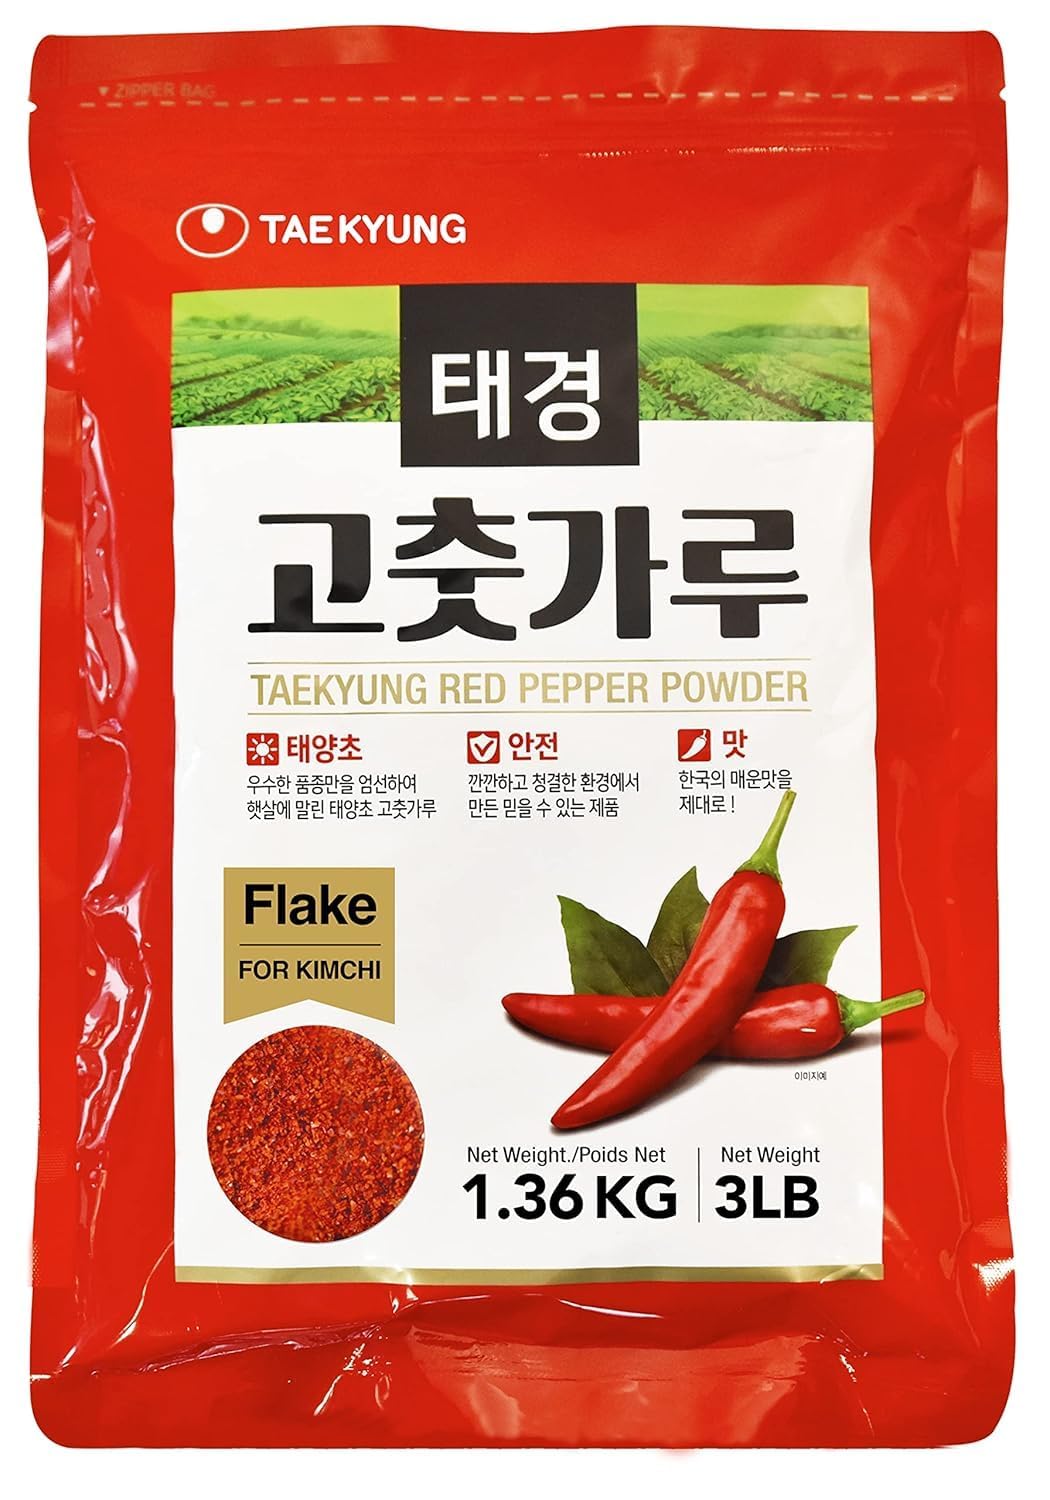
Taekyung Gochugaru – Korean Chili Flakes
Korean red pepper flakes made for kimchi-style seasoning.
View on Amazon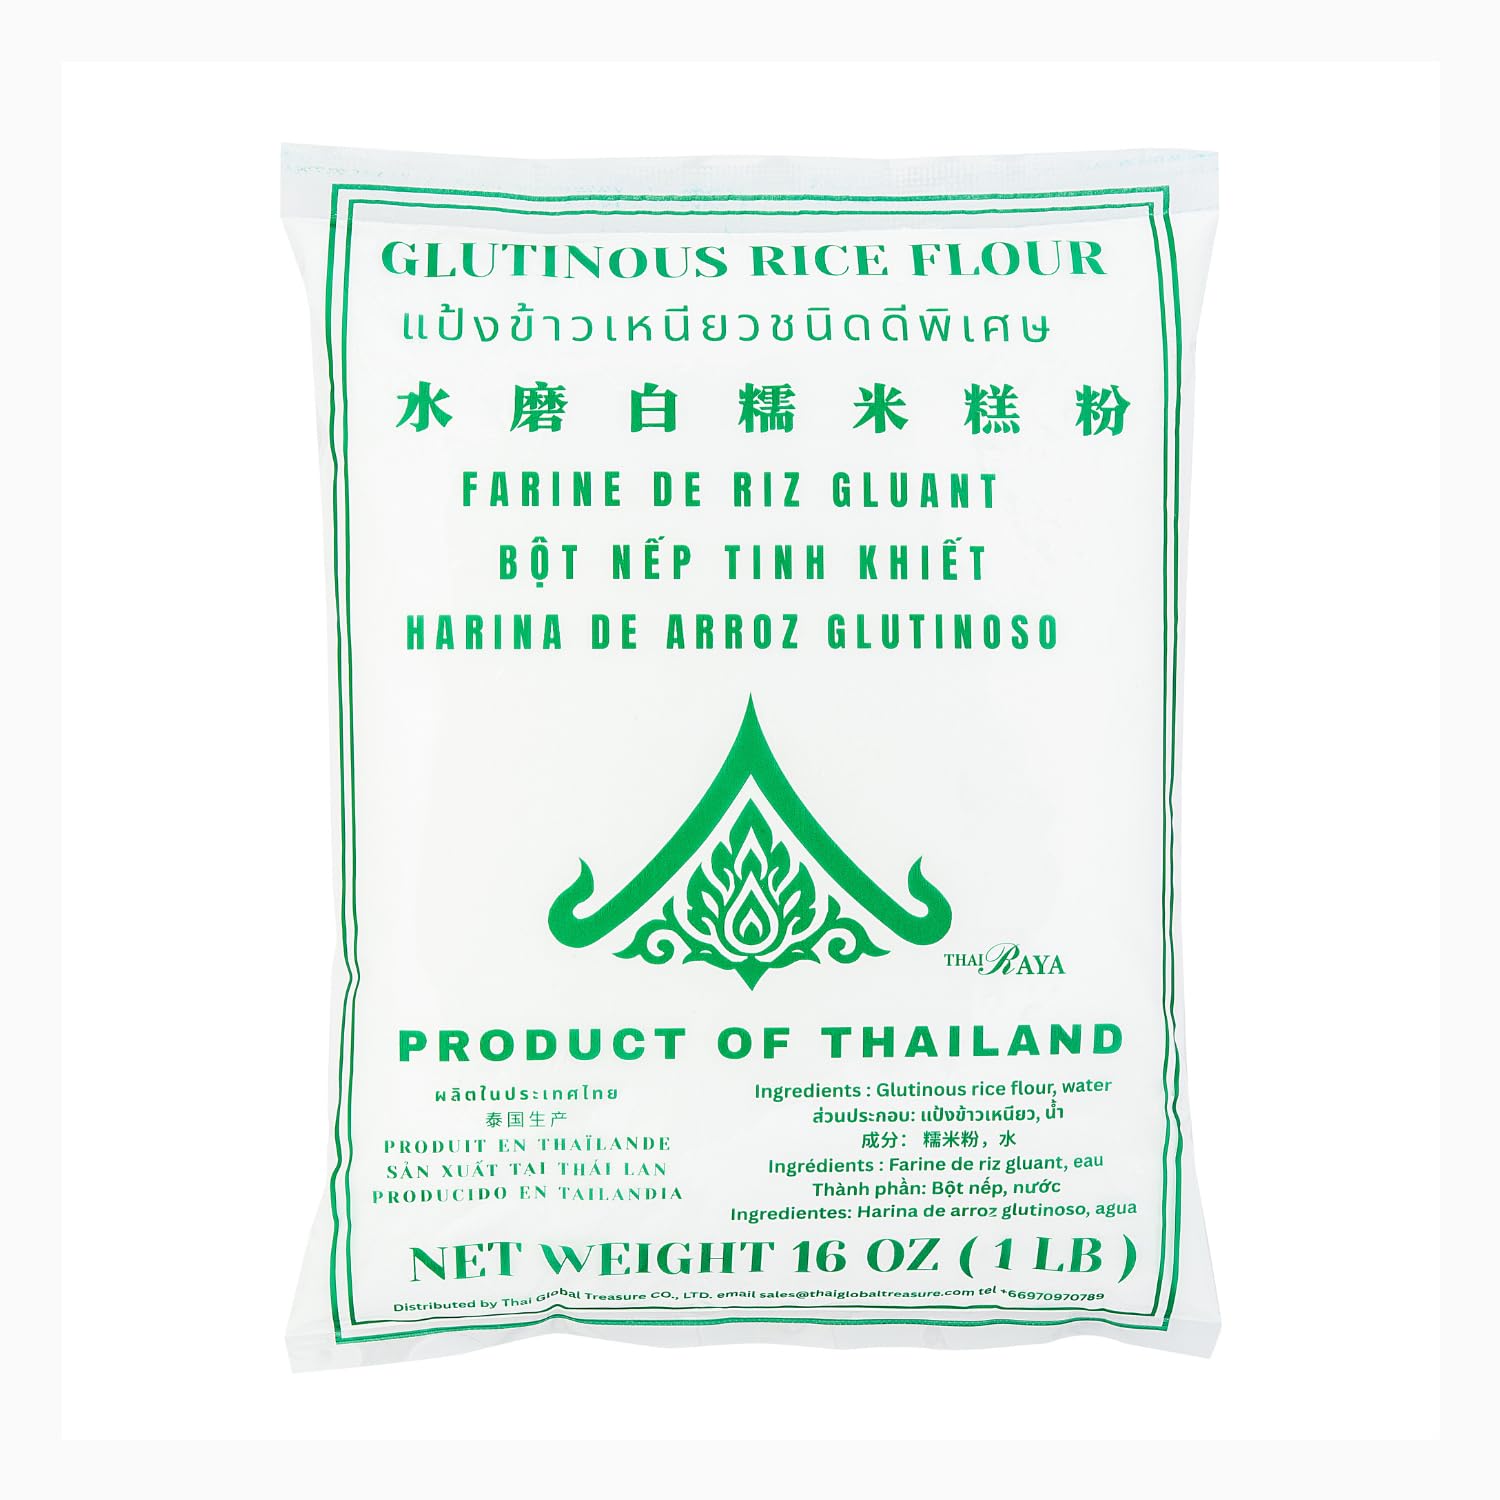
Thairaya Glutinous Rice Flour
Useful for the light rice-flour porridge that helps the paste cling to cabbage.
View on AmazonAffiliate links · Your price stays the same.
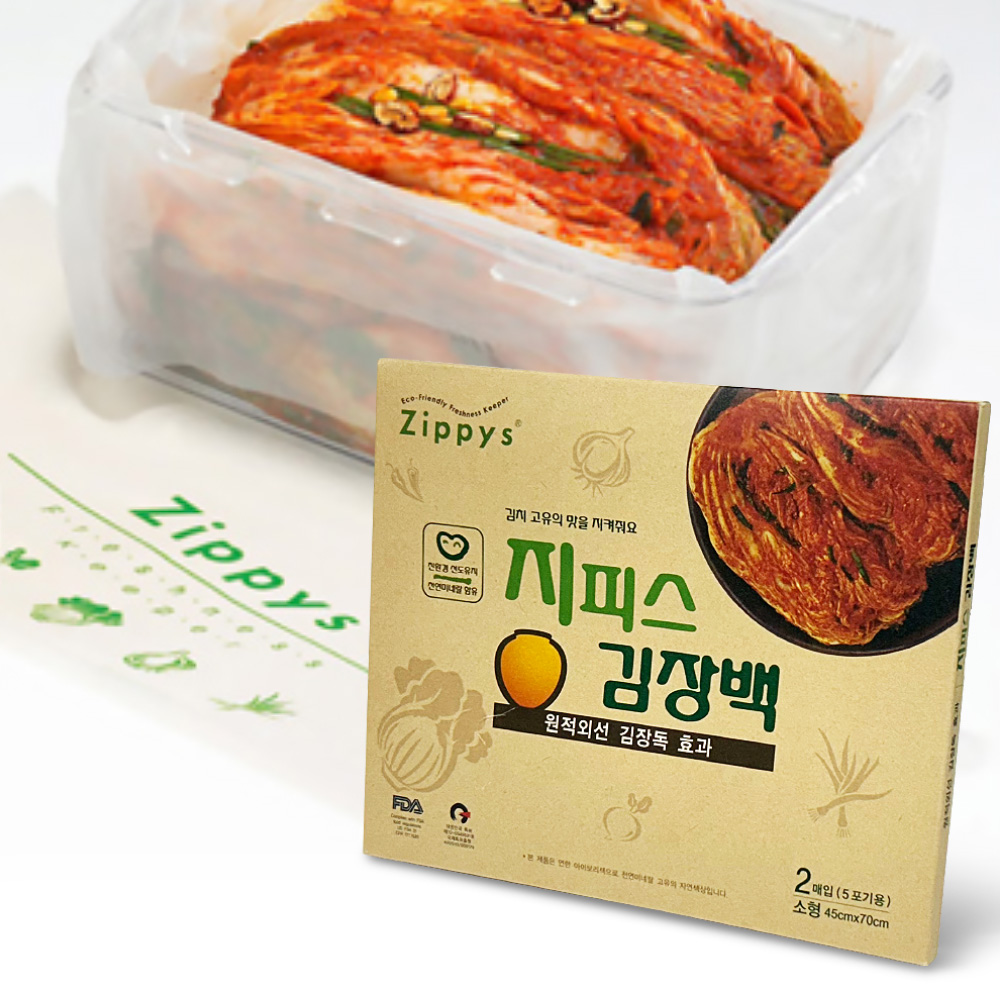
BENEPISYO Kimchi Fermentation Bags
Large odor-proof fermentation bags for big-batch kimchi preparation.
View on AmazonPrepare and Salt the Napa Cabbage
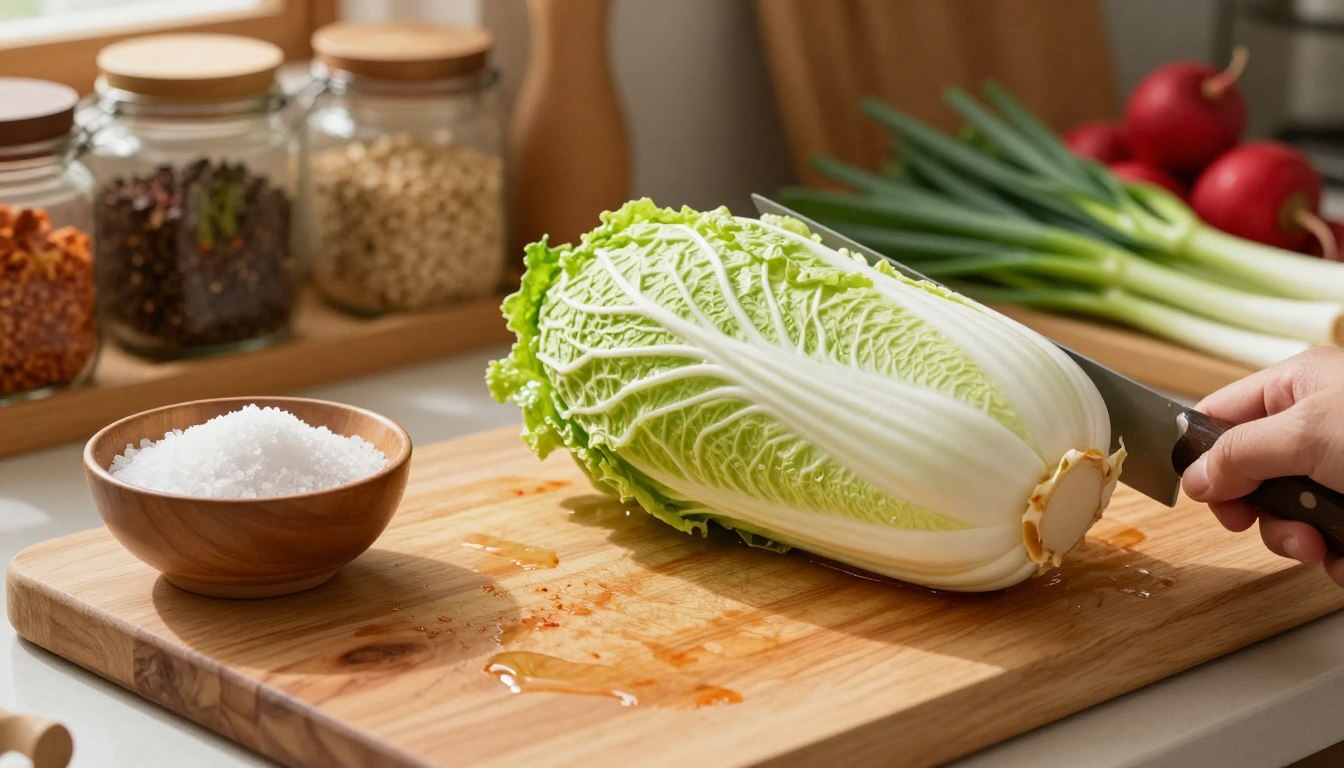
- Cut the cabbage. Remove damaged outer leaves, quarter the cabbage and cut into bite-size pieces if you prefer mak-kimchi style.
- Salt evenly. Distribute the measured salt thoroughly through the cabbage, concentrating slightly more on the thicker white stems.
- Let it wilt. Turn the cabbage periodically so the salting is even. It should become flexible rather than brittle.
- Rinse and drain. Rinse thoroughly in cold water and drain well before adding the seasoning paste.
Do not “eyeball” the salt. In vegetable fermentation, the proportion of produce to salt affects both fermentation performance and food safety.
Make the Kimchi Paste and Prepare the Vegetables
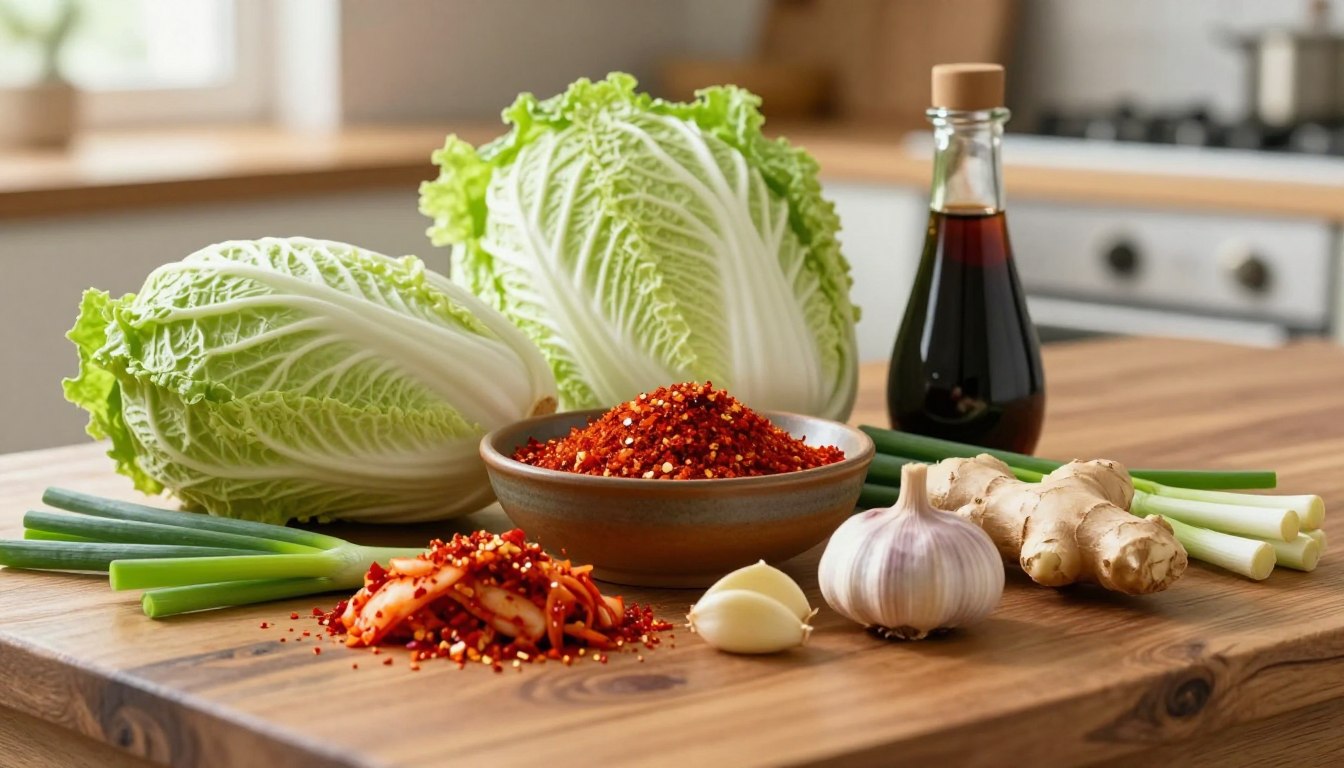
Whisk the water and sweet rice flour in a small saucepan, warm until lightly thickened, then cool. Blend or finely mince the garlic, ginger and onion. Combine with the cooled porridge, sugar, fish sauce and gochugaru. Fold in the radish, carrot and green onions.
Start with the lower end of the gochugaru range if you are sensitive to heat. You can increase the chili in later batches more easily than you can remove it from an overly spicy batch.
Kimchi Prep Tools
A clean, practical setup for slicing, mixing and coating the vegetables.
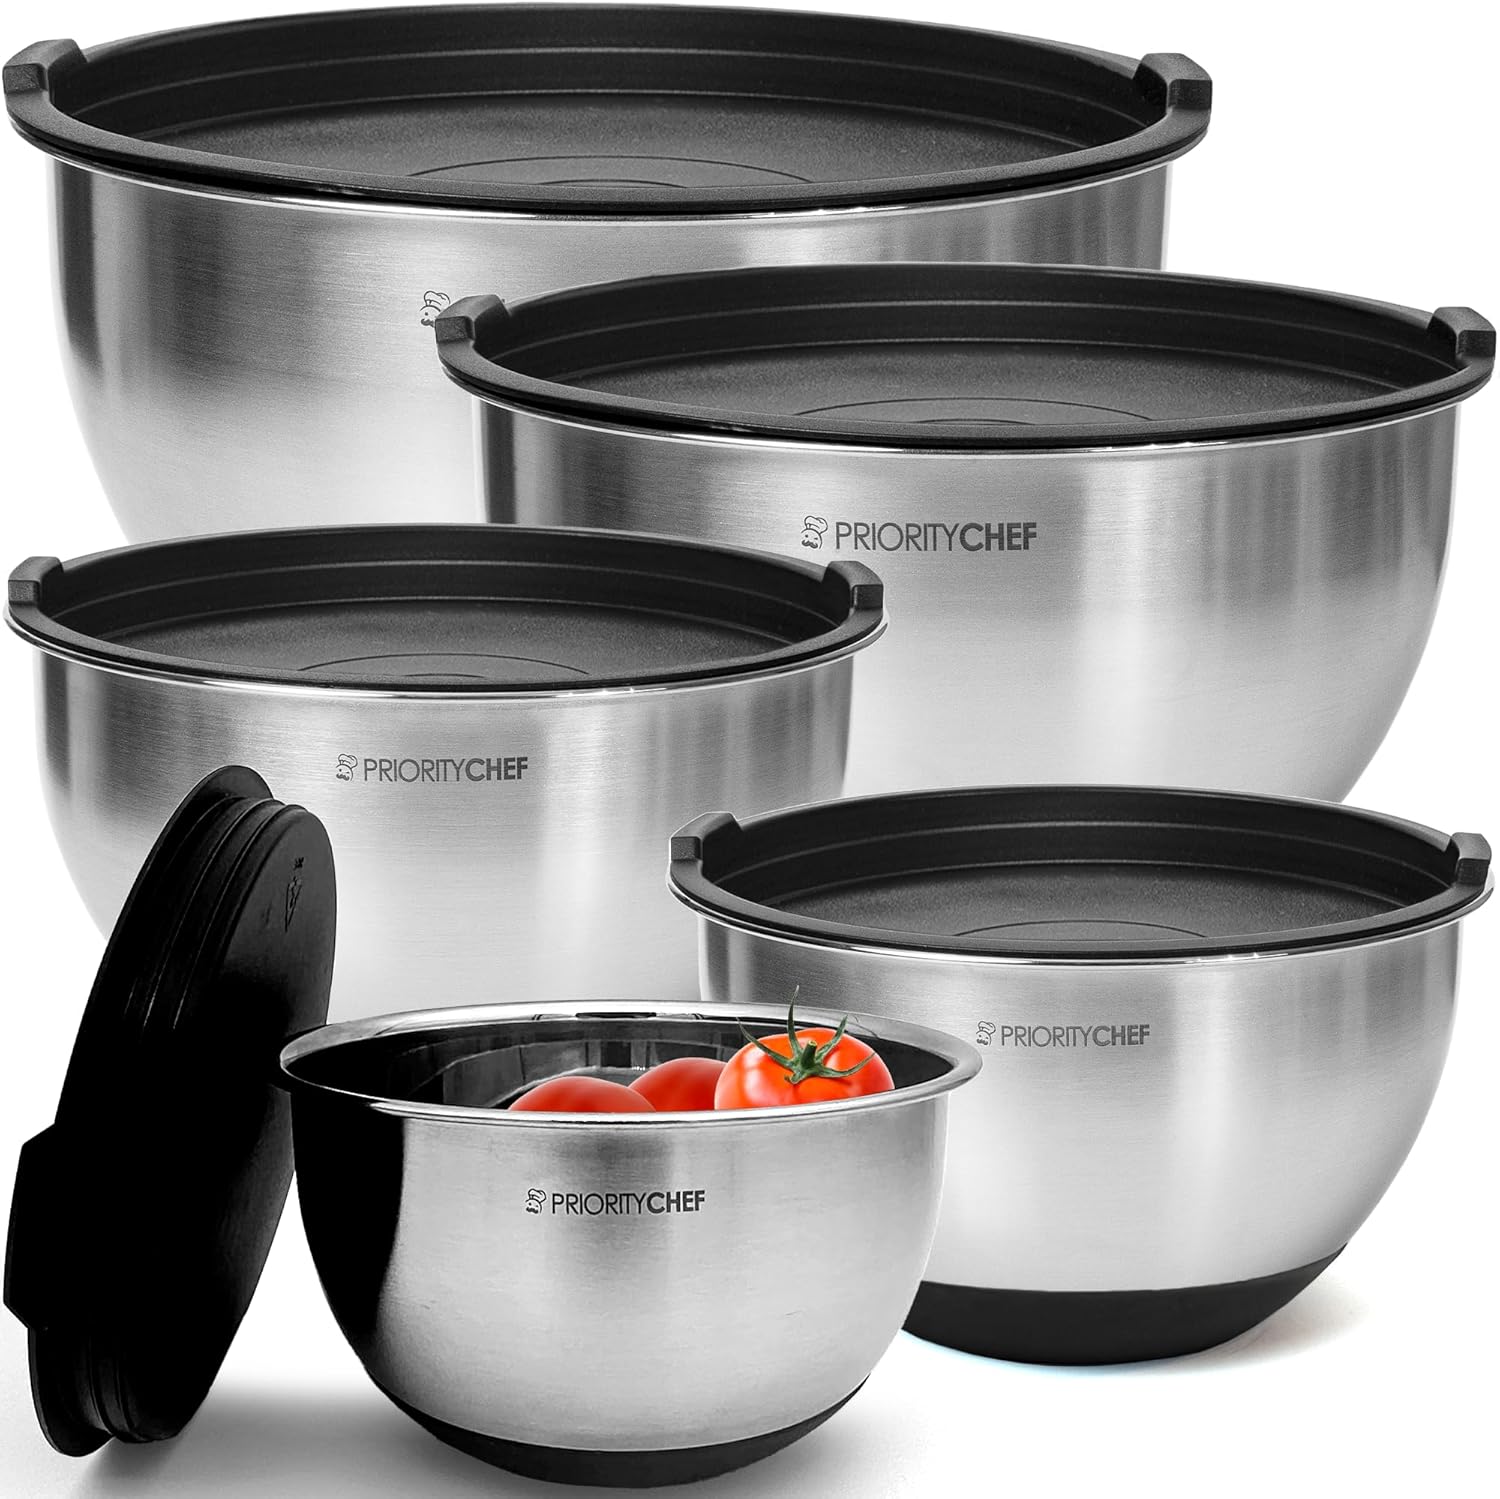
Premium Stainless Steel Mixing Bowls with Lids
Large non-slip bowls for salting, rinsing and mixing cabbage with paste.
View on Amazon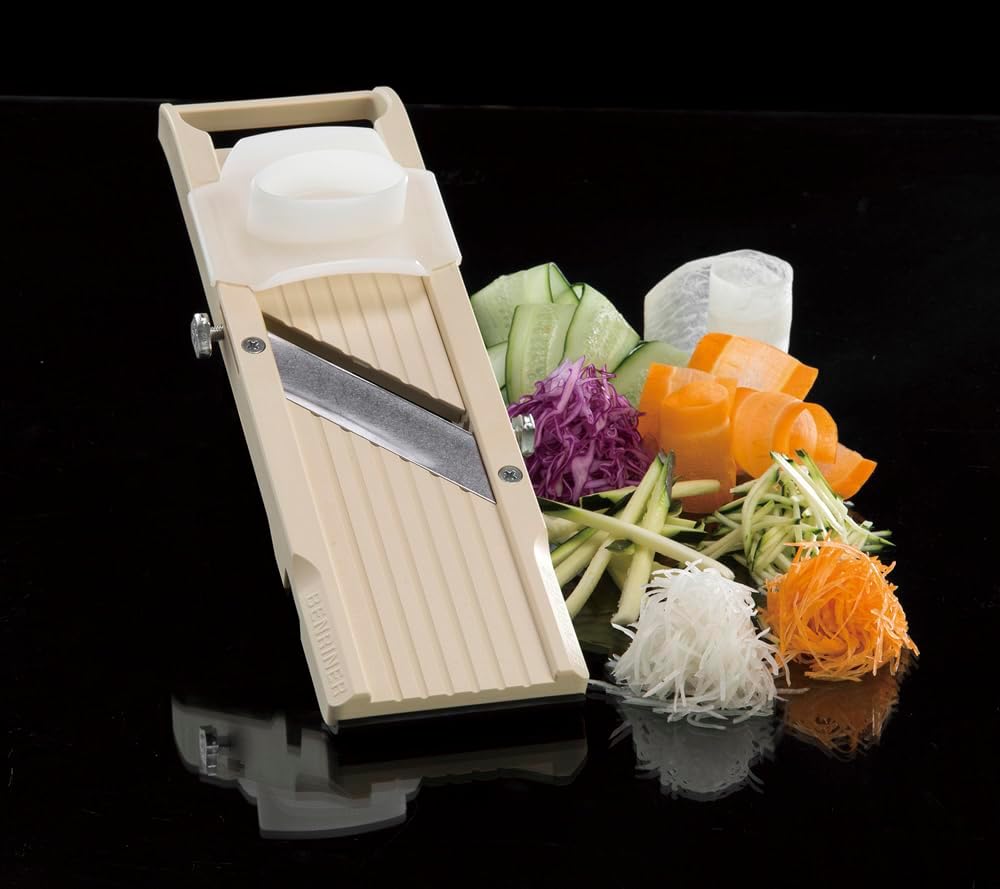
Benriner Mandoline Slicer
Japanese mandoline for thin, even radish and vegetable strips.
View on Amazon
Venom Steel Nitrile Gloves
Heavy-duty disposable gloves for handling chili paste and keeping prep tidy.
View on AmazonAffiliate links · Your price stays the same.
Mix the Kimchi and Pack the Fermentation Jar
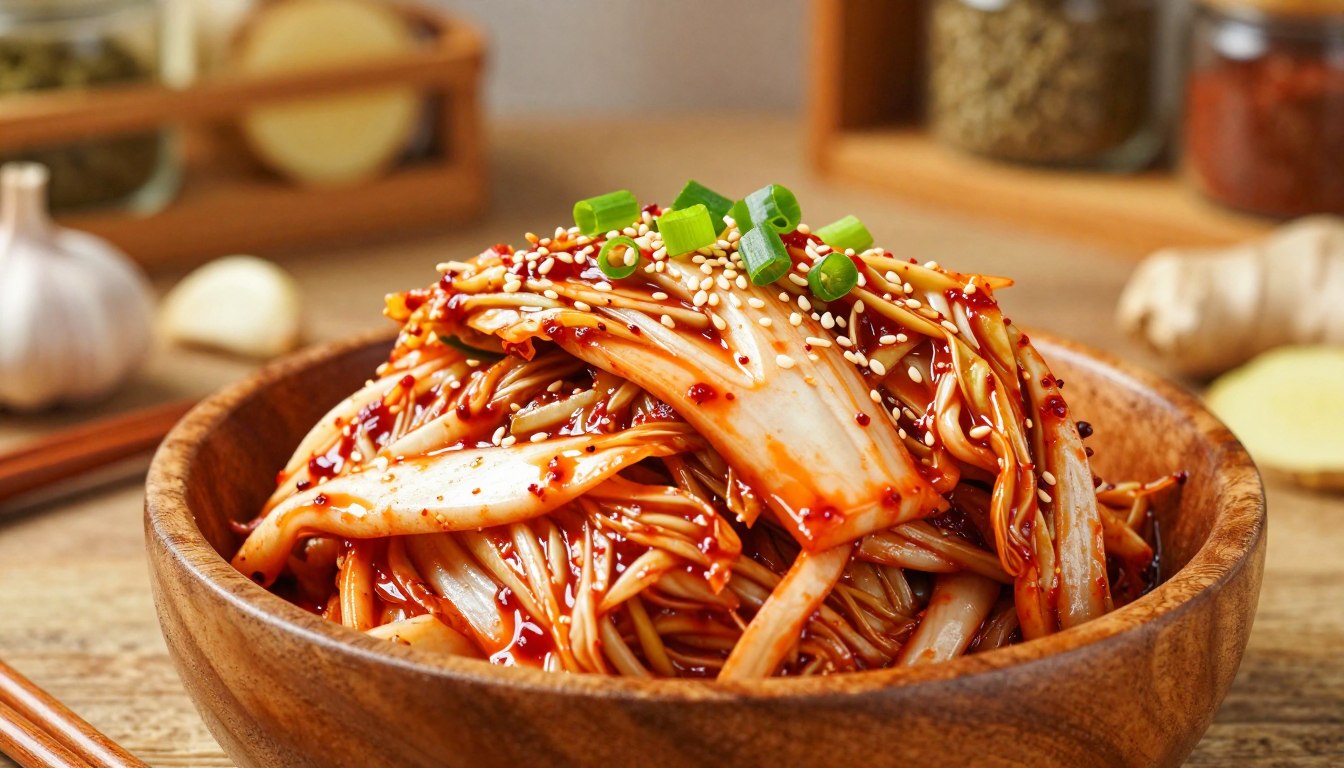
Combine the drained cabbage with the seasoning mixture until the leaves are evenly coated. Food-safe gloves are useful here because gochugaru can stain and irritate sensitive skin.
Pack the kimchi firmly into a clean fermentation container, removing large trapped air pockets. Leave adequate headspace because fermentation can cause the contents to rise and bubble.
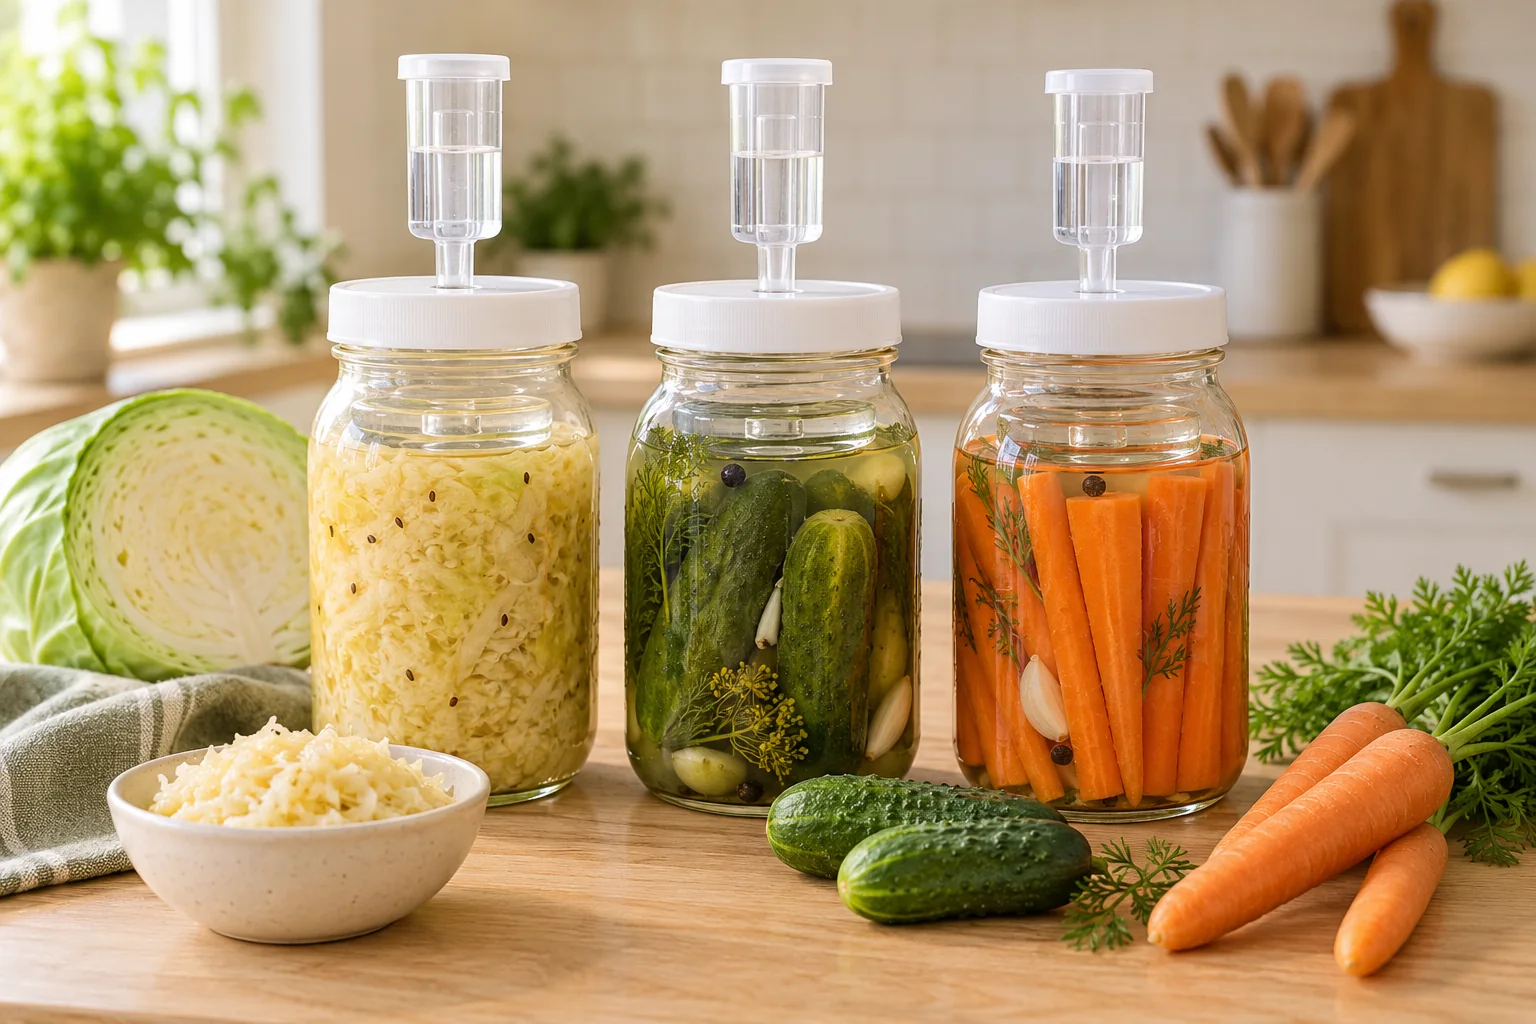
A fermentation weight can help keep solids below the liquid. If using a jar system, follow the lid manufacturer's instructions for venting or airlock use rather than improvising with a tightly sealed jar under pressure.
Fermentation Vessels & Airlock Setup
Two useful approaches: a purpose-built kimchi container or a wide-mouth Mason jar setup.
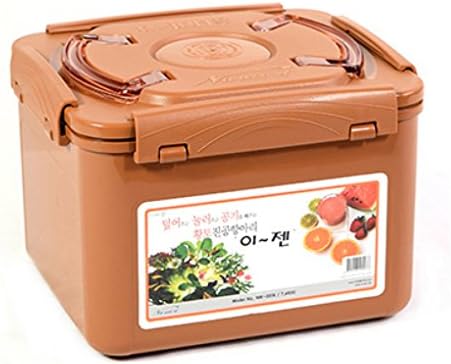
Premium Kimchi & Sauerkraut Fermentation Container
6.4 L earthenware-brown container with an inner vacuum-style lid for larger batches.
View on Amazon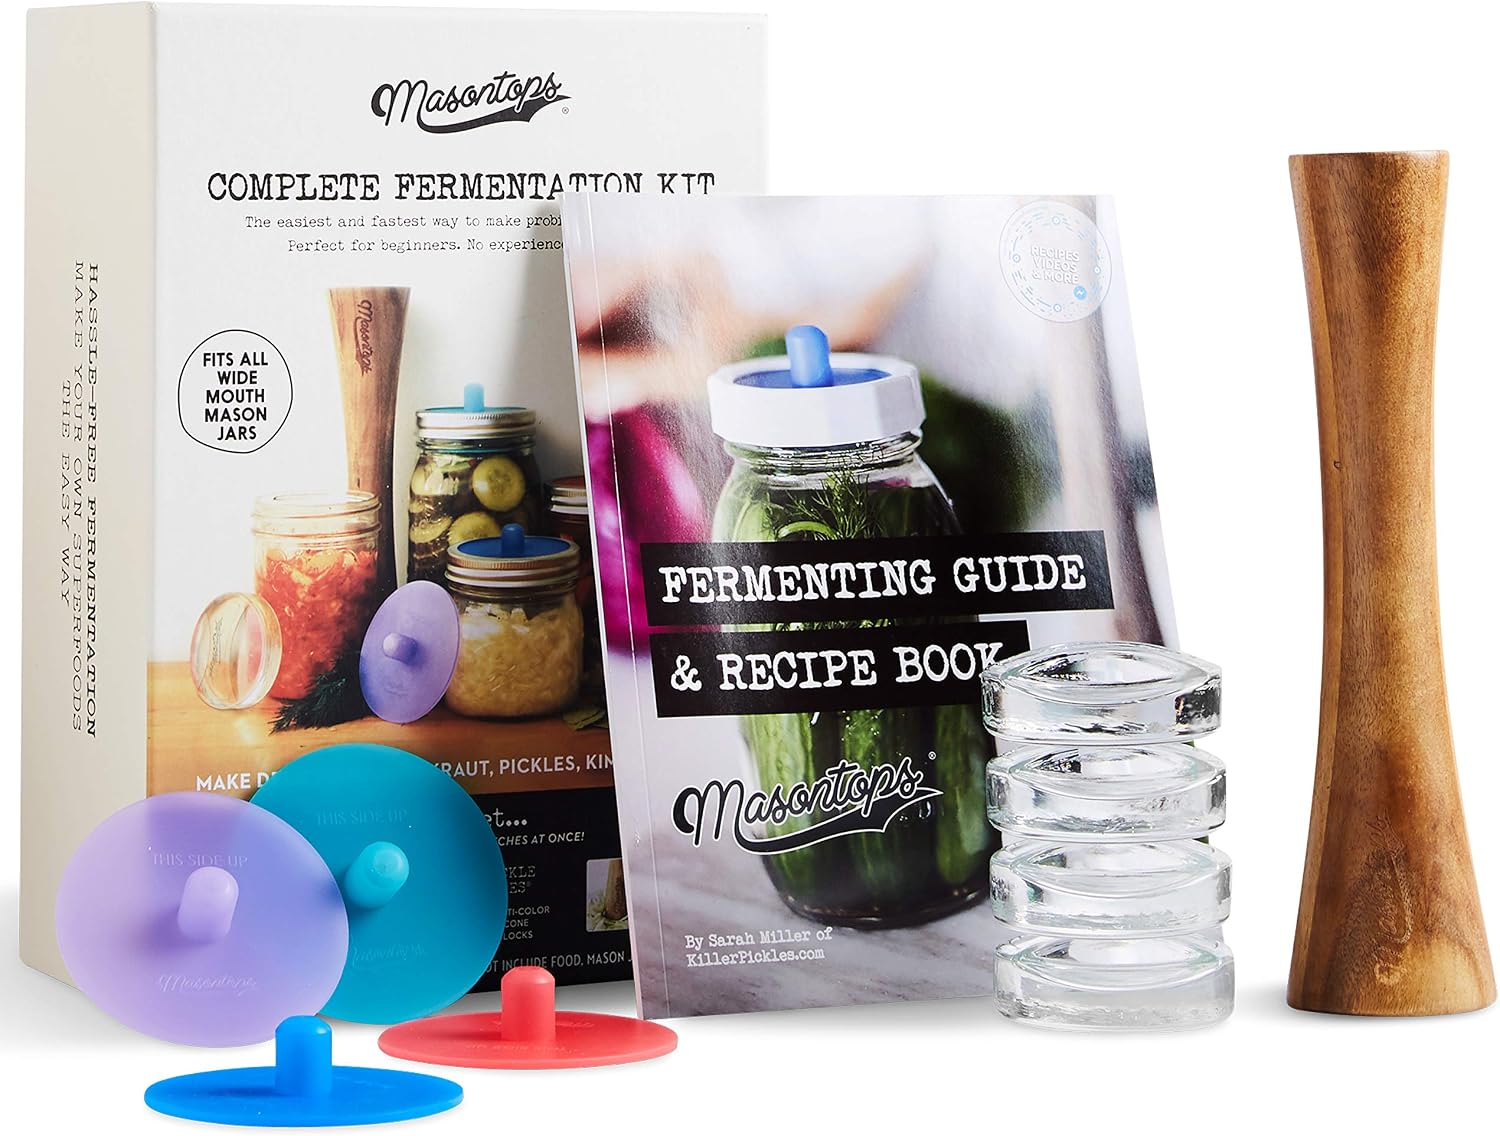
Masontops Complete Mason Jar Fermentation Kit
Airlock lids, fermentation weights and accessories for wide-mouth Mason jars.
View on Amazon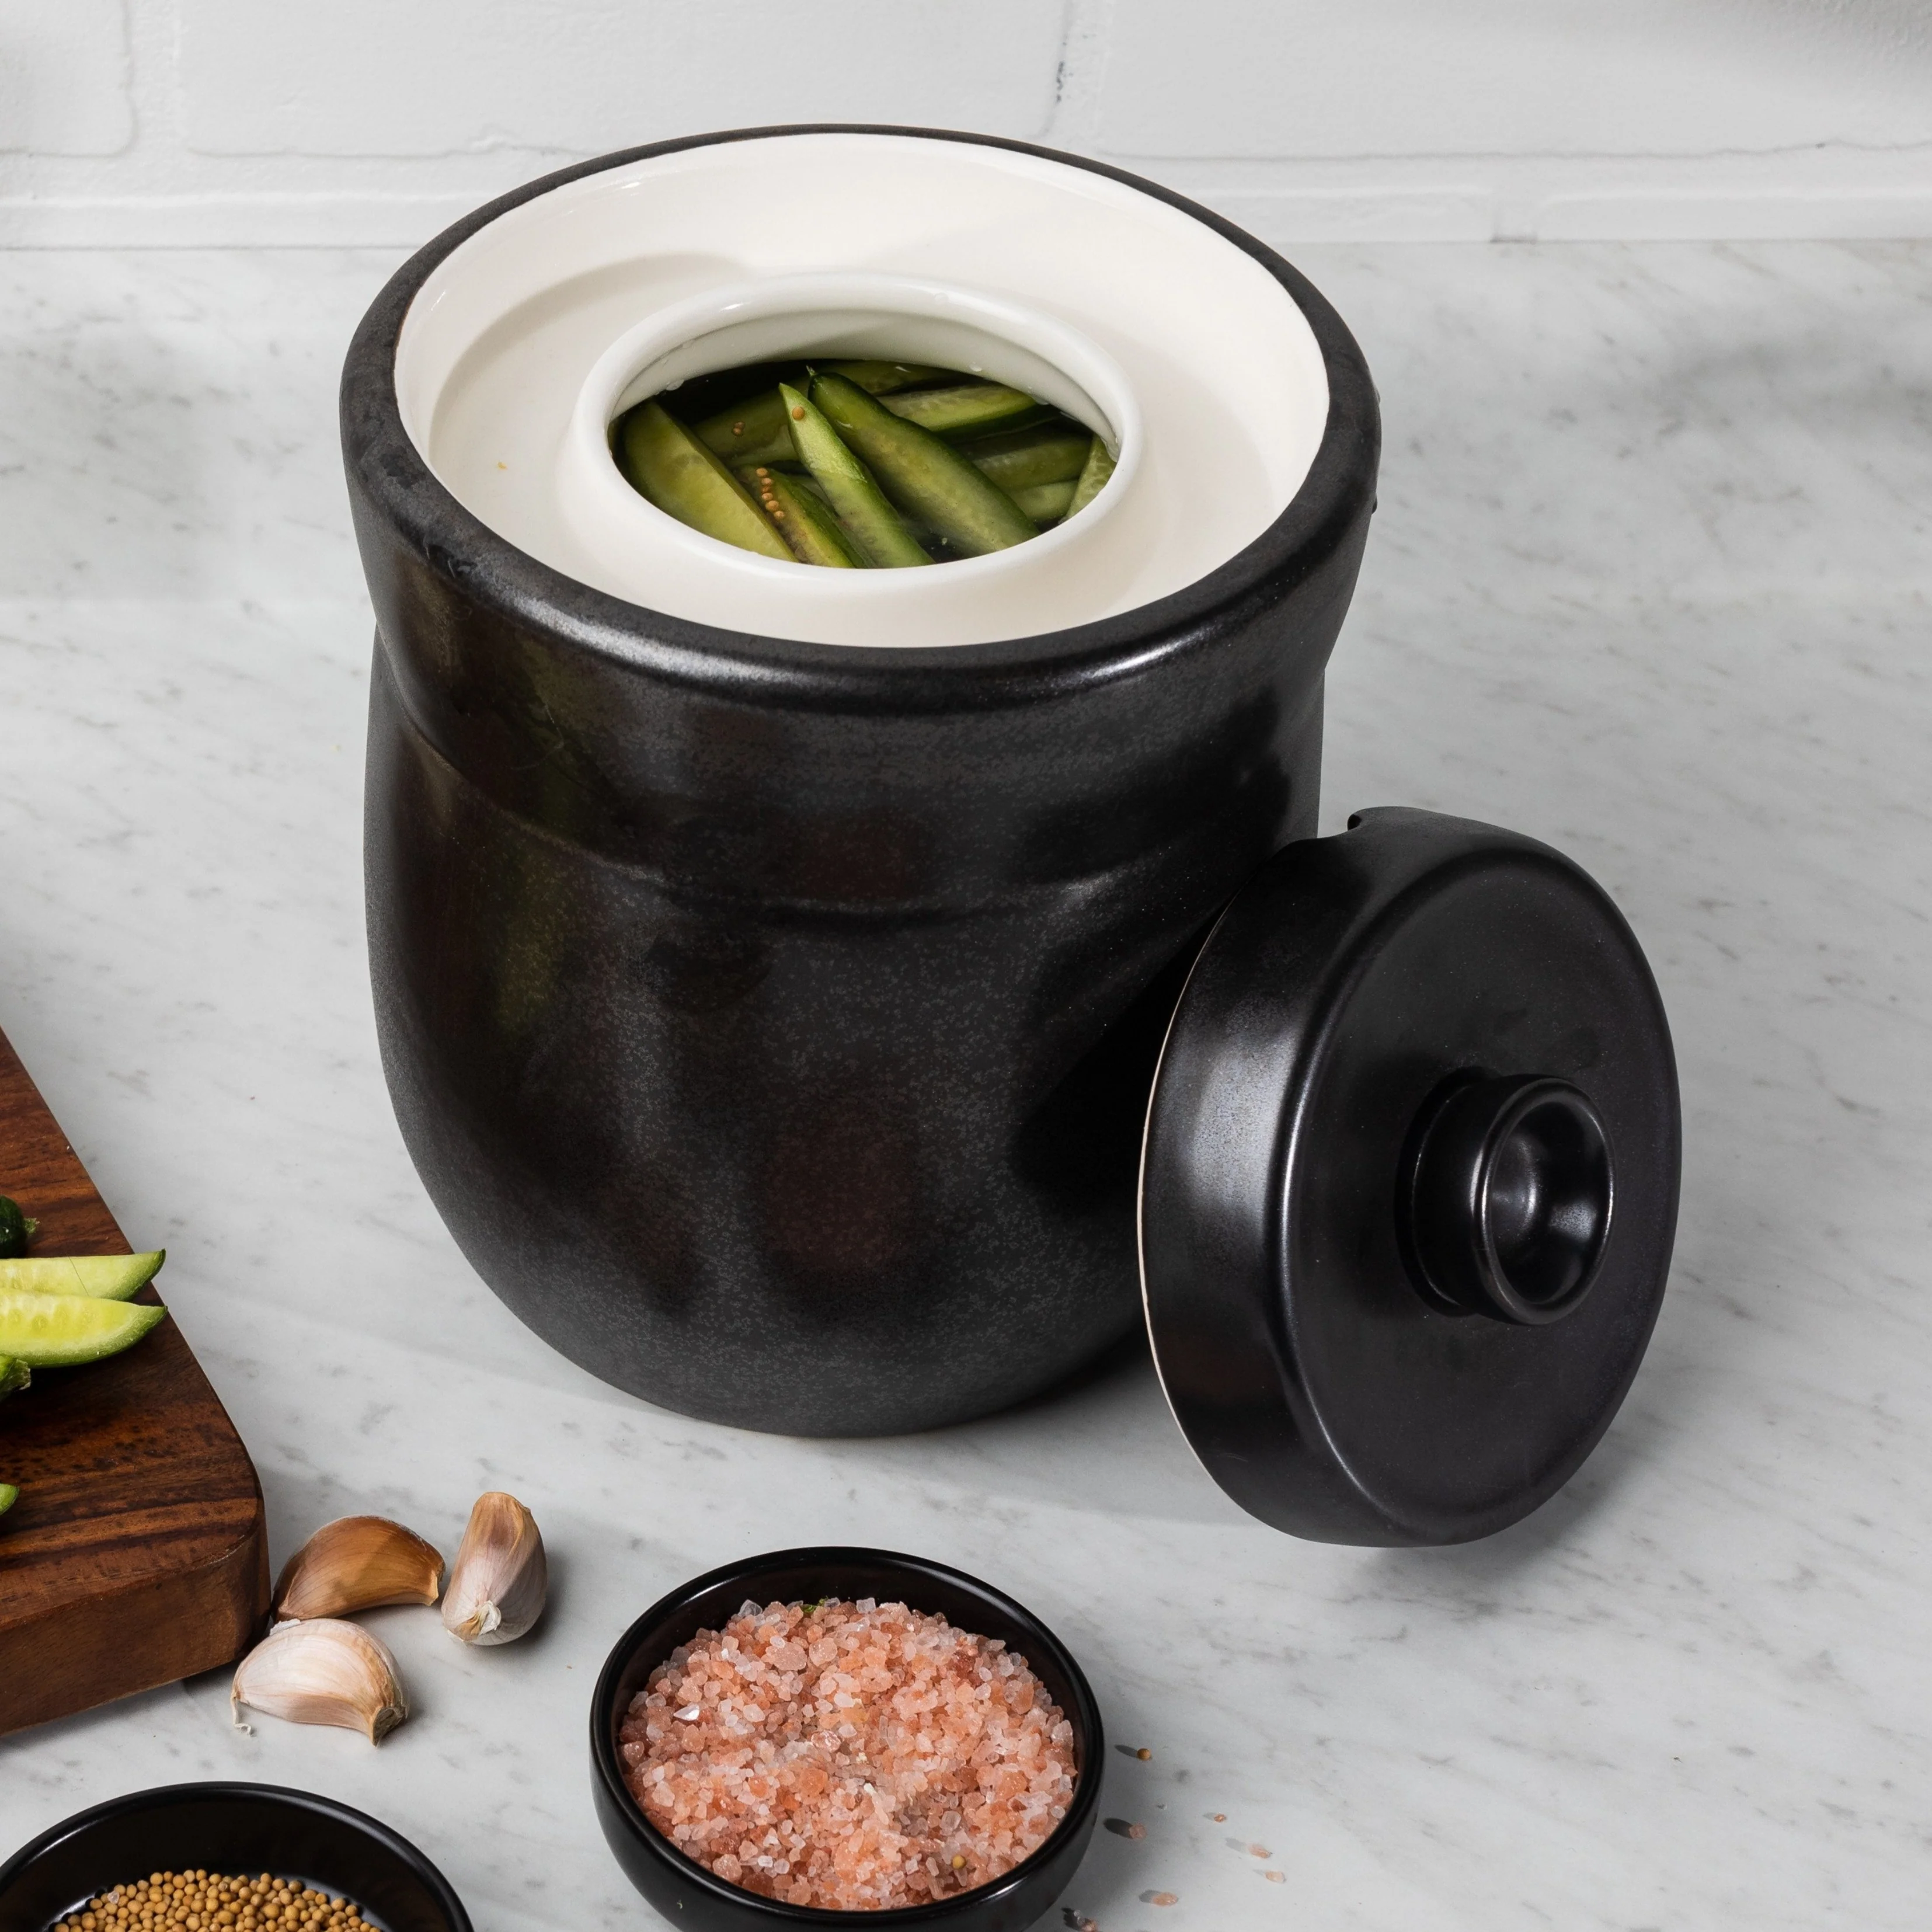
TOMO 7L Fermentation Crock with Weights
Large glazed stoneware crock with waterlock, two ceramic weights and wooden tamper for bigger kimchi batches.
View on AmazonAffiliate links · Your price stays the same.
Salt ratios, equipment basics, safety guidance and a simple beginner checklist in one practical PDF.
How Long to Ferment Kimchi: Time, Temperature and Signs
For home vegetable fermentation, the University of Minnesota Extension identifies 68–72°F (20–22°C) as an ideal range. Temperatures below about 60°F can inhibit fermentation, while temperatures above 78°F can lead to over-fermentation and spoilage.
| Temperature | Practical guidance |
|---|---|
| Below 60°F / 16°C | Too cool for reliable fermentation; move to a warmer controlled location. |
| 68–72°F / 20–22°C | Preferred range for vegetable fermentation. Start checking the kimchi after about 24 hours. |
| 73–78°F / 23–26°C | Fermentation can move faster; monitor closely and refrigerate when the flavor develops. |
| Above 78°F / 26°C | Avoid if possible because over-fermentation and spoilage become more likely. |
Kimchi often begins showing visible fermentation changes within a day or two, but timing varies with temperature, salt, batch size and ingredients. Small bubbles, more liquid and a sourer aroma can indicate active fermentation; absence of bubbles after one day does not automatically mean the batch failed.
When to Refrigerate Kimchi and How to Store It
You can eat kimchi fresh immediately after seasoning. If you want a fermented flavor, allow the controlled room-temperature stage to begin, then move the container to the refrigerator once the acidity and flavor have developed to your preference.
Refrigeration slows fermentation rather than stopping it completely. Use clean utensils, keep the container cold and minimize unnecessary contamination each time you serve from it.
Troubleshoot Common Kimchi Fermentation Problems
| Problem | Likely explanation | What to do |
|---|---|---|
| No bubbles yet | Fermentation may be slow, especially in a cool room. | Check temperature and allow more time within the recommended range. |
| Too salty | Cabbage may have been oversalted or insufficiently rinsed. | Serve in smaller amounts with unsalted foods; adjust salting/rinsing next batch. |
| Too spicy | Too much gochugaru for your preference. | Use less gochugaru next batch; pair the current batch with rice or other mild foods. |
| Vegetables rise | Gas and loose packing can lift solids. | Use a suitable fermentation weight and follow your container system's instructions. |
| Overflow | Too little headspace or very active fermentation. | Protect the surface underneath and leave more headspace next time. |
Can You Make Kimchi Without Fish Sauce?
Yes. For a vegan version, use a savory plant-based alternative such as a suitable soy-based or kelp-based seasoning. The substitution changes the flavor profile, but it can still produce a satisfying fermented vegetable dish. Keep the salt and fermentation method consistent rather than treating fish sauce as the only source of salinity.
Frequently Asked Questions
How long does kimchi take to ferment?
There is no single fixed number of days. At a suitable room temperature, changes may become noticeable after about 24–48 hours, but the exact time depends on the recipe, temperature and desired sourness.
Should you refrigerate kimchi immediately?
You can refrigerate fresh kimchi immediately if you prefer a fresher taste. For a more developed fermented flavor, allow a controlled room-temperature stage first, then refrigerate.
Can you eat kimchi right after making it?
Yes. Fresh kimchi is crunchy and bright; fermentation gradually creates more acidity and complexity.
Can you make kimchi without fish sauce?
Yes. A plant-based savory seasoning can replace fish sauce, although the flavor will differ.
Why is my kimchi not bubbling?
Visible bubbles are not guaranteed immediately. Temperature, salt level and batch conditions all influence how quickly gas becomes noticeable.
How long does homemade kimchi last?
Quality changes continuously in the refrigerator as kimchi becomes softer and more sour. Keep it refrigerated and discard it if there are clear signs of spoilage rather than relying on a fixed date alone.
Final Thoughts
Your first successful batch is mainly about controlling a few variables: measured salt, clean equipment, proper packing, moderate temperature and cold storage after the initial fermentation stage. Once you understand those basics, you can adjust spice level, vegetables and seasoning to suit your own taste.
Food-safety & recipe references:
University of Minnesota Extension – Preserving food at home: Fermentation
National Center for Home Food Preservation – General Information on Fermenting
Maangchi – Traditional napa cabbage kimchi / Easy kimchi recipe
Explore more fermentation guides: Explore Fermentation Guides →
For general vegetable fermentation temperatures and handling, see University of Minnesota Extension: fermentation guidance. This supports the general guidance; it is not a validation of this exact kimchi recipe.