Dehydrating food can look technical at first, but the basic workflow is repeatable: prepare pieces evenly, leave room for airflow, use an ingredient-appropriate temperature, and judge doneness only after a test piece has cooled.
Start with one fruit or vegetable, learn how to judge doneness, and build a drying routine that fits your kitchen. This guide covers preparation, temperature and time ranges, storage, common mistakes and when a food dehydrator becomes useful.
Why dehydrate fruit and vegetables?
Dehydrating removes a large share of the water from food. For home cooks, the practical advantage is simple: seasonal produce becomes compact, easy to store and useful for snacks, soups, sauces, baking or pantry ingredients.
The process is different from simply heating food. Good dehydrating depends on a balance of low heat, airflow and time. If pieces are too thick, trays are overloaded or food is packed away while it still contains too much moisture, results become less predictable.
What fruit and vegetables are good for beginners?
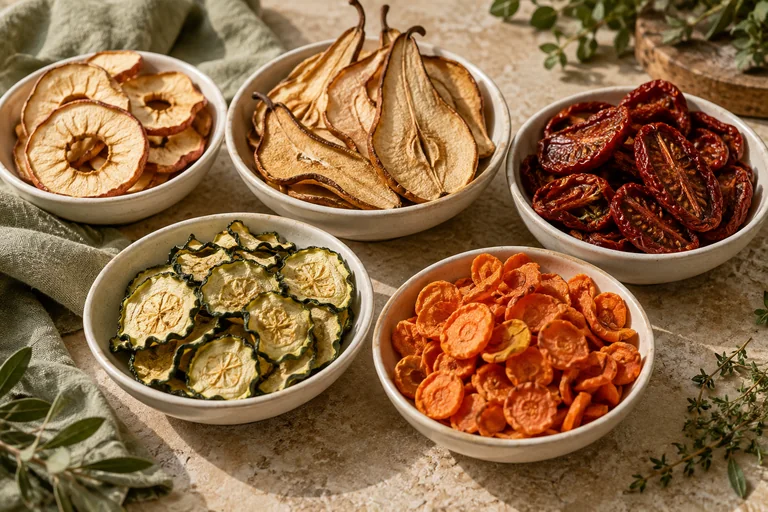
Start with ingredients that are easy to slice evenly and whose finished texture is easy to recognize. Apples, bananas, pears, tomatoes, mushrooms, carrots and zucchini are practical examples. Very juicy berries and large irregular pieces usually need more patience.
| Food | Difficulty | What to expect | Beginner fit |
|---|---|---|---|
| Apples / pears | Easy | Even slices, clear leathery finish | Very good |
| Tomatoes | Moderate | High moisture, concentrated flavor | Very good |
| Mushrooms | Easy | Dry, brittle finish | Very good |
| Berries | More demanding | High moisture and longer drying | Good with patience |
Table notes
Prepare food for even dehydrating
Wash, trim and slice consistently
Uniform thickness matters more than making every piece look perfect. Thin pieces dry faster than thick ones, so a batch with inconsistent slices can contain both over-dried and still-moist pieces at the same time.
Pre-treatment depends on the ingredient
Pre-treatment depends on the ingredient. Apples can be dipped in lemon water to limit browning. In our zucchini guide, the tested summer-squash method includes a brief blanching step before drying, while mushrooms move directly from cleaning and slicing to the trays.
| Food | Basic prep | Useful note |
|---|---|---|
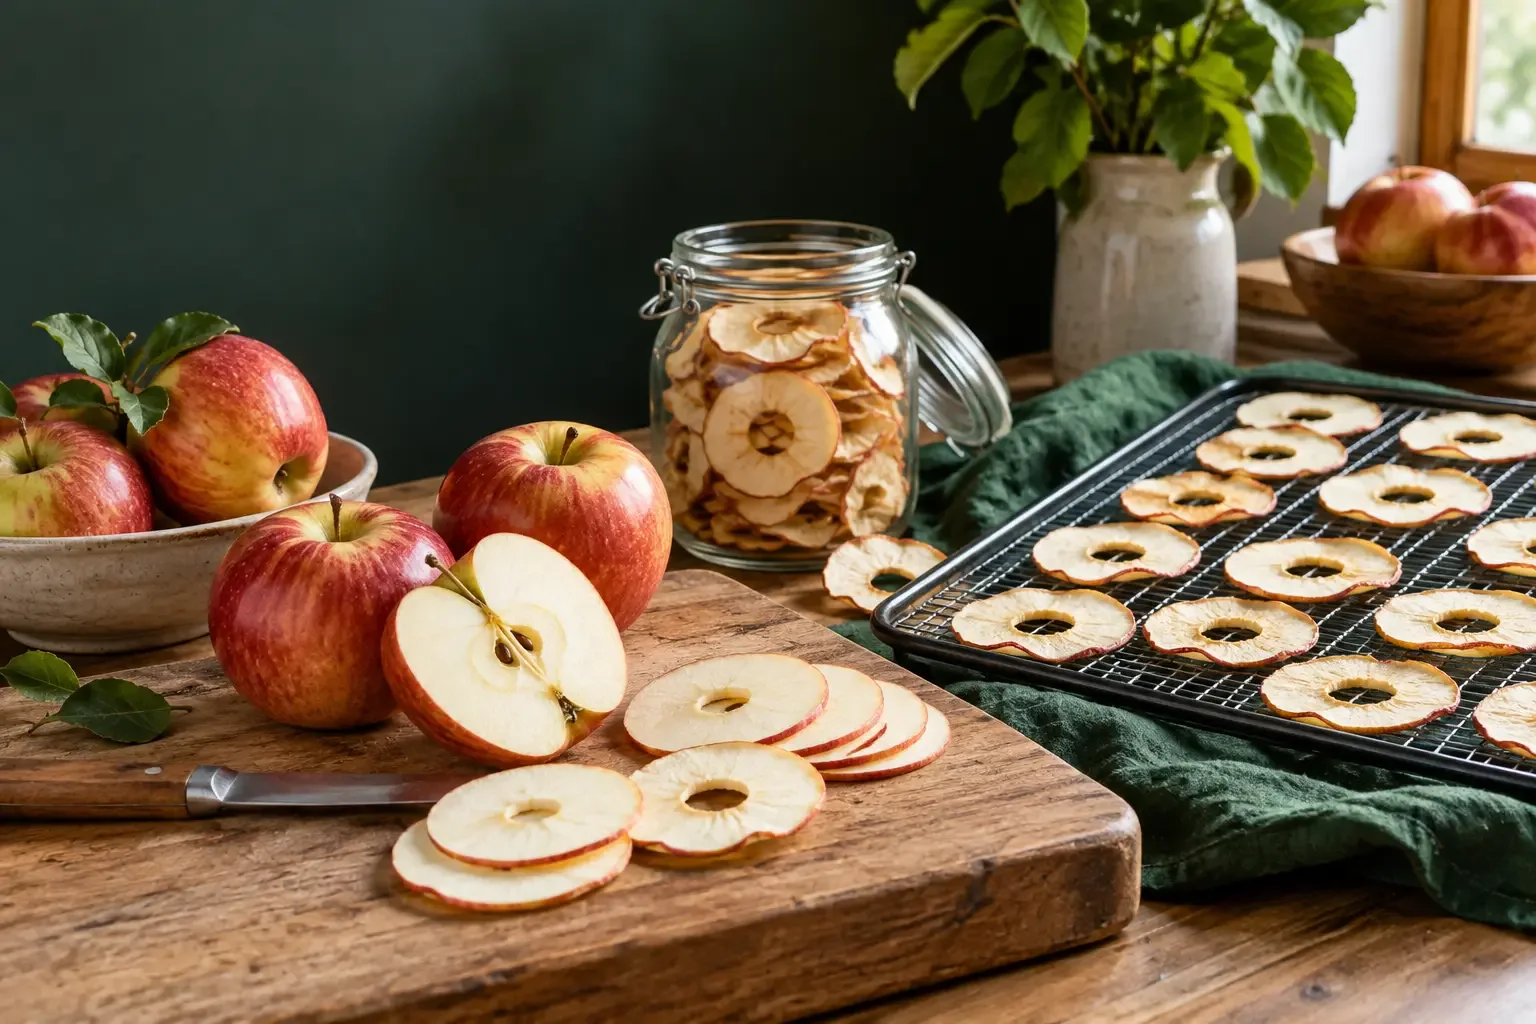
| Apples | Core and slice evenly | Lemon water can help reduce browning |
| Carrots | Wash and slice | Blanching may be used before drying |
| Tomatoes | Slice or halve depending on size | Keep pieces in one layer |
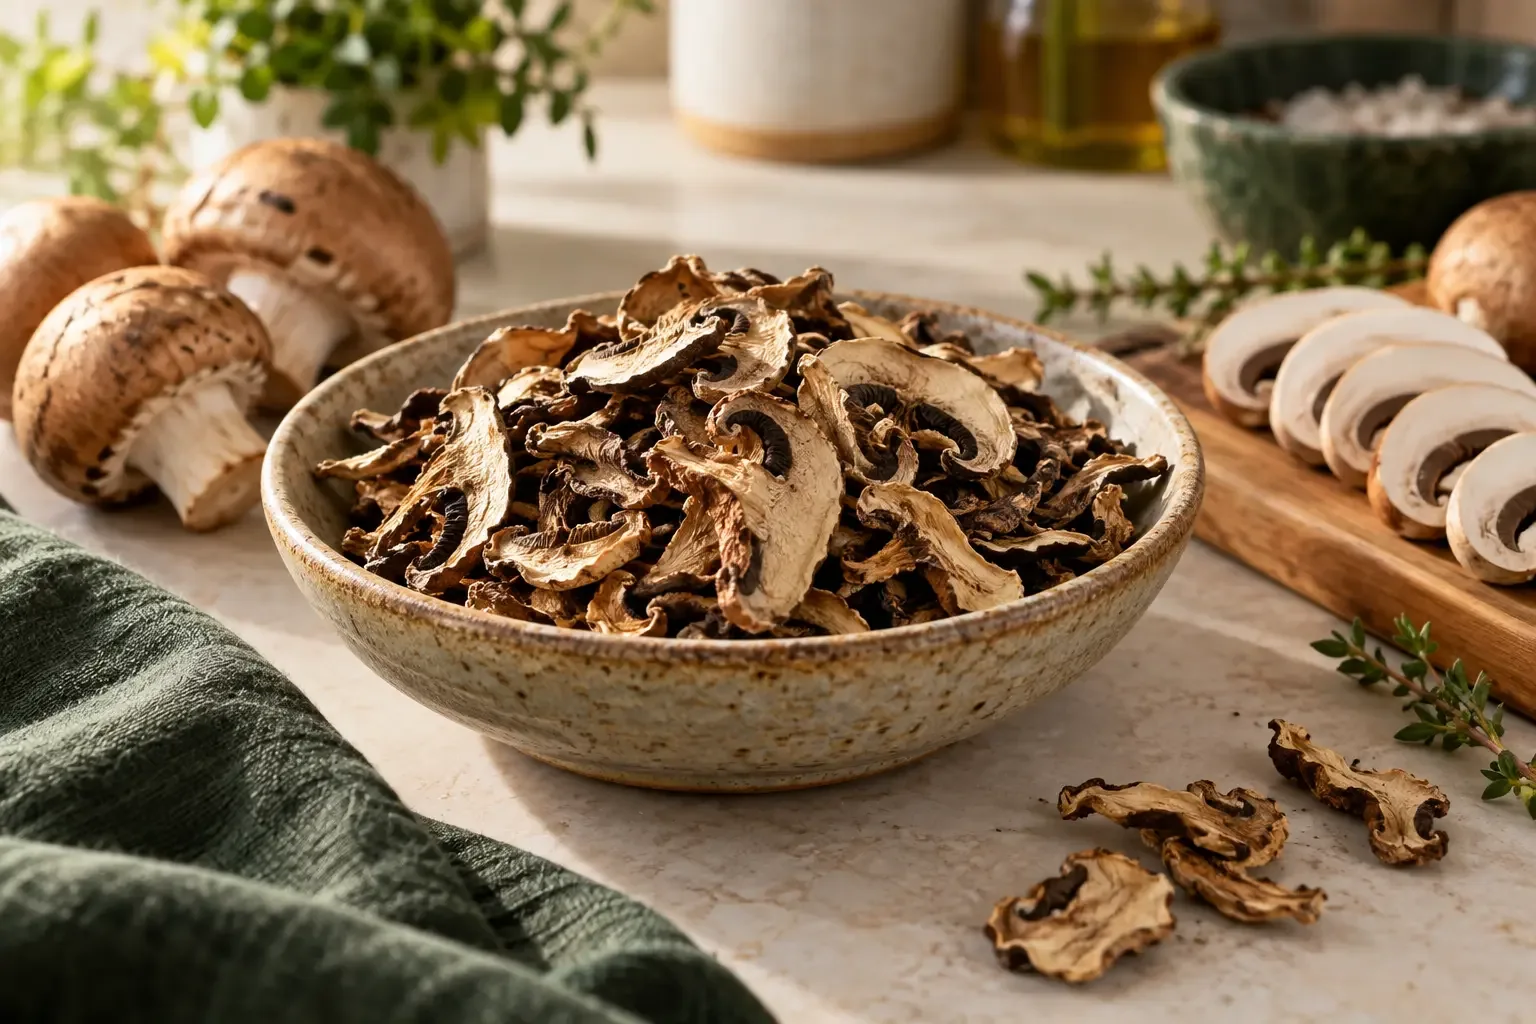
| Mushrooms | Clean and slice evenly | Do not crowd the trays |
Table notes
Dehydrating temperatures and drying times
Drying time is always a range, not an appointment. Variety, ripeness, water content, slice thickness, tray load, room conditions and the dehydrator itself can all change the actual finish time.
Use these as planning checkpoints. Follow the linked food guide for preparation, drying conditions and doneness checks.
| Food | Preparation | Starting temperature | Approx. time | Typical finish |
|---|---|---|---|---|
| Apples | About 1/8 inch rings | 140°F / 60°C | 6–12 hr; check cooled slices | Flexible, leathery |
| Pears | Even slices | 140°F / 60°C | 10–12 hr | Flexible, soft-leathery |
| Plums | Halved | 113–140°F / 45–60°C | 12–25 hr | Flexible, leathery |
| Carrots | Slices | 131°F / 55°C | 6–12 hr | Firm, brittle |
| Mushrooms | Slices | 125°F (52°C) | Check for a dry, brittle finish; timing varies | Dry, brittle |
Table notes
Dehydrate fruit and vegetables step by step
1. Prepare evenly
Wash, trim and slice the food into pieces with similar thickness. Complete any ingredient-specific pre-treatment before the food goes onto the trays.
2. Load trays without blocking airflow
Arrange food in a single layer whenever the recipe calls for it. Avoid stacking and heavy overlap. Air needs to move across the food rather than around one solid mass.
3. Set the ingredient-appropriate temperature
Use the range from the specific food guide or the dehydrator manual. A hotter setting is not automatically faster or better; the goal is controlled drying rather than browning the outside while moisture remains inside.
4. Check doneness after cooling
Remove one piece, let it cool, then test its texture. Fruit is often leathery or flexible when finished, while many vegetables and mushrooms become firmer or brittle. The individual guide should define the target more precisely.
Food dehydrator or oven?
An oven can work for occasional small batches when it can hold a suitably low temperature and moisture can escape. A dedicated dehydrator is usually easier to manage for repeated batches because it is designed around long low-temperature runs and continuous airflow.
If you are deciding whether a machine is worth buying, compare tray area, airflow design, temperature control, timer features and how easy the trays are to clean. Our English buying guide already contains the U.S. product links and current comparison structure, so the beginner pillar sends you there instead of duplicating a second product list.
Compare usable tray space and temperature controls
Compare the exact model, size and included parts before ordering. Equipment supports the process; follow the food-specific method and safety checks.

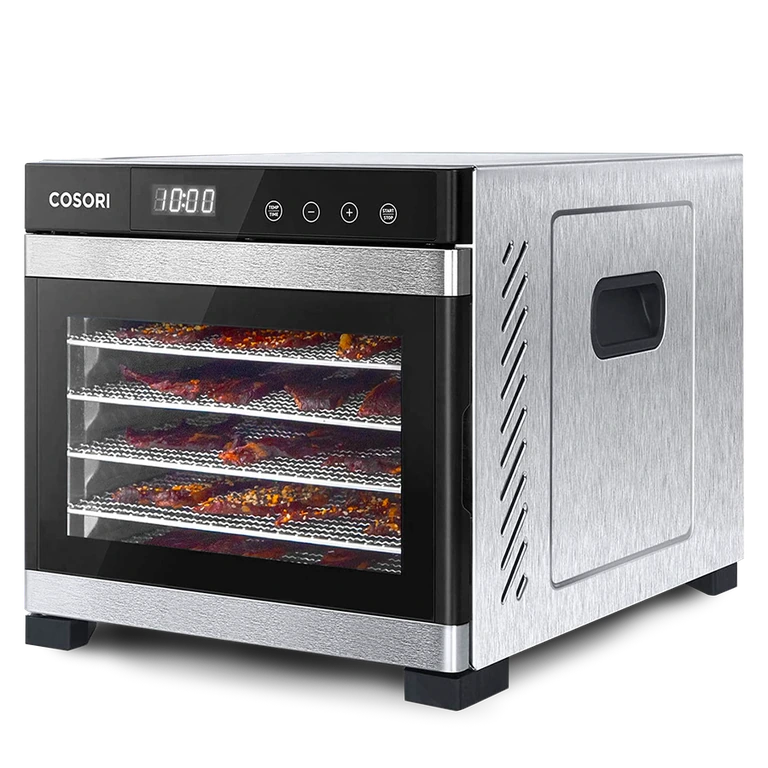
COSORI CP267-FD Food Dehydrator*
A six-tray, digitally controlled dehydrator from our U.S. dehydrator buying guide. Its adjustable temperature range covers the low-heat fruit-drying temperatures discussed in this guide.
View on Amazon
NESCO FD-75A Snackmaster Pro*
A stackable dehydrator that starts with five trays and can expand. It is a practical option when you want to begin with smaller apple batches and add capacity later.
View on Amazon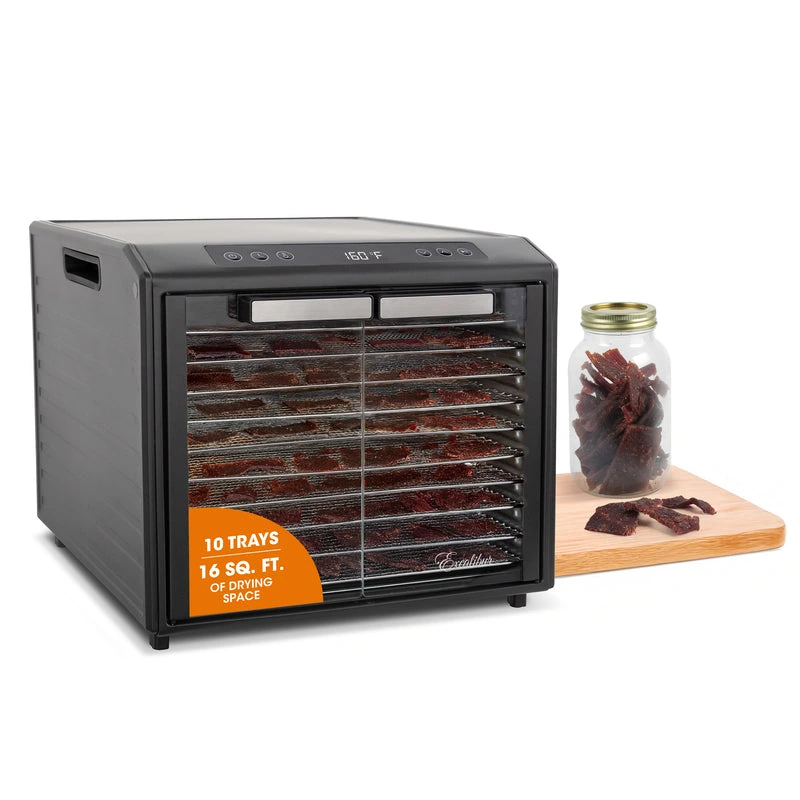
Excalibur Performance Series 10-Tray
Ten stainless steel trays, adjustable temperature control and a glass-door cabinet format suit readers who regularly prepare larger batches.
View on AmazonAffiliate links · Your price stays the same.
Practical guides to continue with
- How to Dehydrate Bananas – slice thickness, 135–140°F drying, doneness, conditioning and storage.
- How to Dehydrate Zucchini – tested slice thickness, blanching, temperature, doneness and storage.
- How to Dehydrate Tomatoes – temperature, timing and doneness for a high-moisture vegetable.
- How to Dehydrate Mushrooms – a straightforward project with a clear dry, brittle endpoint.
- How to Make Beef Jerky in a Dehydrator – a separate meat-specific method with its own food-safety controls.
Common dehydrating mistakes
- Uneven slices: thin pieces finish early while thick pieces stay moist.
- Overloaded trays: restricted airflow makes drying less even.
- Using one temperature for every food: ingredients behave differently and should follow their own guidance.
- Stopping only because the timer ended: doneness should be checked by texture after cooling.
- Packing food while warm: cooling first makes it easier to notice residual moisture or condensation.
Store dehydrated food correctly
Let the food cool completely before it goes into storage. Use clean, dry containers with a tight closure and keep them away from heat, moisture and direct light. If you see condensation inside a container, treat it as a sign that the batch needs attention rather than sealing it away and hoping for the best.
For longer-term pantry use, the finished dryness matters more than appearance alone. A soft center or trapped moisture can shorten storage quality even if the outside looks dry.
Dehydrating FAQ
Do I need a food dehydrator to start?
No. An oven can be enough for occasional experiments if it can operate at a suitably low setting and moisture can escape. A dehydrator becomes more attractive when you want repeatable airflow, more tray space or frequent batches.
Why do drying times vary so much?
Water content, slice thickness, ripeness, tray load, airflow and the specific machine can all change the actual time. That is why the table gives ranges rather than one guaranteed number.
How do I know when fruit is finished?
Many fruits finish flexible or leathery rather than crisp. Let a test piece cool before judging it, and use the ingredient-specific guide for the target texture.
How do I know when vegetables are finished?
Many vegetables become firm, dry or brittle, but the correct endpoint depends on the ingredient and intended storage. Individual guides give a more precise finish test.
Your next step
Use this pillar for the method, then move straight into one concrete project. Tomatoes and mushrooms are useful vegetable starting points; the beef jerky guide uses a separate meat-specific process. If you plan to dehydrate regularly, compare the U.S. dehydrator options before buying.