Choose pears that will hold a wedge
Use fruit that is aromatic and firm enough to cut cleanly. The pear should not collapse under the peeler or leave a wet, grainy smear across the board. A firm Bosc or Bartlett can be a practical choice, but judge the actual fruit rather than relying only on the name on its sticker. Ripeness varies within a bag and changes the result more than a decorative spice blend does.
Soft pears have other uses: a fresh dessert, sauce or smoothie, depending on their condition. They are less useful for a jar in which you want distinct pieces. Discard moldy or spoiled fruit. Buy enough to allow for the peel, stalk, core and any ordinary bruised areas you remove; the quantity in the recipe refers to the prepared fruit that actually goes into the pan.
A restrained sweet-tart mixture
This is a US adaptation of our German refrigerator-pear recipe, keeping its equal volumes of vinegar and water and its optional sweetness. The quantities are a house recipe for a few meals, not a laboratory-tested preservation formula. Keep that distinction in mind when choosing how much fruit to prepare: one pound is easier to use promptly than a row of large jars.
White vinegar gives a clean, direct sourness. Cider vinegar contributes its own apple-like character, which can be pleasant with pears and cheese. Sugar softens the impression of acidity but does not replace vinegar or refrigeration. Start with the modest amount listed rather than making a heavy dessert syrup. If you omit it, expect a noticeably sharper condiment and serve a smaller portion with mild food.
- 1 pound prepared fruit firm pears, peeled and cored; buy extra to allow for trimming
- 1 cup commercial white or cider vinegar, labeled 5% acidity
- 1 cup water
- ⅓ cup granulated sugar, optional; for flavor
- 2–3 thin slices fresh ginger
- 1 small piece cinnamon stick, optional
- 1–2 whole cloves, optional; use sparingly
A small batch from 1 pound of prepared pears; use several small containers as needed.
Allow about 25–35 minutes for preparation and gentle cooking, depending on firmness. Chill promptly and serve once cold. Plan to eat within 3–4 days; this is conservative general leftover handling, not a validated pickle shelf life.
Peel, core and cut for gentle cooking
Rinse the pears, then peel and halve them. Cut out the core and the tough fibers near the stem. Work on a flat cut surface so the fruit does not roll. Cut the halves into similar wedges, or into bite-size pieces if the pears are destined for a salad. Combining fine slices with thick quarters makes it difficult to stop cooking at a texture that suits both.
Prepare the vinegar mixture before starting a large pile of fruit so the cut pears do not need to wait around. Some browning on cut fruit is an appearance issue, not a reason to add arbitrary amounts of lemon juice to this recipe. If you use an anti-browning product while preparing the fruit, follow its label, drain the pears and keep that holding liquid separate from the measured vinegar mixture.
Useful tools for a small batch
A peeler, a paring knife for the cores and a saucepan are more useful here than specialized preserving equipment. Choose small containers for cooling; a pint jar is a serving option once the contents can be handled according to the jar manufacturer’s temperature guidance.
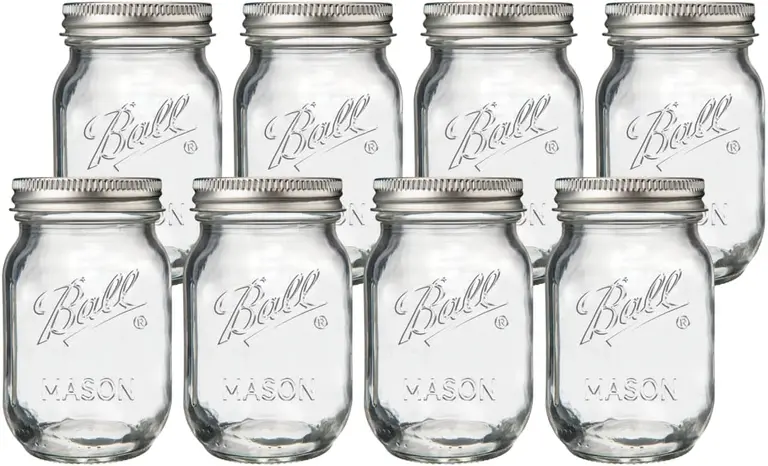
Ball Pint Mason Jars · 16 oz
Pint jars for already chilled pear portions. First cool the cooked batch promptly in the small, shallow heat-safe containers described in the recipe.
View on Amazon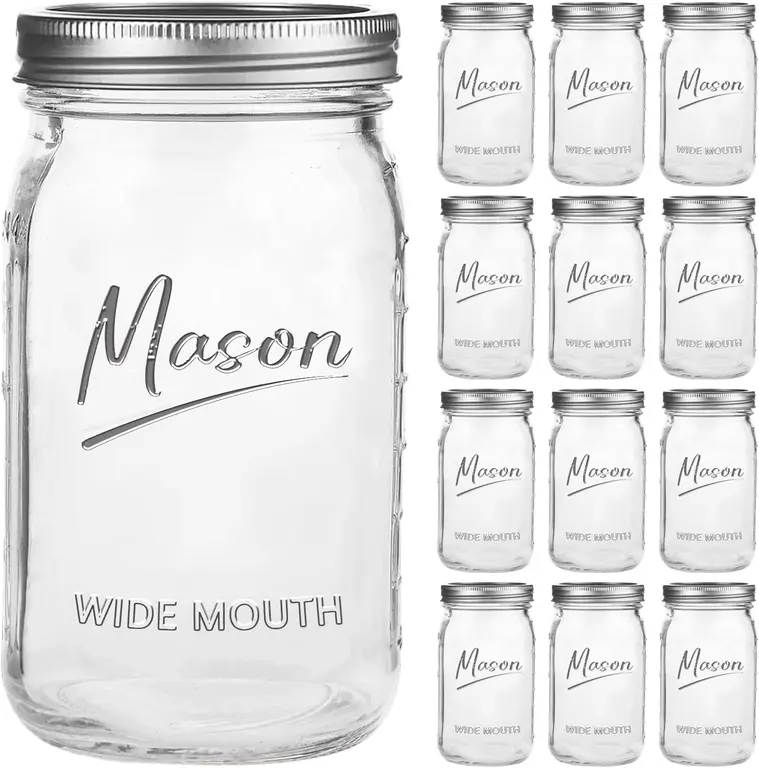
Wide-Mouth Mason Jars · 32 oz
A wider-mouth alternative for serving or storing already chilled pears. Keep the recipe’s shallow-container cooling step and continuous refrigeration.
View on Amazon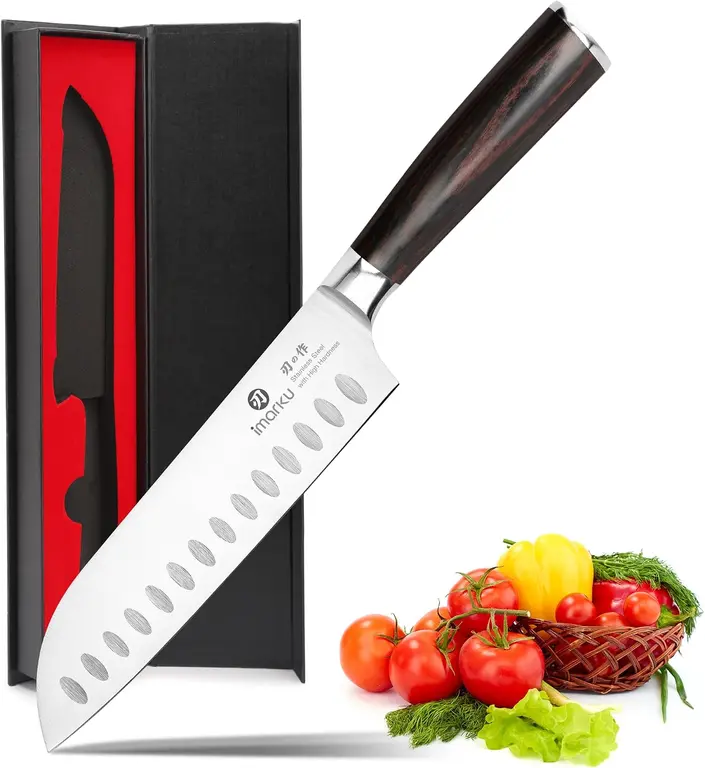
imarku Santoku Knife · 7 in
A knife option for preparing pears on a stable board. A sharp knife you already own can do the same job; consistent thickness matters most.
View on AmazonAffiliate links · Your price stays the same.
Use food-safe containers suitable for acidic food. Follow the container manufacturer’s temperature guidance, especially when adding warm brine. You do not need a canner for a refrigerator recipe.
Let the pear lead the flavor
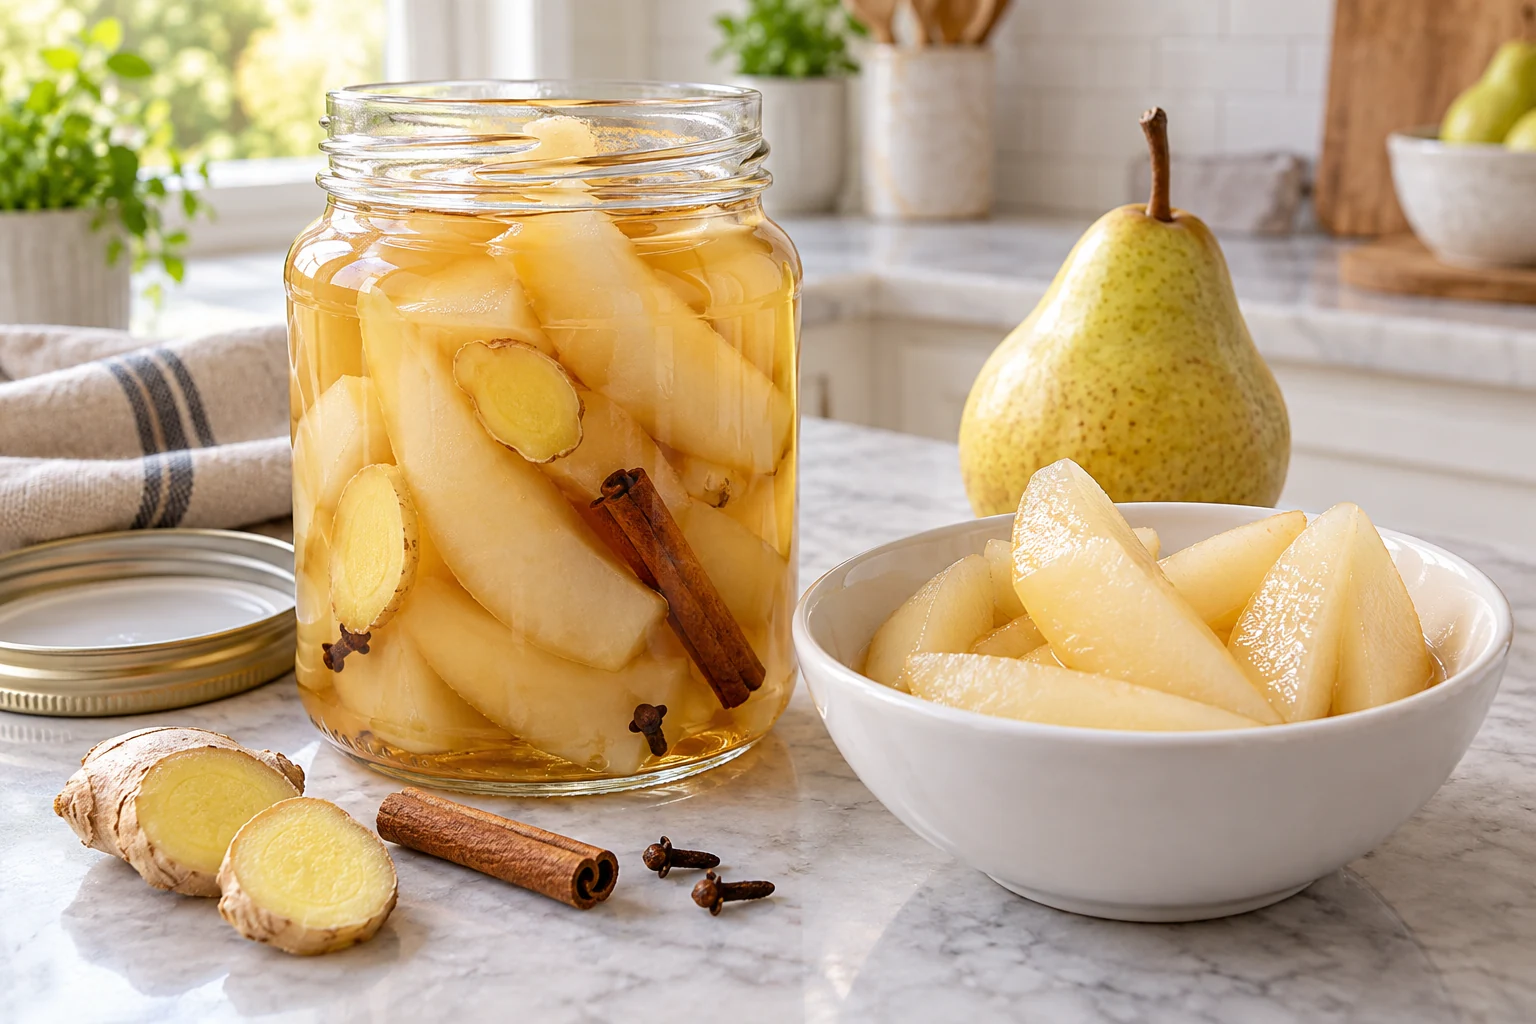
Ginger brings a fresh, warm note that works with both savory and sweet accompaniments. Cinnamon and clove suggest a more traditional spiced-fruit direction, but a little goes a long way in a small batch. Whole spices are easier to identify and lift out than a cloud of ground spice, which can settle on the fruit and dominate individual bites.
Choose one direction for the first batch. Try ginger alone if you plan to use the pears in lunch salads, or a small piece of cinnamon with a clove if the main destination is a cheese board. Do not keep adding spices as a way to correct soft fruit or a storage problem. The ingredient list is a flavor choice; it does not expand the refrigerator storage plan.
Make the batch in 7 steps
Prepare the work area
Wash your hands and rinse the pears. Set out a saucepan, clean utensils and small heat-safe containers.
Peel and core
Remove the peel, stalks and cores. Measure 1 pound of prepared fruit and cut it into even wedges or bite-size pieces.
Mix the liquid
Measure the vinegar and water into the pan. Add the optional sugar and your chosen ginger or whole spices.
Heat the mixture
Bring the liquid to a simmer and stir until any sugar dissolves. Keep the measured proportions intact.
Gently cook the pears
Add the fruit and simmer gently just until the pieces are tender enough to eat while still holding their shape. Check a representative piece rather than relying on a fixed time.
Divide and chill
Transfer fruit and enough liquid to cover it into small, shallow heat-safe containers. Refrigerate promptly; do not leave the batch on the counter until completely cold.
Serve and date
Once cold, take out a portion with a clean utensil. Keep the rest refrigerated, label with the preparation date and use within 3–4 days.
Stop cooking while the pieces still look like pears
There is no useful single cooking time for every pear. A ripe, juicy specimen may soften quickly, while a much firmer one needs longer. Check the thickest piece with the tip of a knife and look at the edges as well as the center. The finished fruit should be pleasant to bite without breaking apart when you lift it from the liquid.
Keep the pan at a gentle simmer rather than a rolling boil. Stir carefully or move the pan to redistribute the pieces; vigorous stirring can damage soft edges before the centers are ready. If the batch becomes softer than planned, serve it as a small relish-like accompaniment while it remains within the storage plan. More chilling or extra vinegar will not turn it back into crisp wedges.
Build a meal around a few pieces
On a cheese plate, drain the pears and serve them beside a mild cheese, bread and a handful of nuts. Keep the serving small enough that the sweet-tart fruit adds contrast without overwhelming everything else. Remove conspicuous whole spices before serving so nobody bites into a clove or a piece of cinnamon.
For a grain salad, cut drained wedges into smaller pieces and combine them with cooked, cooled grains, leafy greens and a simple dressing added at serving time. In a sandwich, a thin layer works with cheese or a bean spread; blot off excess liquid so the bread stays pleasant. You can also serve a few pieces alongside a rich main dish. Taste the assembled meal before adding more sour dressing elsewhere.
Plan the batch before filling the containers
Pickled pears have a pantry-preserve appearance, especially in an attractive jar, so label this batch clearly as refrigerated food. The short storage plan here uses general cooked-leftover guidance conservatively. It does not claim that the fruit has been tested to reach a particular acidity, nor that it will keep for weeks because vinegar was added.
Choose two or three meals when you will use the pears before you begin. Return the main container to the refrigerator after portioning, and do not add fresh fruit to an older batch. Discard food with mold, unusual gas, slime or an off odor without tasting it. If your goal is a harvest-sized supply, use an appropriate tested pear-preservation recipe and its full processing directions instead of scaling up this small refrigerator condiment.
Frequently asked questions
Can I use very ripe pears?
Use pears firm enough to peel and cut cleanly if you want intact wedges. Softer sound fruit is better suited to a sauce or another dish where the pieces do not need to hold their shape.
Is the sugar required?
It is optional for flavor in this refrigerator house recipe. Leaving it out makes a sharper condiment. It does not remove the need for the measured vinegar mixture or prompt refrigeration.
How do I know when to stop cooking?
Check a thicker piece with the tip of a knife. Stop when it is tender enough to eat but still holds together. Pear variety, ripeness and cut size make one fixed cooking time unreliable.
How long can I keep the pears?
Plan to use them within 3–4 days under continuous refrigeration. This is conservative leftover handling for a house recipe, not a tested multiweek pickle shelf life.
Can I water-bath can this recipe?
No canning process is provided for this formula. Choose an appropriate tested pear recipe for pantry storage; adding a guessed processing time to this one is not a substitute.
Sources and editorial notes
Adapted for US readers from the German counterpart. Recipe attribution and refrigeration boundaries are explained in the source notes.
- USDA FSIS: Keep Food Safe — use most cooked leftovers within 3–4 days
- FoodSafety.gov: Prompt refrigeration and small, shallow containers
- NCHFP: Preserving Pears — separate preservation methods
AI-generated contextual illustration; not a photograph of our recipe or appliance tests.