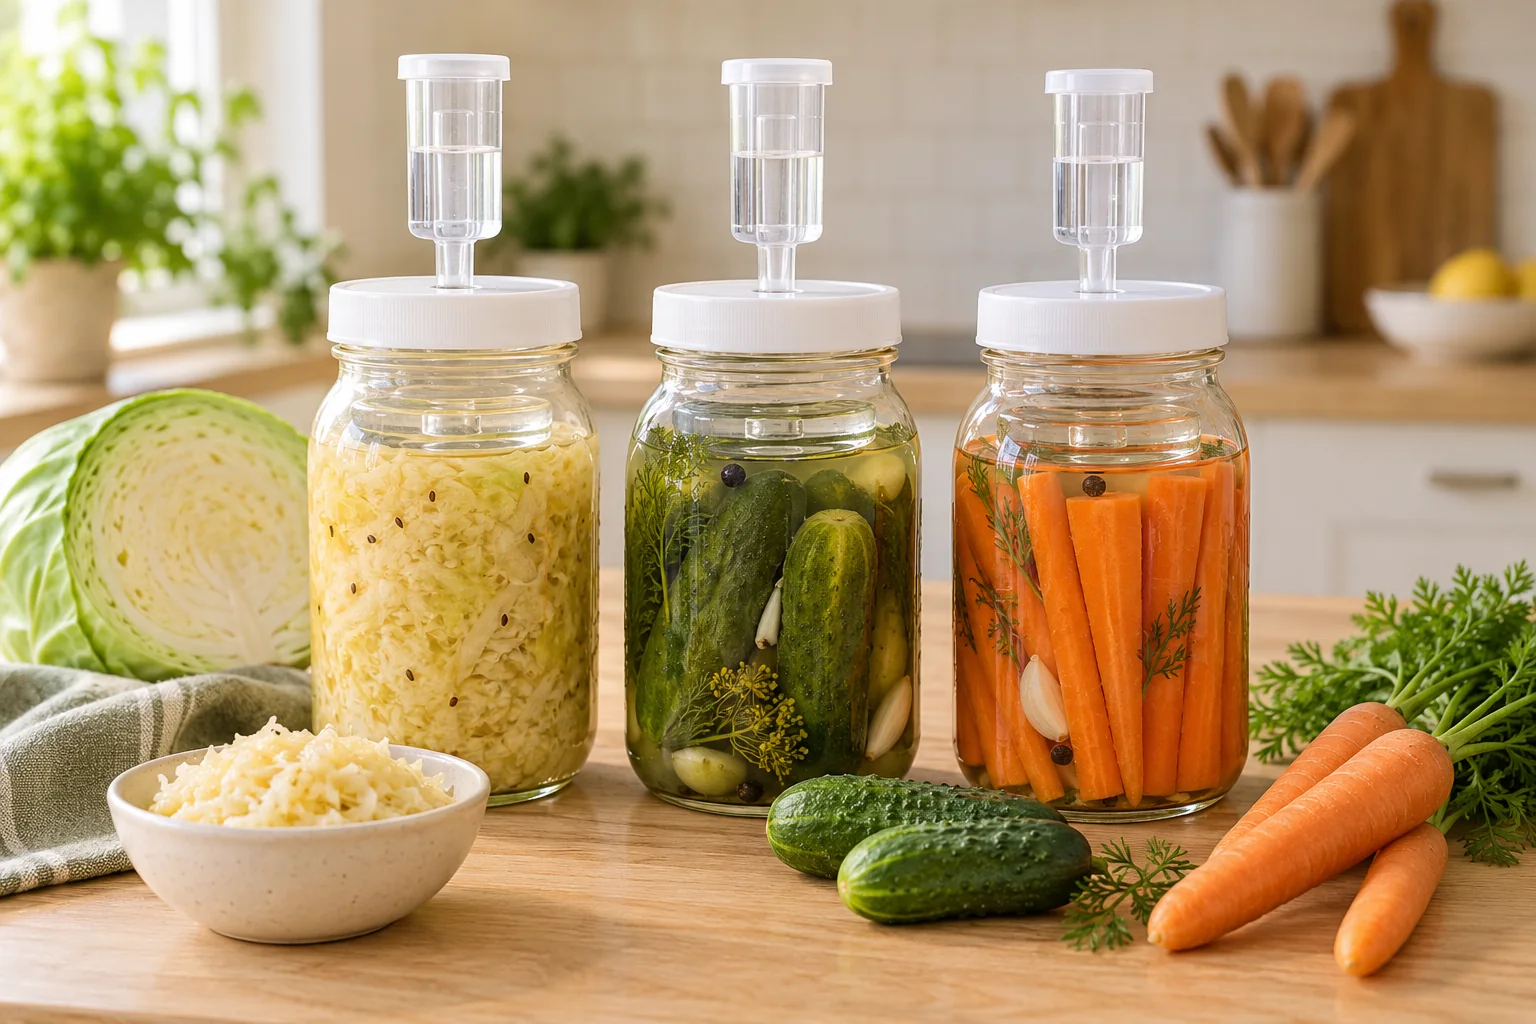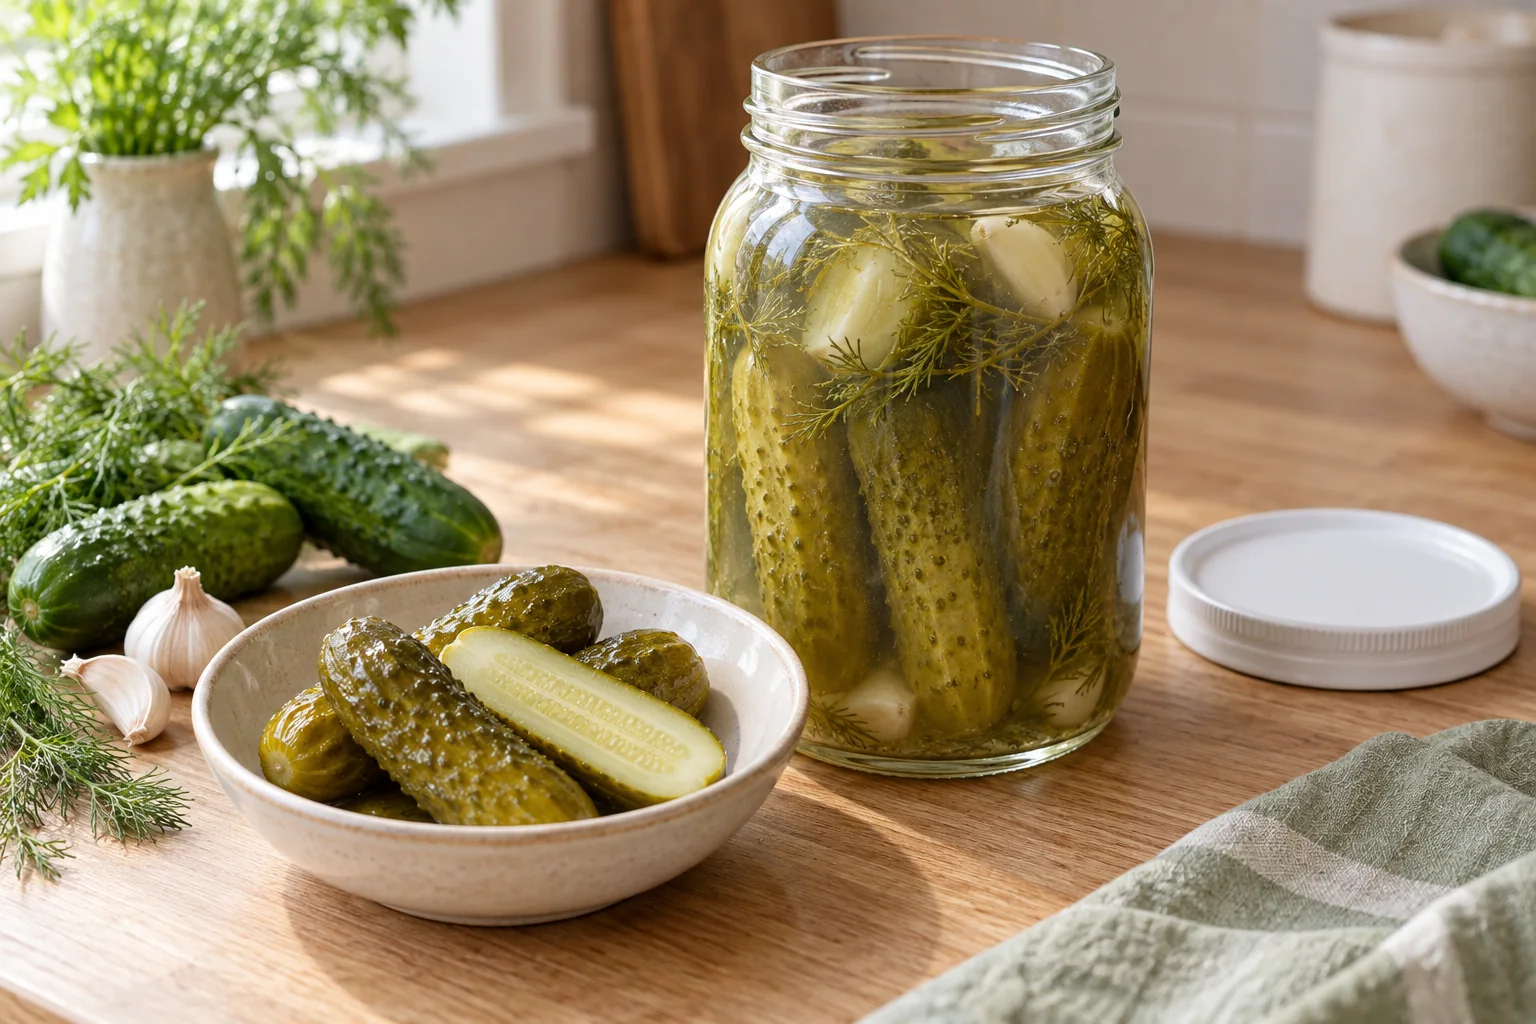
If you want to learn how to make fermented pickles, start with a method that is clear about both flavor and food safety. This beginner guide uses the research-tested dill-pickle proportions published by the National Center for Home Food Preservation (NCHFP), rather than an unverified low-salt, no-vinegar formula.
The result is a classic fermented dill pickle: fresh pickling cucumbers are held under brine, fermented at a controlled room temperature, and refrigerated once fermentation is complete. The method takes patience, but the process itself is straightforward.

What Are Fermented Pickles?
Fermented pickles are cucumbers preserved through a controlled fermentation process. Microorganisms naturally present on the produce convert sugars into acids while the cucumbers remain in a properly formulated brine. The acidity rises during curing, creating the characteristic sour flavor.
That is different from a quick refrigerator pickle, where vinegar supplies the acidity immediately. It is also different from a shelf-stable canned pickle, which relies on a tested acid formula plus a specified heat-processing step.

Fermented vs Quick-Pickled vs Canned Pickles
The word “pickle” covers several preservation methods, so the storage rules are not interchangeable. The safest approach is to match the recipe, acidity and processing method exactly.
| Method | How acidity develops | Typical process | Storage |
|---|---|---|---|
| Fermented dill pickles | Acid develops during fermentation; this tested recipe also includes a small amount of 5% vinegar | Controlled brining and fermentation | Refrigerate after fermentation, or can using a tested process |
| Quick / refrigerator pickles | Vinegar provides the acidity | Short vinegar-brine soak; not fermented | Refrigerated unless a separate tested canning recipe is used |
| Canned pickles | Tested acid formula | Heat processed for the specified time | Shelf-stable while sealed when processed correctly |
For this article, we stay with the NCHFP fermented dill-pickle method. That means the ingredient proportions below are not optional ratios to “tweak” for taste.

Best Cucumbers for Crunchy Fermented Pickles
For this tested method, use fresh, firm pickling cucumbers about 4 inches long. Starting with sound, firm cucumbers gives you the best chance of a crisp finished pickle.
Start fermentation as soon as practical after harvest or purchase. Reject cucumbers that are soft, damaged or visibly spoiled. Before packing, cut and discard a 1/16-inch slice from the blossom end; enzymes in that end can contribute to softening.

Ingredients and Equipment
This ingredient list follows the NCHFP research-tested dill-pickle proportions for each 1-gallon container capacity. Do not reduce the salt or remove the vinegar from this recipe.
- 4 lb fresh 4-inch pickling cucumbers
- 2 tbsp dill seed or 4–5 heads fresh or dry dill weed
- 1/2 cup canning or pickling salt
- 1/4 cup vinegar with 5% acidity
- 8 cups water
- Optional: 2 cloves garlic
- Optional: 2 dried red peppers
- Optional: 2 tsp whole mixed pickling spices
For equipment, use a clean food-safe fermentation container plus a suitable cover and weight. Glass, food-grade plastic and appropriate stoneware are commonly used. Avoid reactive or non-food-grade containers.

What equipment is actually worth buying?
A dedicated fermentation weight is the one upgrade that solves a real beginner problem: keeping cucumbers under the brine. An airlock-style lid can be convenient, but it does not replace correct ingredient proportions, cleanliness, temperature control or submersion.
Affiliate disclosure: As an Amazon Associate, Einfach Haltbar may earn from qualifying purchases. These links are selected for practical relevance to the setup described here.
Starter Kits, Airlocks & Fermentation Weights
You do not need a complicated setup. For this recipe, the most useful upgrades are a reliable weight to keep cucumbers submerged and, if you prefer, an airlock-style lid for a wide-mouth Mason jar.
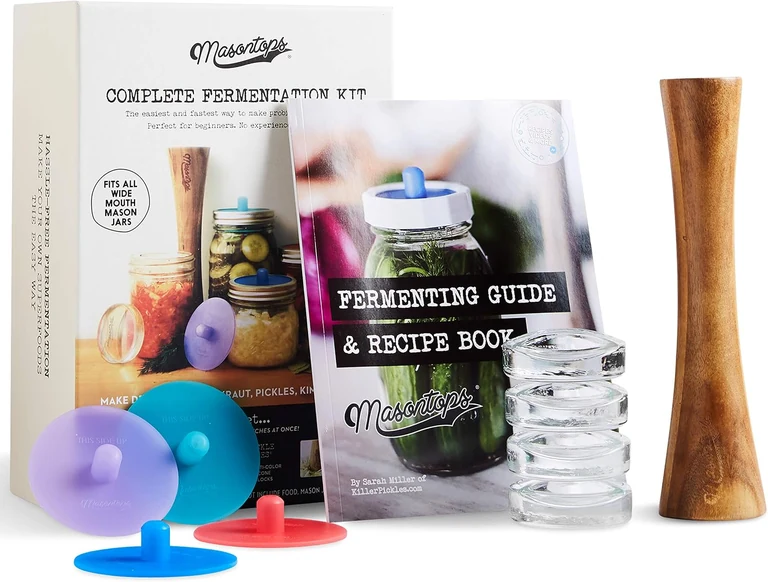
Masontops Complete Mason Jar Fermentation Kit
A broad starter kit for wide-mouth Mason jars with fermentation lids, weights and accessories for pickles, sauerkraut and kimchi.
View on Amazon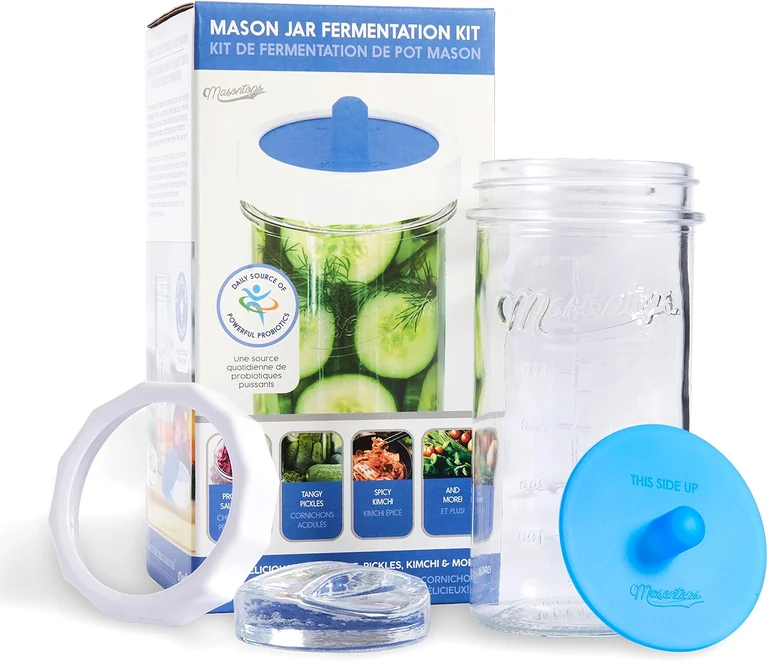
Masontops Fermentation Jar Starter Set
A compact starter option with the core jar, lid and weight components for a simple first vegetable ferment.
View on Amazon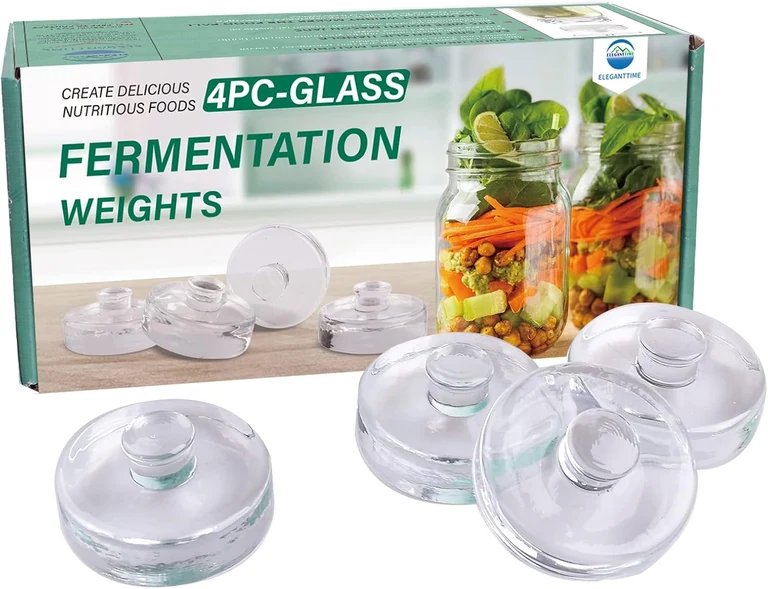
4-Pack Easy-Grip Glass Fermentation Weights
A straightforward add-on when you already own wide-mouth jars and mainly need help keeping cucumbers below the brine.
View on AmazonAffiliate links · Your price stays the same.
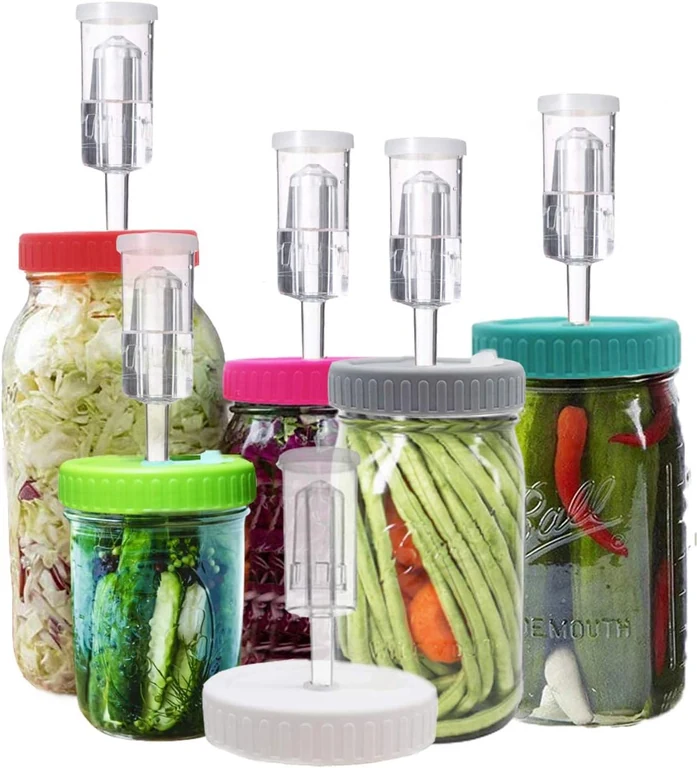
6-Set Fermentation Lids with Airlocks
A multi-jar lid set for wide-mouth jars when you want to run several small ferments at the same time.
View on Amazon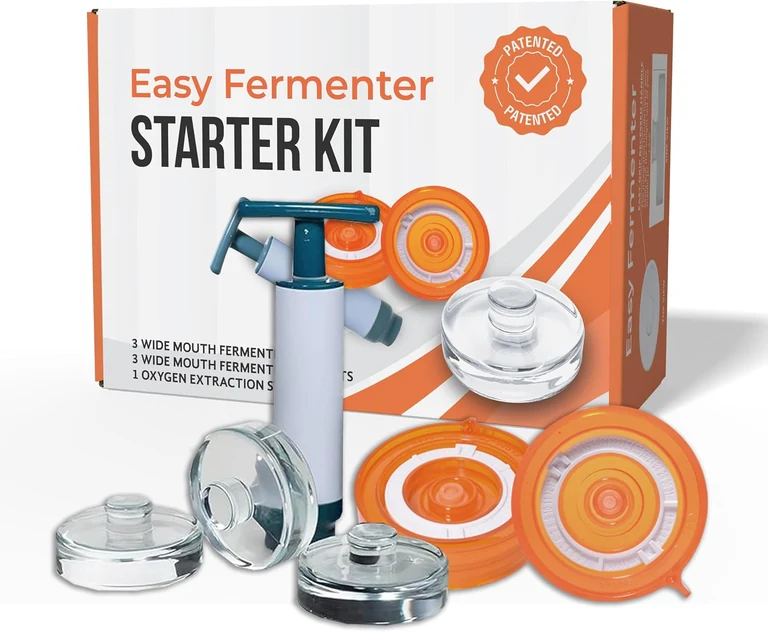
Fermentation Lids Starter Set
A combined set with airlock-style lids and glass weights for wide-mouth Mason jars, useful if you want both functions without buying them separately.
View on AmazonHow to Make Fermented Pickles Step by Step

1. Wash and trim the cucumbers
Wash the cucumbers under running water and remove surface soil. Cut a 1/16-inch slice from the blossom end and discard it. Leave about 1/4 inch of stem attached at the opposite end.
2. Pack dill, spices and cucumbers
Place half of the dill and any optional spices in the bottom of a clean fermentation container. Add the cucumbers, then add the remaining dill and spices.
3. Make the tested brine
Dissolve 1/2 cup canning or pickling salt in 1/4 cup 5% acidity vinegar and 8 cups water. Pour the liquid over the cucumbers. Keep the proportions unchanged.
4. Keep everything submerged
Add a suitable cover and food-safe weight so the cucumbers remain below the brine. Insufficient brine or produce floating above it can contribute to quality and spoilage problems.
5. Ferment at the right temperature
Keep the container at 70–75°F (21–24°C) for about 3–4 weeks. At 55–65°F (13–18°C), fermentation can take about 5–6 weeks. Avoid temperatures above 80°F (27°C), which can make pickles too soft.
How Long Do Fermented Pickles Take?
For the research-tested method used here, think in weeks, not a few days. NCHFP specifies roughly 3–4 weeks at 70–75°F. Cooler conditions slow the process substantially.
How to Keep Fermented Pickles Crunchy
- Start fresh: use firm pickling cucumbers without soft spots.
- Remove the blossom end: trim at least 1/16 inch.
- Keep the recipe proportions: a weak brine can contribute to soft or slippery pickles.
- Stay near 70–75°F: excessive heat promotes softening.
- Keep cucumbers immersed: maintain enough brine and use a suitable weight.
- Use fresh spices: moldy garlic or spices can introduce problems.
What Is Normal During Fermentation?
Fermentation changes color, flavor and acidity. You may also see sediment from bacterial activity. Cloudiness by itself is not a reliable safety test because salt additives and yeast can also make brine cloudy. Use canning or pickling salt, follow the tested recipe, and judge the batch against the specific spoilage warnings below rather than assuming “cloudy means healthy.”
When Should You Throw Fermented Pickles Away?
NCHFP gives a clear discard rule: if the pickles become soft, slimy or develop a disagreeable odor, discard them. Do not taste a batch that looks or smells spoiled.
The tested NCHFP recipe also instructs you to check the container several times a week and promptly remove surface scum or mold during curing. If you are not confident identifying what is on the surface, the conservative choice is to discard the batch rather than taste it.
Common Mistakes and Troubleshooting
| Problem | Likely cause | Better approach |
|---|---|---|
| Soft or slippery pickles | Brine too weak, temperature too high, too little brine, blossom end left on | Follow the tested proportions; ferment at 70–75°F; keep cucumbers immersed; trim the blossom end |
| Hollow pickles | Cucumbers too large, poor fermentation, long delay after harvest | Use smaller fresh pickling cucumbers and start promptly |
| White sediment | Bacterial activity or additives in salt | Use canning or pickling salt; evaluate the whole batch, not sediment alone |
| Surface scum | Wild yeast or bacteria at the surface | Follow tested guidance, maintain submersion and inspect the container regularly |
How to Store Fermented Pickles
Once fully fermented, keep the pickles refrigerated unless you follow the separate NCHFP canning procedure for fully fermented dill pickles. Refrigeration slows further changes and helps preserve quality.
Do not treat an unprocessed jar of fermented pickles as shelf-stable pantry food. Shelf-stable storage requires the specified tested canning process.
Fermentation Vessels and Storage Options
Choose the vessel by batch size. Active fermentation still requires the tested recipe, correct submersion and appropriate fermentation conditions; a jar or crock does not replace those safeguards.
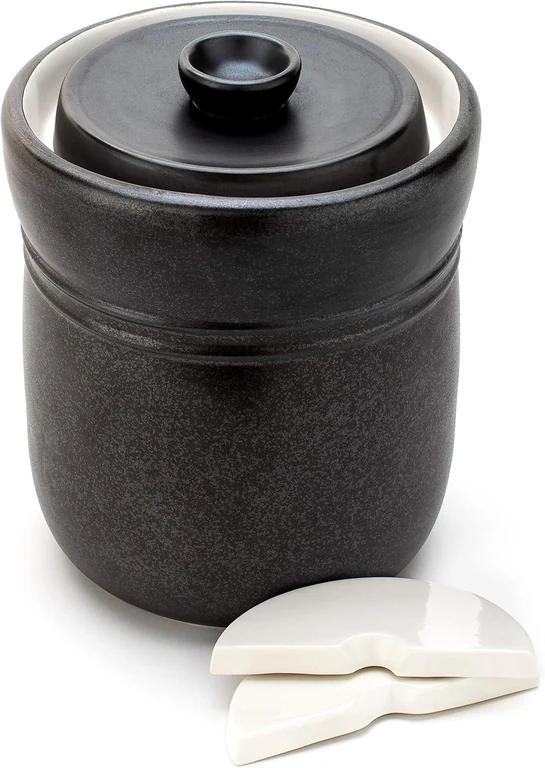
TOMO Fermentation Crock with Weights
A 7-liter ceramic stoneware crock for larger batches when you prefer a traditional crock setup rather than multiple Mason jars.
View on Amazon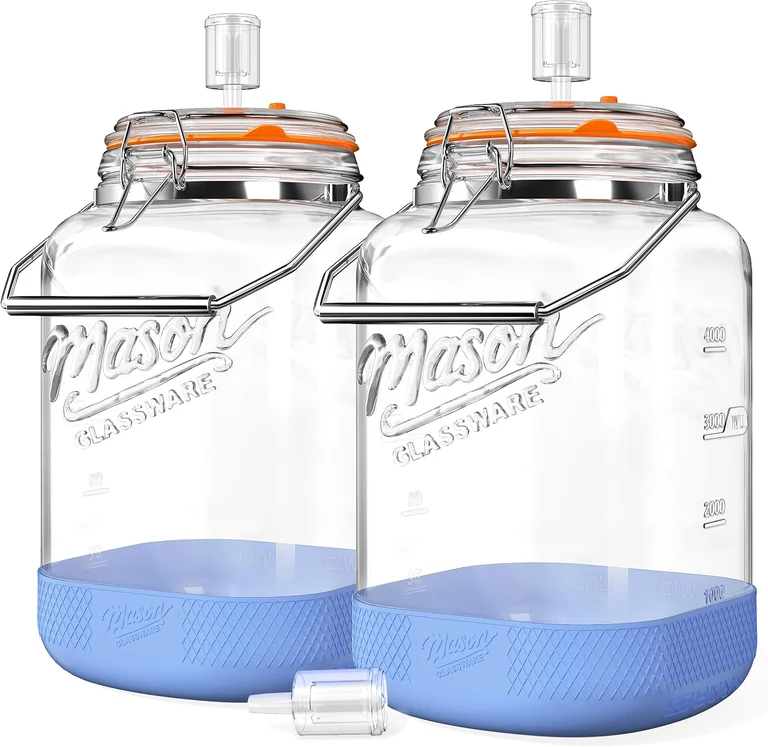
1.5-Gallon Fermentation Jar
A larger glass-vessel option for bigger batches. Pair the vessel with an appropriate cover and weight so the cucumbers stay properly managed under brine.
View on Amazon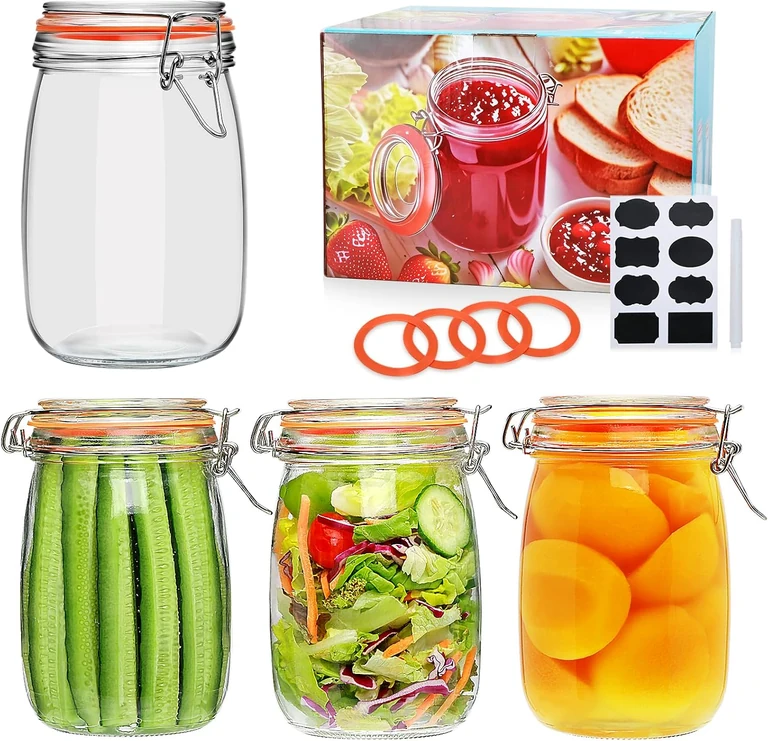
Encheng 32 oz Hinged-Lid Glass Jars — Set of 4
A four-jar set with hinged lids for ingredient prep or refrigerated storage. These are not threaded Mason jars for the screw-on airlock lids shown above. For active fermentation, use a compatible cover and weight.
View on AmazonAffiliate links · Your price stays the same.
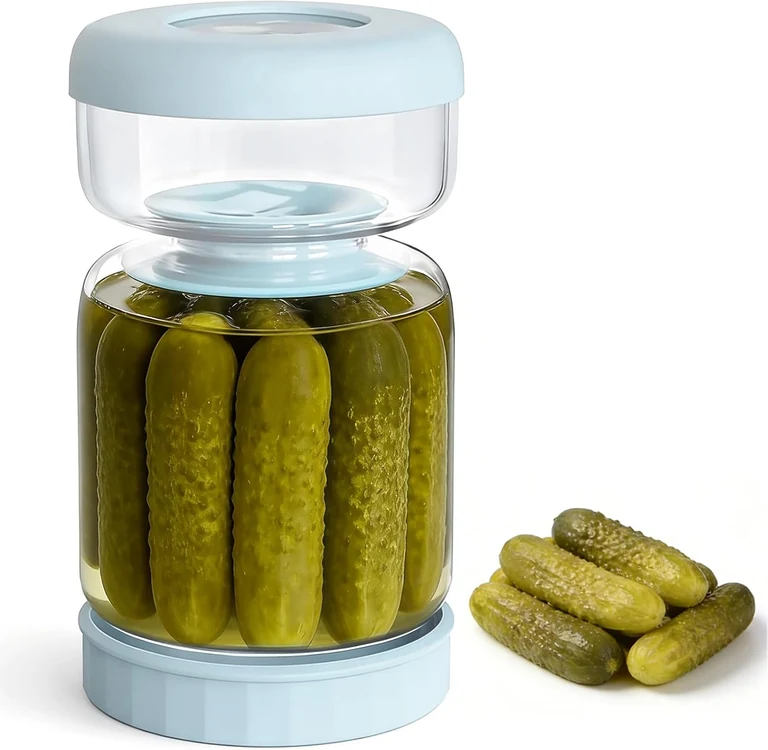
Luvan Pickle Jar with Strainer Flip
Useful for serving and refrigerated storage after pickles are ready. I would not choose it as the primary vessel for the active fermentation method described above.
View on AmazonCan You Make Fermented Pickles Without Vinegar?
You will find many no-vinegar lacto-fermentation formulas online. However, this article does not present an unverified no-vinegar ratio as a research-tested preservation recipe. The NCHFP fermented dill-pickle formula used here includes a small amount of vinegar with 5% acidity, and the agency advises not to change the vinegar, water or salt proportions in tested pickle recipes.
This research-tested recipe includes a small amount of 5% acidity vinegar. Do not omit it or change the salt, water or vinegar proportions.
FAQ: Fermented Pickles
Do fermented pickles need to be refrigerated?
Fully fermented pickles can be refrigerated in their original container. If you want shelf-stable jars, use the separate tested canning procedure rather than simply storing the fermented jar at room temperature.
Why are my fermented pickles soft?
Common causes include a weak brine, fermentation temperatures that are too high, insufficient brine, poor-quality cucumbers, or leaving the blossom end intact.
Can I use regular slicing cucumbers?
For this tested recipe, use small pickling cucumbers, ideally around 4 inches long. Larger slicing cucumbers are not the type specified for this method and may give a different texture.
Is cloudy brine normal?
Cloudiness can have more than one cause, including salt additives, bacterial sediment or yeast. Do not use cloudiness alone as a safety signal. Follow the tested recipe and discard the batch if the pickles become soft, slimy or develop a disagreeable odor.
How long should fermented dill pickles ferment?
About 3–4 weeks at 70–75°F for the NCHFP tested method. At 55–65°F, allow about 5–6 weeks.
Final Tips for Crunchy Homemade Fermented Pickles
The best fermented pickles come from disciplined basics: fresh pickling cucumbers, a research-tested formula, complete submersion, and controlled temperature. Those details matter more than extra gadgets or viral “hacks.”
For this recipe, keep the tested proportions intact, ferment at 70–75°F when possible, monitor the container regularly, and refrigerate fully fermented pickles unless you use the separate tested canning process.
Keep the core setup, submersion checks, equipment basics and safety reminders close at hand for your next batch.