SEASONAL · CANNING & PRESERVING
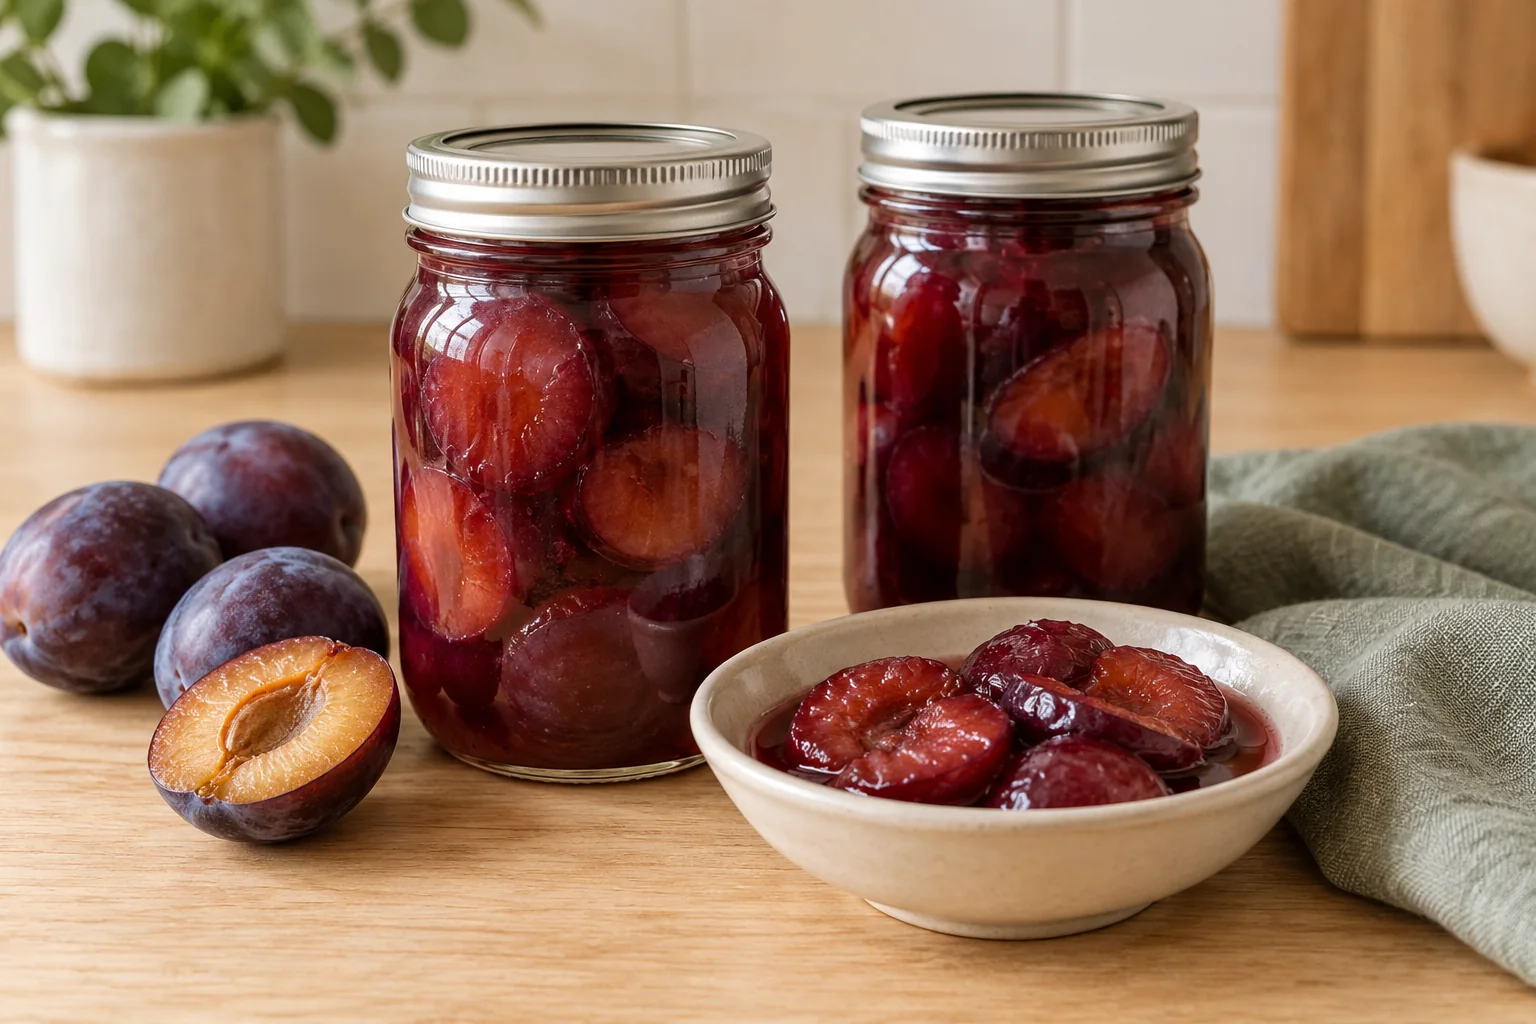
Learning how to can plums is a practical way to preserve ripe late-summer fruit in shelf-stable jars using a tested U.S. home-canning method. For this guide, I am not converting the German plum recipe into U.S. measurements. Instead, the process is built around the National Center for Home Food Preservation (NCHFP) guidance for plums, halved or whole.
The NCHFP method allows plums to be packed in water or syrup, as either a hot pack or raw pack, with ½-inch headspace. In a boiling-water canner, the tested process starts at 20 minutes for pints and 25 minutes for quarts at 0–1,000 ft, with longer times at higher elevations. The same source also provides tested pressure-canning tables for people who prefer that equipment.
Choose the right plums for canning
The starting point is fruit quality. The NCHFP calls for deep-colored, mature plums of a quality you would be happy to eat fresh or cook with. That rules out moldy fruit, fruit with active decay, and plums that are so damaged that you would not normally serve them. Canning does not turn poor raw ingredients into a better finished product.
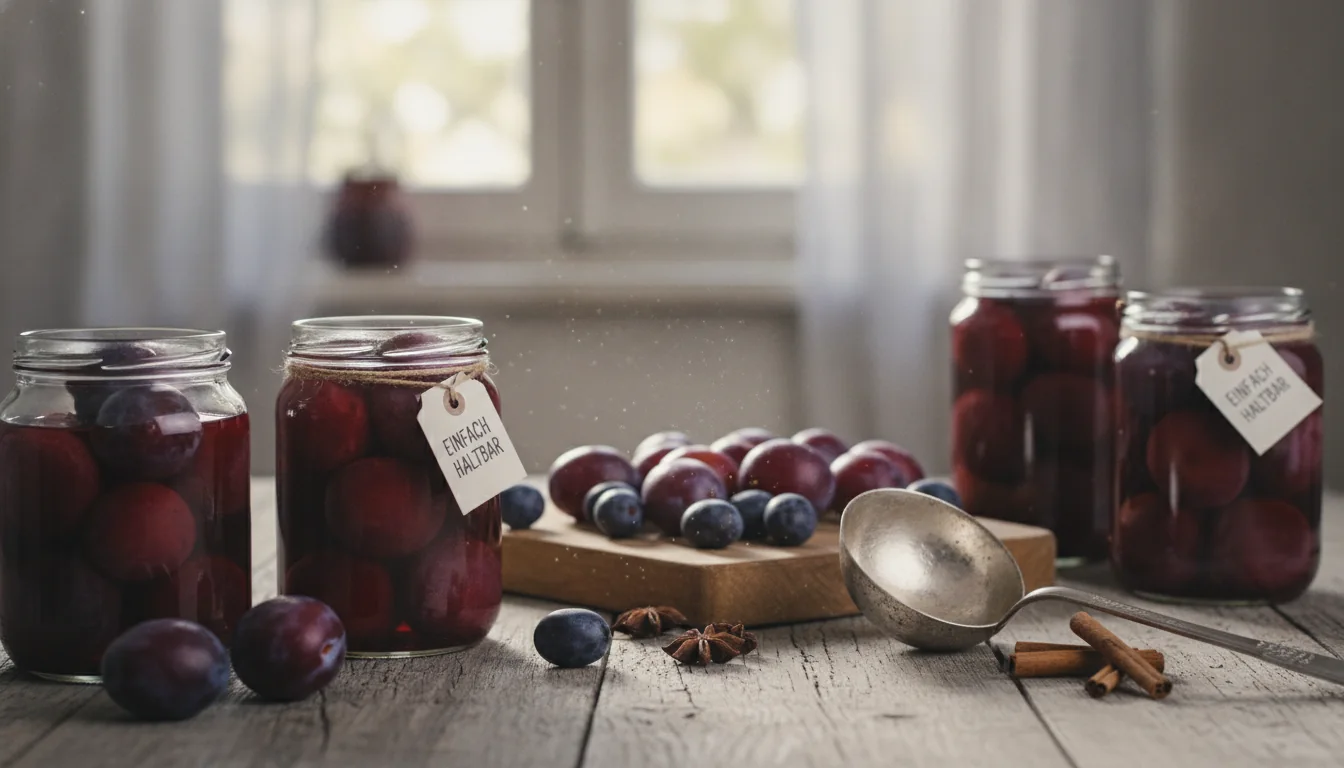
You can can plums whole or as halves. If you are canning them whole, the tested NCHFP procedure says to prick the skins on two sides with a fork to help prevent splitting during heating. If you are working with a freestone variety, you may halve the fruit and remove the pits. Halves are convenient when you already know the fruit will be used later for desserts, oatmeal, baking or serving straight from the jar.
A dedicated pitter is optional, but it can make a large batch less repetitive. The Westmark Cherry & Plum Pitter “Steinex-Combi” is the plum-specific tool in this product list. For clingstone fruit, a knife may still be more practical because the flesh does not release cleanly from the pit.
| Plum prep | What the tested method says | Practical use |
|---|---|---|
| Whole | Stem, wash and prick skins on two sides | Keeps the fruit whole but leaves pits in place |
| Halved | Freestone varieties may be halved and pitted | Easy to portion and use after opening |
| Damaged fruit | Start with mature, good-quality fruit | Discard moldy or decayed fruit rather than trying to save it by canning |
Table notes
Mason jars and equipment for canning plums
For the U.S. version of this guide, use jar sizes that correspond to the tested processing table: pints or quarts. The NCHFP recommends Mason-type threaded home-canning jars with self-sealing lids as the best choice for home canning. Regular-mouth and wide-mouth formats can both work; wide-mouth jars are often easier to fill with larger fruit halves.
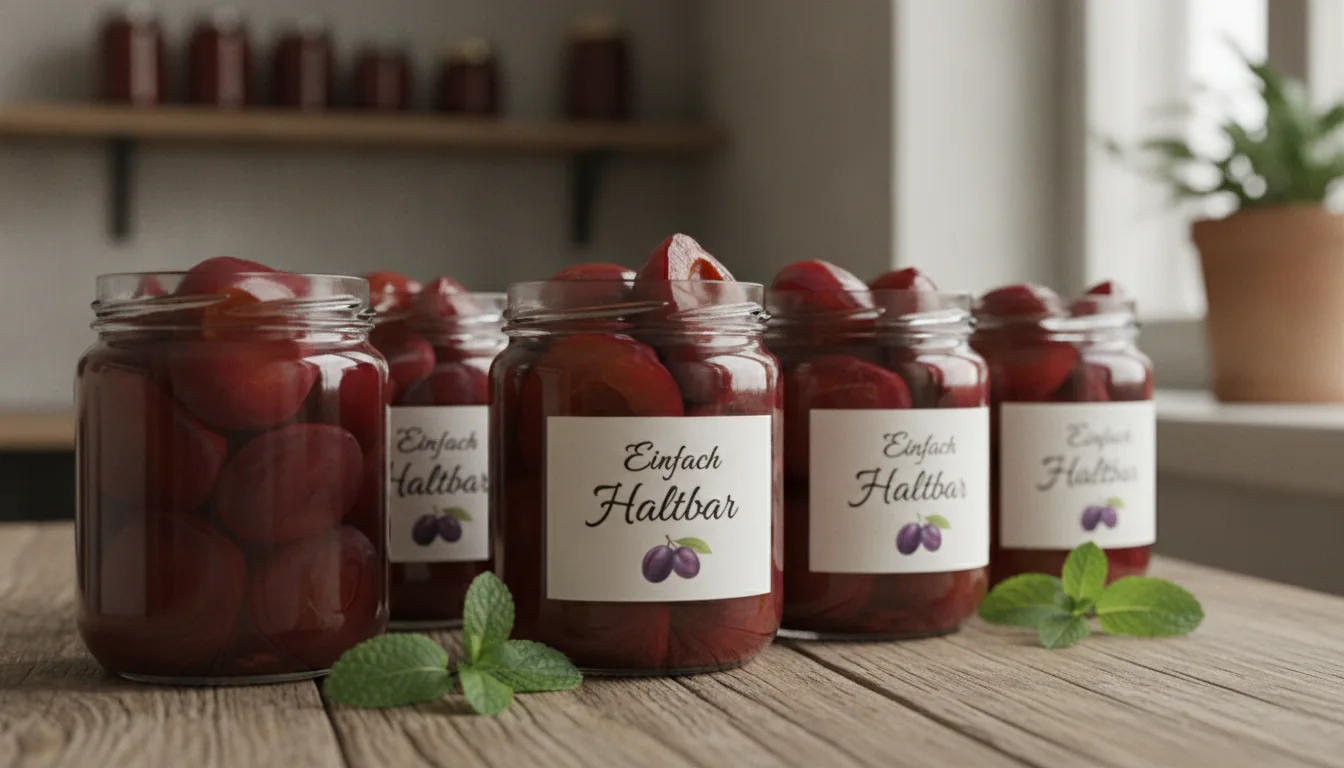
If you need jars, the product list includes Ball 16-oz pint jars, Ball 32-oz regular-mouth quart jars and a 32-oz wide-mouth Mason jar set. Replacement flat lids such as the FORJARS wide-mouth lids should match the jar mouth size and be prepared according to current manufacturer directions.
Because plum processing in boiling water is at least 20 minutes, the NCHFP says the empty jars do not need to be presterilized before filling. They still need to be clean and kept at an appropriate temperature for the pack you are using. Avoid oven “sterilizing”: the NCHFP does not recommend oven canning, and Mason jars are designed for water-bath or pressure-canning procedures rather than dry oven heat.
Pint and quart jar options
These listings match the jar sizes or lid formats discussed in the tested plum process. Product images are matched to the exact linked listings.
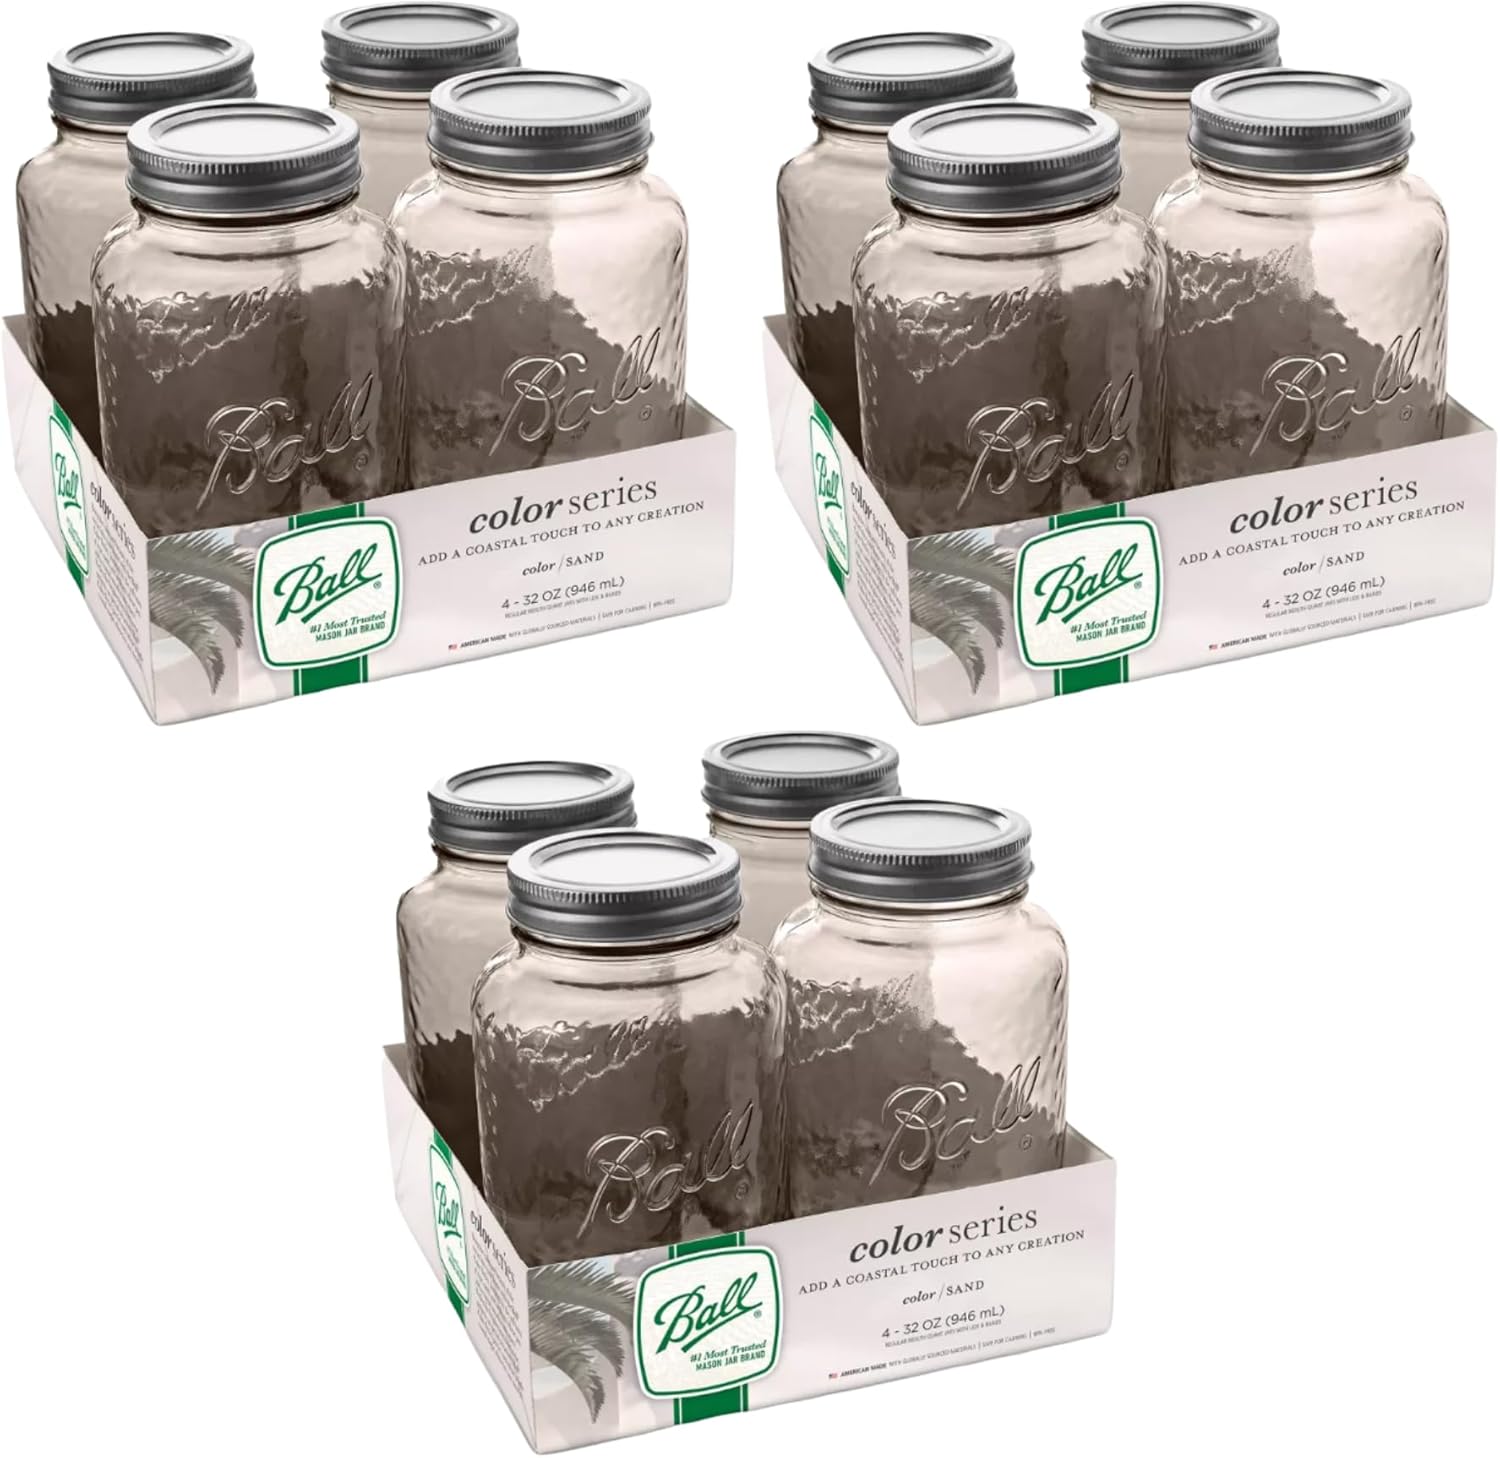
Ball Vintage Glass Mason Jars, 32 oz Regular Mouth Quart Size*
A quart-size Mason jar option that matches one of the tested NCHFP jar sizes for plums. Verify the current pack count, lid and band configuration before ordering.
View on Amazon
Ball Regular Mouth Glass Mason Jars with Lids and Bands, 16 oz*
A pint-size home-canning jar format that matches the tested NCHFP plum table and is practical for smaller portions.
View on Amazon
Wide Mouth Mason Jars 32 oz with Lids and Bands, Set of 12*
A wide-mouth quart option that can make it easier to pack larger plum halves. Confirm the current listing is intended for home canning and use the lid maker’s directions.
View on AmazonAffiliate links · Your price stays the same.

FORJARS Wide Mouth Canning Lids, 100-Pack*
Replacement flat lids for wide-mouth two-piece canning systems. Match lid size to the jar and follow the current manufacturer preparation instructions.
View on AmazonCan you can plums in water instead of syrup?
Yes. The NCHFP plum procedure explicitly allows plums to be packed in water or syrup. That distinction matters because sugar is sometimes mistakenly treated as the thing that makes canned fruit shelf-stable. In this method, the heat process is the preservation control. The NCHFP’s syrup guidance says syrup helps fruit retain flavor, color and shape, but does not prevent spoilage.
If you prefer a lighter result, water is a tested option. If you prefer syrup, the NCHFP plum page directs you to very light, light or medium syrup for this fruit. The general syrup table gives these canner-load formulas:
| Syrup | 9-pint load | 7-quart load |
|---|---|---|
| Very light (about 10%) | 6½ cups water + ¾ cup sugar | 10½ cups water + 1¼ cups sugar |
| Light (about 20%) | 5¾ cups water + 1½ cups sugar | 9 cups water + 2¼ cups sugar |
| Medium (about 30%) | 5¼ cups water + 2¼ cups sugar | 8¼ cups water + 3¾ cups sugar |
Table notes
Heat the water and sugar together and bring the syrup to a boil. If you use a raw pack, hot syrup or hot water is poured over the raw fruit in the jars. For a hot pack, the fruit itself is heated in the water or syrup first. Do not confuse “more sugar” with “safer”: follow the tested fruit process and choose the liquid based on the result you want.
Hot pack vs raw pack for plums
The tested NCHFP plum method gives both options. Neither is something you have to invent on your own; both are part of the published procedure.
Hot pack
Add the prepared plums to water or hot syrup and boil for 2 minutes. Then cover the saucepan and let the fruit stand for 20 to 30 minutes. Fill the jars with the hot plums and the cooking liquid or syrup, leaving ½-inch headspace.
Raw pack
Pack the raw prepared plums firmly into the jars and add hot water or hot syrup, again leaving ½-inch headspace. The boiling-water processing times below are the same for hot and raw packs, so the choice is mainly about how you want to prepare the fruit before the jars enter the canner.
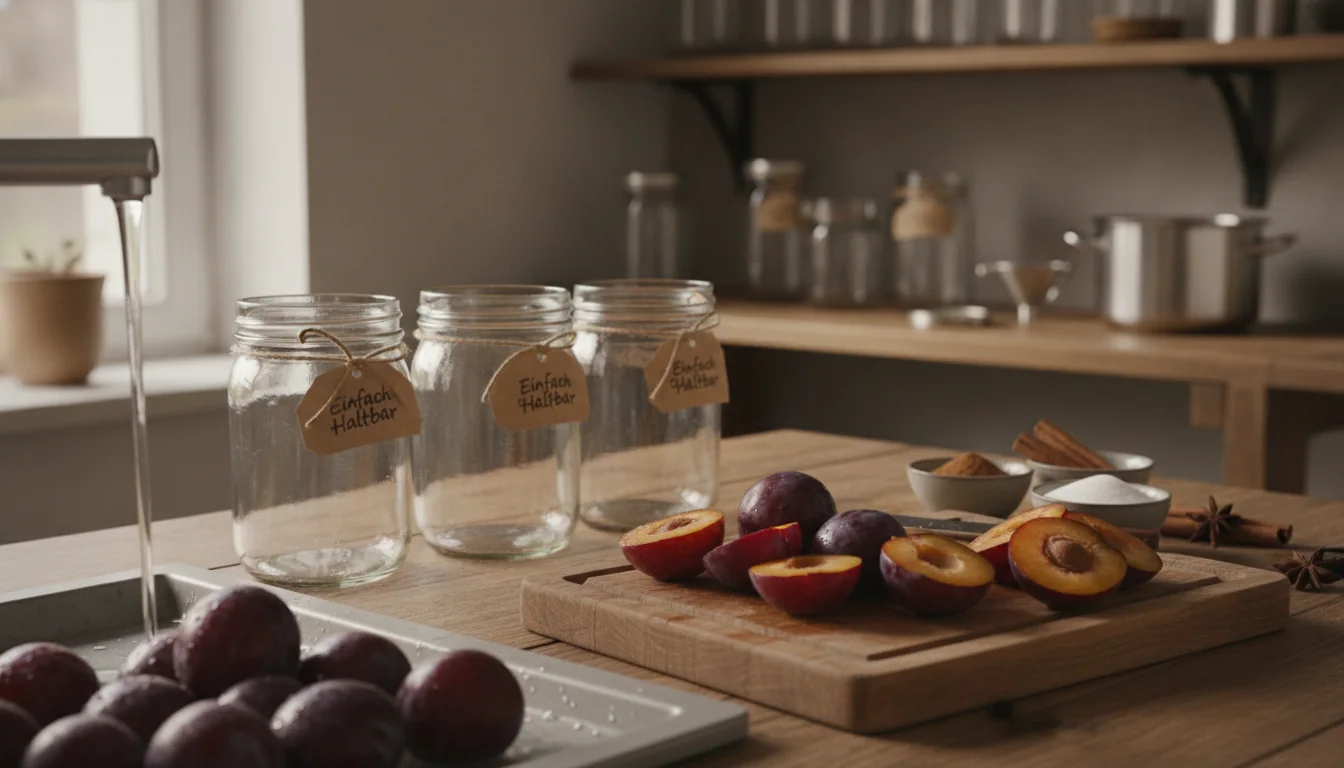
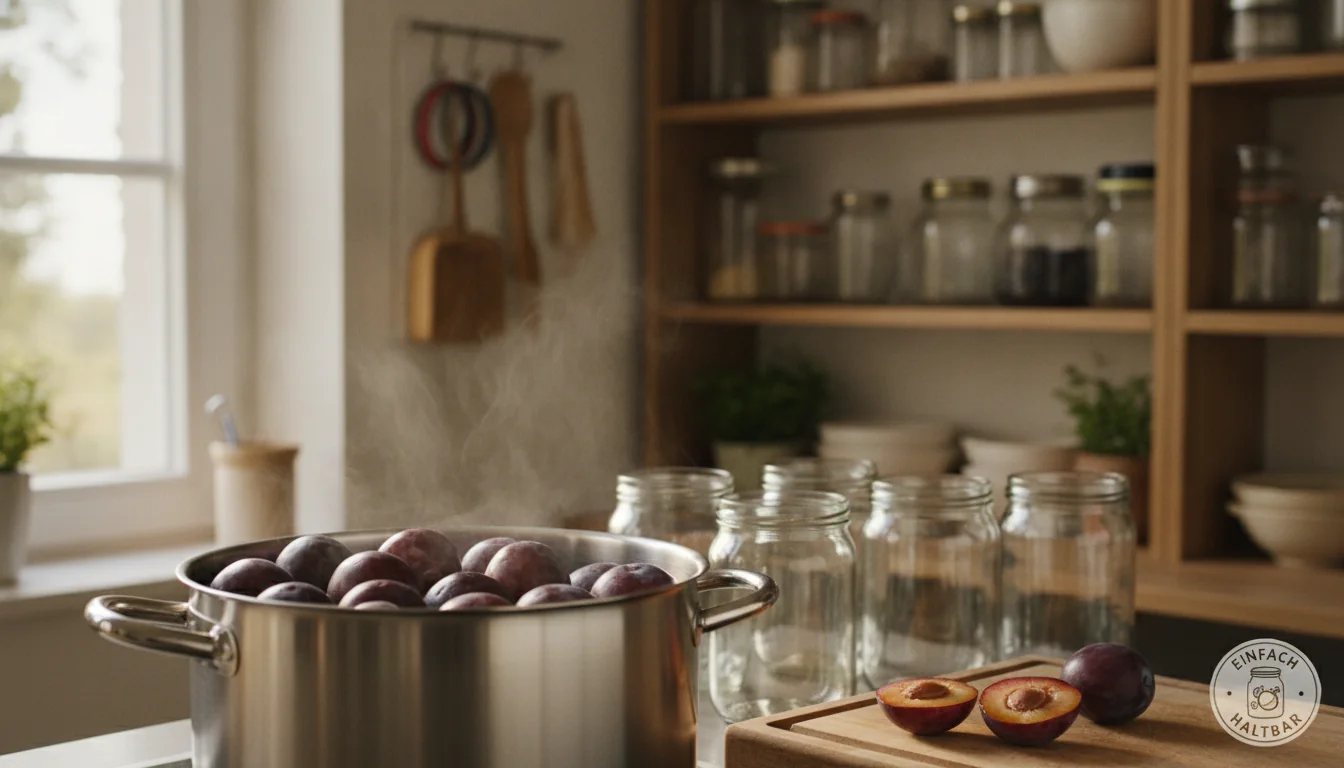
How to can plums in a water-bath canner: step by step
This sequence follows the tested plum procedure together with the NCHFP boiling-water-canner instructions. Read the complete process before you start so the jar temperature, canner temperature and fruit preparation all line up.
- Prepare the canner. Put the rack in the canner and add clean warm water. The NCHFP suggests preheating the canner water to about 140°F for raw-packed foods and 180°F for hot-packed foods.
- Prepare the fruit. Stem and wash the plums. For whole fruit, prick the skins on two sides. For suitable freestone plums, halve and pit them.
- Prepare water or syrup. Bring the chosen packing liquid to a boil. If you are hot packing, add the plums, boil 2 minutes, cover and let stand 20–30 minutes.
- Fill pint or quart jars. Pack the fruit and cover it with the hot liquid. Leave ½-inch headspace.
- Release trapped air and clean the rim. Work carefully around the fruit, re-check headspace and wipe the sealing surface clean.
- Apply the lids. Use the lid and band system according to the current manufacturer instructions; do not over-tighten the band.
- Load the canner. Keep jars upright. Add boiling water if needed so the water level is at least 1 inch above the jar tops. When the process time is over 30 minutes, the NCHFP calls for 2 inches of water above the jars.
- Start timing at a full boil. Cover the canner, bring the water to a vigorous boil and then start the tested processing time for your jar size and elevation.
- Maintain the boil. If the water stops boiling during the timed process, the NCHFP instructs you to bring it back to a vigorous boil and restart the full processing time from the beginning.
- Finish and cool. At the end of processing, turn off the heat and remove the lid. The NCHFP boiling-water instructions include a 5-minute wait before removing jars, then the jars should cool upright and undisturbed for 12–24 hours.
A water-bath canner such as the Granite Ware canning pot and rack set is the equipment type this section is written around. A Ball jar-lifter/funnel/bubble-remover set or the larger Gemfino 9-piece canning starter kit can cover many of the basic handling tasks, but accessories do not change the tested headspace or processing time.
Useful tools for the plum-canning workflow
These products are optional helpers. They do not replace the tested recipe, altitude table or equipment instructions.

Granite Ware 9 Piece Enamelware Water Bath Canning Pot with Canning Kit*
The most directly relevant canner type for this guide. It should be deep enough to keep the required boiling-water coverage above the jars for the full process time.
View on Amazon
Ball Utensil Set: Jar Funnel, Jar Lifter & Bubble Remover*
A practical basic set for filling and moving hot jars while keeping hands farther from boiling water and helping keep jar rims clean.
View on Amazon
Delove Canning Funnel with Strainer, Stainless Steel 3-Pack*
A funnel set that can make hot filling cleaner. A clean sealing surface matters more than the accessory itself, so always wipe the rim before applying the lid.
View on AmazonAffiliate links · Your price stays the same.
Additional equipment for this workflow

Gemfino Canning Supplies Starter Kit, 9-Piece, Red*
A beginner-oriented tool kit with jar lifter, wide-mouth funnel, wrench, tongs, lid lifter, bubble popper, labels, ladle and measuring spoon. The image is matched to ASIN B0DTG8S562.
View on Amazon
Westmark Cherry & Plum Pitter “Steinex-Combi”*
A 2-in-1 fruit pitter that can speed up halving and pitting when you are working with freestone plums. The image is matched to ASIN B000VJ9XDK.
View on Amazon
Ball Complete Book of Home Preserving*
A broad home-preserving reference for building skills beyond this one recipe. For safety-critical details, compare any book recipe with current tested guidance.
View on AmazonAffiliate links · Your price stays the same.
Water-bath processing times for canned plums
The NCHFP gives the following boiling-water times for both hot-packed and raw-packed plums. Use the row for your jar size and the column for your elevation. Do not use the 0–1,000 ft time if you live substantially higher.
| Jar size | 0–1,000 ft | 1,001–3,000 ft | 3,001–6,000 ft | Above 6,000 ft |
|---|---|---|---|---|
| Pints | 20 min | 25 min | 30 min | 35 min |
| Quarts | 25 min | 30 min | 35 min | 40 min |
Table notes
This is one reason it is useful to know your elevation before the canner is already boiling. The longest water-bath times in this table exceed 30 minutes, which also changes the recommended water coverage: the NCHFP boiling-water instructions call for 2 inches of water above the jar tops when the process time is over 30 minutes.
Can you pressure-can plums?
Yes. The same NCHFP plum page provides tested pressure-canning tables. This does not mean that an arbitrary pressure setting or an electric multicooker is interchangeable with a tested canner. The table is specifically written for dial-gauge and weighted-gauge pressure canners.
For a dial-gauge pressure canner, pints or quarts are processed for 10 minutes at 6 PSI from 0–2,000 ft, 7 PSI at 2,001–4,000 ft, 8 PSI at 4,001–6,000 ft and 9 PSI at 6,001–8,000 ft. For a weighted-gauge canner, the NCHFP table gives 10 minutes at 5 PSI from 0–1,000 ft and 10 PSI above 1,000 ft.
If you already own a stove-top pressure canner, options in the supplied affiliate list include the Presto 01784 23-quart induction-compatible pressure canner and the T-fal 22-quart pressure canner. The canner model, gauge type and manufacturer directions must match the process you actually use.
Stovetop pressure-canner options
The boiling-water method above is simpler for this guide. These products are only relevant if you deliberately choose the NCHFP pressure-canning table.

Presto 01784 23-Quart Induction Compatible Pressure Canner*
A stovetop pressure-canner option for cooks who choose the NCHFP pressure-canning table instead of boiling-water processing. Match the gauge type and altitude to the tested table.
View on Amazon
T-fal 22-Quart Aluminum Pressure Canner*
Another stovetop pressure-canner option. Use only the pressure setting and operating procedure that match the tested guidance and the canner manufacturer’s instructions.
View on AmazonCooling, checking seals and storing canned plums
After processing, leave the jars upright and undisturbed while they cool for 12–24 hours. Do not press the centers of the lids while the jars are still cooling. Once cooled, remove the screw bands and check the seals. The NCHFP describes several checks for two-piece metal lids: the lid should not spring up when pressed, and a properly sealed lid is typically slightly concave rather than flat or bulging.
A vacuum seal is necessary for shelf storage, but it is not evidence that an incorrect recipe became safe. A jar can seal even when the process itself was wrong. That is why the tested fruit preparation, headspace, process time and altitude adjustment come first, with the seal check afterward.
For storage, wash and dry sealed jars, label them with the contents and date, and keep them in a clean, cool, dark, dry place. The NCHFP recommends 50–70°F for best quality and advises canning no more food than you expect to use within about a year unless a specific recipe gives different guidance.
If a jar fails to seal and you noticed it within 24 hours, the NCHFP gives options such as refrigeration, freezing or reprocessing under specific conditions. If the original batch was not made from an up-to-date research-tested recipe, a seal failure should not be treated as the only problem. Do not taste from a jar that is unsealed or shows signs of spoilage.
Common plum-canning mistakes to avoid
1. Treating sugar as the safety step
Syrup changes flavor, sweetness, color retention and texture. The NCHFP explicitly says syrup does not prevent spoilage in canned fruit. You may use water under the tested plum directions, so do not shorten the heat process because the syrup is sweet.
2. Ignoring altitude
The difference between 20 and 35 minutes for pint jars is not a preference; it comes directly from the elevation table. Check your elevation and use the correct column.
3. Using an untested jar size
The plum table is written for pints and quarts. Do not assume a larger jar can use the quart time simply because it fits in your canner. If you want another jar size, find a tested procedure that explicitly covers it.
4. Letting the canner drop below a boil
For boiling-water canning, the tested time is counted while the water is boiling. If the boil stops during processing, the NCHFP instructs you to restore a vigorous boil and restart the full processing time.
5. Assuming a sealed lid proves the whole process was correct
A lid can pull down even when the wrong time, jar size or method was used. Use seal checks to identify whether the jar closed properly, not to validate an untested canning process.
6. Switching to oven canning
The NCHFP does not recommend processing filled jars in the oven. Dry heat penetrates jars differently, oven temperature control can vary, and canning jars are not intended to be processed this way. Use a tested boiling-water or pressure-canner procedure instead.
How much fruit do you need?
The NCHFP estimates an average of 14 pounds of plums for a canner load of 7 quarts and about 9 pounds for a load of 9 pints. A bushel weighs about 56 pounds and yields roughly 22–36 quarts, with an average of about 2 pounds of plums per quart. Those figures are planning estimates, not a promise for every variety or packing style, but they are useful when you are deciding how many jars to prepare.
For a first batch, starting smaller is often easier because you can learn how your specific plum variety behaves without juggling a full harvest at once. Keep a note of the variety, jar size, pack style, liquid and processing time. That gives you a practical record without changing the tested method itself.
Useful references and tools
If you want a broad printed reference in addition to the NCHFP pages, the Ball Complete Book of Home Preserving is one option from the supplied product list. For day-to-day filling, a stainless canning funnel set can help keep jar rims cleaner, while the Ball utensil set combines a jar lifter, funnel and bubble remover.
These are convenience tools, not safety authorities. For the actual plum process, use the current tested procedure from the NCHFP and the operating instructions for your jar and canner system.
FAQ
Frequently asked questions about canning plums
How long do you water-bath can plums?
At 0–1,000 ft, the NCHFP process is 20 minutes for pints and 25 minutes for quarts. At higher elevations, pints increase to 25, 30 or 35 minutes and quarts to 30, 35 or 40 minutes depending on elevation.
Do plums need lemon juice or citric acid for canning?
The NCHFP “Plums—Halved or Whole” procedure does not instruct you to add bottled lemon juice or citric acid. Follow the tested plum method rather than borrowing the tomato acidification rule from a different food.
Can you can plums without sugar?
Yes. The tested plum directions allow water as the packing liquid. Sugar syrup helps retain flavor, color and shape, but the NCHFP states that syrup does not prevent spoilage.
Do you have to pit plums before canning?
No. Whole plums are included in the tested procedure. Prick the skins on two sides. Freestone plums may also be halved and pitted.
What headspace should I use for canned plums?
Leave ½-inch headspace for both hot-packed and raw-packed plums under the NCHFP procedure.
Should I hot-pack or raw-pack plums?
Both are included in the tested NCHFP method. Hot pack heats the plums in water or syrup for 2 minutes and then lets them stand covered for 20–30 minutes before filling. Raw pack places raw plums directly into jars and covers them with hot water or syrup.
Do I need to sterilize the empty jars first?
Not for this process. The NCHFP says jars do not need to be presterilized when filled food will be processed in a boiling-water canner for 10 minutes or longer. They still need to be clean and handled properly.
Can I use a pressure canner instead?
Yes. NCHFP provides dial-gauge and weighted-gauge pressure-canning tables for plums. Use the exact table for your gauge type and elevation and follow the canner manufacturer’s operating instructions.
How long should jars cool before I check the seals?
Let jars cool undisturbed for 12–24 hours before removing bands and checking seals.
How long should home-canned plums be stored?
The NCHFP recommends a clean, cool, dark, dry storage area and says 50–70°F is best for quality. It also recommends canning no more than you expect to use within about one year unless a specific recipe says otherwise.
Final checklist: canning plums with a tested U.S. method
The safest way to keep this project simple is to stay inside one tested procedure from start to finish. Use mature plums, choose whole fruit or halved freestone fruit, pack in water or an approved syrup, leave ½-inch headspace, and process pints or quarts for the exact boiling-water time required at your elevation.
Once the jars have cooled for 12–24 hours, check the seals and store only properly sealed jars on the shelf. Label and date them, keep them cool and dark, and inspect every jar again before opening. A good vacuum is part of the result, but it does not replace the tested process that came before it.
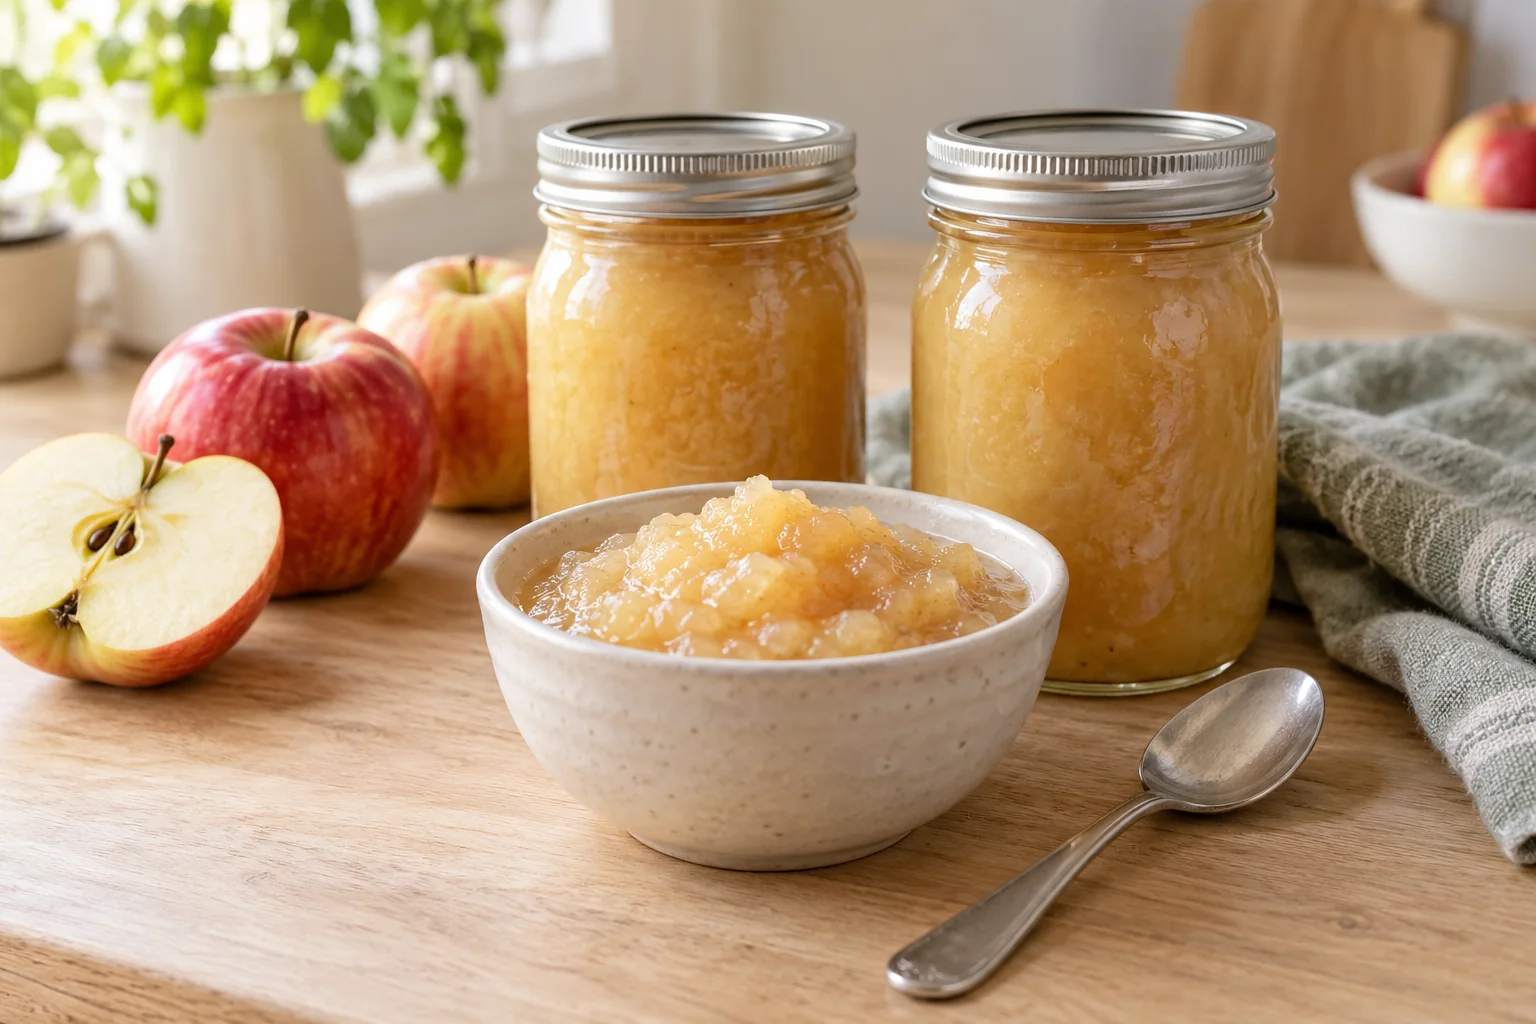
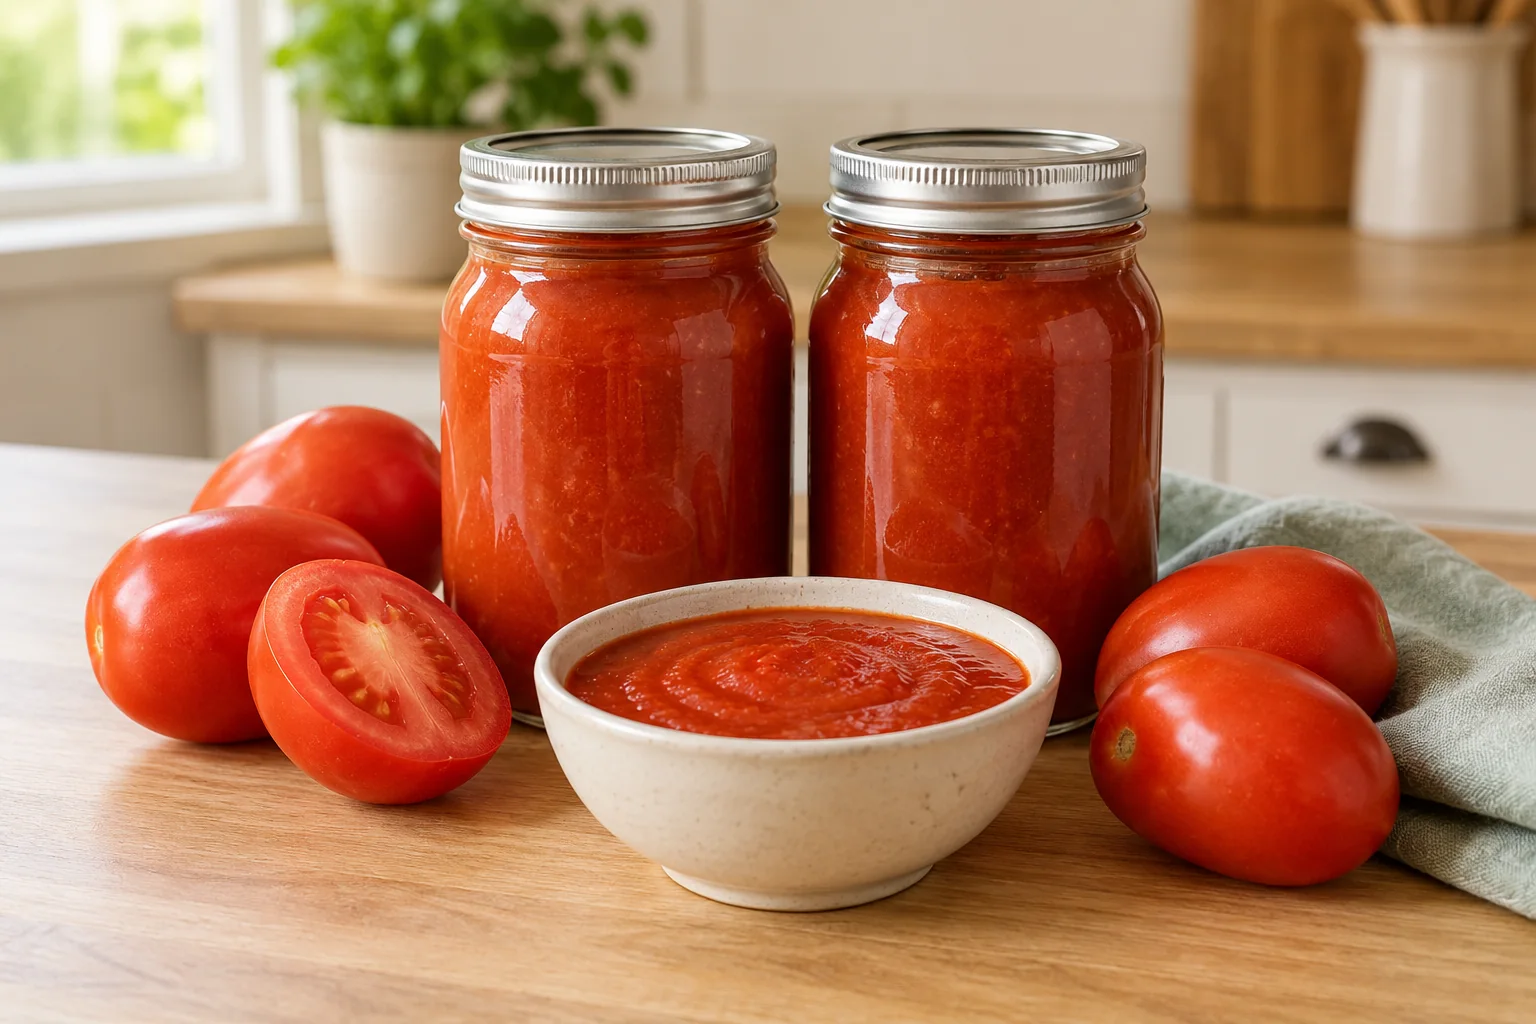
If you want to expand the same pantry cluster next, use the tested applesauce canning guide, move into the more technical tomato sauce canning guide, or browse the full Canning & Preserving hub.