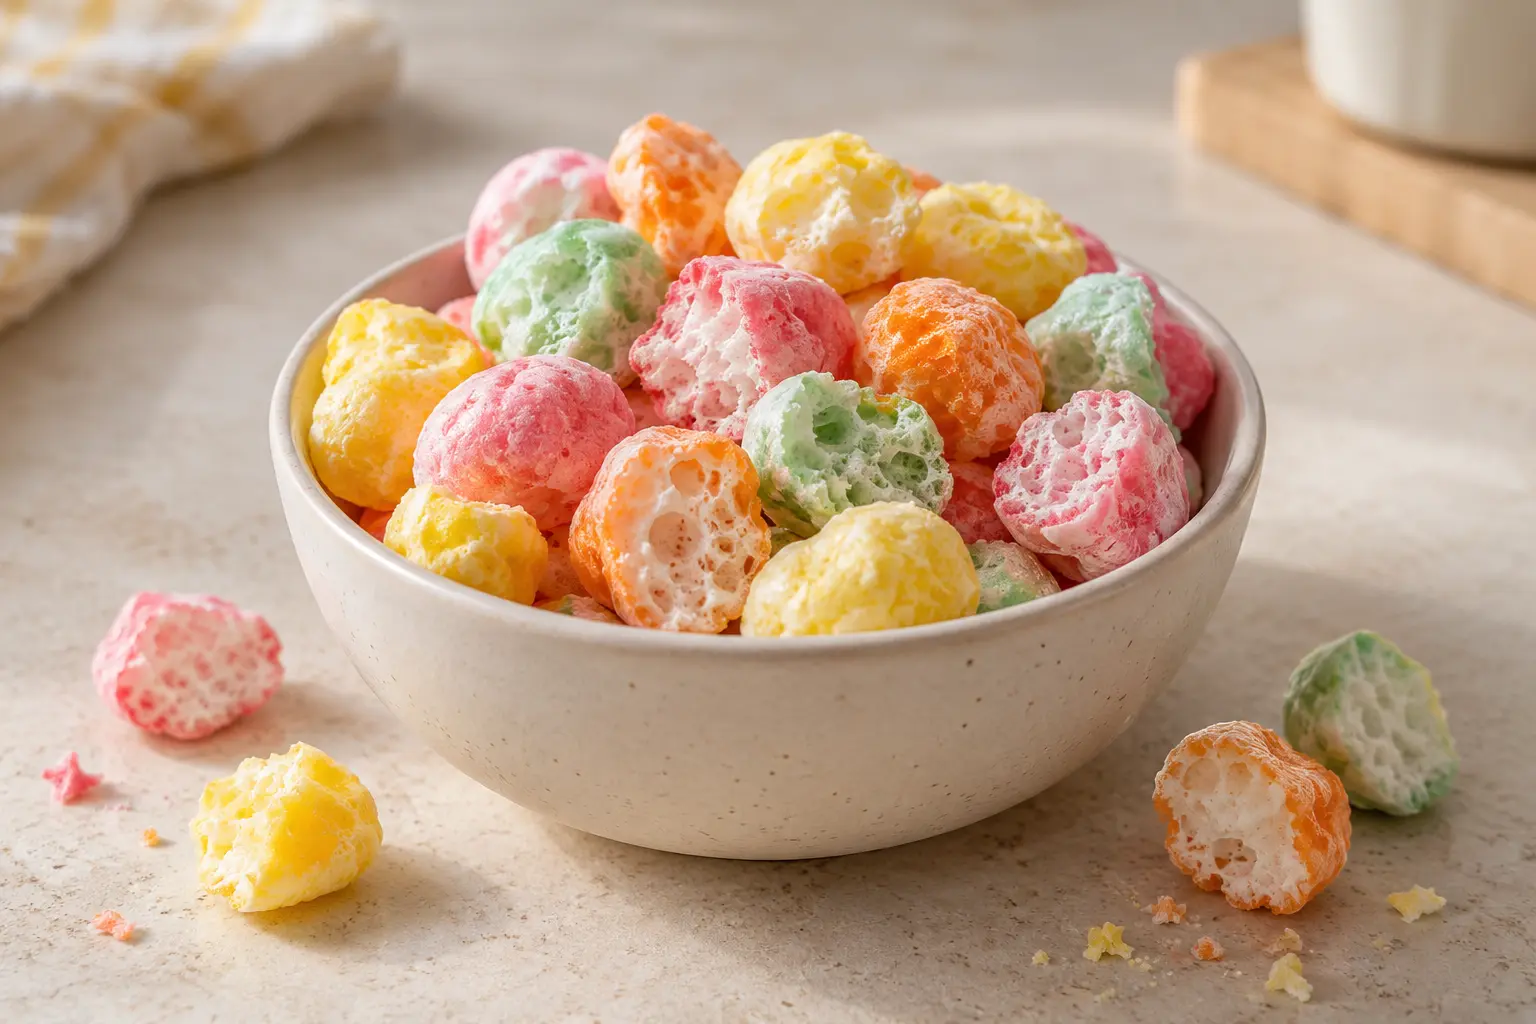
True freeze-drying combines freezing with controlled vacuum so ice can leave the food as vapor.
Cold or warm airflow alone does not reproduce the controlled vacuum stage that defines freeze-drying.
SAFETY GUIDE · SAFETY PASSPORT
Five rules that keep a home batch on track
Use equipment designed for freezing plus vacuum-driven sublimation. Household shortcuts are not the same method.
Freeze-drying does not reliably kill illness-causing microorganisms. Clean handling and any required cooking step still matter.
Programs, capacity limits, pump care and operating conditions belong to your exact machine and software.
Check representative thick or dense pieces from every tray. One dry sample does not prove the whole batch is finished.
Package only after the dry check passes. Finished food readily picks up moisture again from room air.
Conservative animal-food rule: current Extension guidance is not fully aligned on raw meat, poultry and seafood. This beginner guide follows the more conservative cooked-first route and does not treat freeze-drying as a pathogen kill step.
HOW IT WORKS
What does freeze-drying do to food?
Freeze-drying, or lyophilization, removes water without first turning the frozen water back into liquid. The food is frozen, the chamber pressure is reduced, and ice leaves the food as vapor through sublimation. A later drying phase removes additional moisture that remains bound to the food.
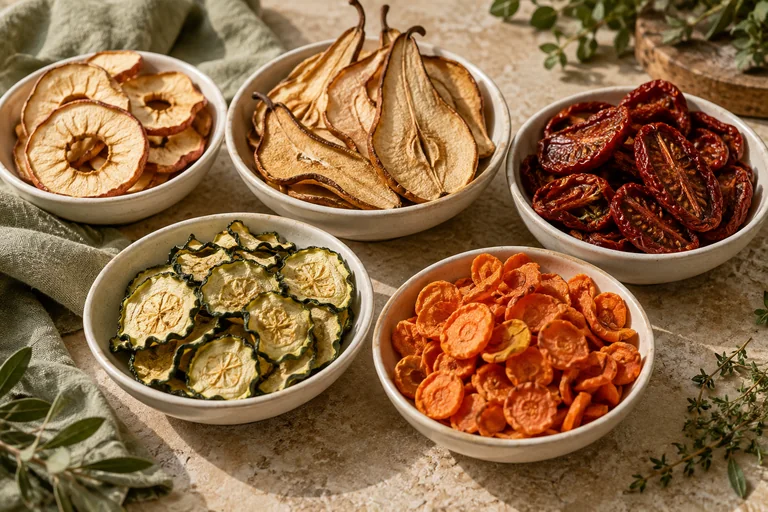
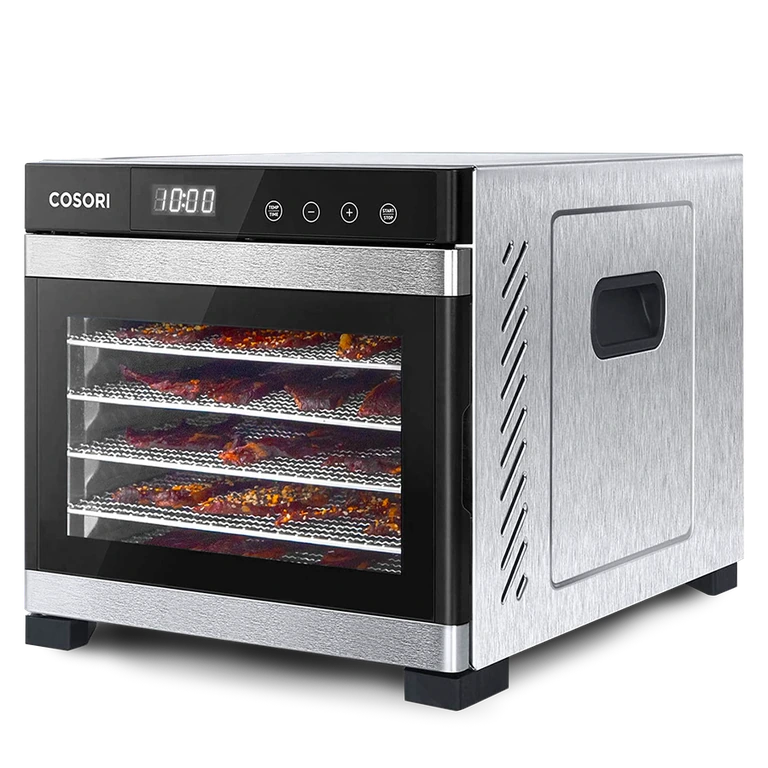
That is why true freeze-drying needs specialized equipment. A food dehydrator removes moisture mainly with warm moving air, while a household freezer keeps water frozen inside the food. Both are useful preservation tools, but neither performs the same job as a freeze dryer. If warm-air drying is what you actually need, start with our Dehydrating hub.
| Method | How water is handled | Typical result | Best fit |
|---|---|---|---|
| Freeze drying | Ice is removed as vapor under vacuum | Light, porous, often crisp when fully dry | Dry ingredients, meals and foods where low weight and rapid rehydration matter |
| Dehydrating | Water evaporates with warm moving air | Chewy, leathery or crisp depending on food | Fruit, vegetables, herbs, snacks and jerky workflows |
| Freezing | Water remains in the food as ice | Food stays frozen until thawed | Cold storage when freezer space is available |

Freeze-drying removes moisture; it does not erase the food's safety history. Start with food that is appropriate to handle and eat, dry it completely, then protect it from moisture.
CHOOSING EQUIPMENT
Do you need a freeze dryer to freeze dry food at home?
Yes. For true home freeze-drying, you need equipment designed to control freezing, chamber pressure and drying. Internet shortcuts using a freezer, dry ice, an oven or an air fryer can chill or dry food, but they do not recreate a controlled home freeze-drying cycle.
Before you buy a machine, check more than tray count. Look at the electrical requirements, machine weight, ventilation, operating environment, pump care, noise, door clearance and the counter space you will need for packaging after a batch finishes. Those practical details can matter more than a headline capacity number.
Why only one machine here? This is a method guide, not a full freeze-dryer comparison. The product above is an equipment example, not a universal “best” pick. Equipment-focused comparisons belong in the Buying Guides hub.
FIRST BATCH
What foods can you freeze dry?
Many fruits, vegetables and cooked foods can work well, but a first batch should teach you the machine rather than test its limits. Choose one food that can be portioned evenly and gives you obvious physical clues when it is dry.
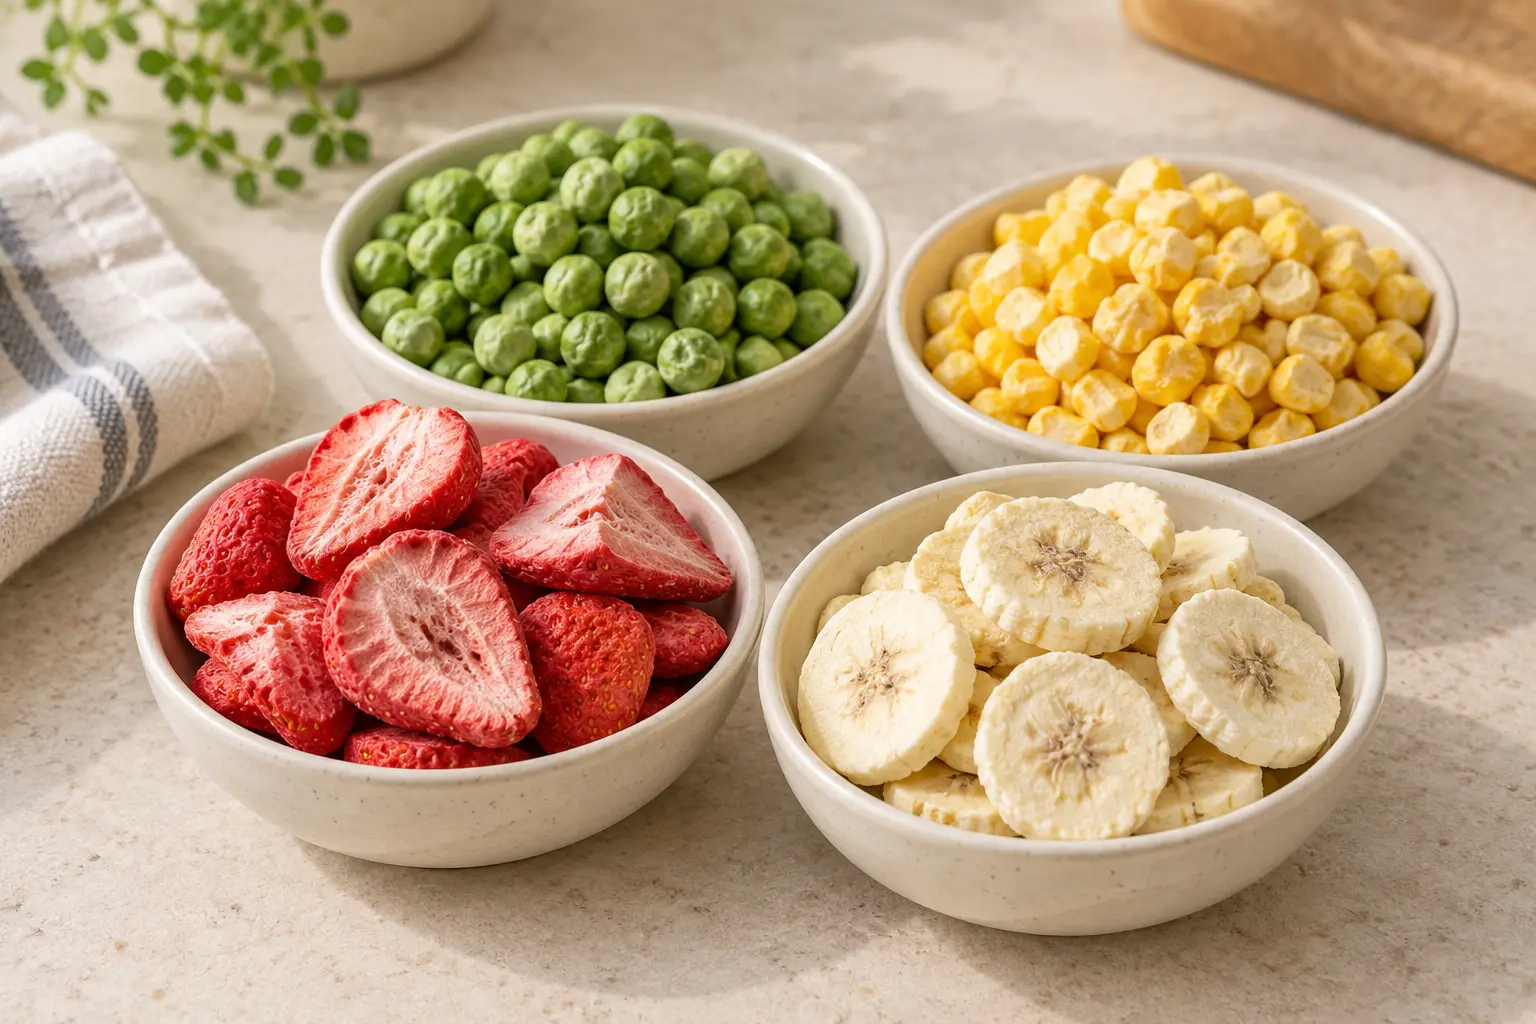
Sliced strawberries or apples, berries, peas, corn and uncomplicated cooked ingredients are easier to portion and check.
Thick casseroles, dense pieces, skins and casings can dry unevenly. Portion consistently and make the thickest areas your hardest test.
These can resist moisture removal, stay greasy or sticky, and make an early batch harder to diagnose.
Best first batch for beginners
Pick one food, one preparation style and one tray-loading pattern. Keeping the variables simple makes it much easier to learn what your machine's finished batch looks and feels like before you move on to mixed meals or harder foods.
Utah State University Extension's 2026 guide recommends keeping many foods roughly 1/4–1/2 inch thick to support more even drying. Treat that as a preparation reference, not as a universal machine setting; food type, tray load and your exact unit still control the process.
Current Extension sources differ on raw animal foods. For this beginner guide, use cooked meat, poultry and seafood, prevent cross-contamination during prep and follow current safe-cooking guidance whenever a food requires a cooking step.
PREPARATION
How should you prepare food for freeze drying?
Preparation has one main goal: make the batch as predictable as possible. Wash produce as appropriate, trim damaged areas, use clean equipment and cut pieces to a reasonably consistent size. The thickest and densest pieces usually determine whether the whole batch is ready to package.
Do not overload the trays. Arrange food in a single layer when practical and stay within the documented capacity of the machine. For foods that can spill or expand, use the method described by the manufacturer rather than improvising from a different machine.

Should you pre-freeze food?
Pre-freezing can make batch planning easier and may reduce the freezing work the machine needs to do. Some current extension guidance recommends pre-freezing as a useful practice, while machine workflows differ. If you pre-freeze, keep the food arranged as you want it on the tray, protect it from contamination and make sure the frozen tray can be transferred safely.
Useful tools for cleaner, more repeatable tray prep
These are optional workflow helpers. They do not replace correct food preparation, a complete drying cycle or your machine manual.

Freeze-Drying the Harvest: Preserving Food the Modern Way
A modern freeze-drying reference book for planning batches, prep and preservation workflows.
Book content does not replace the current instructions for your exact freeze dryer.
View on Amazon
Mix Cavity Silicone Tray Dividers — 4 Pieces
Silicone dividers designed for Harvest Right medium and small trays to separate portions on a tray.
Harvest Right-specific accessory: verify your exact tray size and model before ordering.
View on Amazon
500 Parchment Sheets for Harvest Right Medium Trays
Pre-cut parchment sheets listed for Harvest Right medium trays; useful for sticky or small foods and faster cleanup.
Harvest Right-specific sizing: verify the listed 17 × 6.8 in format against your trays.
View on AmazonAffiliate links · Your price stays the same.
STEP BY STEP
How to freeze dry food at home in 7 steps
The exact buttons and settings depend on the machine. This workflow focuses on the decisions that transfer safely from one home setup to another; use your model's current manual for the operating controls.
- 1
Prepare and portion the food
Start with clean tools and suitable food. Trim damaged portions and make pieces consistent enough that you can compare the thickest pieces later.
- 2
Load the trays evenly
Arrange food in a single layer when practical and keep the load within the machine's documented limits. Avoid large piles and hidden thick centers.
- 3
Pre-freeze when it fits the workflow
If you pre-freeze, keep the food protected and transfer trays safely. If your machine supports loading unfrozen food, follow its instructions instead of copying another model.
- 4
Run the cycle for your exact machine
Select the appropriate program or settings for your unit. Do not copy one universal temperature or hour count from another freeze dryer.
- 5
Check representative pieces from every tray
Cut or break open samples from each tray, paying special attention to the thickest or densest pieces. Look for any cold, soft, dark/moist or tacky center.
- 6
Add dry time if any sample is questionable
One questionable sample is enough reason to return the trays for additional drying. A finished timer is not proof that every piece is dry.
- 7
Package promptly after the batch passes
Once every tray passes the dry check, move the food into suitable moisture-barrier packaging, seal it, label it and store it in a cool, dry place.
FIRST-BATCH PASS
Six checks before you call the batch finished
CYCLE TIME
How long does freeze drying food take?
There is no reliable universal batch time. Food moisture, thickness, density, tray load, starting temperature, machine design and software can all change the cycle. A time estimate is useful for planning; it is not proof that the center of every piece is dry.
Thicker, wetter and denser foods generally demand more drying work than small, uniform pieces.
Tray depth, total batch size and uneven portions can change how quickly different areas finish.
Hardware, software, pre-freezing and the selected program all affect the workflow.
The decision rule is simple: let your machine finish its documented cycle, then verify doneness from representative pieces on every tray. Add dry time whenever a sample is questionable.
DRYNESS CHECK
How do you know freeze-dried food is completely dry?
Do not use cycle time alone as your answer. Food moisture, piece size, density, tray load, starting temperature, machine design and software can all change how long a batch needs. The practical check happens after the machine says the cycle is complete.
Use the thickest or densest pieces as your hardest test. A light, dry-looking exterior can hide residual moisture in the center. When in doubt, add dry time and test again.
PACKAGING & STORAGE
How should you package and store freeze-dried food?
Prepare your packaging before you open the chamber. Freeze-dried foods can absorb moisture from room air quickly, so leaving a finished batch exposed while you look for bags, jars or labels works against the drying you just completed.
Use packaging that matches the food and the storage goal. Moisture-barrier pouches, suitable jars and other hermetic options can work when used correctly. Oxygen absorbers can be useful in appropriate dry-food packaging, but oxygen removal cannot correct residual moisture and cannot prove that a batch was dry enough.
A pulled vacuum or tight-looking package cannot prove that the food was completely dry. Verify dryness first; then choose the packaging method.
See our vacuum sealer guide →Avoid blanket shelf-life promises for homemade batches. Home freeze-drying is still a relatively young consumer preservation method, and real storage life depends on the food, how completely it was dried, packaging quality, seal integrity, temperature and exposure to moisture. Label each batch with the food and processing date so you can track it.
Useful tools for moving a verified-dry batch into storage
Use these only after the food has passed the dry check. Packaging cannot correct residual moisture.

Medium Freeze Dryer Trays + Lids — 5 Set
Five medium-format metal trays with lids for covered pre-freezing and batch handling.
Compatibility is for the listed Harvest Right medium format; do not assume fit with the Varmbake machine above.
View on Amazon
Freeze Dryer Scoop — Large HR Tray Fit
A large tray-fit scoop for transferring completely dry food into storage containers with less spill and handling.
Check the listed tray fit before buying; this is a handling tool, not part of the drying process.
View on Amazon
Wallaby 1-Pint Mylar Bags — 50 Count
Heat-sealable 1-pint Mylar bags for portioning a completely dry batch and limiting repeated humidity exposure.
Packaging cannot make under-dried food safe. Verify dryness first, then seal promptly.
View on AmazonAffiliate links · Your price stays the same.
USING THE FOOD
How do you rehydrate freeze-dried food?
Rehydration depends on the food and how you plan to use it. Add water gradually rather than flooding the food immediately; dense cooked foods usually need more time for water to reach the center than small fruit pieces.
Start with less water than you think you need and add more as the food absorbs it.
Let the center catch up before deciding the food needs more liquid.
Rehydration does not add a kill step. Foods that require cooking still need safe cooking before eating.
Remember that adding water changes the safety picture: microorganisms that survived freeze-drying can become active again after rehydration.
COMPARE METHODS
Freeze dryer vs. dehydrator, freezer and dry ice: what is the difference?
| Method | Vacuum? | Removes water? | What it is useful for |
|---|---|---|---|
| Home freeze dryer | Yes | Yes, through the freeze-drying process | Lightweight dry foods, ingredients and meals |
| Food dehydrator | No | Yes, mainly by evaporation | Fruit, vegetables, herbs, jerky and snacks |
| Household freezer | No | No | Frozen storage |
| Dry ice alone | No | Not in a controlled freeze-drying cycle | Rapid cooling or freezing, not a substitute for a freeze dryer |
If your main goal is fruit leather, dried herbs, jerky or chewy dried produce, a dehydrator may be the simpler and less equipment-heavy route. See our Dehydrating guides or the Best Food Dehydrators buying guide.
TROUBLESHOOTING
7 common freeze-drying mistakes — and the better move
Better move: make the next batch more uniform and judge doneness from the thickest pieces, not the smallest ones.
Better move: stay within the documented tray and batch capacity instead of hiding thick centers in a deeper load.
Better move: use the current controls, software and manual for the unit in front of you.
Better move: keep hands, tools, trays and prep surfaces clean; freeze-drying is not a pathogen kill step.
Better move: take representative samples from every tray because a home unit can process unevenly.
Better move: break open representative thick or dense pieces and inspect the center before packaging.
Better move: prepare packaging before the cycle ends and package the verified-dry batch promptly.
BUYING DECISION
Is a home freeze dryer worth it?
A home freeze dryer makes the most sense when you expect to use it regularly, have the space and electrical setup for the machine, and value control over the ingredients you preserve. It makes less sense as an impulse purchase for a few novelty batches. The full workflow also includes prep space, cleaning, maintenance, packaging supplies and storage.
If you are still deciding between preservation methods, compare the cost and complexity with a dehydrator first. For dedicated equipment research, use our Buying Guides hub rather than choosing a machine from one how-to article.
FAQ
Freeze-drying food at home FAQ
Can you freeze dry food without a machine?
Not with the same controlled process. True freeze-drying requires freezing plus controlled vacuum-driven sublimation. A freezer, oven, air fryer, dehydrator or dry ice alone is not an equivalent substitute.
How long does freeze drying food take?
There is no reliable universal batch time. Food moisture, thickness, density, tray load, starting temperature, machine and software all affect the cycle. Use the machine's documented process and verify dryness from representative pieces on every tray.
Does freeze drying kill bacteria?
No. Current Extension guidance states that illness-causing microorganisms can survive freeze-drying and become active again after moisture returns. Clean handling and any appropriate cooking step still matter.
What foods should a beginner avoid freeze drying?
Very fatty, oily or unusually high-sugar foods are poor first-batch choices because they can resist complete drying or remain greasy or sticky. Dense foods, skins and casings also need more planning and careful doneness checks.
What should I freeze dry for my first batch?
Choose one simple food that can be portioned evenly and has obvious dryness cues, such as sliced fruit, peas or corn. Keep the first load uncomplicated so you can learn your machine's behavior.
Can you vacuum seal freeze-dried food?
Yes, when the packaging is suitable and the food is already completely dry. Vacuum sealing is a packaging method, not a food-safety test, and it cannot make an under-dried batch safe.
SOURCES · VERIFIED 09/05/2026
Sources and safety guidance
Food-safety statements in this guide were checked against current Extension guidance. Guidance can change, and the current University of Minnesota and Utah State pages are not fully aligned on raw animal foods. This beginner guide therefore uses the more conservative cooked-first approach. Always verify the current source and follow the manual for your exact machine.