Which pears are ready for the canning pan?
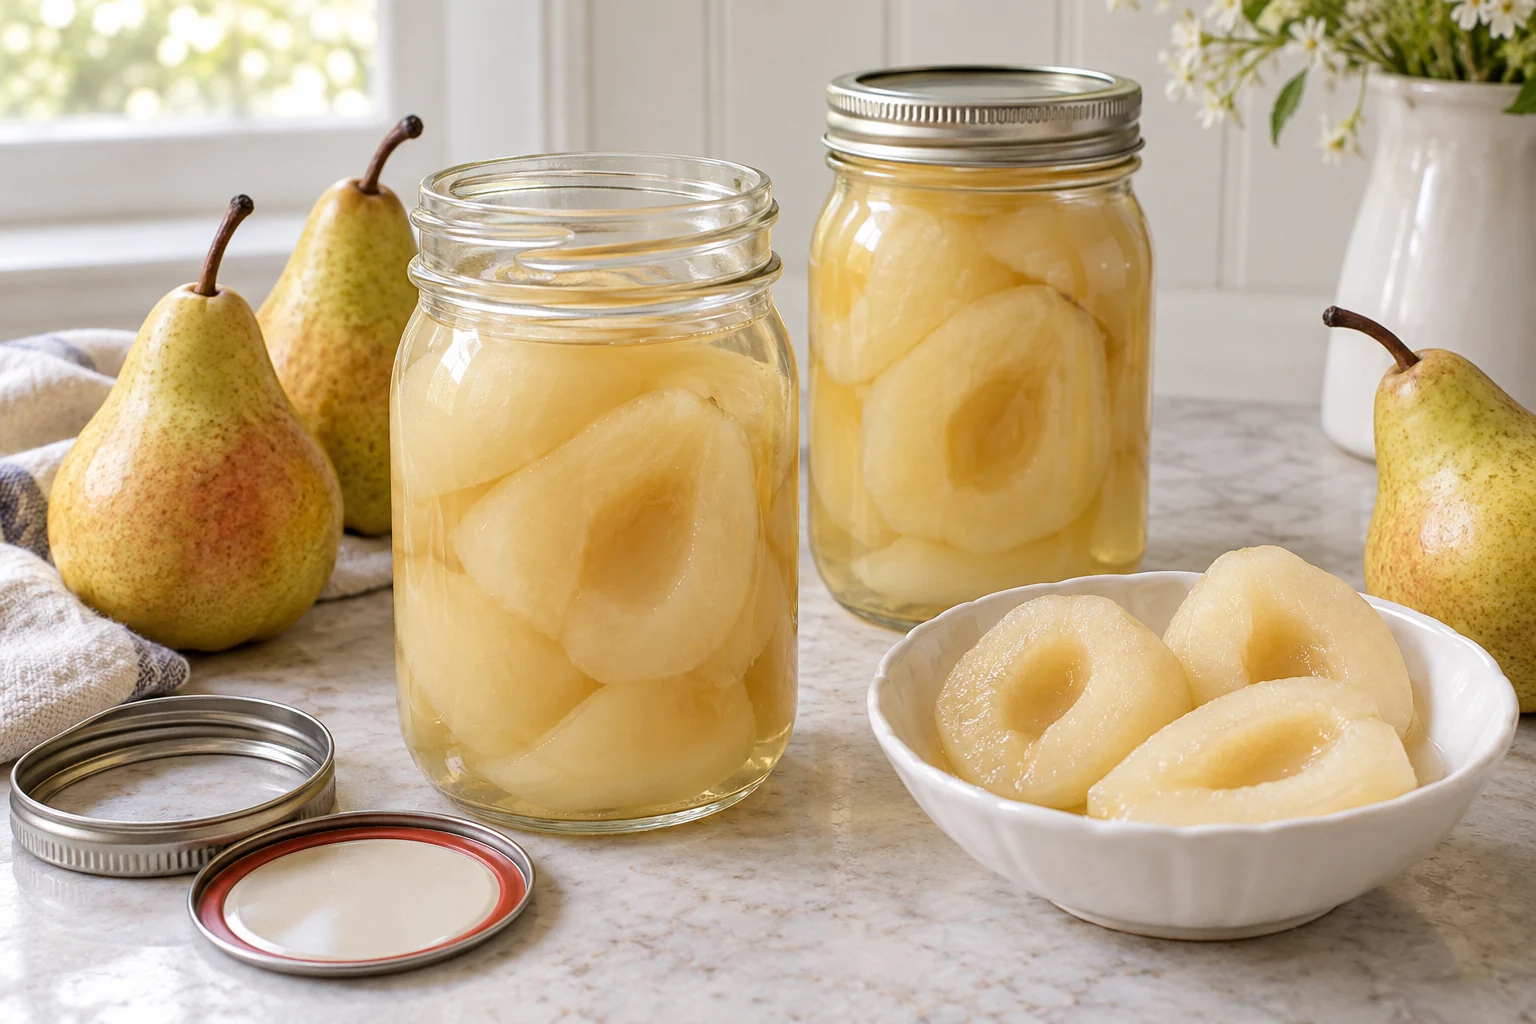
Choose ripe, sound European pears with a texture you would enjoy eating. Rock-hard fruit may be disappointing after processing, while collapsing fruit is difficult to halve and handle neatly. Sort the pears before starting so the best candidates for jars are not mixed with fruit you would rather cook into another dish.
Plan the finished portion too. Halves look attractive beside yogurt or a simple dessert, but a large jar may be more than you want to open for breakfast. Choose the jar size supported by the method that fits your household, not the size that makes the fewest jars. Keep a bowl for peelings and a separate clean bowl for the prepared fruit.
What if your pears are Asian pears or Nashi?
Use the separate NCHFP Asian-pear recipe. Its required bottled-lemon-juice addition is part of that process, not an optional flavor choice. Do not identify the fruit only by whether it tastes sweet or looks round; ask the seller if the variety is unclear.
Keep the separate recipe on the counter when processing Asian pears. Copying the European-pear workflow and trying to remember one change is an easy way to miss a critical detail. If you have a mixed box of varieties, sort and identify it before planning batches. Uncertainty about the fruit should be resolved before jars are filled.
Which jars and tools make pear preparation easier?
A sharp peeler, a knife and a small coring tool are more useful here than an elaborate accessory collection. Keep a stable board and enough workspace to move from washing to peeling, coring and the hot pan without crossing back through dirty equipment.
Use sound canning jars with the closures and sizes supported by the method. A wider opening may make pear halves easier to place and remove, but the opening does not change the jar’s process time. Keep a jar lifter ready and clear the cooling area before turning on the heat. Check that the water-bath pot accommodates the filled jars and required water coverage.
A practical setup for hot-packed pears
Choose a suitable water-bath setup and the jar size you will actually use. Existing EN affiliate mappings below provide a starting point; match the exact product and current instructions to the process.
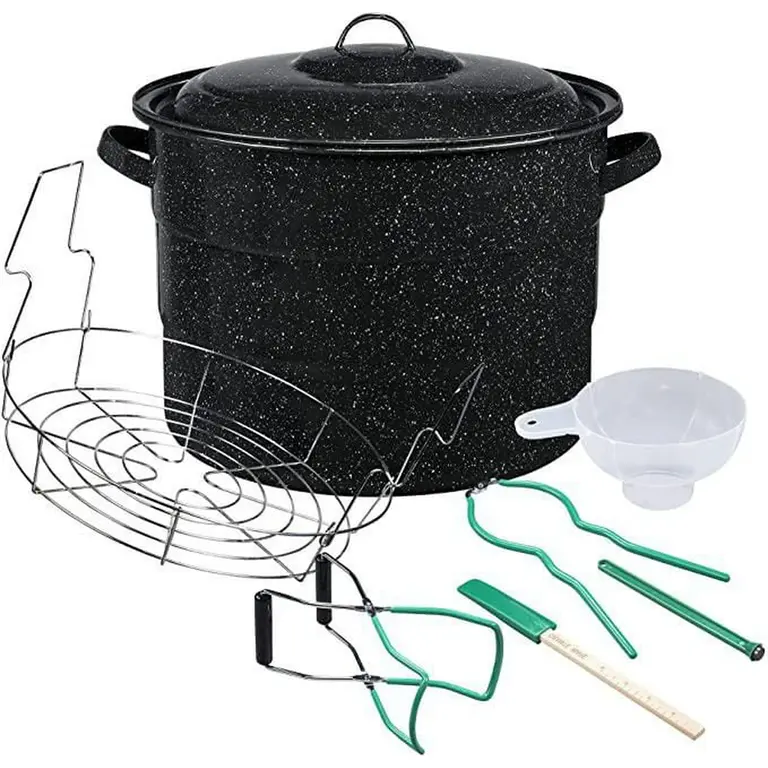
Granite Ware Water-Bath Canner Set
A canning pot and rack for the specified boiling-water method, subject to stovetop and depth checks.
View on Amazon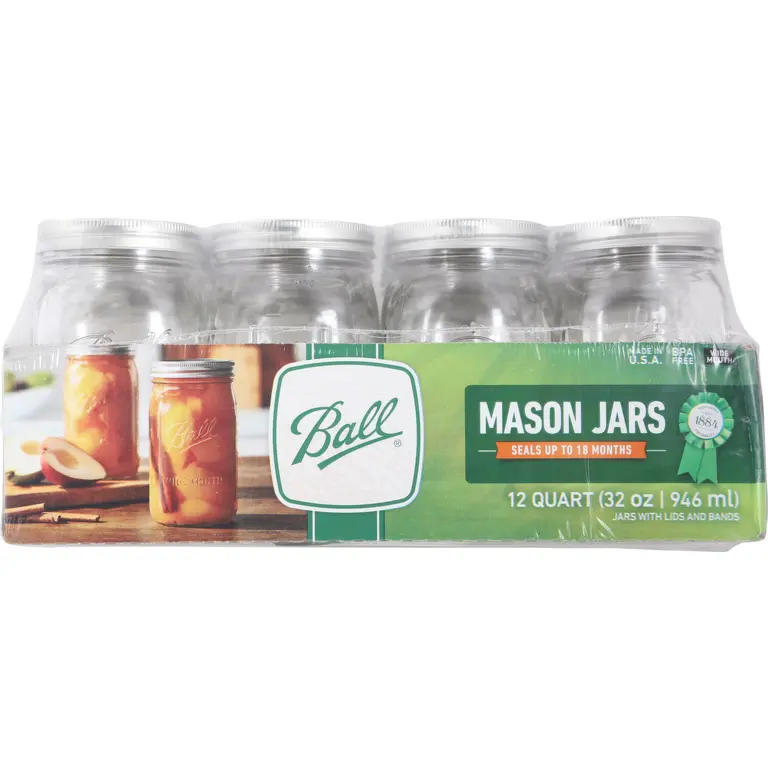
Ball Wide-Mouth 32-oz Mason Jars
Wide-mouth quart jars for the quart process when that portion fits your household.
View on Amazon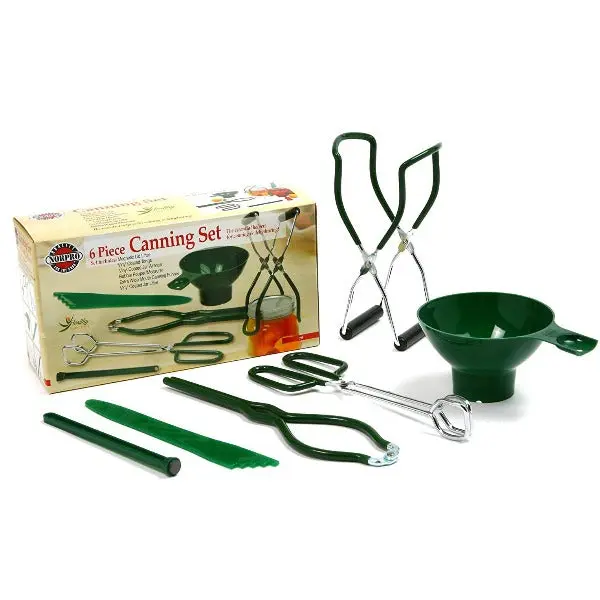
Norpro Canning Essentials Set
A separate filling and lifting set if those tools are missing from your canner package. Check the Granite Ware bundle before buying the same tools twice.
View on AmazonAffiliate links · Your price stays the same.
Check the exact jar size and canner compatibility before buying. The recipe determines the method; an accessory cannot make an unsupported process suitable for pantry storage.
Water, juice or syrup: which should you choose?
The NCHFP pear method permits water, apple juice, white grape juice, or specified syrup strengths. Choose by the flavor you want at the table. The syrup is not permission to skip processing, and a no-sugar pack still needs the complete heat process.
For the first batch, choose one liquid and note it on the recipe. After opening a jar, decide whether you prefer the fruit plain or with a little extra sweetness at serving. If you want cinnamon, vanilla or a spiced dessert, the simplest approach is to add those flavors when you serve the pears rather than creating an unverified preserve in the jar.
- Ripe European pears Sound, mature fruit suitable for eating or cooking; not Asian pears for this recipe.
- Packing liquid Water, apple juice, white grape juice or a very light, light or medium syrup prepared as the source directs.
- Ascorbic-acid solution For limiting browning during preparation; prepare according to the referenced source or product directions.
NCHFP estimates about 11 pounds of pears for 9 pints, or 17½ pounds for 7 quarts. Actual yield varies with fruit size and trimming.
Hot-pack boil: 5 minutes. Boiling-water process: choose 20–40 minutes from the jar-size/elevation table below. Preparation, heating and cooling are additional.
How long should the jars stay in boiling water?
This table is for the source’s hot-packed European-pear halves. Select the jar size and the elevation where you are canning before the batch begins. Start timing only when the loaded canner has returned to a full boil, and keep the water boiling throughout.
| Elevation | US pints | US quarts |
|---|---|---|
| 0–1,000 ft | 20 minutes | 25 minutes |
| 1,001–3,000 ft | 25 minutes | 30 minutes |
| 3,001–6,000 ft | 30 minutes | 35 minutes |
| Above 6,000 ft | 35 minutes | 40 minutes |
Check the original pear table and the complete water-bath directions together. Do not combine this schedule with a raw pack or a different low-temperature bottling method.
Hot-pack European pears in seven steps
Set up the process
Confirm European pears, the chosen jar size and your elevation. Prepare the canner, hot jars and lids as directed.
Peel and core
Wash and peel sound ripe pears, cut lengthwise into halves and remove cores.
Limit browning
Hold prepared halves in the source’s ascorbic-acid solution, then drain before heating.
Make the hot pack
Boil the drained pears for 5 minutes in the selected water, juice or permitted syrup.
Fill and close
Pack hot fruit and hot cooking liquid with ½ inch headspace. Remove bubbles, recheck the level, clean rims and apply lids.
Process in boiling water
Keep jars under at least 1 inch of boiling water, or 2 inches for processes over 30 minutes. Use the jar/elevation table and start at a full boil. If boiling stops, return to the boil and restart the full time. Turn off heat, remove the canner lid and wait 5 minutes before lifting jars upright.
Cool, check and label
Cool jars undisturbed for 12–24 hours. Check seals, label properly processed jars and store according to the source; refrigerate after opening.
Why might the texture or color disappoint?
Begin the review with the fruit you selected. Pears that were too hard, too ripe or heavily bruised cannot all be expected to produce the same result. Keep notes on the variety, ripeness and packing liquid rather than changing several parts of the next batch at once.
Raw packing is not the route used here; the source notes poor quality from raw-packed pears. The same source explains that pressure-canning temperatures can cause pink discoloration, one reason this article focuses on boiling water. Any unexpected color must still be judged alongside the actual process and storage history; appearance alone cannot establish safety.
How should you check the cooled jars?
Allow the jars to cool without retightening hot lids. Follow NCHFP’s seal-check directions and keep any jar with a failed seal out of the pantry group. If the process itself was not followed, a tight lid is not enough to rescue the batch.
Store labeled sound jars in an appropriate cool, dry, dark place, with older batches easy to reach. Put a note in your meal plan when a jar is opened so it is used promptly under refrigerated-storage guidance. Attractive jars are easier to enjoy when their date and identity remain clear after the original recipe printout has been put away.
What should you make with a jar of pears?
Serve a few halves with yogurt, spoon them beside a simple cake, or warm a portion with spices for dessert. Keep those finishing ingredients separate from the preserved recipe. A plain or lightly flavored jar leaves room to decide what tastes good with the meal in front of you.
If your household wants a chewy snack instead, choose drying as a separate project. If you want a sweet-and-sour side, choose an appropriate pear-pickling recipe. Preserving the same fruit in different formats can be useful, but each format needs its own preparation and storage instructions.
Questions about canning pears
Can I can pears without sugar?
Yes, the referenced European-pear method permits water or specified juices. Keep the complete hot-pack and processing instructions.
Can I use these instructions for Asian pears?
Use the separate NCHFP Asian-pear recipe, including its required acidification. Do not substitute it silently into this method.
Do I have to peel the pears?
The referenced method specifies peeled, cored halves. Keep that preparation rather than changing the product.
Can I use a raw pack to save time?
This article follows the hot pack. NCHFP describes raw-packed pears as poor quality; use one complete supported workflow.
Does the timer start when I put jars in the canner?
No. For this boiling-water method, start when the loaded canner returns to a full boil.
Can I add spices?
For the simplest first batch, add cinnamon or other dessert flavors when serving. A different preserved formula should come from its own tested recipe.
Sources and editorial notes
Written for US home canning using the primary sources below, checked on September 11, 2026. These are editorial explanations, not an independently tested recipe or product trial. Product options are compared by their stated function and fit for this guide; they have not been tested by Einfach Haltbar. Accuracy cannot be guaranteed; verify the complete current source instructions before preserving food.
- NCHFP: Pears — Halved
- NCHFP: Asian Pears
- NCHFP / University of Georgia: Using Boiling Water Canners
- NCHFP: Cooling Jars and Testing Jar Seals
- NCHFP: Storing Home Canned Foods
AI-generated contextual illustration; not a photograph of our recipe or appliance tests.