Which pumpkin or winter squash should you prepare?
Choose sound, mature cooking squash with firm flesh. Small pie or sugar pumpkins are practical choices when you want a batch suited to the kitchen rather than a decorative display. Avoid using damaged produce simply because the outside can be trimmed enough to look presentable.
Butternut is another familiar winter-squash option. The important method distinction is winter squash versus summer squash: zucchini does not belong in this process. Keep the variety and quantity on your batch note so you can decide later whether the flavor and yield were worth repeating. Start with an amount you can peel and cube without rushing.
What makes preparation manageable?
A stable cutting board, a sharp knife and a safe way to peel are the first priorities. Create room to separate the whole squash, the discarded rind and the clean cubes. Work with manageable sections rather than trying to control a large round pumpkin while surrounded by jars.
Have the correct pressure canner and its rack ready before the cubes go into hot water. Select jars in one supported size for a simpler first batch, lay out a headspace measure and jar lifter, and clear the cooling area. A canner purchase cannot compensate for an awkward or crowded preparation station.
Equipment for the tested pumpkin-cube method
The process needs an appropriate pressure canner, supported jars and clean handling tools. Compare the exact current product and instructions; these are established EN site product associations rather than independent test rankings.
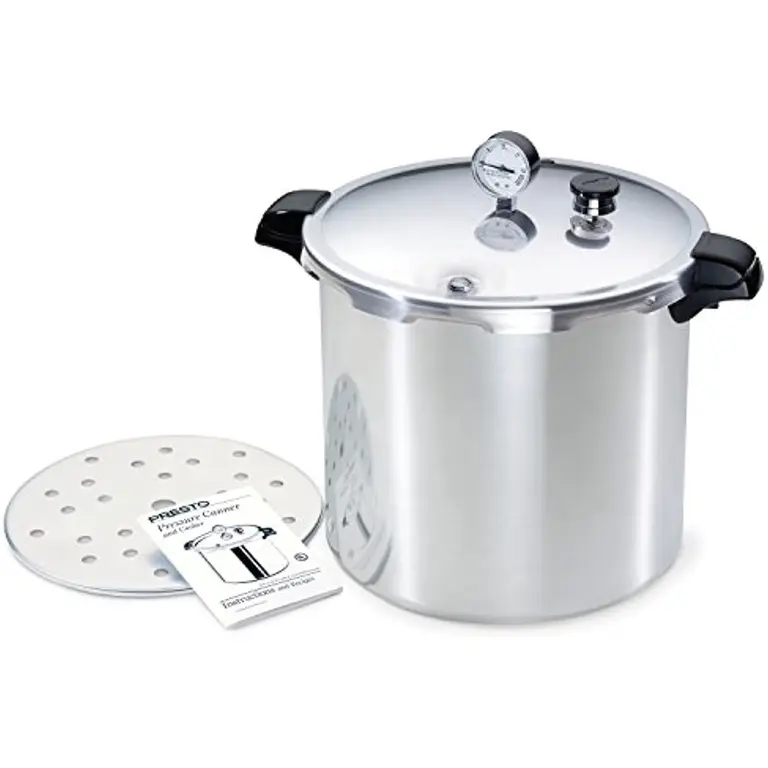
Presto 01781 · 23-Quart Pressure Canner
A pressure-canner option for the tested pumpkin-cube process. Match its manual, your range and the source instructions for jar size and elevation.
View on Amazon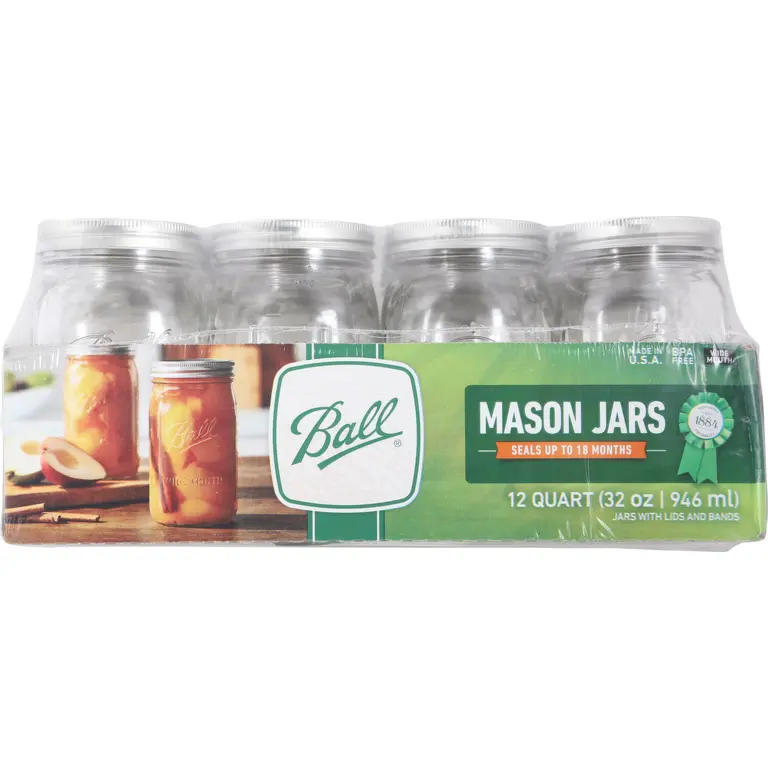
Ball Wide-Mouth 32-oz Mason Jars
A listed size for this method. Choose it only if the longer quart process and portion fit your plans.
View on Amazon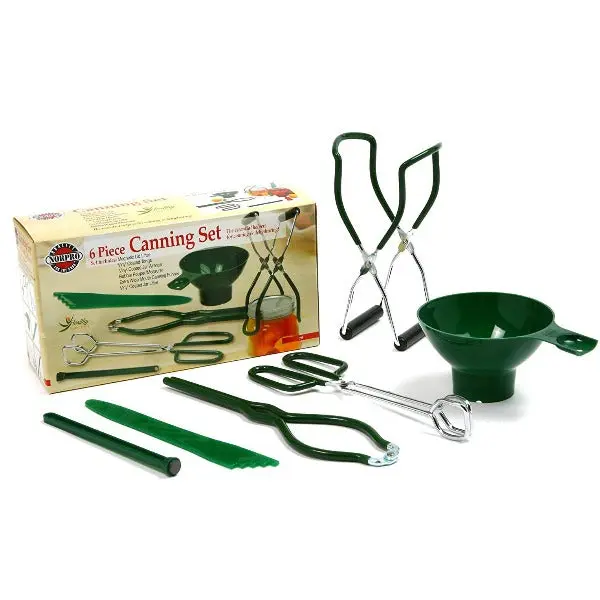
Norpro Canning Essentials Set
Basic tools for lifting jars and arranging a clean filling area.
View on AmazonAffiliate links · Your price stays the same.
Check the exact jar size and canner compatibility before buying. The recipe determines the method; an accessory cannot make an unsupported process suitable for pantry storage.
Why are peeling and cube size part of the method?
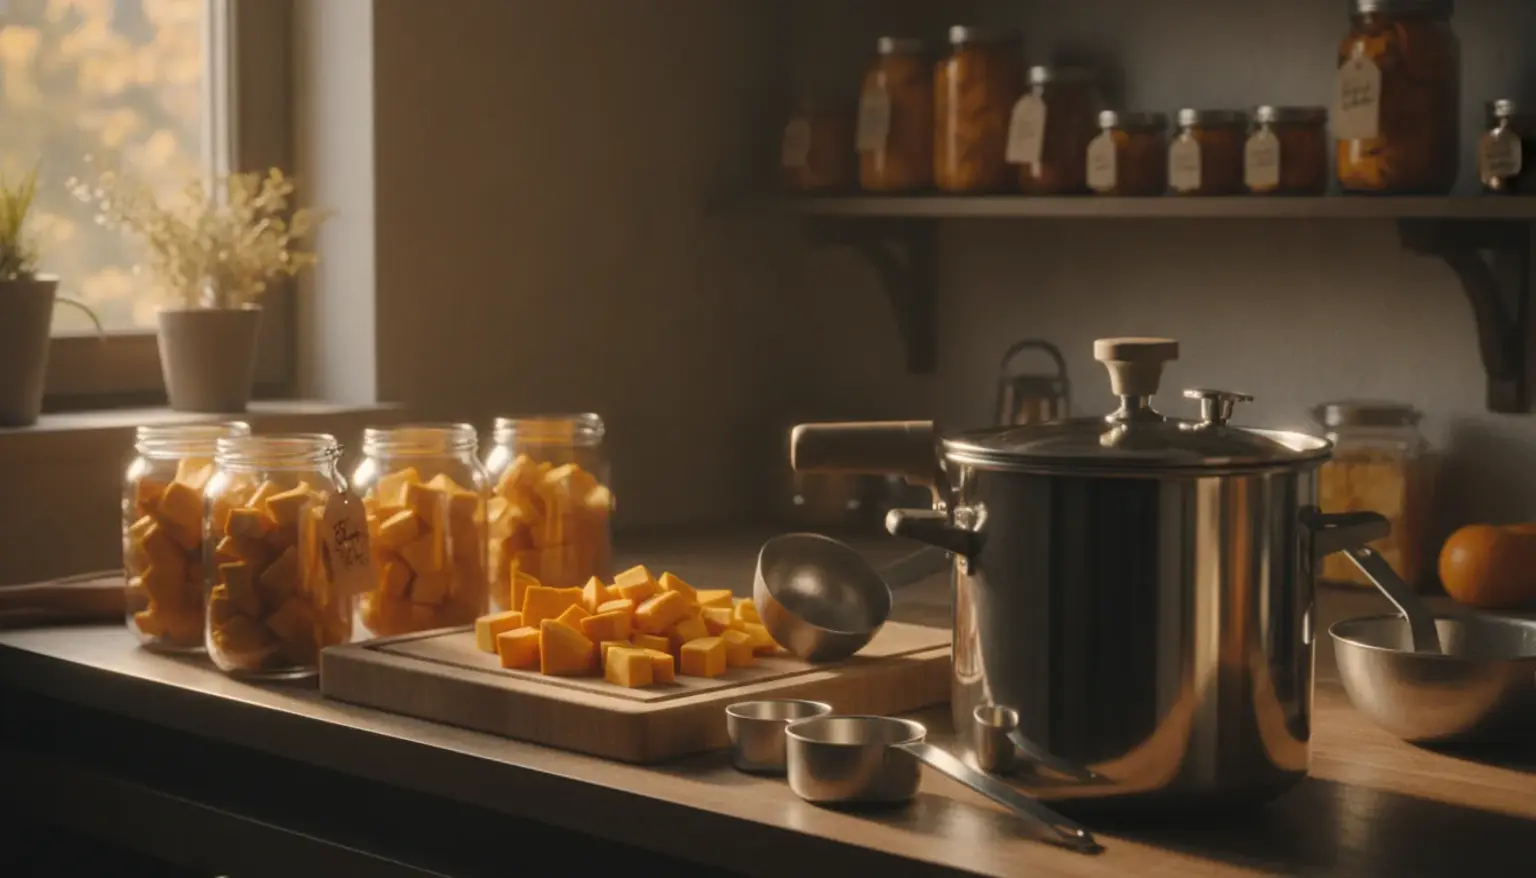
The NCHFP pumpkin and winter-squash method uses peeled 1-inch cubes. An edible rind in an ordinary roasted dinner does not justify leaving the peel on for this process. Likewise, a jar packed with large chunks or compressed mash is not the product described by the source.
Keep a visual size reference on the board and cut consistently. Save fragments that cannot form reasonable cubes for another dish rather than pushing them into the jar as filler. The goal is a recognizable cube-and-liquid pack, not maximum pumpkin weight in the smallest possible space.
- Mature pumpkin or winter squash Sound cooking-quality flesh with a hard rind; wash, remove seeds and peel.
- Water For the brief boil and hot cooking liquid that surrounds the cubes.
- No purée or thickener This method keeps 1-inch cubes in liquid; add other meal ingredients after opening.
NCHFP estimates about 10 pounds of whole pumpkin or winter squash for 9 pints, or 16 pounds for 7 quarts. Trimming and variety affect the actual yield.
Preboil cubes for 2 minutes. Pressure process pints 55 minutes or quarts 90 minutes. Preparation, venting, pressurization and natural cooling are additional.
How long should the pressure process run?
Time and pressure are separate settings. Choose the jar size for the processing duration, then choose the gauge type and elevation for the pressure. These values belong only to the complete hot-pack cube method, including the specified preparation and liquid.
| Jar size | Processing time |
|---|---|
| US pint | 55 minutes |
| US quart | 90 minutes |
| Elevation | Pressure |
|---|---|
| 0–2,000 ft | 11 psi |
| 2,001–4,000 ft | 12 psi |
| 4,001–6,000 ft | 13 psi |
| 6,001–8,000 ft | 14 psi |
| Elevation | Pressure |
|---|---|
| 0–1,000 ft | 10 psi |
| Above 1,000 ft | 15 psi |
Read the original pumpkin tables with the full pressure-canner directions. If your situation falls outside a listed dial-gauge elevation range, obtain appropriate guidance rather than extrapolating a setting.
Prepare and pressure-can pumpkin cubes in seven steps
Confirm the recipe and settings
Check the appropriate pressure canner, jar size, gauge type and elevation setting before cutting.
Wash, peel and cube
Remove seeds and fibrous interior. Peel and cut sound flesh into 1-inch cubes.
Preboil in water
Boil the cubes in water for 2 minutes. Keep them as cubes; do not mash or blend.
Pack hot with liquid
Fill hot jars with cubes and cooking liquid, leaving 1 inch headspace. Remove bubbles, recheck headspace, wipe rims and apply lids.
Vent and pressure-process
Vent a steady steam stream for 10 minutes before pressurizing. Process pints 55 minutes or quarts 90 at the required pressure. If pressure falls below it, restore pressure and restart the full time.
Cool naturally
Turn off the heat and let pressure return to zero naturally. Once completely depressurized, remove the weight or open the petcock as directed, wait 10 minutes, then open the lid away from you. Lift jars upright and cool undisturbed for 12–24 hours; do not retighten lids.
Check, label and store
Check seals after cooling and label correctly processed jars. Use source guidance for any failed seal; refrigerate after opening.
Can you can pumpkin purée or pumpkin butter?
No supported home-canning process for either is established by the source used here. The NCHFP pumpkin FAQ explains that changes in thickness and other product characteristics prevent applying the cube process to purée. A smooth jar is not simply the same food in a tidier form.
If pie filling or smooth soup is your goal, you have two distinct options: freeze an appropriate purée preparation, or preserve cubes by the full tested method and finish the dish after opening. Choose the format that fits your cooking habits. Do not fill jars with purée and borrow the 55- or 90-minute numbers from this page.
Can another appliance replace the pressure canner?
A water-bath pot, oven or conventional electric bottling pot does not replace this pressure-canning process. Neither does a small pressure cooker simply because it develops pressure. Use equipment appropriate to the source method and read its manual before the session.
If that setup does not suit your kitchen, preserving pumpkin is still possible by another route. Freezing may be a better fit for purée or a favorite soup. A tested pickled-pumpkin recipe is a separate acidified product with its own ingredients and process. Select the route you can complete correctly rather than forcing the harvest into the equipment available.
How do you handle the finished jars?
Let the canner cool naturally and leave the removed jars undisturbed. Follow NCHFP’s cooling and seal checks. A lid that pulls down does not validate the wrong food form or an interrupted process; keep the preparation and pressure record with the batch.
Label sound, correctly processed jars with their contents and date. Choose an appropriate storage space where you can see the oldest jars and inspect them before use. If a jar leaks, bulges or raises a concern about its processing history, do not taste it to decide whether it is acceptable. Follow the source’s handling guidance.
What can you make after opening a jar?
Use the cubes in a suitable cooked dish, or drain and mash them when preparing a pie or soup. This is the right stage for the cream, flour, oil or other ingredients your finished meal needs. Keeping the stored product simple gives you several serving options without inventing a new canned formula.
Note the quantity a recipe actually uses after draining. That helps you choose between pints and quarts next time. A convenient portion is more valuable than a larger jar that leaves you looking for a second pumpkin meal immediately. Keep opened contents refrigerated and handle leftovers according to normal safe food-storage guidance.
Questions about canning pumpkin
Can I leave the skin on a variety with an edible rind?
No. This canning method uses peeled flesh. A rind that is pleasant when roasted is not permission to change the tested pack.
Can I use the same times for mashed pumpkin?
No. The cube process does not cover purée, mash or pumpkin butter. Choose an appropriate freezing method instead.
Can I raw-pack the cubes?
This article follows the source’s hot pack, including the 2-minute preboil. Do not replace it with a raw pack.
Can I pressure-can zucchini this way?
No. The winter-squash method does not apply to summer squash such as zucchini.
Can I omit the liquid for less watery pumpkin?
No. The method uses cubes with hot cooking liquid. Drain as needed after opening rather than changing the canning pack.
Why are quarts processed so much longer than pints?
They are different tested jar sizes with different processing times. Use the published schedule rather than averaging or shortening it.
Sources and editorial notes
Written for US home canning using the primary sources below, checked on September 11, 2026. These are editorial explanations, not an independently tested recipe or product trial. Product options are compared by their stated function and fit for this guide; they have not been tested by Einfach Haltbar. Accuracy cannot be guaranteed; verify the complete current source instructions before preserving food.
- NCHFP: Winter Squash and Pumpkins — Cubed
- NCHFP: Vegetables and Fruits Canning FAQs
- NCHFP: Using Pressure Canners
- NCHFP: Cooling Jars and Testing Jar Seals
- NCHFP: Storing Home Canned Foods
AI-generated food illustrations; they do not document an in-house preservation test.