Is kombucha the right project for your kitchen?
Choose this project if you enjoy tea and want to explore a tart fermented drink. Before buying anything, find a stable spot for the brewing jar and decide when you will check it. Starting a batch immediately before a vacation makes that simple routine harder than it needs to be.
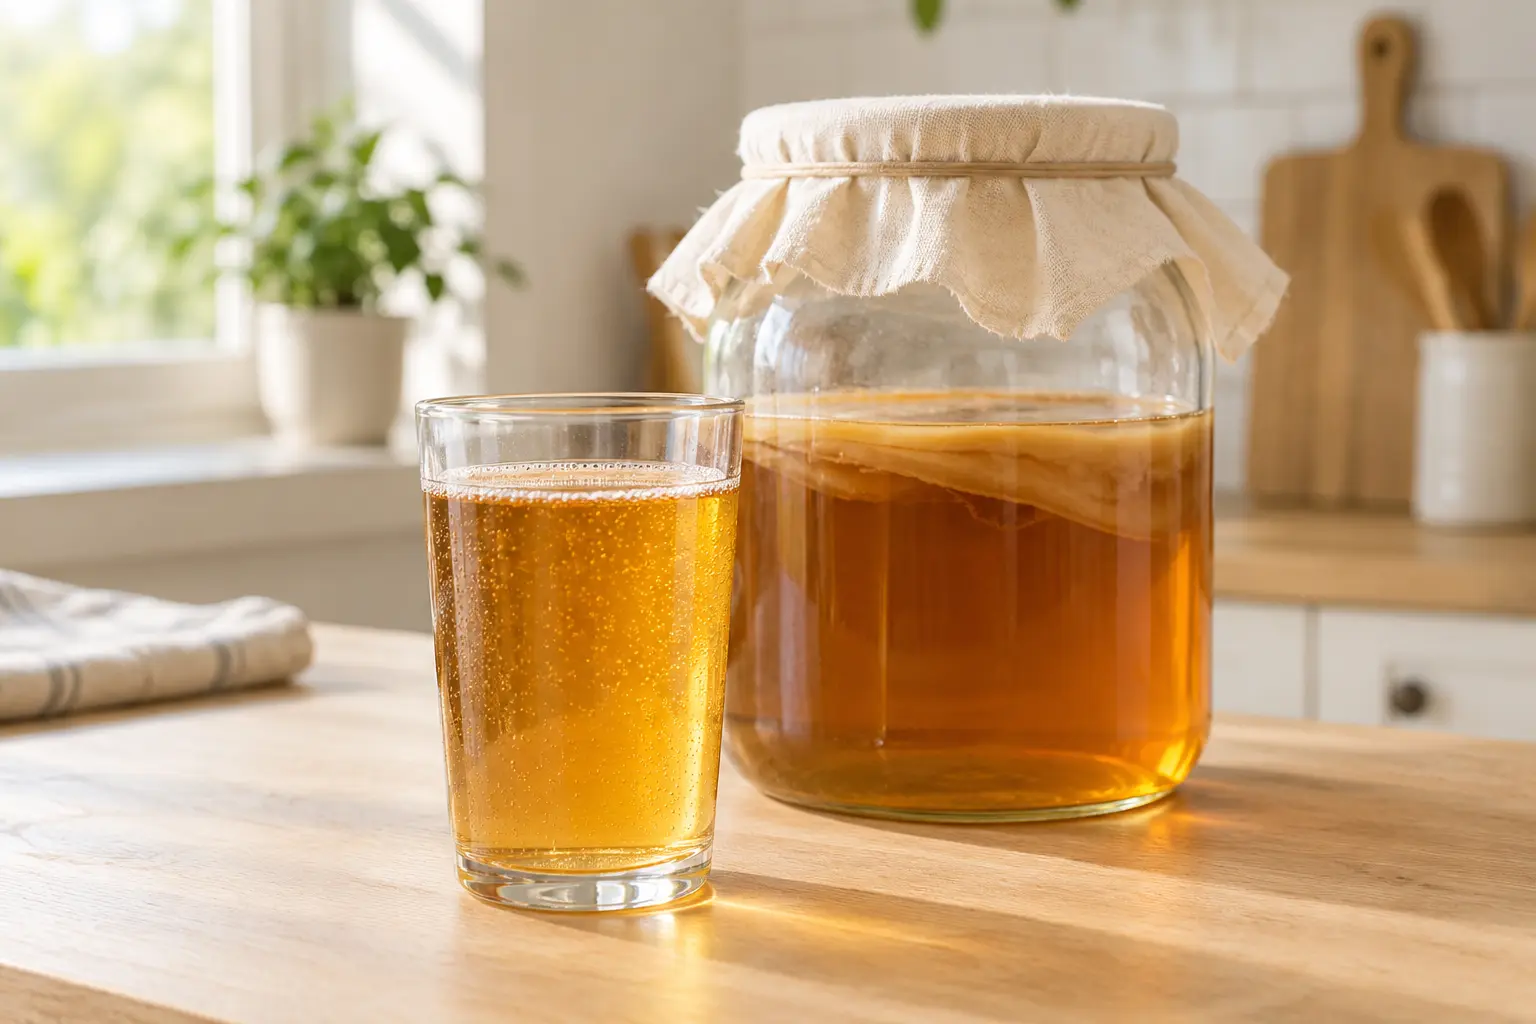
The jelly-like disc is often called a tea mushroom, but it is not a mushroom. The culture contains bacteria and yeasts. Oregon State explains the SCOBY. You do not need a line of flavored bottles for your first attempt. First decide whether you like the plain tea base and whether keeping one batch fits your schedule.
Why does starter liquid matter?
The culture disc does not replace the liquid starter. Mature fermented tea supplies acidity and active organisms. Because sellers use “SCOBY” for both the disc and a complete starter package, read what is actually included. Check the amount of liquid before heating the kettle.
This smaller first batch uses half the quantities in Colorado State’s home recipe, selecting four tea bags and one cup of starter. It is a proportional reduction, not a separately tested formulation. Culture manufacturer Fermentaholics also explains using a gallon culture for a half-size brew.
Water and starter already total about 2.1 L. Use a food-grade jar of at least 3 L, such as a one-US-gallon jar, with room above the mixture. A 2 L jar is too small. If following a kit recipe instead, use its ingredient quantities and fill instructions together. Do not pour a full gallon of water plus starter into a gallon jar. A smaller batch does not automatically mean half the fermentation time; keep the same acidity checks.
- ½ US gallon drinking water, about 1.9 L Half the water in the CSU base recipe.
- 4 plain black or green tea bags Alternatively, 2 US tablespoons loose tea; no flavorings.
- ½ US cup white granulated sugar, about 100 g The gram amount is a kitchen conversion.
- 1 US cup active starter tea, about 240 mL Mature, unflavored kombucha from a suitable culture; add this separately from the water.
- 1 suitable active kombucha culture Use the supplier’s instructions; the starter liquid remains essential.
About 2.1 L of water and starter, plus dissolved sugar and culture; bottled yield is lower after reserving starter.
CSU’s home method uses 7–14 days at 64–79°F (18–26°C). Check acidity throughout: the batch must reach pH 4.2 or lower by day 7. Elapsed time alone does not establish readiness.
Which equipment earns its place?
Set out a food-grade glass vessel with enough capacity, a heat-safe pot, measuring cups, thermometer, clean tightly woven cloth and rubber band. Use a calibrated pH meter suitable for the acidic range. Read its maintenance and calibration instructions before the first brew, when you still have time to obtain the right buffer solutions.
This first fermentation needs access to air. Vegetable-fermenting airlock lids and submersion weights are not the setup described here. Virginia Tech describes air exposure and acidity monitoring. A jar you already own may be useful, but a vegetable kit is not automatically the right purchase just because both activities are called fermentation.
Choose equipment for your starting point
Choose a complete brewing kit, a live culture for equipment you already own, or a vessel kit with separate culture and starter. Compare the current contents before buying. Use the supplier’s recipe for its culture and keep the first fermentation covered with breathable fabric.
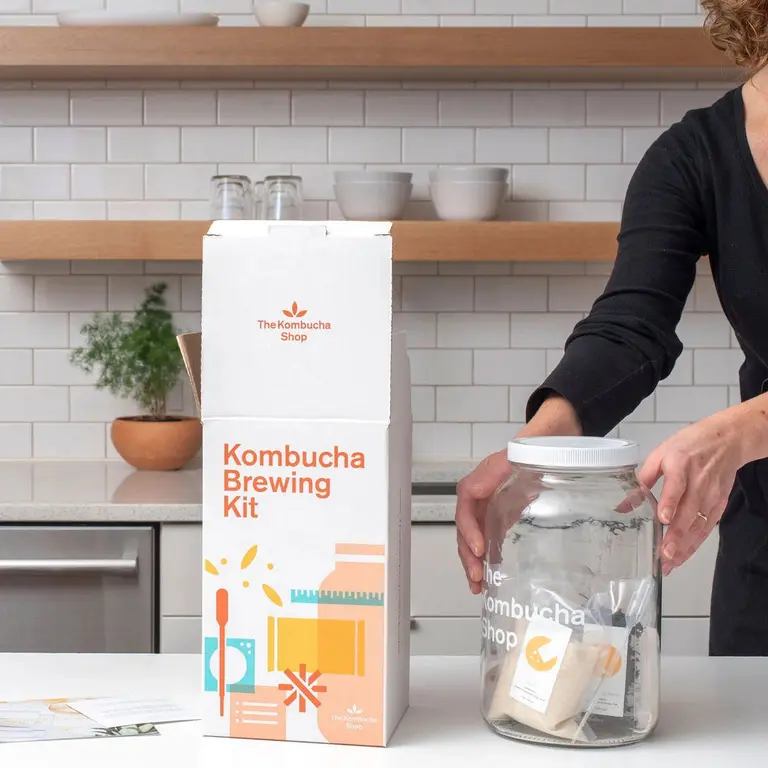
The Kombucha Shop Organic 1-Gallon Brewing Kit
A one-gallon glass jar, culture and starter, tea, sugar, breathable cover, pH strips and temperature gauge in one kit. Follow the included kit recipe and leave room above the liquid.
View on Amazon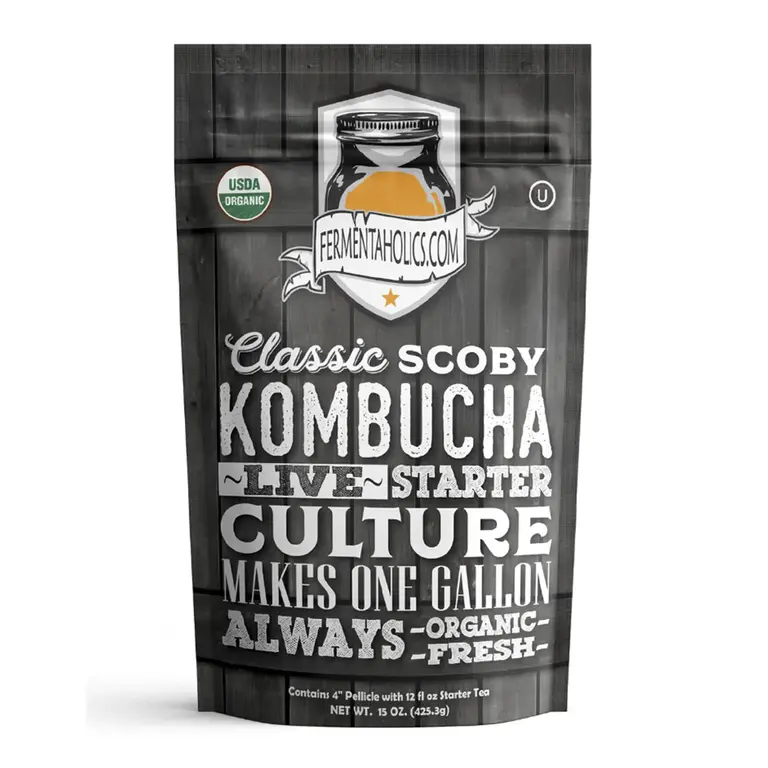
Fermentaholics Organic Kombucha SCOBY + 12 fl oz Starter
For readers who already own suitable brewing equipment: a live culture with 12 fl oz of mature starter tea. Use the manufacturer’s batch instructions and check acidity; a pellicle alone is not a substitute for starter liquid.
View on Amazon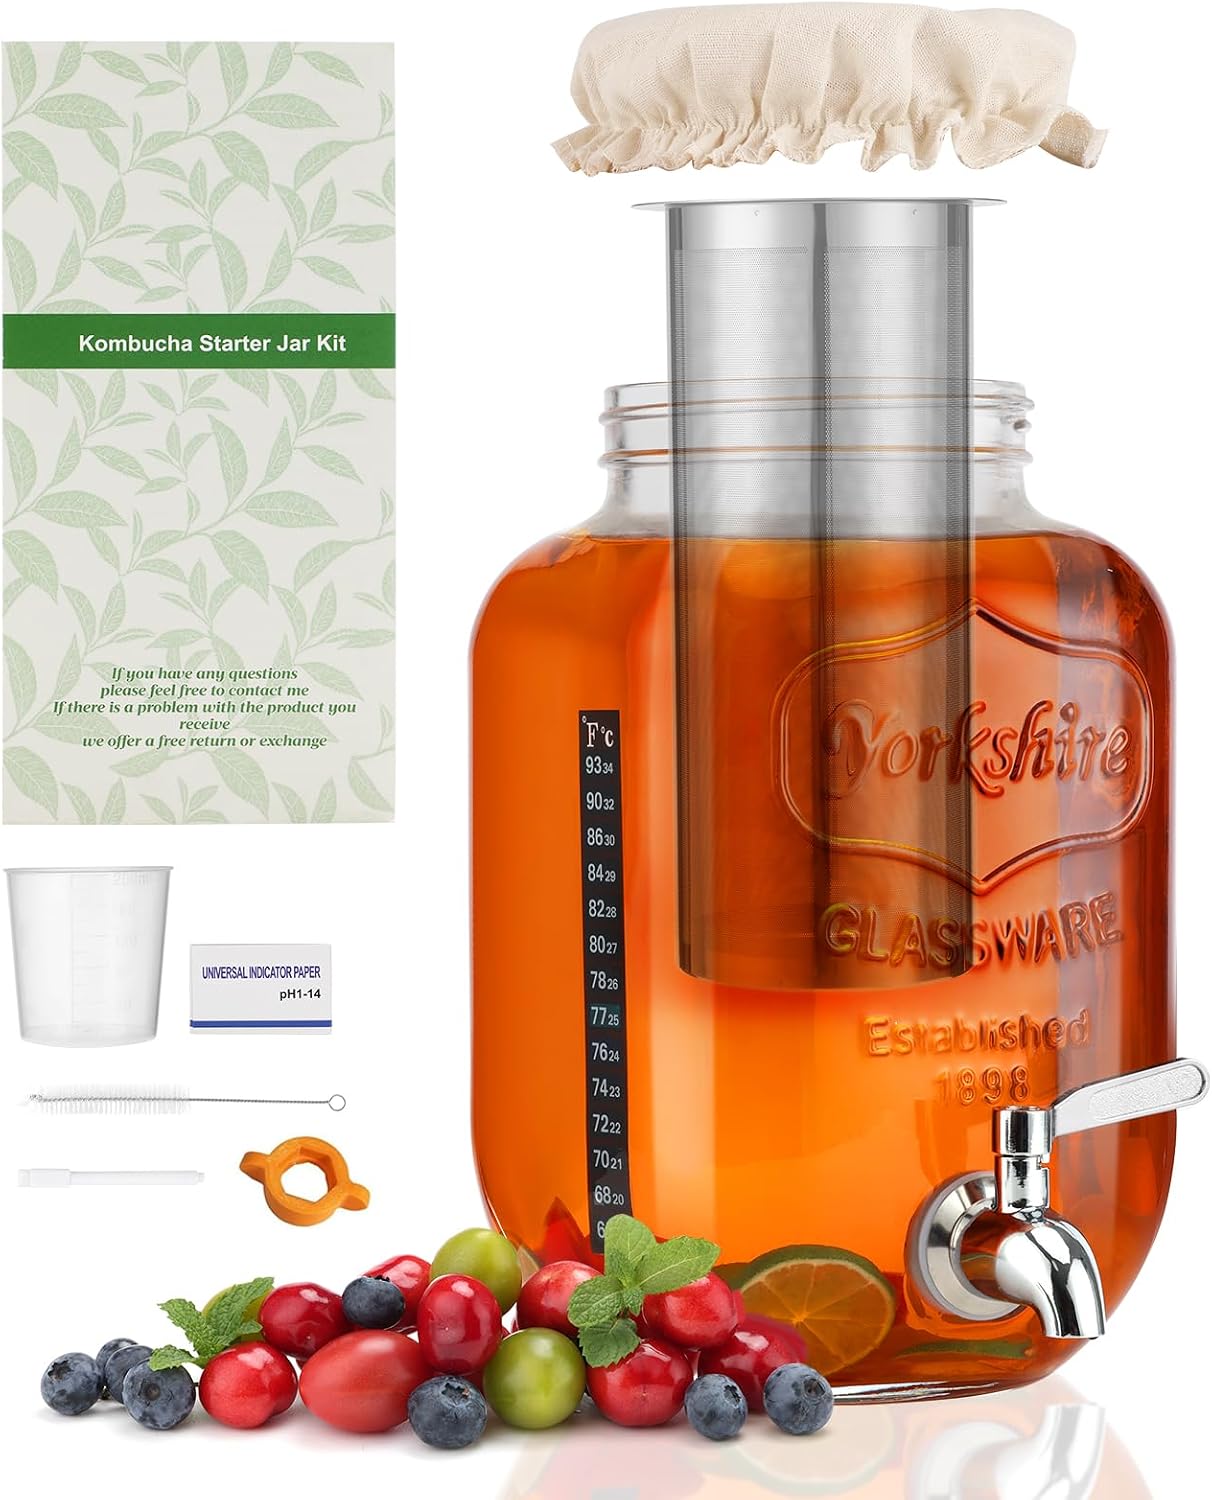
MIWUYI 1 Gallon Kombucha Starter Kit
One-gallon glass vessel with a spigot, cloth cover and accessories. SCOBY and active starter are separate. Check all food-contact materials and cleaning instructions; use the breathable cover for the first fermentation. The included universal pH paper is not a substitute for the measurement guidance in this article.
View on AmazonAffiliate links · Your price stays the same.
Prepare your space before brewing
Make room for both the brewing vessel and the eventual refrigerated containers. Label the batch with its start date, tea and starter source. One plain batch is easier to learn from than several differently flavored jars started together. You can make a more useful comparison next time by changing one flavor choice at a time.
Wash your hands, then clean and sanitize food-contact equipment using an appropriate method and the relevant product instructions. Avoid unsuitable glazed pottery in this acidic process. University of Georgia explains vessel choice and sanitation. Keep the workspace easy to clear, with a separate place for your measurement sample and notes.
Make kombucha in seven steps
Prepare
Wash hands and clean the workspace. Clean and sanitize suitable utensils and vessels. Measure ingredients, label the batch and calibrate your pH meter according to its instructions.
Brew sweet tea
Steep tea in hot water for 10 minutes, remove the bags and dissolve the sugar. For faster cooling, begin with half the water, then add the other half cold.
Cool completely
Let all the sweetened tea reach room temperature before adding the living culture. Check that any glass vessel is suitable for the temperature changes involved.
Add the starter
Combine cooled tea, starter liquid and culture. Measure and record starting pH. If it is not below 4.5, do not simply leave the batch to ferment; check starter suitability and supplier guidance first.
Cover and monitor
Secure a tightly woven cloth over the jar. Ferment at 64–79°F (18–26°C), away from direct sun. Record temperature and pH regularly; pH must reach 4.2 or lower by day 7.
Assess the batch
Discard liquid and culture if mold appears or the batch fails to acidify by day 7. Only assess flavor after an acceptable process and pH between 2.5 and 4.2. Do not drink below 2.5.
Refrigerate
Transfer finished kombucha to clean, sanitized suitable containers and refrigerate immediately at 40°F (4°C) or below. Reserve starter only from a sound batch. This method has no warm bottle-conditioning stage.
How should you use your pH readings?
Take a sample with clean equipment and test it separately; do not return the tested sample to the jar. Record the date and temperature alongside the reading. An unexpected result is a reason to check your meter and calibration, then remeasure. It is not a reason to round the number toward the result you wanted.
The initial below 4.5 check comes from Utah State’s home guidance. The tighter ongoing limits follow BCCDC: 4.2 or lower within seven days, with no drinking below 2.5. A failed acidification process means discarding the batch. Adding acid late does not retrospectively validate how the batch was handled.
A short record with “day · temperature · pH · observation” is enough to organize the work. Keep it beside the recipe rather than scattered across phone photographs. When you start another batch, the notes will tell you what you actually did, instead of leaving you to reconstruct it from memory.
| Entry | What to record |
|---|---|
| Start | Date, tea, starter source and measured starting pH |
| Progress | Date, temperature, reading and observation |
| Decision | Checks completed and refrigerated – or discarded |
| Next batch | Which tea you would like to use again |
A new surface layer or mold?
A pale wet layer can form during fermentation. Dry, fuzzy patches are a different concern: discard the liquid and every culture layer, then clean and sanitize the vessel. Do not lift off the patch and keep brewing the remainder. UGA describes these spoilage signs.
A recipe photograph cannot identify what is growing in your own jar. Similar color does not prove the same organism, and a picture taken through tinted glass may conceal useful detail. If you cannot confidently rule out spoilage, do not taste the batch as a diagnostic test. Restarting is a better project than trying to rescue a questionable culture.
What should you record about flavor?
Assess flavor only after the process checks above. Use practical descriptions: still distinctly sweet, pleasantly tart, or sharper than you enjoy. There is no need to invent a score. A brief note tells you more when planning the next batch than a photograph of two glasses that look alike.
Fermentation changes the mix of sugars, acids and alcohol. A kitchen pH measurement cannot supply a precise remaining sugar or alcohol content. CSU explains this changing composition. This recipe therefore makes no sugar-free or exact nutrition claim. Keep the specified sugar amount for the first batch, then work from suitable complete recipes when exploring alternatives.
Do you need a second fermentation?
For your first brew, this method finishes with plain refrigerated kombucha. If you later want to explore a flavor, add it to a small serving in the glass and consume it promptly. That is an easier way to learn which combinations you like before taking on a separate bottling project.
Continued fermentation in a warm sealed bottle can produce pressure; added sugar or juice changes the process. An ordinary screw-top jar is not automatically a pressure-rated vessel, and occasional “burping” is not a universal pressure-control method. CSU specifically warns about bottle pressure. No warm sealed-bottle fermentation is included in these steps.
How should finished kombucha be stored?
Refrigerate the finished drink and check that the refrigerator stays at 40°F (4°C) or below, following FDA storage guidance. Label the containers and make an amount you can realistically use. An online recipe cannot establish a fixed shelf life for an unknown home batch.
Refrigeration limits further fermentation but does not remove alcohol already produced. Health Canada explains how processing and storage affect alcohol. If you need to avoid alcohol, homebrewed kombucha is not a reliably alcohol-free choice. This home-fermented drink is not intended for pregnancy, children or people with weakened immune systems.
Choose containers you can comfortably lift and clean. Before brewing, check that they fit upright in the space you have reserved. For an initial batch, useful labels and a realistic serving plan matter more than decorative packaging. Bring out only what you intend to serve and leave the rest refrigerated.
First-batch kombucha questions
Can I begin without starter liquid?
Not with this method. Obtain the culture together with enough active liquid. The disc alone does not replace the measured starter in the ingredient list. Check the package contents before preparing the tea.
Should I replace the sugar with honey?
This recipe uses the specified granulated sugar. Honey or another sweetener would be a different recipe choice. Learn the plain base first, then use an appropriate complete method for a variation.
Can I measure pH only at the end?
Record the process, including the starting check. A final reading alone does not explain how quickly acidification occurred. Check the meter and its calibration if a reading is unclear; do not guess.
Can I keep the finished jars in the pantry?
This process makes a refrigerated home ferment. It includes no shelf-stable canning or storage method. Plan refrigerator space before starting, rather than finding out later that the batch does not fit.
Is kombucha a health treatment?
This guide is about a fermented tea drink, not a treatment. It makes no detox, disease-treatment or weight-loss promise. Ask your healthcare professional about suitability when health conditions or medication create questions.
Sources and editorial notes
Prepared from the linked university and public-health guidance; not a hands-on product or recipe test. Sources checked September 11, 2026. Accuracy cannot be guaranteed; please verify.
- Colorado State University: Understanding and Making Kombucha
- BCCDC: Food Safety Assessment of Kombucha Tea Recipe and Food Safety Plan
- University of Georgia: What’s the Word on Homemade Kombucha?
- Colorado State University: Kombucha — Food Source Information
- Utah State University: Homemade Kombucha
- Virginia Tech: Kombucha — processing and pH guidance
- Health Canada: Ethanol in non-alcoholic fermented beverages
- FDA: Are You Storing Food Safely?
- Oregon State University: Understanding and Making Kombucha
- Fermentaholics: Using a one-gallon culture for a half-gallon brew
- The Kombucha Shop Organic 1-Gallon Brewing Kit — manufacturer information
- Fermentaholics Organic Kombucha SCOBY + 12 fl oz Starter — manufacturer information
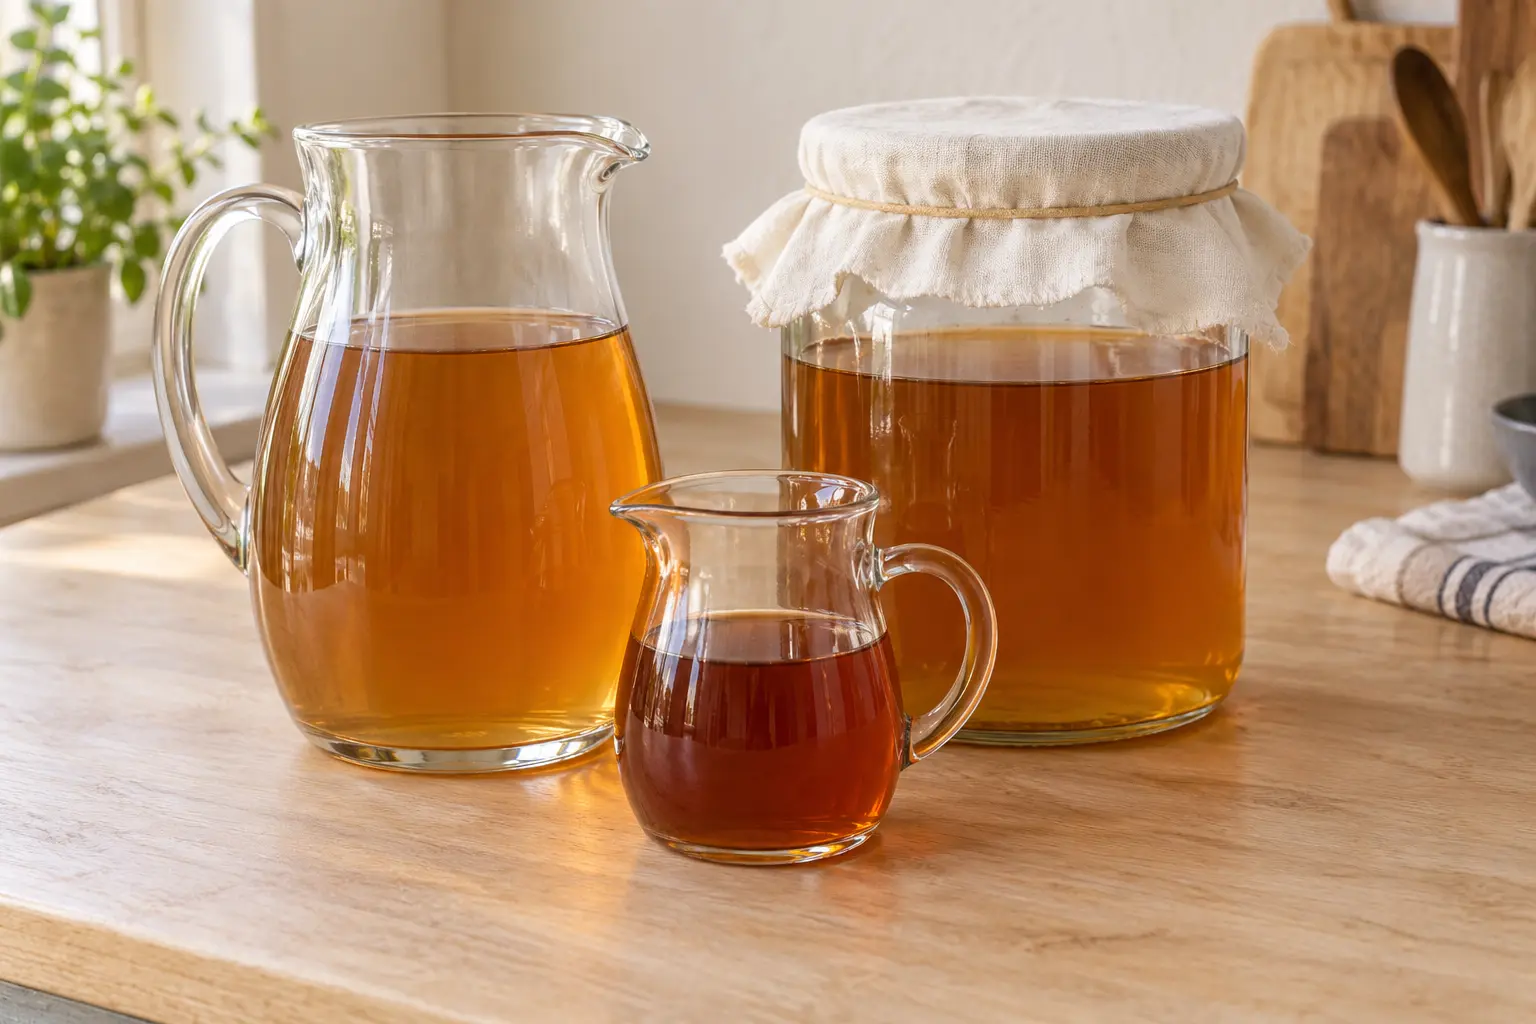
AI-generated food illustration. It does not document a tested batch.