US BUYING GUIDE
How to Choose Fermentation Jars: Size, Lids and Weights
Choose the jar size, compatible lid and weight that fit your actual batch, cleaning routine and storage space.
By Micha
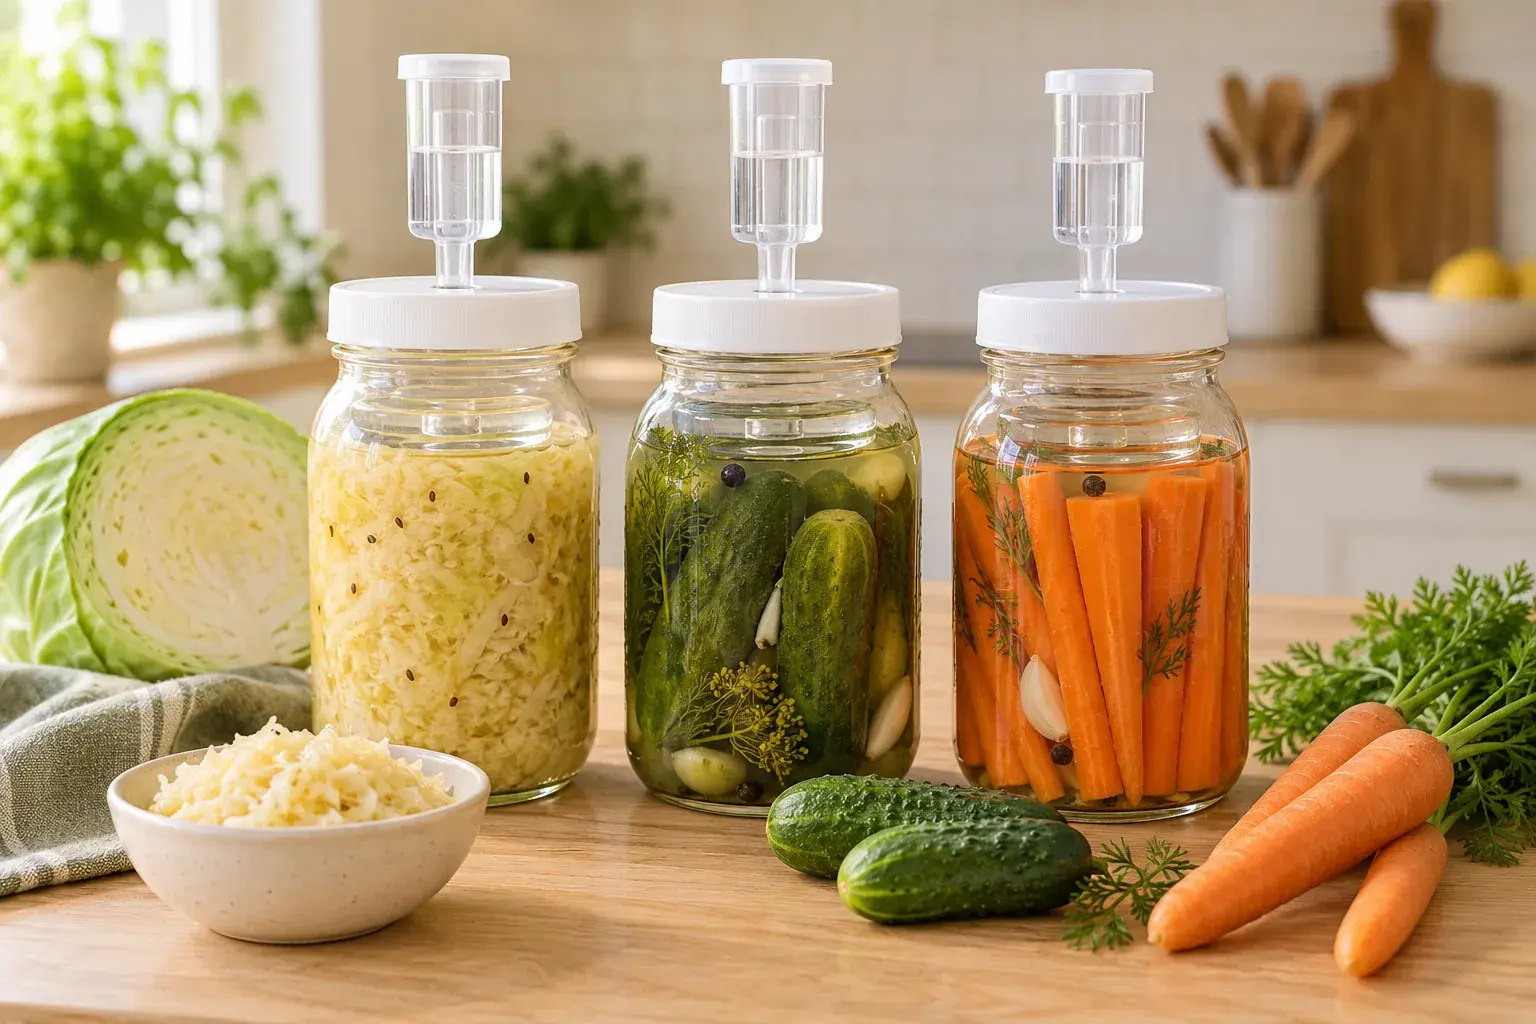
A good fermentation jar fits the batch you actually want to make. Start with a recipe and its container requirements, then choose a jar you can fill, inspect, clean and store comfortably. A large accessory bundle is useful only when its parts fit your jars and solve a problem in your kitchen.
This guide is for vegetable ferments such as sauerkraut and brined pickles. It helps you decide what to buy; your food-specific recipe still determines the salt, preparation, fermentation conditions and storage method. If you are choosing your first project as well as your equipment, read Fermentation for Beginners first.
Which size should you buy?
Write down how much finished food your household is likely to eat and how much refrigerator space you can give it. These are more useful starting points than the biggest jar in a sale. Making a large batch also means washing, chopping and packing that much produce, then finding a sensible home for the finished ferment.
For small projects, a manageable glass jar is easy to inspect and move. Several matching jars can keep different recipes separate. A larger vessel makes more sense when you repeatedly prepare the same recipe and already know that your household enjoys it. Do not assume that the stated jar volume is the amount of vegetables it can hold: brine, the weight and the recipe's headspace must fit too.
Illinois Extension identifies quart jars with airlock lids as a practical small-batch option. For its larger vegetable-fermentation guidance, it uses roughly one gallon of container capacity per five pounds of vegetables. Treat that as a planning reference alongside the actual recipe, rather than a rule for filling every jar. Illinois Extension: fermenting equipment.
Before ordering, compare the vessel's outside dimensions with your worktop, shelf and refrigerator. Check height with the fermentation lid attached, not just the height of the bare jar. A tall water airlock can turn a compact jar into an awkward fit under a cabinet.
A regular-mouth jar, wide-mouth jar or crock?
A wide opening makes packing vegetables, placing a weight and reaching the inside with a brush more convenient. It is also worth considering how you will remove the finished food without pulling apart your setup unnecessarily. A narrow shoulder can make these jobs awkward even when the nominal capacity looks ideal.
If you already own Mason jars, identify their mouth type before shopping for accessories. A matching capacity does not prove that two jars take the same lid. Compare the jar brand, mouth type and the accessory maker's compatibility list as a set. Put these details in your shopping notes rather than relying on the appearance of the product photo.
Crocks are a different purchase decision. Their appeal is a dedicated vessel for larger batches, but you must be comfortable handling it when filled and washing it in your sink. An opaque crock also changes how you observe the batch compared with a clear jar. Choose that workflow deliberately, rather than buying a crock simply because it looks traditional.
Which lid system fits your routine?
Think about what the closure asks you to do during fermentation. A purpose-made airlock provides a defined route for gas to escape. Some systems use water; others use a valve. Assembly, cleaning and any water checks are specific to the product, so read those instructions before deciding that a particular design is easier.
Do not buy a decorative airtight storage jar and assume its closure is a fermentation pressure-release system. Likewise, a lid marketed for vegetable fermentation is not automatically the right cover for kombucha, a drinking bottle or a canning process. Equipment designed for one job should not decide the method for another.
For an existing Mason-jar setup, a compatible valve lid can reduce the number of components you handle. For example, Masontops sells its fermentation accessories in regular-mouth and wide-mouth versions; its Pickle Pipe uses a screw band. Check that you have the right bands and jars before choosing a kit. Masontops: kit contents and compatibility.
How to choose a fermentation weight
A weight is useful only if you can get it through the opening and use it with the amount and shape of food in the jar. Measure the narrowest part of the opening and compare it with the manufacturer's weight dimensions. Also consider the grip: removing a wet weight with clean hands or suitable utensils should be straightforward.
For sauerkraut and fermented cucumbers, keeping the food below the brine is an essential part of the method. The National Center for Home Food Preservation describes suitable food-grade containers, covers and weights; its guidance for these foods calls for brine above the vegetables. Follow the depth and setup in your selected recipe. A weight does not make an unsuitable recipe safe. NCHFP: containers, covers and weights.
Consider the food as well as the hardware. A broad weight may suit shredded cabbage but still allow little fragments to escape around its edge. A tall vegetable spear may need a different packing arrangement. Buy a system that lets you follow your recipe, and check the batch rather than treating any accessory as a guarantee against spoilage.
Materials and cleaning: inspect the awkward parts
Look past the word “glass” or “ceramic” on the front of the listing. Examine the lid, valve, gasket, weight and any tamper individually. Which pieces separate for washing? Can you see and reach the grooves? Are care instructions supplied for every material? A dishwasher-safe jar does not mean that a wooden tamper or every lid component belongs in the dishwasher.
Choose equipment intended for food contact and fermentation. Illinois Extension specifically advises against copper, iron, galvanized containers and lead-glazed crocks. An attractive secondhand vessel with unknown glazing is a poor starting point when you cannot establish its suitability. Illinois Extension: vessel materials.
Plan a place to dry and store the small pieces between batches. Matching jars and lids can make this easier than a growing collection of unrelated neck sizes, replacement seals and single-purpose tools. The right setup is the one you can keep clean and use consistently.
Match the setup to your kitchen
| Your situation | A useful starting point | Check before buying |
|---|---|---|
| First small vegetable ferment | A manageable, food-safe glass jar with compatible cover and weight | Recipe capacity, mouth type and a place for the finished batch |
| Several recipes at once | Multiple matching jars | Enough matching lids and weights for each active batch |
| You already own Mason jars | Compatible accessories rather than a second jar collection | Regular versus wide mouth and whether bands are included |
| Regular large batches | A larger dedicated vessel or crock | Filled weight, sink access, closure care and storage plan |
Complete kit or individual parts?
A kit can be convenient when you are starting from nothing. Read the contents as a checklist: actual jars, lids, bands, weights, tamper and instructions. The product image may show food or jars for illustration, while the purchase includes only accessories. A “complete” kit is complete for its stated purpose, not necessarily for your cupboard.
Individual parts make more sense when you already have suitable jars or know exactly which part of your routine is awkward. If your current weight is difficult to remove, buying a better-fitting weight may solve the problem without replacing every jar. If your lid seals are worn, check whether compatible replacements are available before committing to an entirely new system.
Common purchases you can avoid
Skip oversized jars chosen without a batch plan, weights chosen without measuring the opening, and lids bought solely because they look like a familiar Mason-jar accessory. Avoid buying a second set of tools before you have checked what the first kit includes. And do not pay more for promises of effortless, failure-proof fermentation: equipment supports a sound process but cannot replace one.
Your next step is to write a short specification: recipe, batch size, jar mouth, weight, closure and cleaning routine. Then use Fermentation Jars and Containers Compared to compare concrete setups. If you are still deciding what to ferment, start with the fermentation guide and choose the equipment around that project.
YOUR NEXT STEP
Put your choice to work
 Fermentation for BeginnersChoose a recipe and build a repeatable first batch.Read the guide →