CANNING & PRESERVING · TOMATOES
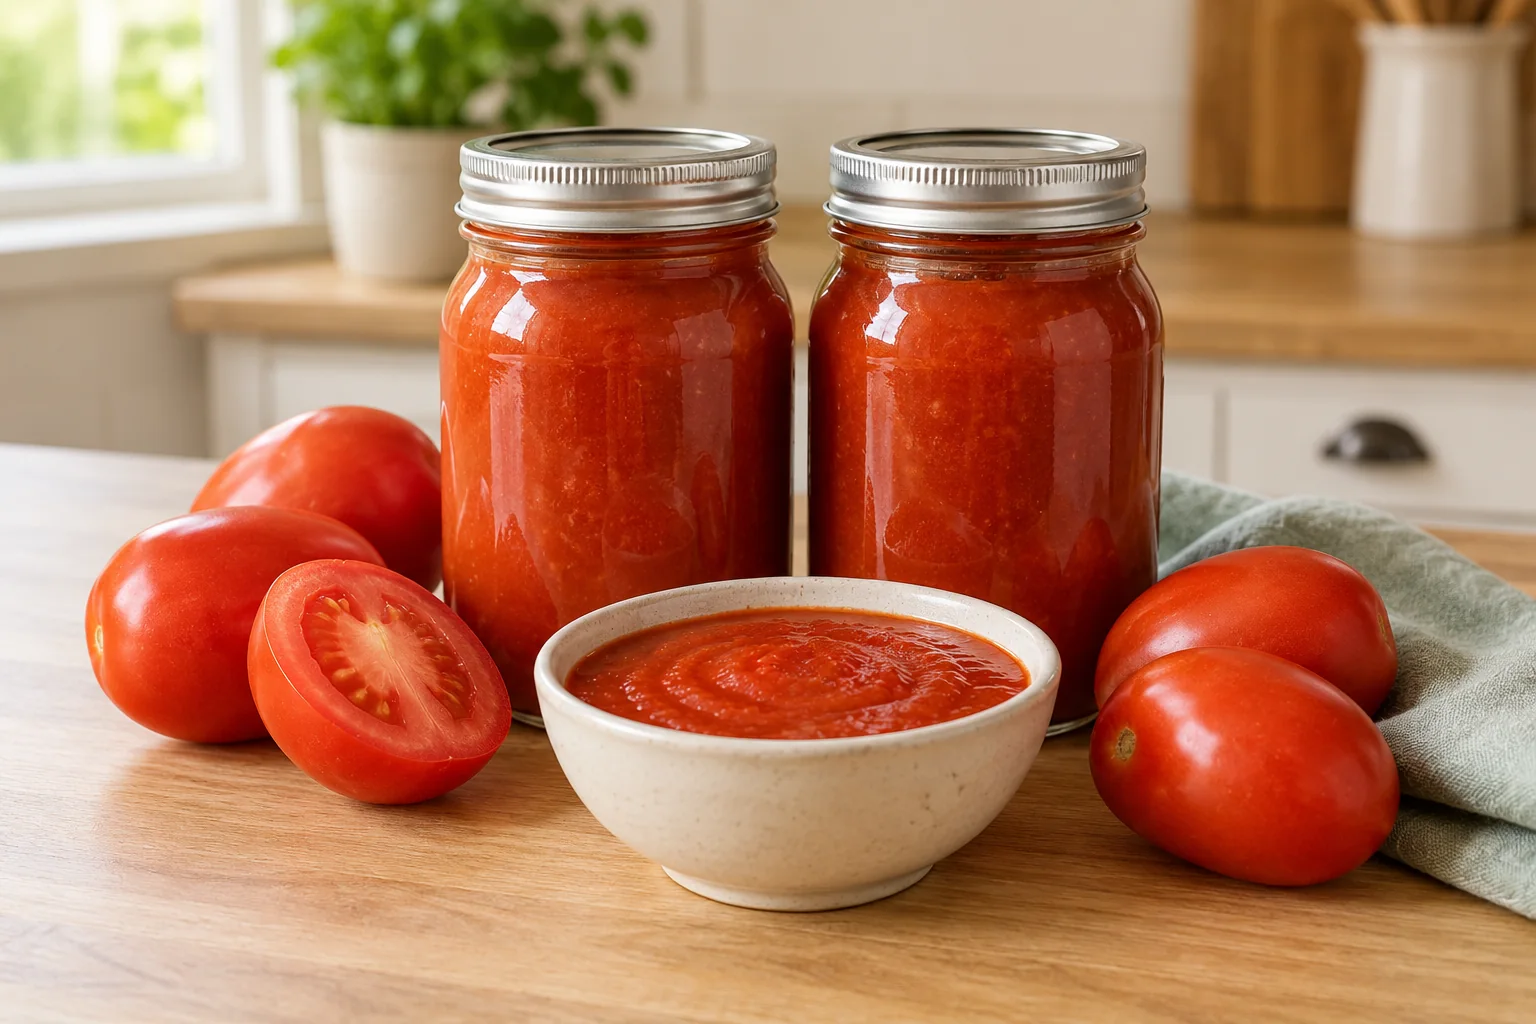
If you are searching for how to can tomato sauce, the safest place to start is not a family shortcut or a translated European canning table. U.S. Mason-jar canning has its own tested jar sizes, acidification rules, altitude adjustments, and processing schedules. If you still need the gear, practical starting points are Ball pint jars, quart Mason jars, and a water-bath canner kit. This guide follows the current National Center for Home Food Preservation (NCHFP) Standard Tomato Sauce procedure and keeps those safety anchors intact.
The result is a plain, flexible tomato sauce that you can season after opening for pasta, soup, pizza, chili, or a quick weeknight dinner. You will learn how to prepare and strain the tomatoes, how much bottled lemon juice or citric acid goes into each jar, how to leave the correct ¼-inch headspace, and how long pints and quarts need in a boiling-water canner at different elevations.
This is intentionally a standard tomato sauce, not an improvised spaghetti sauce. Do not add untested amounts of onions, peppers, garlic, oil, meat, dairy, flour, or starch and then reuse the processing time from this page. Those changes create a different canning product and require a tested recipe written for those ingredients.
Can you safely water-bath can tomato sauce?
Yes—when you follow a tested tomato-sauce procedure and acidify the jars as directed. NCHFP provides a boiling-water canner schedule for Standard Tomato Sauce in U.S. pints and quarts. The method is a hot pack: tomatoes are prepared, heated, strained to remove skins and seeds, simmered to the desired concentration, acidified in the jars, filled hot, and processed for the time that matches jar size and altitude.
The acid step matters because tomatoes are not treated as a product where you can simply assume every variety and every harvest has enough natural acidity for boiling-water canning. NCHFP's tomato guidance solves that variability by directing home canners to add a measured amount of bottled lemon juice, citric acid, or 5% vinegar. Bottled lemon juice and citric acid are the most practical choices for a neutral standard sauce; vinegar can affect flavor more noticeably.
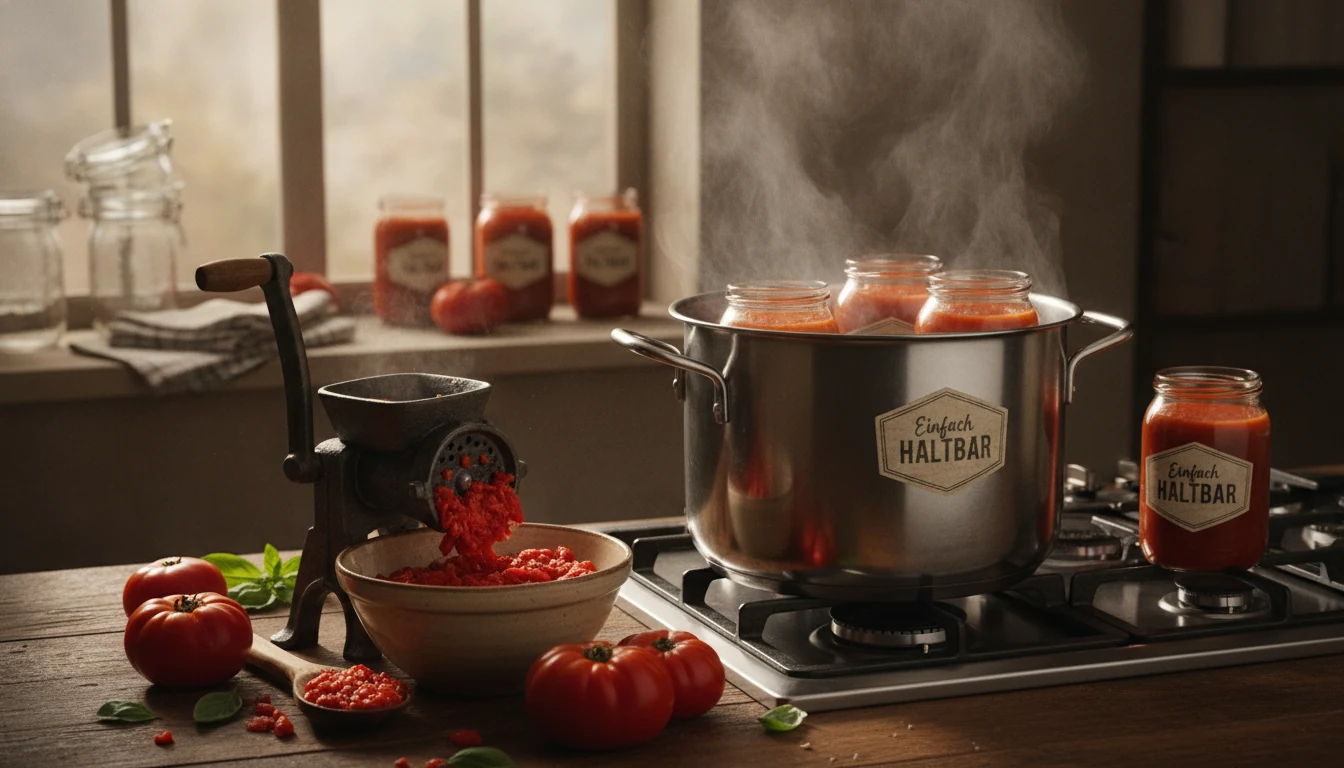
Do not replace the tested canning step with oven canning, open-kettle canning, turning hot jars upside down, or simply pouring boiling sauce into jars and waiting for the lids to pull down. A vacuum seal tells you that the lid sealed; it does not prove the jar received the validated heat process.
How much lemon juice or citric acid goes in tomato sauce?
NCHFP's tomato acidification directions give exact amounts by U.S. jar size. Add the acid directly to each jar before filling it with hot sauce. If the finished sauce tastes sharper than you prefer, NCHFP notes that sugar may be added to balance the acidic taste; do not leave the acid out.
| Jar size | Bottled lemon juice | Citric acid | 5% vinegar |
|---|---|---|---|
| Pint (16 oz) | 1 tablespoon | ¼ teaspoon | 2 tablespoons |
| Quart (32 oz) | 2 tablespoons | ½ teaspoon | 4 tablespoons |
Use bottled lemon juice for this tested acidification route rather than treating fresh lemons as interchangeable. The point is consistency. Citric acid is another tested option when measured accurately. Salt is separate: the Standard Tomato Sauce directions say you may add 1 teaspoon of salt per quart if desired. Salt is for flavor here; it is not the preservation control.
Tomato sauce water-bath canning times by altitude
The clock starts only after the canner returns to a vigorous boil. Use the row for your altitude and the column for your jar size. These times are specifically for NCHFP Standard Tomato Sauce with the rest of the procedure followed, including acidification and ¼-inch headspace.
| Elevation | Pints | Quarts |
|---|---|---|
| 0–1,000 ft | 35 minutes | 40 minutes |
| 1,001–3,000 ft | 40 minutes | 45 minutes |
| 3,001–6,000 ft | 45 minutes | 50 minutes |
| Above 6,000 ft | 50 minutes | 55 minutes |
Best tomatoes for canning sauce and how much you need
Start with sound, ripe tomatoes. Paste-type tomatoes are convenient because they usually contain less water, but you can make the tested standard sauce from other good-quality tomatoes too; the main difference is how long the reduction takes. Avoid using spoiled fruit and trim away damaged portions before processing.

NCHFP gives useful planning averages. For a thin sauce, it estimates about 35 lb of tomatoes for a canner load of 7 quarts or 21 lb for 9 pints. For a thick sauce, the estimate rises to about 46 lb for 7 quarts or 28 lb for 9 pints. Real yield varies with tomato variety, trimming, how aggressively you strain the pulp, and how far you reduce the sauce.
For a first run, you do not need to start with a full canner load. The process scales more comfortably when you learn with a smaller pot of tomatoes, as long as each jar is prepared and processed according to the same tested method. What you should not scale by intuition are the acidification amount per jar, headspace, or processing time.
How to make tomato sauce for canning
The NCHFP Standard Tomato Sauce page directs you to prepare and press the tomatoes as for tomato juice, then simmer the strained tomato liquid until it reaches the consistency you want. The key is that skins and seeds are removed before the final reduction and canning step.
1. Wash, core, quarter, and heat the tomatoes
Wash the tomatoes under clean running water, remove cores and obvious damaged areas, and cut the fruit into manageable pieces. The tomato-juice preparation method begins heating tomatoes promptly, crushing them as they warm so they release juice rather than sitting as a dense dry mass on the bottom of the pot. Continue adding prepared tomato pieces and stirring so the batch heats evenly.
2. Press out skins and seeds
Once the tomatoes are heated and softened, press them through a sieve or food mill to remove skins and seeds. For a few pounds, a hand food mill is manageable. If you process garden tomatoes by the crate, a clamp-style tomato strainer can reduce repetitive work. A food processor or blender is not the same tool: it chops material but does not automatically remove skins and seeds, so do not substitute it for the tested pressing step.
3. Reduce to thin or thick sauce
Transfer the strained tomato product to a wide saucepan and simmer it, stirring often enough to prevent scorching. NCHFP says to reduce the volume by about one-third for thin sauce or by about one-half for thick sauce. A wide pot speeds evaporation. Keep the sauce plain; season it after opening unless you are using a separately tested seasoned-sauce recipe.
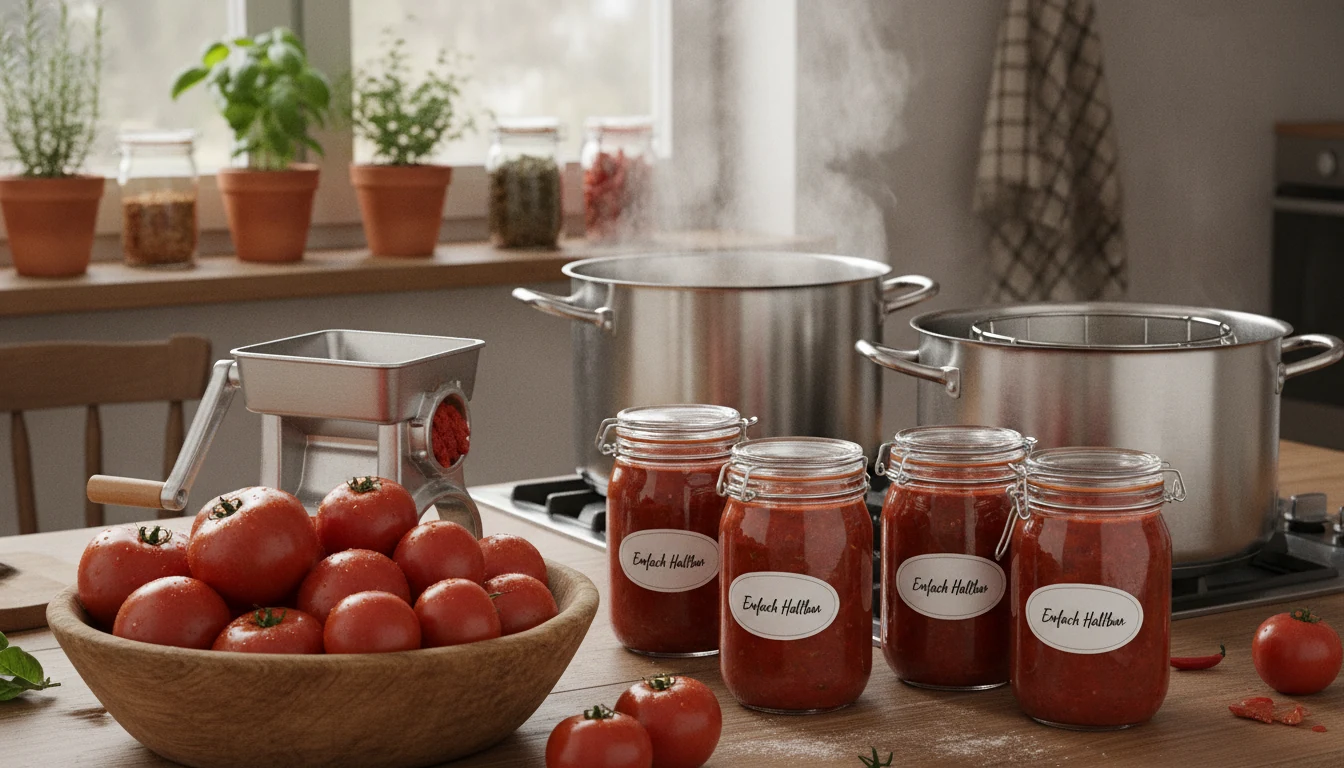
Tools for straining and preparing bigger tomato batches
A strainer or food mill is the most directly useful upgrade because the tested workflow removes skins and seeds. Blenders and food processors are optional helpers, not replacements for that step. We did not personally test these products. Verify the exact current Amazon listing, included accessories, and dimensions before ordering.

Johnny Apple Sauce Maker / Tomato Sauce Maker, Model 250*
A clamp-based food strainer designed to separate skins and seeds from cooked produce, which fits the sauce-making workflow well for larger tomato batches.
View on Amazon
Hungry Artisan Stainless Steel Food Mill for Tomato Sauce & Canning*
A manual food-mill option for pressing softened tomatoes and separating a smoother sauce from skins and seeds.
View on Amazon
Cuisinart 14-Cup Food Processor, DFP-14BCNY*
Useful for general produce prep, but it does not replace the tested step of removing tomato skins and seeds with a sieve or food mill.
View on AmazonAffiliate links · Your price stays the same.

Aeitto 1800W 68-oz Countertop Blender*
An optional general kitchen blender. For the tested standard tomato-sauce workflow, do not use blending as a substitute for the specified skin-and-seed removal step.
View on Amazon
Turelar 1100W 5-in-1 Immersion Blender Set*
Useful for many sauces, but optional here. Preserve the tested tomato-sauce process rather than changing the product structure just to use a blender.
View on AmazonPint vs. quart Mason jars: what should you use?
The tested boiling-water table on this page is for U.S. pint and quart Mason jars. A pint is 16 fl oz and a quart is 32 fl oz. Use jars designed for home canning, inspect them for chips or cracks, and match your flat lids and screw bands to the jar mouth. Do not jump to a larger jar simply because it fits more sauce; a bigger jar is not automatically covered by a process written for pints or quarts.
Because this tomato-sauce process runs longer than 10 minutes in a boiling-water canner, NCHFP says the empty jars do not need to be presterilized. They should still be clean and kept hot enough to reduce thermal shock when filled with hot sauce. Follow the current lid manufacturer's directions for lid preparation rather than using an old habit such as boiling every flat lid by default.
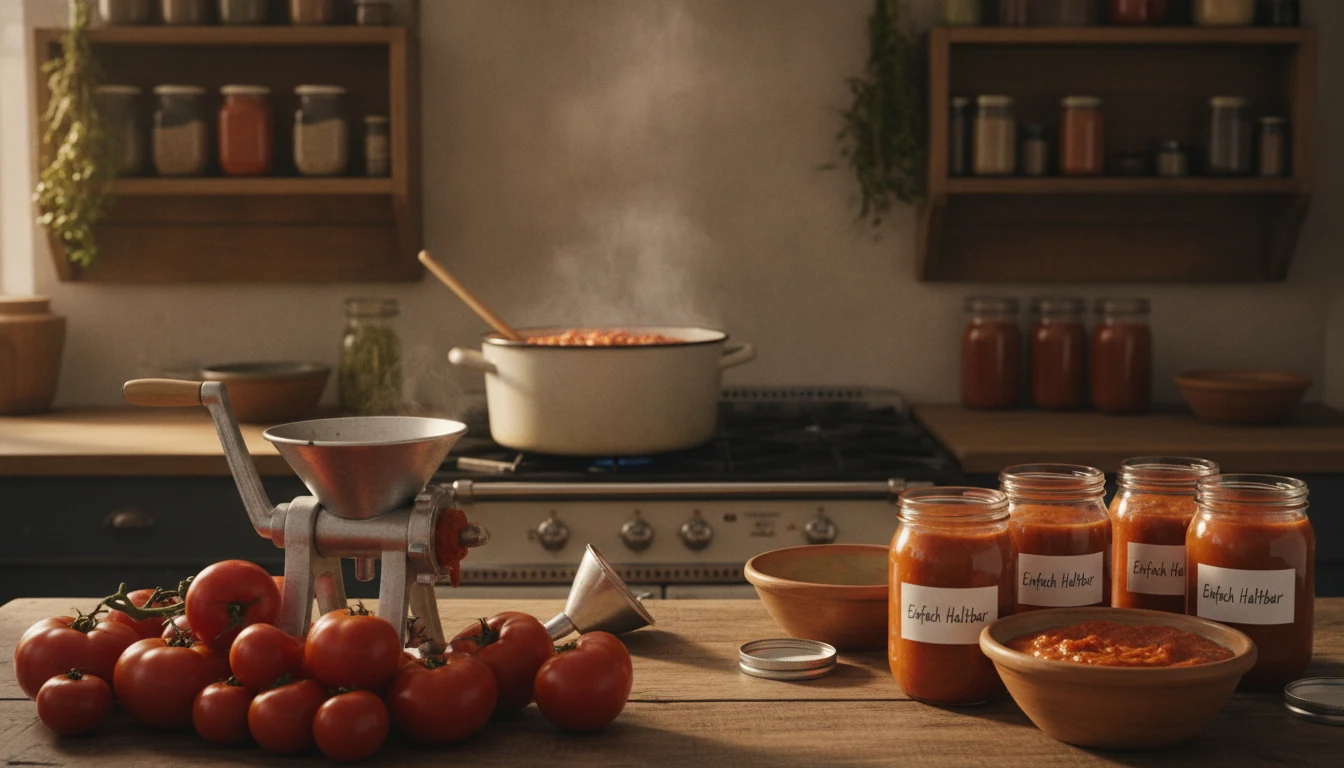
Jar and lid options for tomato sauce
Choose pints or quarts that match the tested table. Replacement lids must fit the exact jar mouth and be used according to the current manufacturer's directions. We did not personally test these products. Verify the exact current Amazon listing, mouth size, and included lids or bands before ordering.
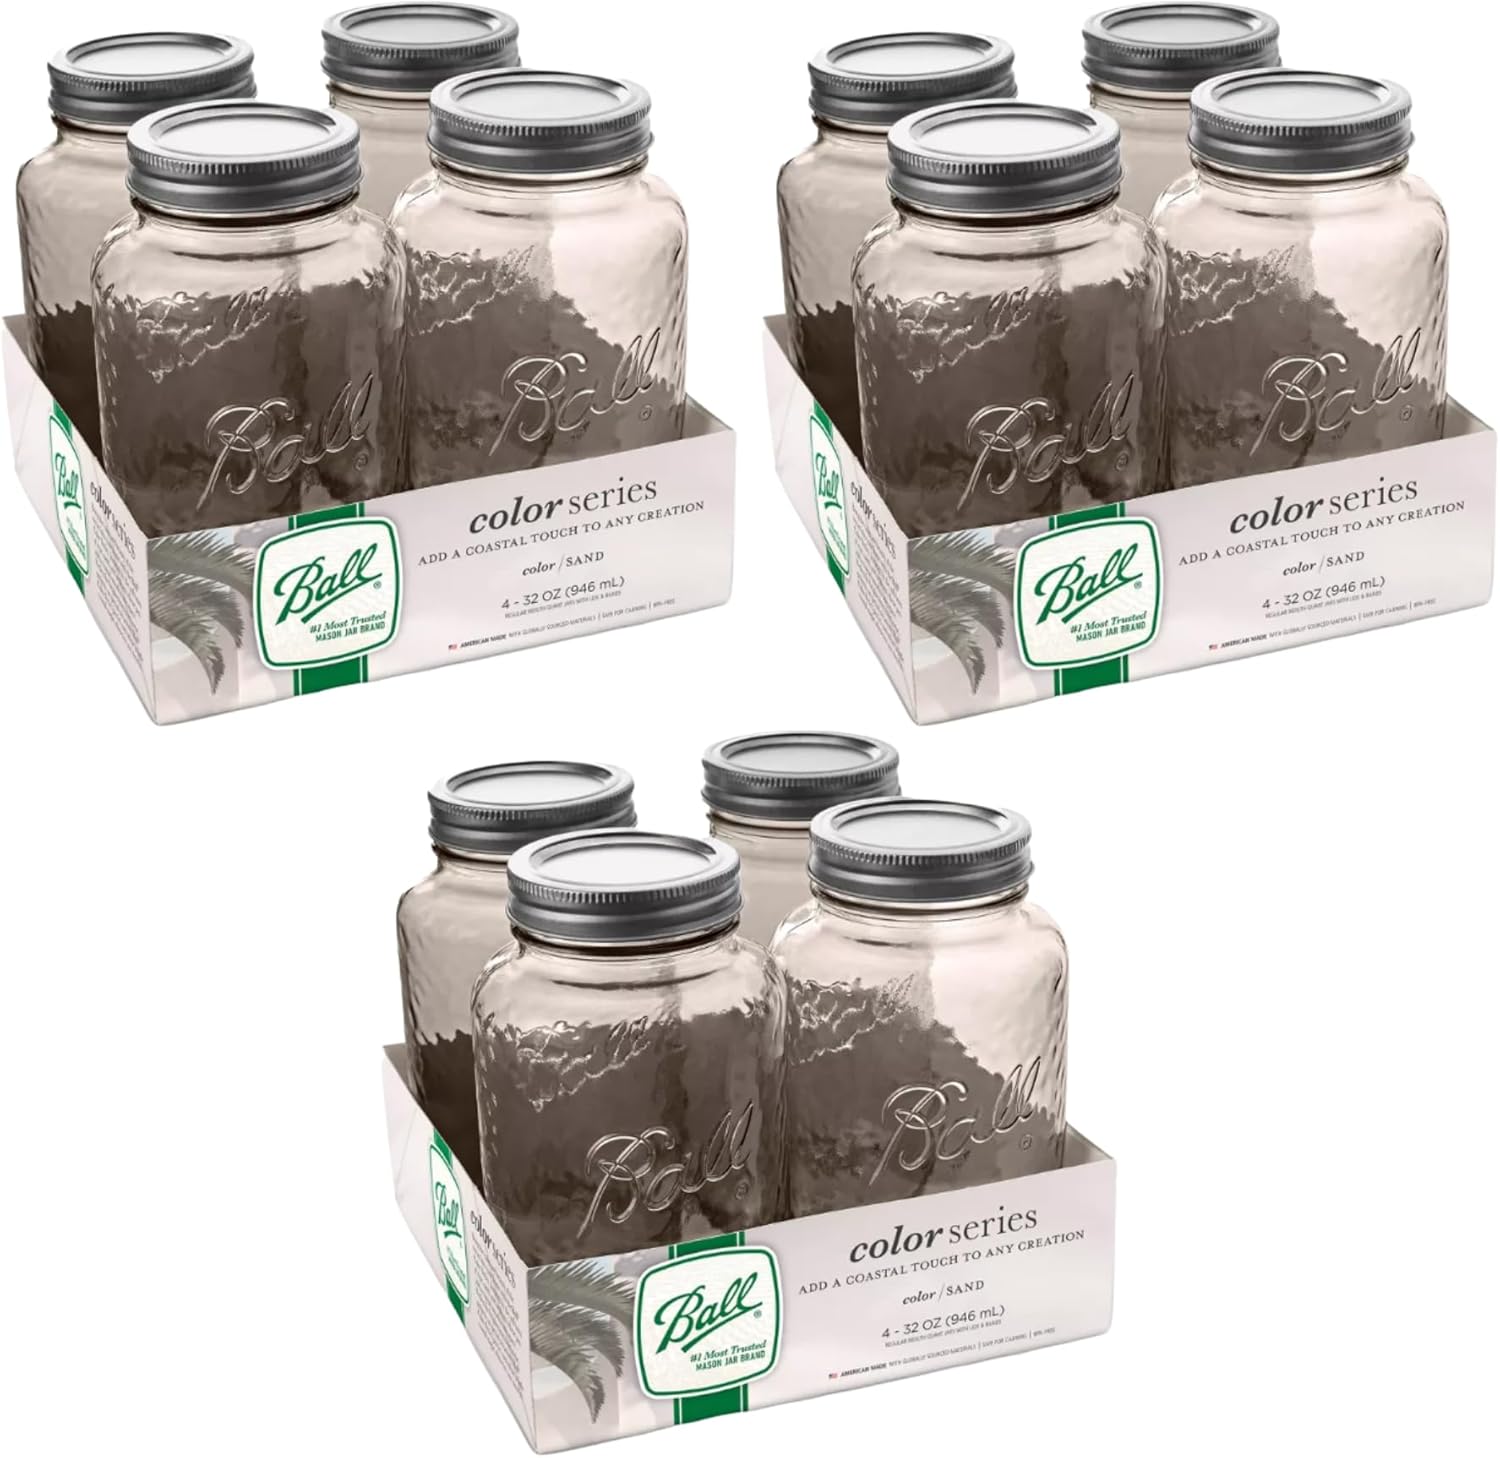
Ball Vintage Glass Mason Jars, 32 oz Regular Mouth Quart Size*
A quart-size Mason jar option. The listing is a sand-color vintage style, so verify the exact pack count and lid/band configuration before ordering.
View on Amazon
Ball Regular Mouth Glass Mason Jars with Lids and Bands, 16 oz*
A pint-size format that matches one of the tested jar sizes in the NCHFP tomato-sauce table.
View on Amazon
Wide Mouth Mason Jars 32 oz with Lids and Bands, Set of 12*
A wide-mouth quart option for canning and preserving. Confirm that the current listing is intended for home canning and follow the lid maker's directions.
View on AmazonAffiliate links · Your price stays the same.

FORJARS Wide Mouth Canning Lids, 100-Pack*
Replacement wide-mouth flat lids for two-piece canning systems. Match lid size to your jars and use current manufacturer preparation instructions.
View on AmazonHow to can tomato sauce in a boiling-water canner
Set up the canner before the sauce is finished so your jars, canner water, lids, and work surface are ready when the sauce reaches the correct consistency. A dedicated boiling-water canner is convenient, but the functional requirements matter more than the label: it needs a rack and enough depth to maintain the required water level above the jars.
Step 1: Preheat the canner and keep jars ready
Place the rack in the canner, add clean water, and preheat for a hot-pack product. NCHFP's general boiling-water directions use about 180°F water for hot-packed foods before the filled jars go in. Keep clean jars ready and avoid placing very hot jars on a cold stone or metal surface.
Step 2: Add acid to each jar
Before filling, add the tested acid amount to each jar: 1 tablespoon bottled lemon juice or ¼ teaspoon citric acid per pint; 2 tablespoons bottled lemon juice or ½ teaspoon citric acid per quart. You may add pickling salt for flavor if you want it, but never treat salt as a substitute for acidification.
Step 3: Fill hot sauce and leave ¼-inch headspace
Ladle hot tomato sauce into the acidified jars, leaving ¼-inch headspace. A canning funnel makes the job cleaner, but stop and check the space rather than filling by eye. Remove trapped air if needed, recheck headspace, wipe the rim clean, apply the lid, and tighten the band only to the lid manufacturer's recommended fingertip-tight level.
Step 4: Lower jars upright and cover with water
Move each jar with a jar lifter, gripping below the screw band, and keep it upright. Once the canner is loaded, add boiling water if necessary. Since every standard tomato-sauce boiling-water process on this page is longer than 30 minutes, keep the water at least 2 inches above the jar tops.
Step 5: Bring to a full boil, then start the timer
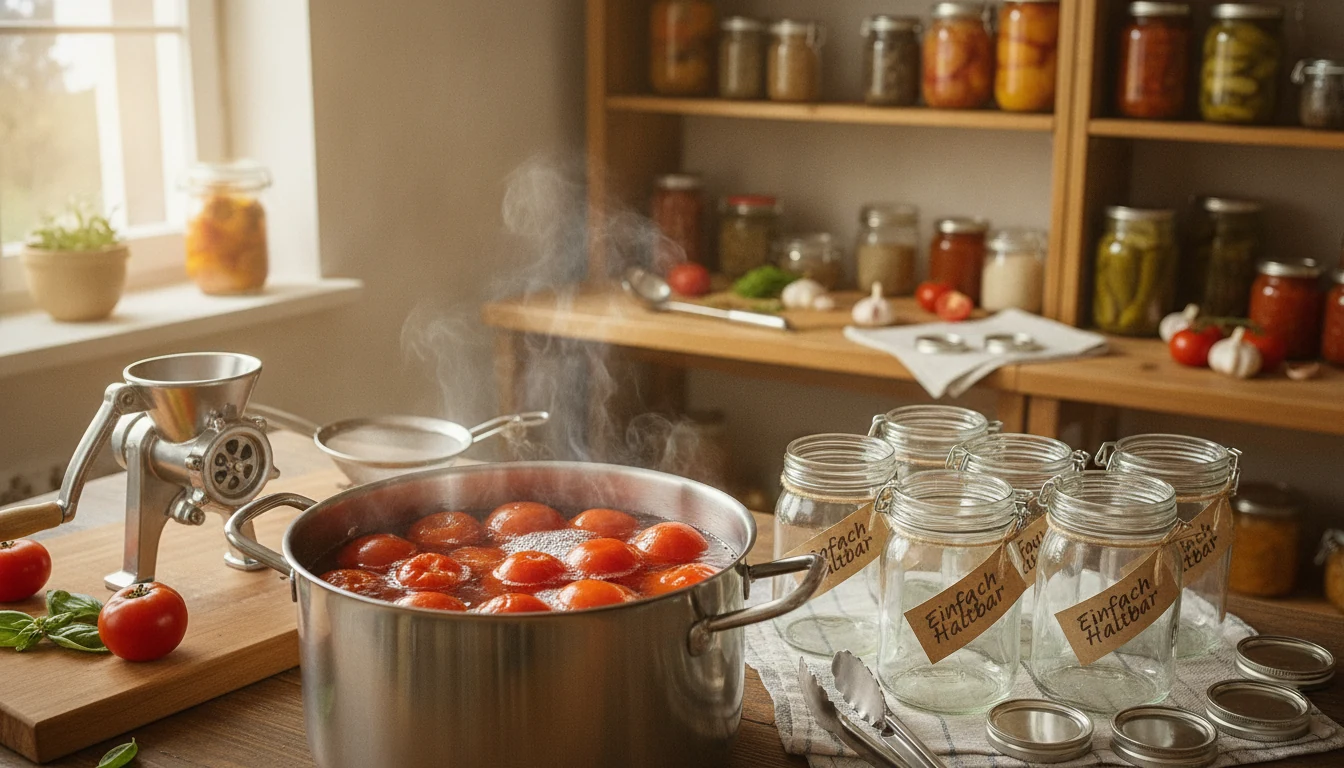
Cover the canner and bring the water to a vigorous boil. Only then start the processing timer using the altitude table above. Keep the canner covered and maintain a complete boil. Add more boiling water around the jars if the level drops. If the boil stops at any point, bring it back to a vigorous boil and restart the entire processing time.
Step 6: Turn off the heat and wait 5 minutes
When the full processing time is complete, turn off the heat and remove the canner lid. NCHFP directs home canners to wait 5 minutes before removing the jars. Lift jars straight up without tilting and place them on a towel or rack with space between them.
Step 7: Cool 12–24 hours before testing seals
Leave the jars undisturbed at room temperature for 12–24 hours. Do not retighten bands and do not press the center of the lid while the jars are still cooling. After cooling, remove the screw bands and test each flat lid. A properly sealed lid should remain concave and should not flex up and down when pressed.
Canning gear that fits this method
For this article, the water-bath canner and jar-handling tools are the most directly relevant purchases. Citric acid is one tested acidification option, while salt is optional for flavor. We did not personally test these products. Verify the exact current Amazon listing, compatibility, and included accessories before ordering.

Granite Ware 9 Piece Enamelware Water Bath Canning Pot with Canning Kit*
The most directly relevant canner type for this article: a boiling-water canner with a rack, provided it is deep enough for the required water coverage.
View on Amazon
Ball Utensil Set: Jar Funnel, Jar Lifter & Bubble Remover*
A practical basic tool set for filling and moving hot jars while keeping the sealing surface cleaner.
View on Amazon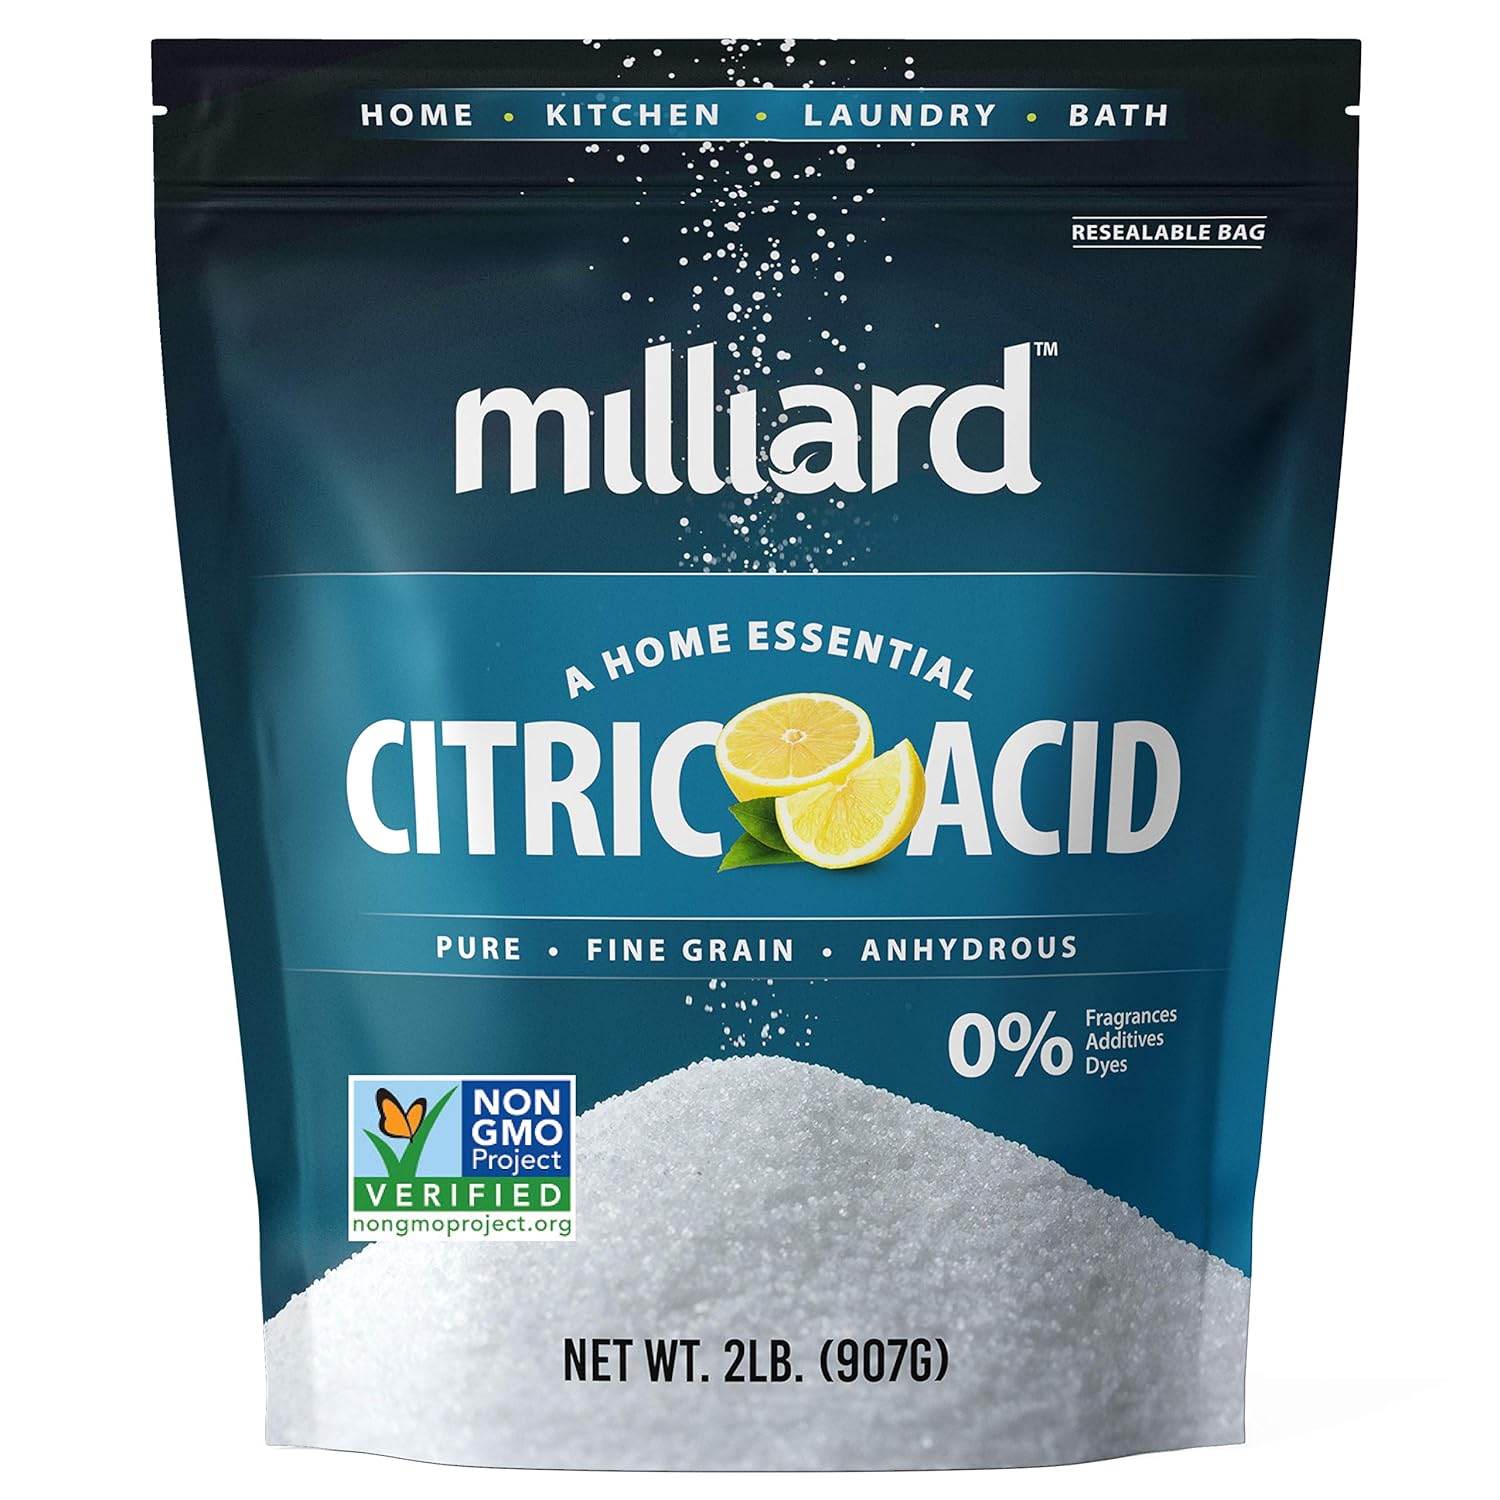
Milliard Citric Acid Powder, Food Grade*
Citric acid is one of the NCHFP-listed ways to acidify tomato products. Measure the tested amount for the jar size; the acid is not optional in this method.
View on AmazonAffiliate links · Your price stays the same.
Additional equipment for this workflow

Sea Salt Superstore Pickling & Curing Salt, Fine Non-Iodized*
Salt is optional for flavor in the NCHFP standard tomato-sauce procedure; it is not the safety control that makes this method work.
View on Amazon
Delove Canning Funnel with Strainer, 3-Pack*
A stainless-steel funnel set that can make hot filling cleaner. Keep the jar rim free of sauce before applying the lid.
View on Amazon
Ball Complete Book of Home Preserving*
A broad preserving reference for expanding beyond this one tomato-sauce method. Always compare any recipe with current tested guidance, even when using a trusted home preserving book.
View on AmazonAffiliate links · Your price stays the same.
Can you pressure-can tomato sauce instead?
NCHFP also publishes tested pressure-canner schedules for Standard Tomato Sauce. The important detail is easy to miss: acidification is still required for the pressure-canning options on that recipe. Pressure canning is therefore an alternative tested processing route, not permission to skip the measured lemon juice or citric acid.
If your only goal is this plain tomato sauce, a boiling-water canner is a straightforward fit because NCHFP already provides a tested water-bath table. A pressure canner becomes more valuable when your broader preserving plan also includes low-acid foods that require pressure processing.
Do not mix appliance categories. NCHFP's pressure tables are written in terms of dial-gauge or weighted-gauge pressure canners and specified pressures. A digital pressure-canning appliance has its own control logic and instructions. Do not copy a stovetop PSI/time table into a digital device unless the current authoritative instructions for that exact appliance tell you to do so.
Optional pressure-canning equipment
These are optional for this article because the main method is boiling-water canning. If you buy a pressure canner, match the process to the exact canner type and current tested instructions. We did not personally test these products. Verify the exact current Amazon listing, canner type, and manual before ordering.

Presto 01784 23-Quart Induction Compatible Pressure Canner*
A stovetop pressure-canner option for a broader home-canning setup. It is not required for the boiling-water method used in this guide.
View on Amazon
Presto 02153 23-Quart Digital Pressure Canner*
A digital pressure-canning appliance. Do not automatically transfer stovetop gauge-pressure tables to a digital appliance; follow the exact current manufacturer and authoritative process instructions for the device.
View on Amazon
T-fal 22-Quart Aluminum Pressure Canner*
Another pressure-canner option for households that preserve low-acid foods as well. For this tomato-sauce guide, the simpler boiling-water table remains the main workflow.
View on AmazonAffiliate links · Your price stays the same.
How to check seals and store canned tomato sauce
After the 12–24 hour cooling period, remove the ring bands and check every lid. NCHFP describes several seal checks: the center should not spring up when pressed, and a properly sealed two-piece lid is typically slightly concave. If a jar failed to seal, do not simply put the band back on and move it to the pantry.
If you discover an unsealed jar within 24 hours and the first batch was made from an up-to-date research-tested recipe, NCHFP provides a reprocessing route using a clean jar, a new lid, reheated food, and the full tested hot-pack process. For quality, refrigeration or freezing can be preferable. If the original batch did not follow a tested recipe, NCHFP warns that sealed and unsealed jars may be unsafe.
For sealed jars, wash off residue, dry the jars, label and date them, and store them in a clean, cool, dark, dry place. NCHFP recommends removing ring bands for storage so moisture is less likely to collect and a broken vacuum seal is easier to notice. For best quality, its storage guidance says to plan pantry quantities around what you will use within about a year unless a specific product gives other advice.
Before opening any home-canned jar, check the lid and the contents. Do not taste food from an unsealed jar or a container showing leakage, a bulging lid, rising bubbles, mold, spurting liquid, or an unnatural odor. When in doubt, discard rather than taste-test.
9 tomato sauce canning mistakes to avoid
- Skipping acidification.The measured acid is part of the tested tomato-sauce method, including NCHFP's pressure options.
- Using fresh lemon juice as if it were bottled.The tested acidification directions specify bottled lemon juice for consistent acidity.
- Adding vegetables, oil, meat, or thickeners.That creates a different recipe. Use a tested sauce recipe written for those additions.
- Using an untested jar size.The water-bath table here is for pints and quarts.
- Starting the timer too early.Start timing after the canner reaches a vigorous boil.
- Letting the water fall below the jars.For these process times, keep at least 2 inches of water over the jar tops.
- Ignoring altitude.Higher elevations require longer boiling-water processing times.
- Retightening hot lids.Let jars cool undisturbed for 12–24 hours before checking seals.
- Assuming a vacuum equals a tested process.A sealed lid is not a substitute for correct recipe, acidification, headspace, and processing.
Should you season tomato sauce before or after canning?
For this standard-sauce workflow, after opening is the flexible answer. Can a plain tomato base, then turn it into marinara, pizza sauce, soup base, or chili sauce when you open the jar. That keeps the shelf-stable process tied to the tested formulation and gives you more options later.
If you specifically want a shelf-stable sauce with onions, peppers, herbs, garlic, or other ingredients already cooked in, use a tested recipe that contains those ingredients and follow its jar size and processing instructions exactly. Do not take the 35/40-minute low-altitude numbers from plain Standard Tomato Sauce and attach them to a richer homemade recipe.
FAQ
Frequently asked questions about canning tomato sauce
Do I have to add lemon juice when canning tomato sauce?
You must add one of the tested acid options in the NCHFP Standard Tomato Sauce method. For pints, use 1 tablespoon bottled lemon juice or ¼ teaspoon citric acid. For quarts, use 2 tablespoons bottled lemon juice or ½ teaspoon citric acid. NCHFP also lists 5% vinegar as an option, but it may change flavor more noticeably.
Can I use citric acid instead of bottled lemon juice?
Yes. NCHFP lists citric acid as a tested alternative: ¼ teaspoon per pint or ½ teaspoon per quart for tomato acidification.
How long do I water-bath tomato sauce?
For Standard Tomato Sauce, pints process for 35, 40, 45, or 50 minutes and quarts for 40, 45, 50, or 55 minutes depending on elevation. Use the altitude table in this guide rather than a single universal time.
Can I add onions, garlic, peppers, or olive oil?
Not to this standard-sauce recipe while keeping the same process. Those additions change the product. Use a tested recipe that specifically includes the ingredients you want, or season the plain sauce after opening.
Do Mason jars need to be sterilized first?
For tomato foods processed 10 minutes or longer in a boiling-water canner, NCHFP says empty jars do not need to be presterilized. They still need to be clean and handled properly.
Why does the water need to be 2 inches over the jars?
NCHFP's boiling-water instructions call for at least 1 inch of water over jar tops, increasing to at least 2 inches for process times over 30 minutes. Every boiling-water time in this standard tomato-sauce table exceeds 30 minutes.
What if the water stops boiling during processing?
Bring the canner back to a vigorous boil and restart the full processing time from the beginning. Do not simply pause the timer and continue.
Can I pressure-can tomato sauce without adding acid?
Not with the NCHFP Standard Tomato Sauce procedure. NCHFP explicitly says acidification is still required for its pressure-canning options.
What should I do with a jar that did not seal?
Do not store it at room temperature as if it were sealed. NCHFP provides a reprocessing route within 24 hours only when the first batch followed a current research-tested recipe; refrigeration or freezing are other options for an unsealed jar.
How long should the jars cool before I test the seal?
Let them cool undisturbed for 12–24 hours. Then remove the screw bands and test the flat lids.
The simplest reliable workflow
For a dependable pantry tomato base, keep the workflow boring in the best possible way: use sound tomatoes, heat and press them to remove skins and seeds, reduce the sauce, acidify each pint or quart, leave ¼-inch headspace, and process in a boiling-water canner for the time that matches your elevation. Then cool the jars for 12–24 hours and verify every seal before storage.
The advantage of canning plain tomato sauce is what happens later. One jar can become pasta sauce with garlic and basil, another can go into soup, and another can be cooked down for pizza. You get flexibility without improvising with the shelf-stable safety process.
If you want another U.S. water-bath project, continue with Easy Homemade Applesauce: How to Can It in Jars. You can also browse the Canning & Preserving hub or return to the English home page.