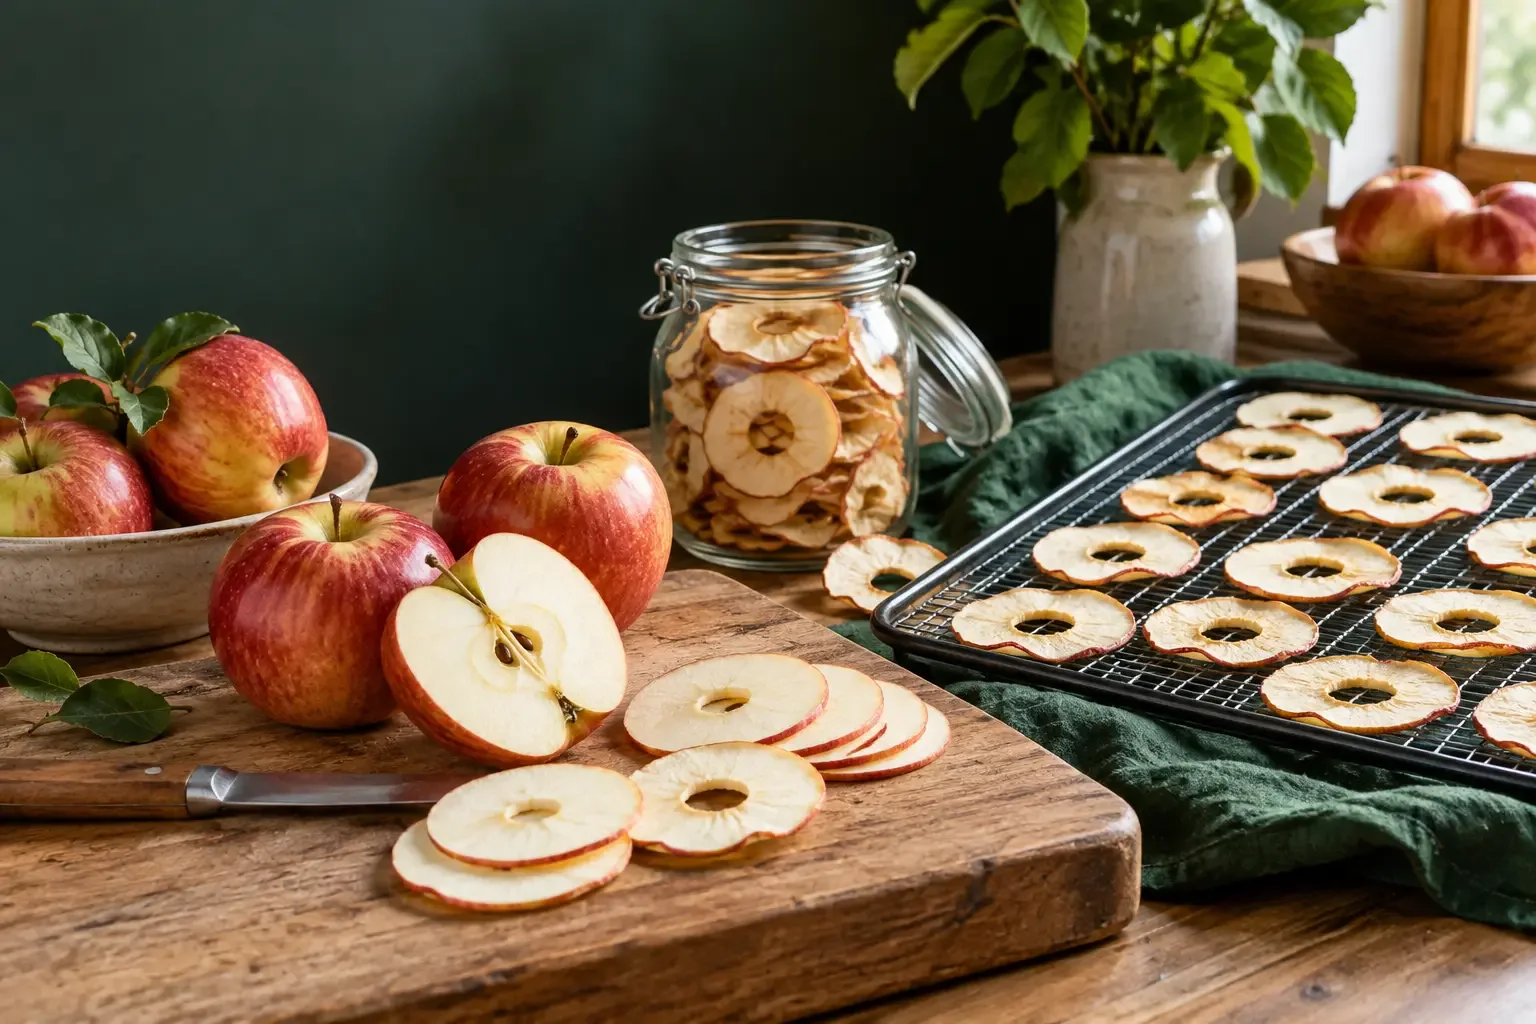
Learning how to dehydrate apples is one of the easiest ways to turn a fresh apple haul into a compact pantry snack. The process is simple, but the details matter: slice thickness, pretreatment, airflow, drying temperature and the final moisture check all affect whether your apple rings finish evenly.
For a U.S. home-dehydrator workflow, a practical benchmark is about 140°F (60°C). The National Center for Home Food Preservation lists approximately 6–12 hours for apple slices around 1/8 inch thick, while Penn State notes that actual drying time changes with thickness, humidity, load size and airflow. Use the clock as a checkpoint, not as the final doneness test.
This guide walks through apple varieties, peeling and coring, browning pretreatments, dehydrator and oven methods, doneness, the important 7–10 day conditioning step, storage and common mistakes. If this is your first drying project, start with our Dehydrating for Beginners hub. If you are still choosing a machine, compare the models in our Best Food Dehydrators buying guide.
Get the free English dehydration chart with practical reference values, preparation notes and a dryness check for popular foods.
Best apples for dehydrating
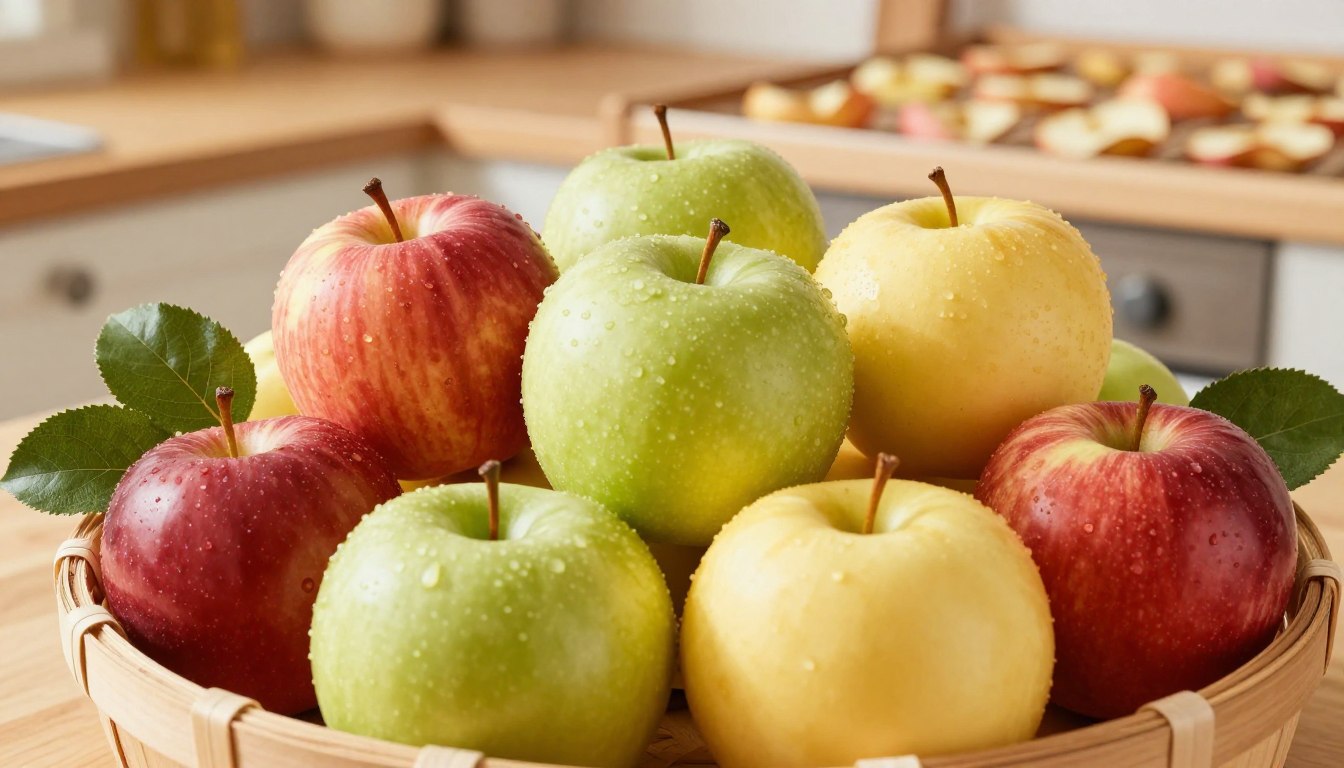
You can dehydrate many apple varieties. The best choice depends less on a single “perfect” cultivar and more on the flavor and texture you want. Firmer apples are easier to slice neatly, while sweet apples produce a naturally candy-like result after moisture is removed. Tart apples keep more acidity and can taste especially lively as dried rings.
For U.S. kitchens, common options include Honeycrisp, Fuji, Gala, Granny Smith and Pink Lady. Honeycrisp and Pink Lady balance sweetness with acidity; Fuji and Gala tend toward sweeter dried fruit; Granny Smith remains more tart. Variety also affects drying time because moisture content and flesh structure vary from apple to apple.
| Apple variety | Typical flavor | What to expect when dried | Good fit for |
|---|---|---|---|
| Honeycrisp | Sweet-tart | Aromatic, balanced rings | Snacking |
| Fuji | Sweet | Concentrated sweetness | Sweet apple chips |
| Gala | Mild and sweet | Gentle flavor | Kids' snacks and cereal |
| Granny Smith | Tart | Noticeable acidity | People who prefer less-sweet snacks |
| Pink Lady | Sweet-tart | Bright, concentrated flavor | Rings and chips |
Table notes
Sweet-tart · aromatic, balanced rings · great for snacking.
Sweet · concentrated sweetness · good for apple chips.
Mild and sweet · gentle flavor · useful for cereal and snacks.
Tart · noticeable acidity · good if you prefer less sweetness.
Sweet-tart · bright concentrated flavor · good for rings and chips.
Whatever variety you choose, start with apples that are ripe but still firm. Avoid fruit with mold or rot. Trim bruised areas generously. A clean, consistent starting product makes it easier to judge the finished batch and reduces the number of soft, uneven pieces that need extra drying.
How to prepare apples for dehydrating
1. Wash and inspect the fruit
Wash whole apples under cool running water before cutting. Dry the outside, then remove damaged areas. Keeping the prep surface, knife, corer and slicer clean is part of a good preservation workflow because the fruit will spend hours at warm drying temperatures.
2. Core the apples; peel if you prefer
Remove the core and seeds. Peeling is optional for everyday home drying. Leaving the peel on creates a more rustic ring and saves time, while peeled slices usually feel more tender and can dry faster. The NCHFP apple table uses peeled, cored apples as its reference preparation, so use that method when you want to follow the table as closely as possible.
3. Slice evenly — about 1/8 inch for the tested reference
Uniform thickness is one of the biggest predictors of an even batch. The NCHFP fruit-drying table calls for apple slices or rings about 1/8 inch thick. A mandoline or crank-style apple peeler/slicer can help when you are processing several pounds at once, but a sharp knife works too if you can keep the slices consistent.
Thicker slices are not automatically wrong, but they will usually take longer and can stay moist in the center after the thinner pieces are ready. If you intentionally cut thicker pieces, treat published drying times only as an early checkpoint and rely on texture and moisture checks before storage.
How to keep apple slices from turning brown
Fresh-cut apples darken quickly when enzymes in the fruit react with oxygen. Pretreatment slows that oxidation and helps preserve a lighter finished color. The NCHFP lists several options for apples, including an ascorbic-acid mixture, an ascorbic-acid solution and a fruit-juice dip. Penn State also recommends pretreating apples before drying and notes that acidic pretreatments can improve color and support the drying process.
Use a current extension or NCHFP formula rather than inventing concentrations. If you use a commercial anti-browning product, follow its label. If you use a fruit-juice dip, understand that the result can still brown more than a dedicated ascorbic-acid treatment. Pretreatment is mainly a quality step for apples; it does not eliminate the need to dry the slices fully and store them correctly.
Apple prep tools that can make larger batches easier
You do not need specialized tools to dehydrate apples. A knife, cutting board, corer and dehydrator are enough. The products below are optional workflow helpers for people who process larger batches or want more consistent slices. Product listings can change, so the exact current Amazon page should always be checked before ordering.
Peeling, coring and uniform slicing
Uniform apple slices are easier to dry evenly. These three tools are linked to the exact listings and images shown below.

Apple Peeler Corer with Stainless Steel Blades and Suction Base*
A crank-style peeler, corer and slicer that can speed up larger apple batches. Use the guard and suction base exactly as the manufacturer directs, and verify the current listing before buying.
View on Amazon
OXO Good Grips Chef's Mandoline Slicer 2.0*
A sturdy adjustable mandoline for producing more uniform slices. Consistent thickness matters because thin and thick pieces do not finish drying at the same time.
View on Amazon
SupMaKin Safe Mandoline Slicer Plus*
An enclosed-style adjustable slicer that can reduce direct hand contact with the blade while making repeatable apple slices. Follow the current product instructions and use the supplied food holder.
View on AmazonAffiliate links · Your price stays the same.
Keeping fresh apples in good condition before you dehydrate them
If you bought a large bag or picked more apples than you can prep in one session, the priority is to keep the fresh fruit in good condition until its drying day. Refrigeration and prompt processing are more important than any gadget. Ethylene-management products may be useful in some fresh-produce storage setups, but they are not part of the actual drying process.
Optional fresh-apple storage helpers
Use these only for fresh produce waiting to be processed. Do not place them in jars or bags of finished dried apples unless the product manufacturer explicitly says to do so. They do not replace drying, conditioning or airtight packaging.

Bluapple Produce Saver Ethylene Gas Absorber, 2-Pack*
A fresh-produce storage accessory for apples waiting to be processed. This is not a storage solution for dried apples and does not replace complete drying, conditioning or airtight packaging.
View on Amazon
Ethylene Gas Absorber Packets 5g, 30-Pack*
Another option intended for fresh fruit and vegetable storage before processing. Keep it separate from finished dried food and follow the listing directions for placement and replacement.
View on AmazonHow to dehydrate apples in a food dehydrator
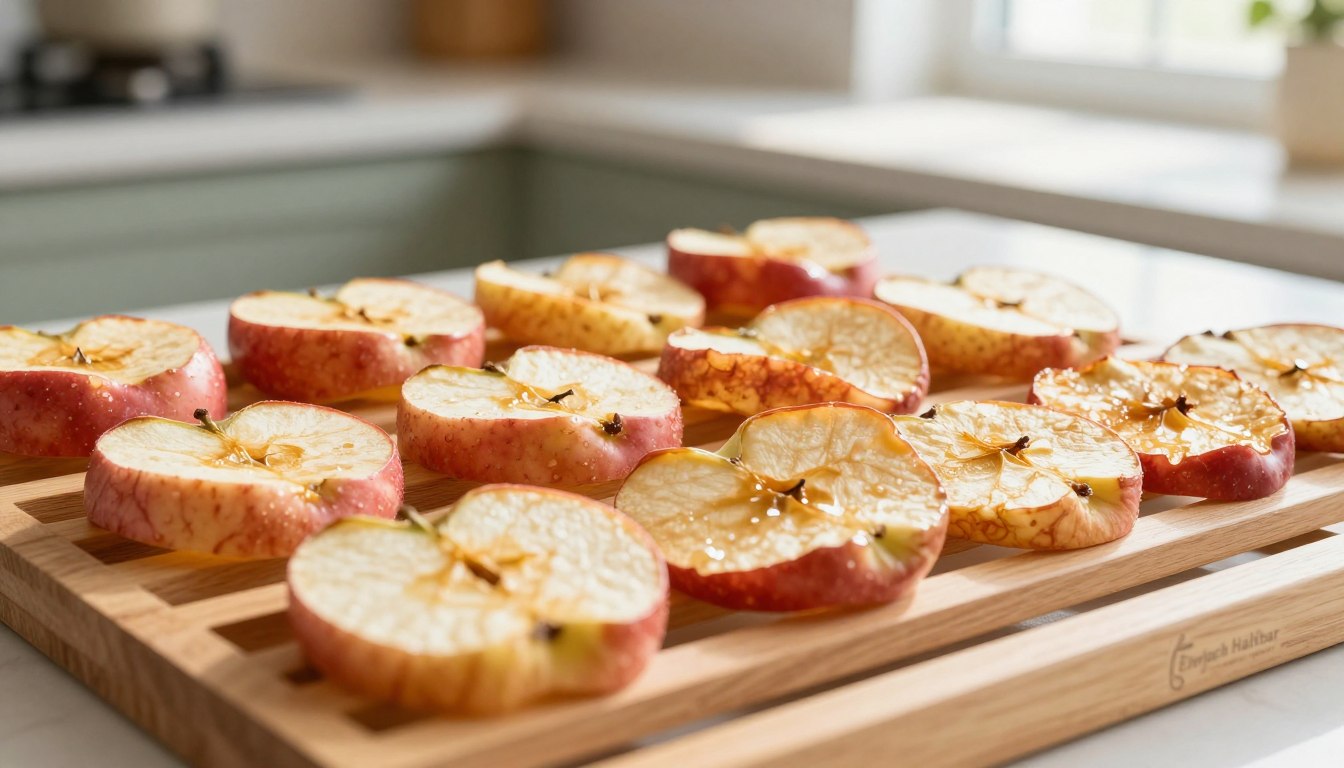
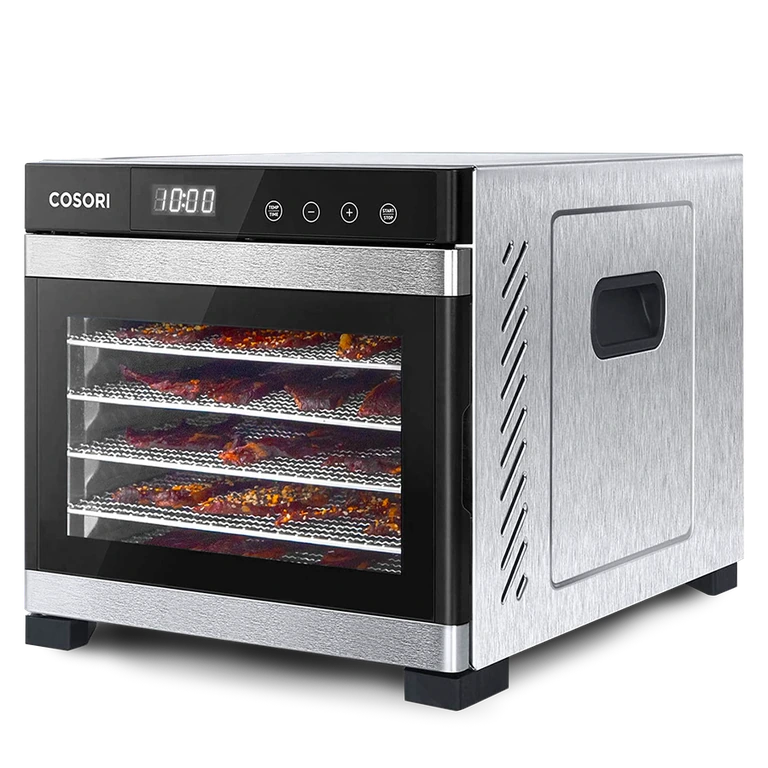
A food dehydrator is the easiest method to control because it combines low heat with continuous airflow. If you are comparing machines, the COSORI CP267-FD and NESCO FD-75A are two options with different tray layouts. The NCHFP recommends choosing a dehydrator with a thermostat and describes approximately 140°F as a common drying temperature for many foods. Always check your appliance manual as well, especially for tray rotation, minimum loading and airflow requirements.
- Wash, core and slice the apples as evenly as possible.
- Pretreat the cut slices using a current tested method if you want to limit browning.
- Drain the slices well so excess surface liquid does not unnecessarily slow the first stage of drying.
- Arrange apples in a single layer. Avoid overlapping pieces because blocked airflow creates uneven drying.
- Set the dehydrator to about 140°F (60°C), unless the tested method or your appliance manufacturer specifies otherwise.
- Begin checking the batch as it approaches the expected range. Move or rotate trays only if your model's instructions call for it.
- Remove a test slice and let it cool before judging texture. Warm fruit can feel softer than it will after cooling.
- Continue drying until slices are pliable and no beads of moisture appear when a cooled piece is pressed.
Two dehydrators from our U.S. buying guide
Compare a front-loading digital model, an expandable stackable model and a larger-capacity dehydrator. Choose the usable tray area and controls that fit your batch size. No model changes the drying rules above; the food still has to reach the correct final dryness.
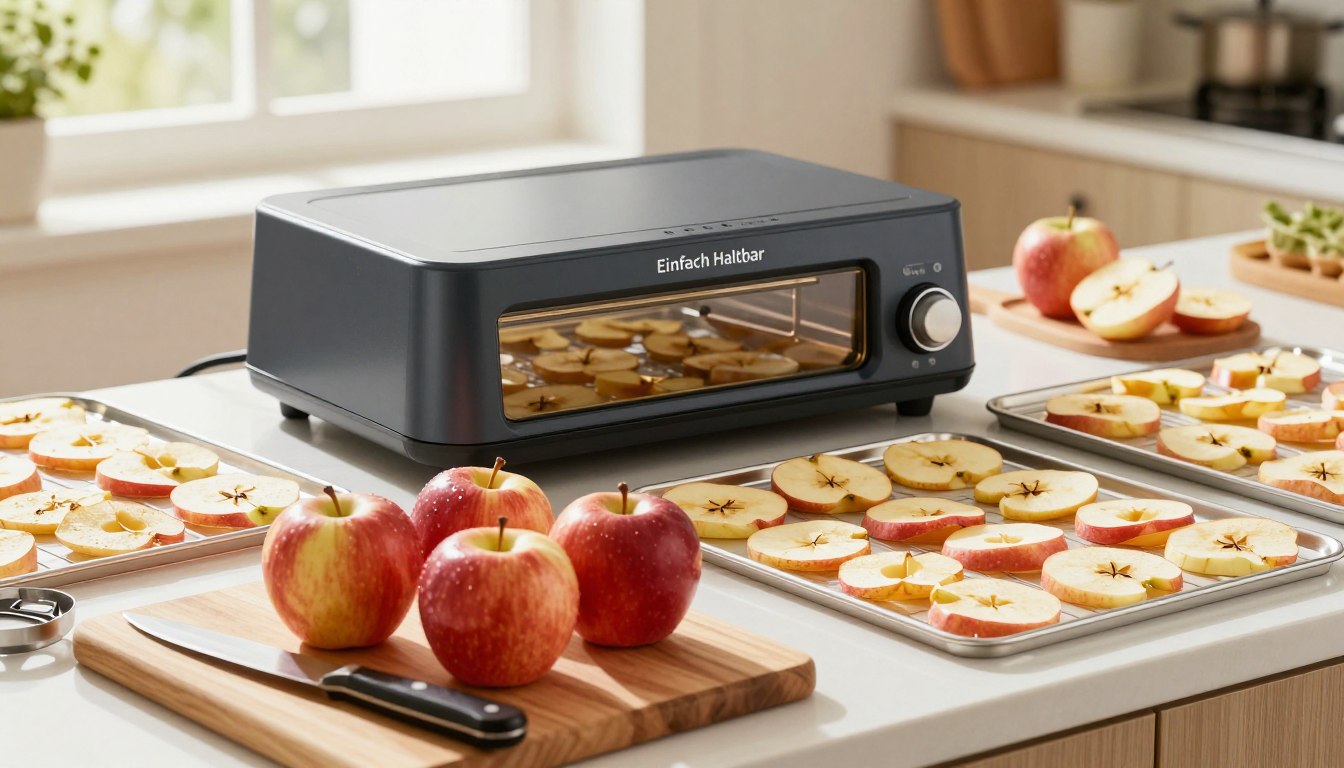
Three established U.S. dehydrator options
These are not new claims created for this article. They are carried over from the same U.S. dehydrator-buying ecosystem used by our other dehydration guides.

COSORI CP267-FD Food Dehydrator*
A six-tray, digitally controlled dehydrator from our U.S. dehydrator buying guide. Its adjustable temperature range covers the low-heat fruit-drying temperatures discussed in this guide.
View on Amazon
NESCO FD-75A Snackmaster Pro*
A stackable dehydrator that starts with five trays and can expand. It is a practical option when you want to begin with smaller apple batches and add capacity later.
View on Amazon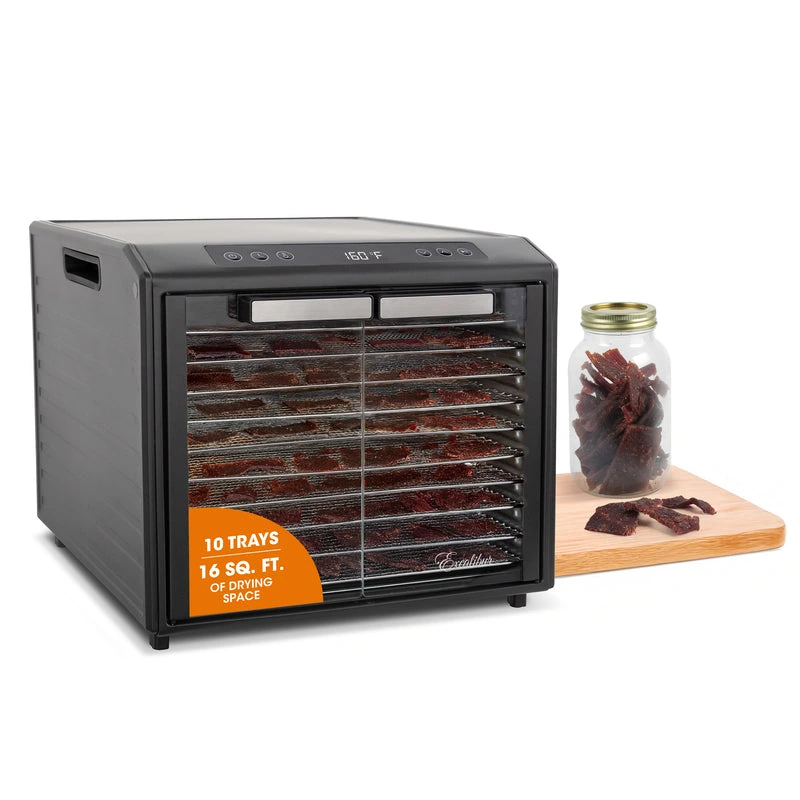
Excalibur Performance Series 10-Tray
Ten stainless steel trays, adjustable temperature control and a glass-door cabinet format suit readers who regularly prepare larger batches.
View on AmazonWant the full comparison? See Best Food Dehydrators for capacity, temperature controls and other buying criteria.
Affiliate links · Your price stays the same.
Best temperature and drying time for apples
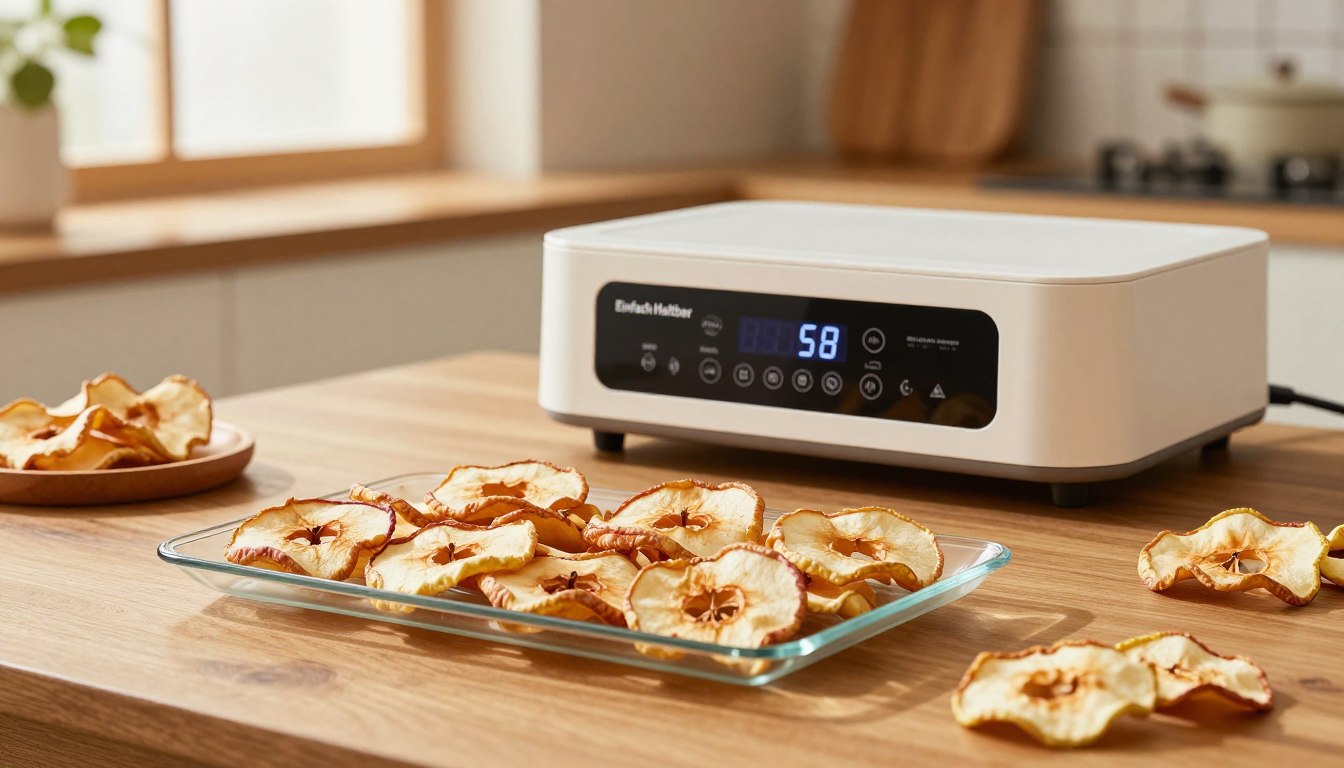
For thin apple slices, use 140°F (60°C) as a practical target. The NCHFP fruit table lists a dehydrator drying time of approximately 6–12 hours for apples prepared as slices or rings about 1/8 inch thick. Penn State gives the same 6–12 hour range and adds an optional staged approach: 145°F at the beginning when the fruit has surface moisture, then 135–140°F after the first hour.
Those numbers are not a promise. A juicy apple cut 1/4 inch thick can take longer than a firm apple cut 1/8 inch thick. A fully loaded machine in a humid room may dry more slowly than a light batch in dry air. Airflow design, tray spacing and how often the door is opened also matter.
| Variable | Practical starting point | Why it matters |
|---|---|---|
| Slice thickness | About 1/8 inch for the NCHFP reference | Thicker slices generally need more time |
| Dehydrator temperature | About 140°F / 60°C | Balances moisture removal with quality |
| Reference drying time | About 6–12 hours | Useful checkpoint for thin apple slices, not a universal finish time |
| Final check | Cool a test piece first | Warm slices can feel softer than cooled slices |
Table notes
About 1/8 inch for the NCHFP reference. Thicker slices generally need more time.
About 140°F / 60°C as a practical dehydrator setting.
About 6–12 hours for thin slices; use it as a checkpoint.
Cool a test piece before judging whether the batch is dry.
How to tell when dehydrated apples are done
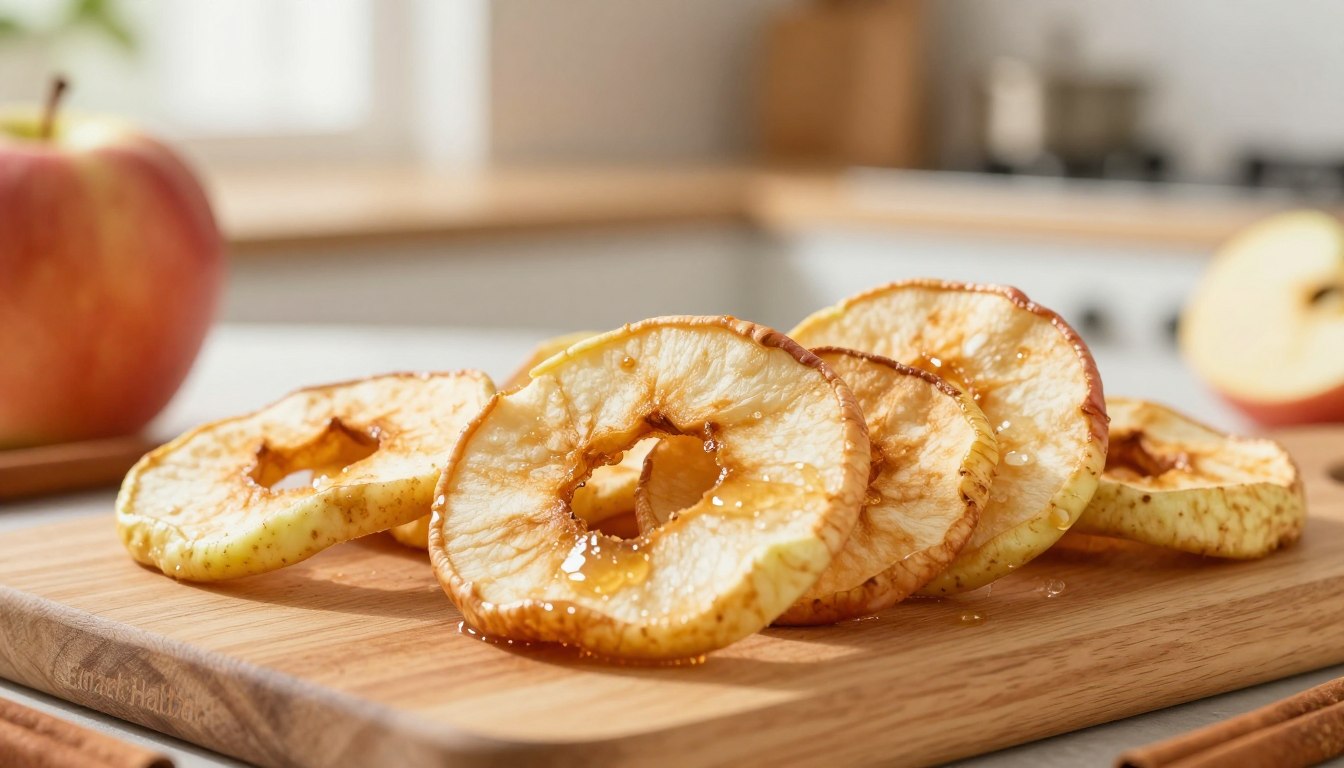
Do not decide based on color alone. A browned apple can still contain too much moisture, and a pale slice can be fully dry. Remove several pieces from different trays and let them cool for a few minutes. The cooled slices should be pliable rather than wet or sticky, and pressing a piece should not create visible beads of moisture.
If you want crisp apple chips, you can continue drying beyond the pliable stage, especially with very thin slices. Crispness is a texture preference; safe storage still depends on the absence of excess moisture. Do not seal a batch while it is warm because trapped warmth can create condensation that looks like residual moisture and can also promote spoilage.
Can you dehydrate apples in the oven?
Yes, if your oven can reliably hold a low temperature. Penn State recommends oven drying around 140–150°F (60–66°C) and allowing moisture to escape. Some ovens do not operate accurately at such low settings, and appliance manufacturers may warn against holding the door open. Follow the instructions for your specific oven rather than copying a generic “door cracked” trick that conflicts with the manual.
Arrange pretreated apple slices on suitable racks or trays in a single layer. Use convection if your oven supports it and the manufacturer allows it; moving air improves moisture removal. Oven batches often require more attention than a dehydrator because temperature and airflow are less specialized for drying.
If your oven's lowest stable temperature is far above the recommended range, a dedicated dehydrator is the better tool. Excessive heat can harden the outside before the center has dried — a problem known as case hardening — and can also produce cooked rather than gently dried fruit.
Condition dried apples for 7–10 days before long-term storage
This is the step many quick recipes skip. Individual apple slices do not always finish with exactly the same moisture level. The NCHFP recommends conditioning dried fruit for 7–10 days to equalize remaining moisture before long-term storage.
- Cool the dried apples completely.
- Place them loosely in clean, dry glass or plastic containers. Do not pack the container tightly.
- Seal the container and keep it at room temperature for 7–10 days.
- Shake or stir the fruit daily so pieces with slightly different moisture levels are redistributed.
- Watch the container for condensation. If condensation appears, return the fruit to the dehydrator and dry it longer.
- If mold appears, discard the affected food rather than trying to rescue the batch.
Conditioning does not make under-dried fruit safe by itself. It is a quality-control step that helps reveal uneven moisture before you commit the batch to longer storage. If the jar repeatedly develops condensation, the fruit needs additional drying.
How to store dehydrated apples
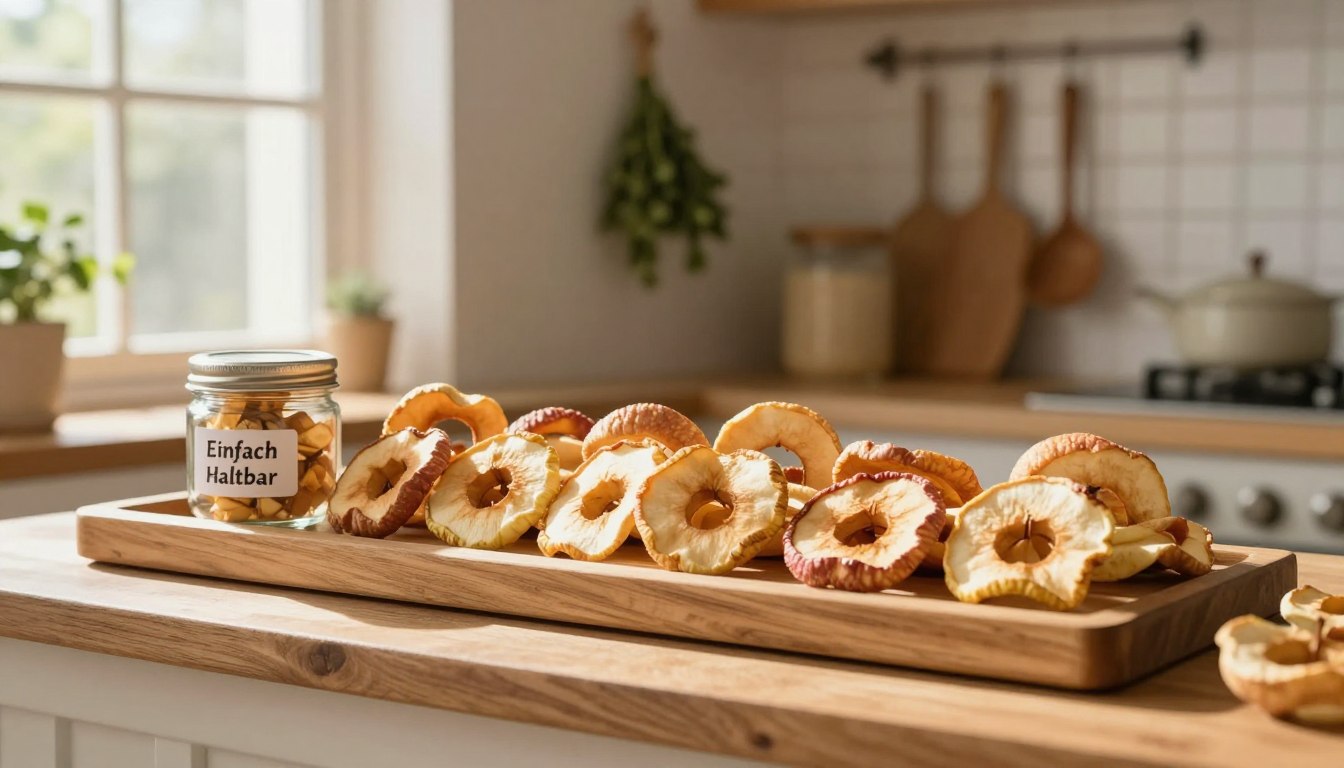
After conditioning, package dried apples in clean, dry, moisture-resistant containers. Use amounts you can open and finish without repeatedly exposing the whole batch to humid air. Glass jars, food-grade plastic containers and appropriate moisture-resistant freezer-style bags can all work when they seal well. For larger pantry batches, wide-mouth glass storage jars make the contents easy to inspect, while a NESCO VS-12 vacuum sealer is an optional way to portion fully dried, conditioned fruit.
Store dried food in a cool, dry and dark place. Heat shortens quality life, light can fade color, and moisture is the enemy of stable dried food. Label each container with the food and date so older batches are used first.
NCHFP storage guidance notes that most dried fruits generally keep best for up to about a year at 60°F and around six months at 80°F. Treat those figures as quality guidance, not a guaranteed expiration date. Packaging, moisture level and storage temperature all affect the real result. If you see mold, unexpected moisture or an off odor, discard the food.
Three ways to package fully dried apples
Only package apples after they are fully dried, cooled and conditioned. These products are optional storage tools; neither one can compensate for under-dried fruit. We did not personally test these products.

1-Gallon Glass Storage Jars*
Large clear jars for fully dried pantry ingredients. The transparent container makes it easy to spot unexpected condensation during routine checks.
View on Amazon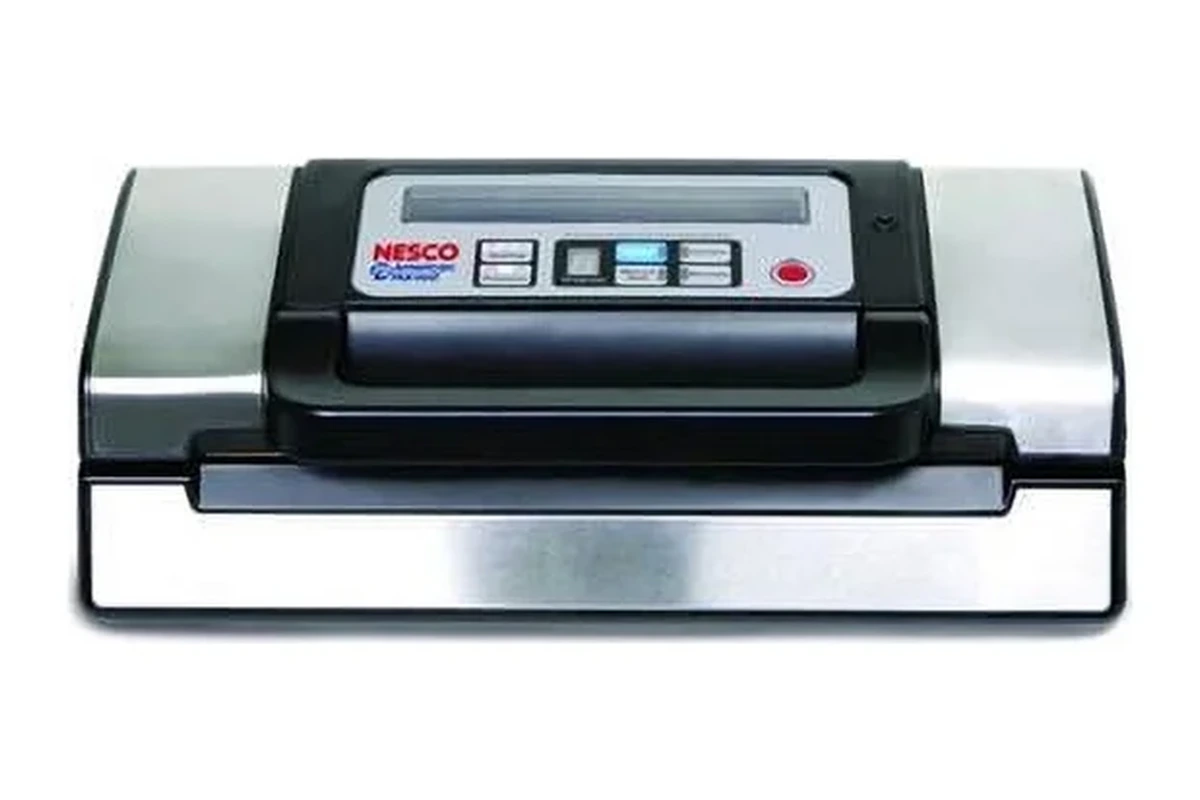
NESCO VS-12 Vacuum Sealer*
An external vacuum sealer with pulse control and double-seal capability. Use it only after the apples have been fully dried, cooled and conditioned.
View on Amazon
Wallaby 1-Pint Mylar Bags — 50 Count
Heat-sealable 1-pint Mylar bags for portioning a completely dry batch and limiting repeated humidity exposure.
Packaging cannot make under-dried food safe. Verify dryness first, then seal promptly.
View on AmazonAffiliate links · Your price stays the same.
How to use dehydrated apples
Dried apples are useful beyond snacking. Chop them into oatmeal, granola or trail mix; add them to baked goods; simmer them into compotes; or rehydrate them for recipes where a softer texture works better. Cinnamon can be added before drying for flavor, but sugar is not necessary to make the apples taste sweet because dehydration naturally concentrates the fruit's sugars.
To rehydrate, cover the amount you need with warm water and allow the pieces to soften, then drain according to the recipe. Rehydrated fruit is no longer a dry pantry product; refrigerate leftovers and handle them like other prepared foods.
7 common apple dehydrating mistakes
1. Cutting slices at very different thicknesses
Thin pieces finish first while thick centers may still be moist. Use a sharp knife or slicer and remove early-finished pieces instead of forcing the entire batch to stay in until the thickest slice is done.
2. Overlapping the trays
Air needs access to the exposed surface. Overlapping slices creates wet contact points and slows the batch. Load in a single layer and use an additional tray or a second batch when necessary.
3. Treating 6–12 hours as an exact deadline
The published range is a reference for a specific slice preparation. Humidity, apple variety, thickness and machine design change the finish time. The cooled texture check matters more than the clock.
4. Turning up the heat to make the batch finish faster
Higher heat can cook the fruit or dry the outside faster than the center. Stay near the recommended low-temperature range and give moisture time to move from the center outward.
5. Packing warm apple slices
Warm food can create condensation inside the package. Let dried apples cool before conditioning or storage.
6. Skipping conditioning
Conditioning is your chance to catch uneven moisture before long storage. Seven to ten days of daily observation is a small step compared with losing an entire batch to hidden moisture.
7. Using fresh-produce accessories as a substitute for dried-food storage
Ethylene absorbers are marketed for fresh produce. They do not make under-dried apples shelf-stable and they do not replace airtight, moisture-resistant packaging. Keep the fresh-fruit and dried-fruit parts of the workflow separate.
FAQ
Frequently asked questions about dehydrating apples
What temperature should I use to dehydrate apples?
About 140°F (60°C) is a practical reference temperature for home dehydrators. Follow your tested method and appliance instructions if they specify a different setting.
How long does it take to dehydrate apple slices?
The NCHFP reference for apple slices or rings about 1/8 inch thick is approximately 6–12 hours in a dehydrator. Thicker slices, humid conditions and heavy tray loads can take longer.
Do I have to peel apples before dehydrating them?
Peeling is optional for everyday drying, although peeled apples usually dry faster and the NCHFP reference preparation uses peeled and cored apples.
How thick should apples be sliced for dehydrating?
About 1/8 inch is the NCHFP reference thickness for apple slices or rings. More important than chasing a perfect number is keeping the batch uniform.
Do apples need lemon juice before dehydrating?
Pretreatment is recommended to reduce browning. NCHFP lists several options, including ascorbic-acid methods and a fruit-juice dip. Use a current tested formula rather than guessing a concentration.
Should dried apples be crispy or chewy?
Properly dried apple slices can be pliable, while very thin slices may be dried further for a crisp chip texture. For storage, the key is that a cooled piece shows no beads of moisture when pressed.
Why do dried apples need conditioning?
Conditioning for 7–10 days helps equalize small moisture differences among pieces and makes condensation easier to detect before long-term storage.
Can I dehydrate apples in the oven?
Yes, when your oven can reliably hold about 140–150°F (60–66°C) and moisture can escape according to the appliance manufacturer's instructions. A dehydrator gives more purpose-built airflow and temperature control.
Sources and method notes
The temperature, slice-thickness, drying-time and conditioning guidance in this article is based primarily on the National Center for Home Food Preservation / University of Georgia home-drying guidance and current Penn State Extension dehydration resources.
Drying performance varies by appliance and environment, so always use the physical dryness test and your equipment manual alongside published reference times.
Final thoughts: good dried apples are about consistency, not speed
The most repeatable way to dehydrate apples is to keep the variables simple: sound fruit, even 1/8-inch slices, a tested browning pretreatment, steady low heat around 140°F, open airflow and a cooled doneness check. The 6–12 hour window is useful for planning, but your apples decide when the batch is finished.
Then give the finished fruit one last quality-control step: condition it for 7–10 days, watch for condensation and package only when the moisture level is stable. That extra patience is what turns a good-looking tray of apple rings into a more dependable pantry batch.