Plan around a real break in your day
Think about the moment you actually want a snack: between calls, on a commute or after collecting the children. A container you can open and close neatly may matter more than an elaborate mix. Choose a portion before sitting at the desk rather than bringing the entire storage jar within reach.
Dried foods concentrate the original ingredients into a smaller volume. Calling a snack homemade does not make portion size irrelevant, and there is no promise here that dried food prevents an afternoon energy dip. The practical benefit is having an option ready when you want one. You can pair it with other food that fits your own needs instead of expecting a small bag of dried fruit to replace lunch.
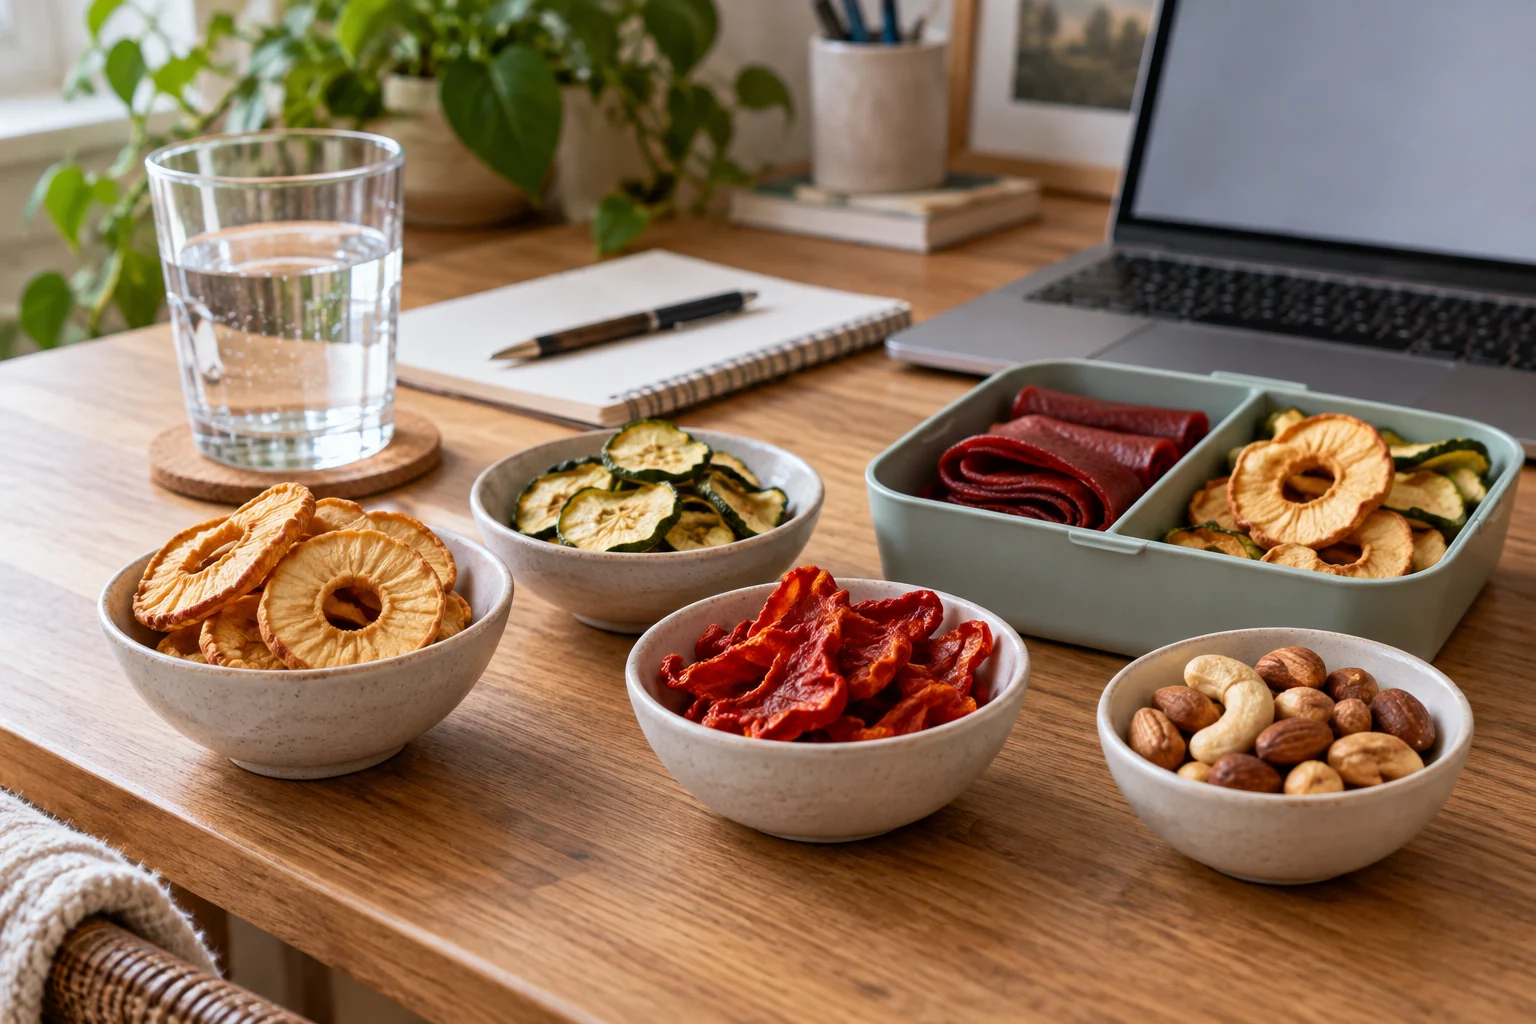
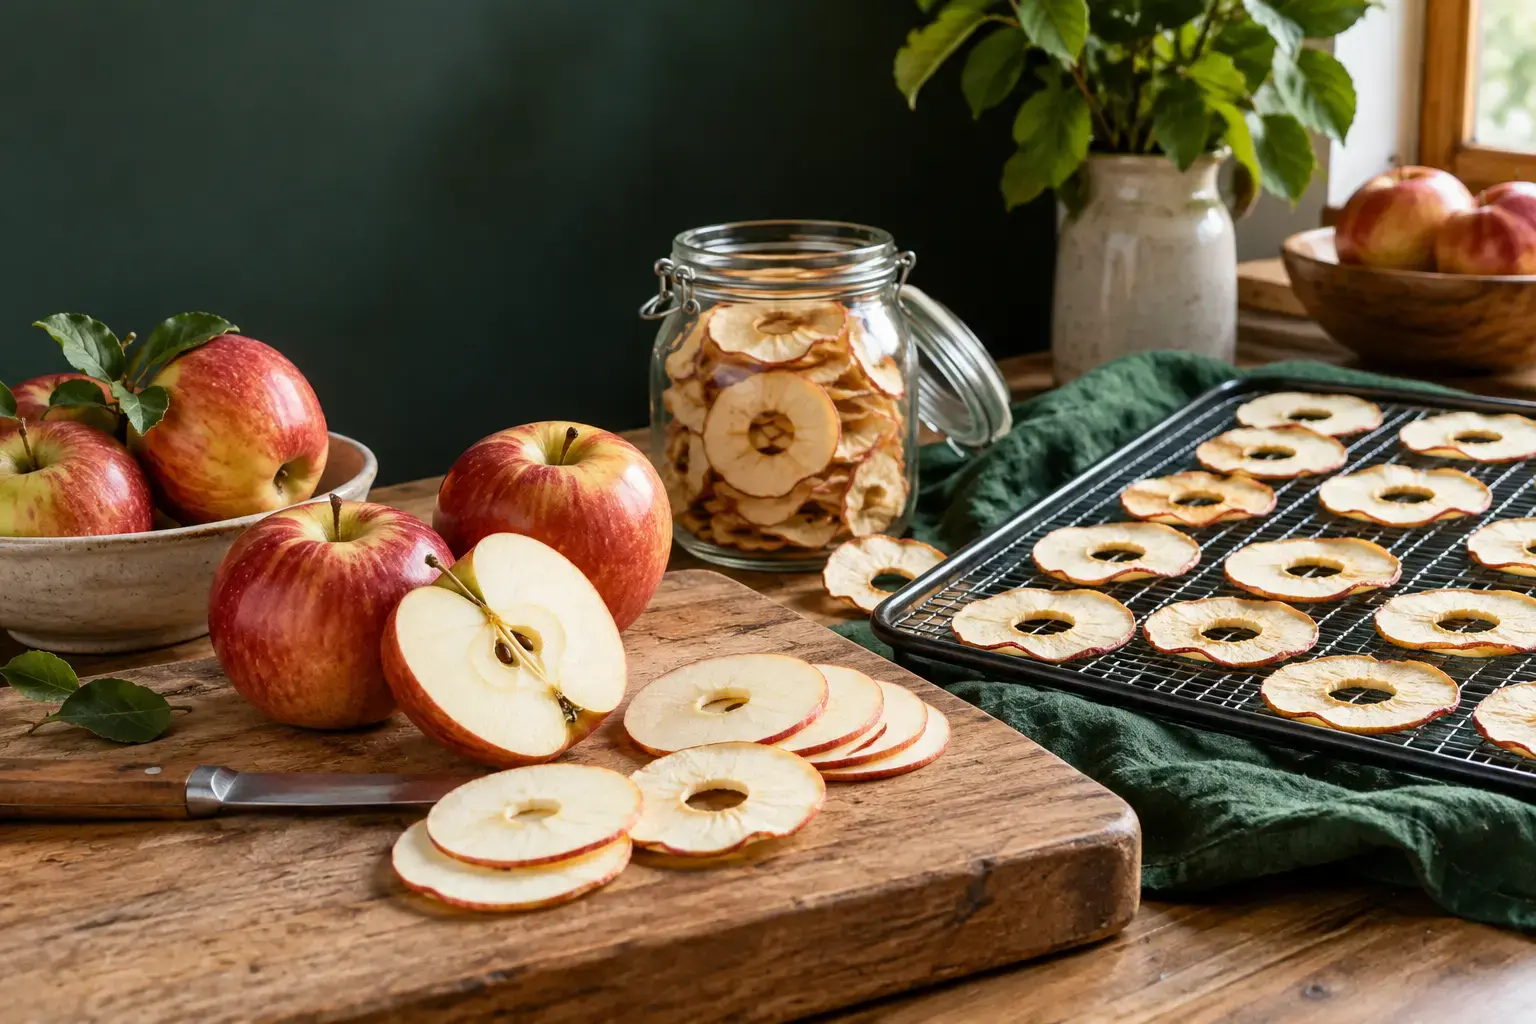
For a varied desk snack, choose one finished dried-fruit portion, one vegetable option or a fruit-leather roll; you do not need to prepare all five ideas in one week. Keep ready-to-eat nuts in their own small container and combine a serving only when packing or eating. The opening image shows several choices, rather than one mixed drying recipe. Follow NCHFP guidance on packaging dried foods when dividing the finished supply into portions.
Set up one manageable prep session
Choose one recipe for the first week and read it from preparation through storage before shopping. Check which trays, liners or tools it needs and when you will be available to inspect the drying. A crowded week is a good reason to keep the first project small, not to leave a complicated new recipe unattended.
Make space for cooling and finishing as well as cutting. Wash the portion containers, dry them fully and decide where the main supply will live. Your note only needs the ingredient, cut or mixture, appliance setting and what you observed at the end. That is enough to make the next batch less mysterious.
- One chosen snack recipe Start with a single ingredient or a complete referenced fruit-leather method.
- Clean, dry portion containers Choose sizes that fit a planned snack break.
- A label and a short batch note Record the recipe, preparation date and required storage.
Yield varies with produce, trimming and final dryness. Record the weight of your own batch rather than assuming a fixed fresh-to-dried conversion.
Plan one preparation session and the monitoring time required by your chosen recipe. This is a snack-planning guide, not a single timed recipe.
Compare dehydrators for your weekly snack prep
For apple rings and vegetable snacks, usable tray space matters more than the largest batch claim. Fruit leather also needs a compatible solid liner. Compare the three optional formats below against the snacks you actually plan to repeat, and use a suitable machine you already own first.
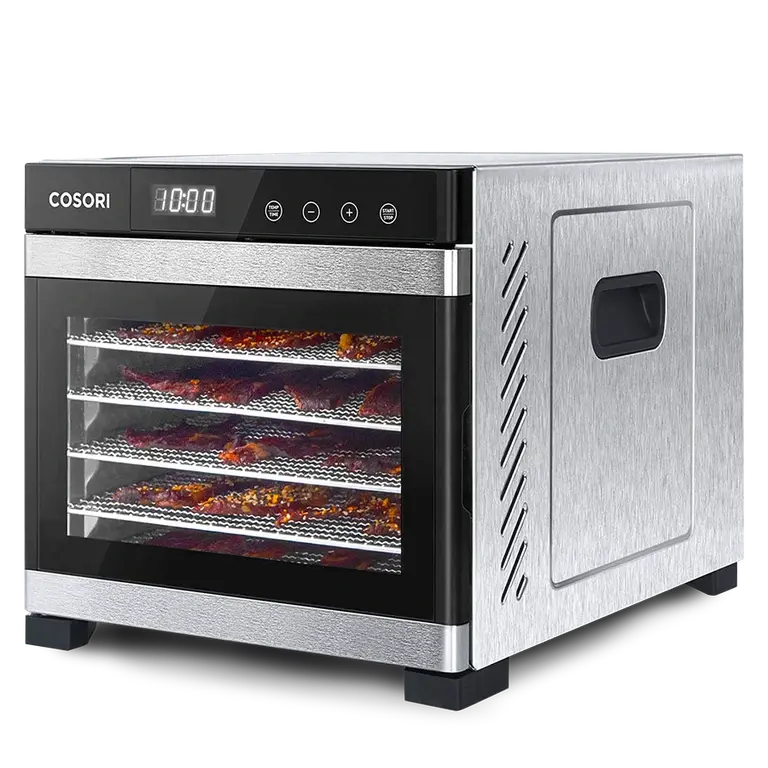
COSORI CP267-FD Food Dehydrator
For recurring apple-ring and vegetable-snack batches, compare usable tray area and how easily you can inspect individual trays. Check for a compatible solid liner before planning fruit leather.
View on Amazon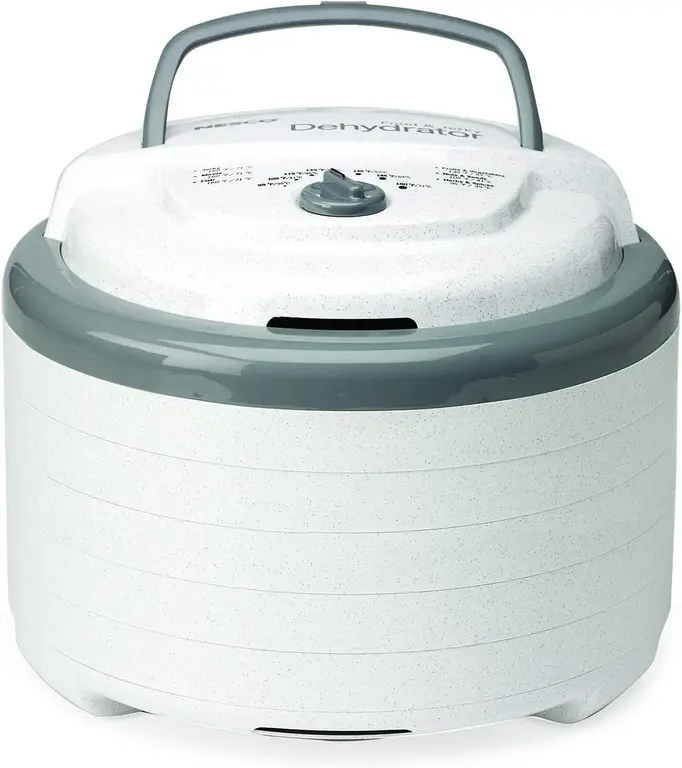
NESCO FD-75A Snackmaster Pro
Consider this stackable format for the portions you will actually eat during a workweek. Check tray access, cleaning and any separate fruit-roll accessories before deciding.
View on Amazon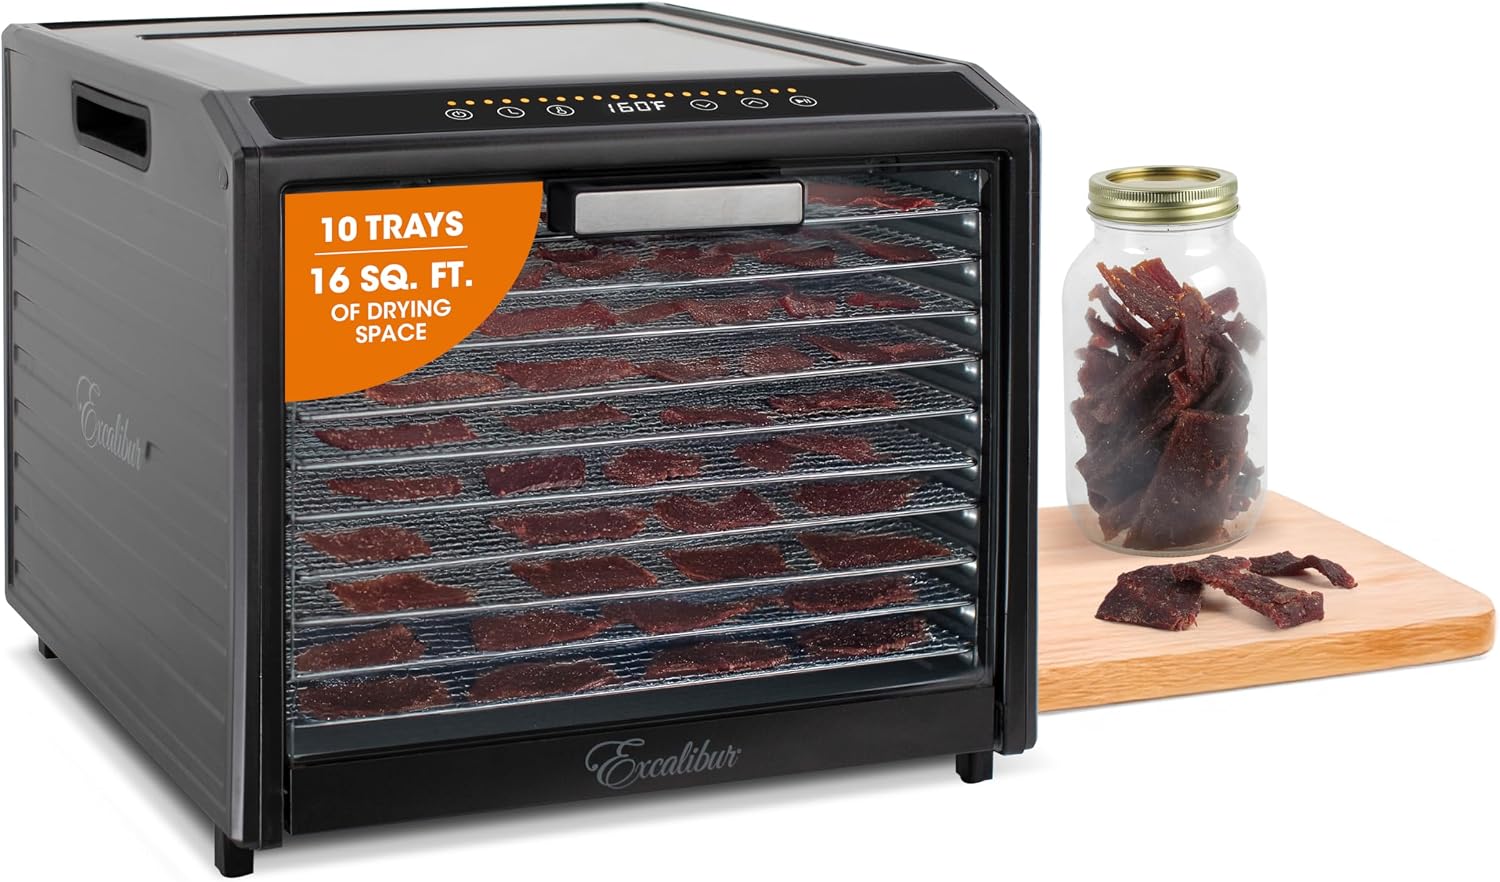
Excalibur Performance Series 10-Tray
The ten-tray format is most relevant when several people regularly use the dried fruit and vegetables. For one small desk-snack portion, decide whether you would use the extra tray space.
View on AmazonAffiliate links · Your price stays the same.
For the wider equipment decision, see our food dehydrator comparison. For process basics, read dehydrating for beginners.
Idea 1: plain apple rings, with cinnamon at serving
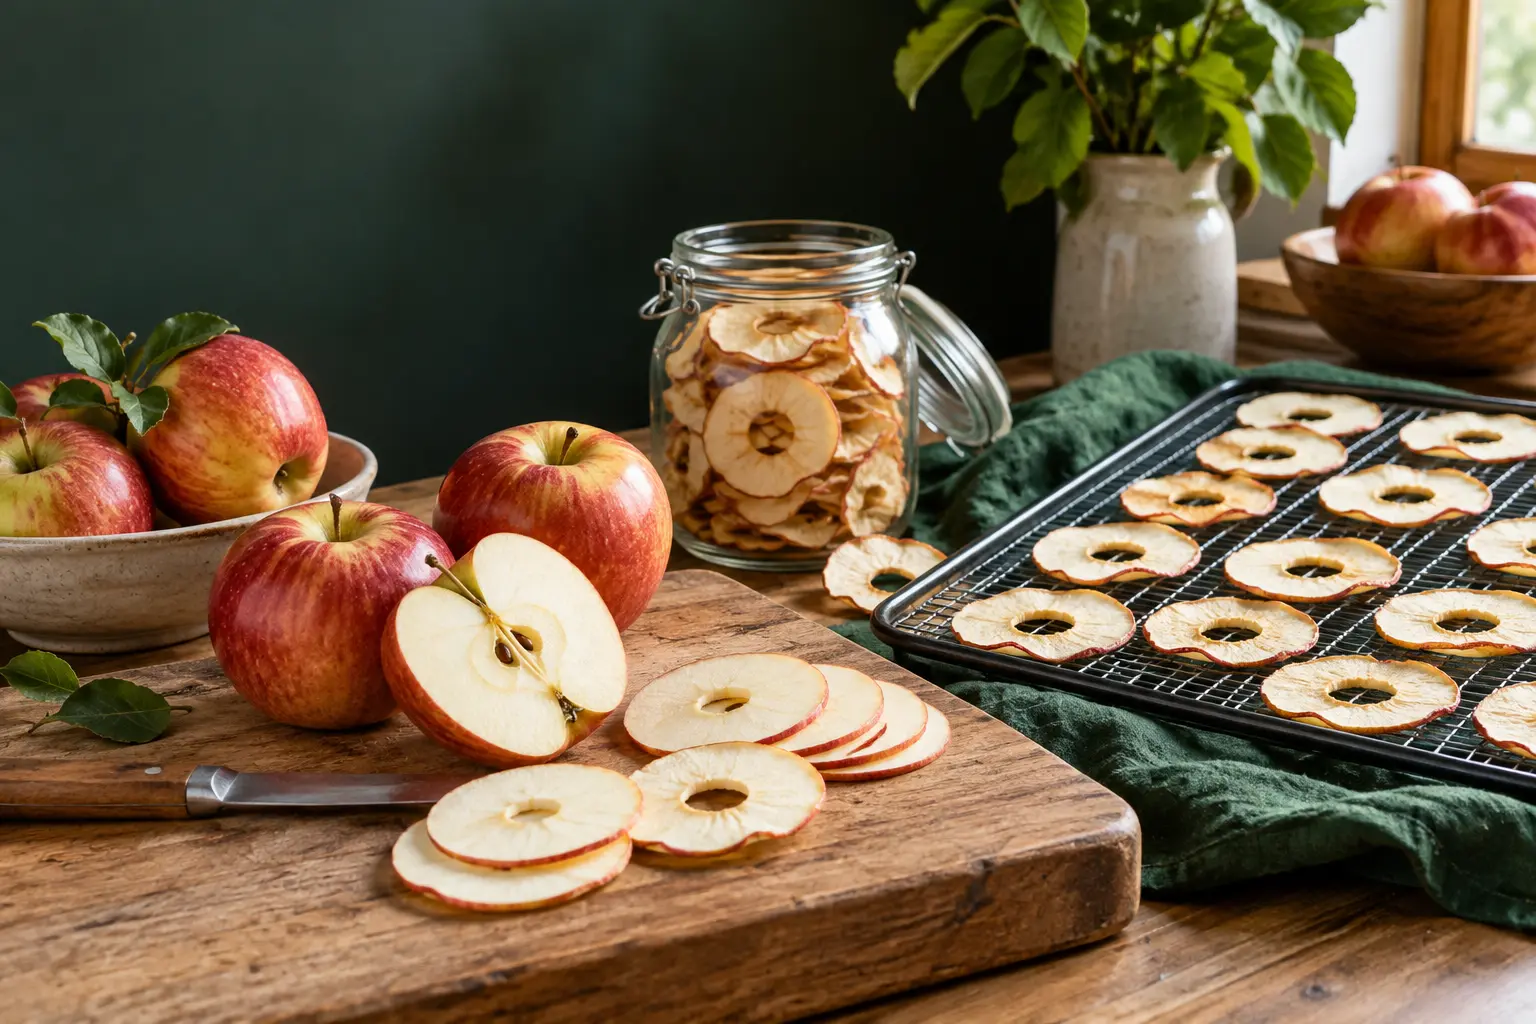
Apple rings work well as a recognizable snack that does not require grinding or mixing. Follow the apple-drying guide for the cut, pretreatment and finish. Keep the first batch plain if you want to understand the fruit’s natural texture before introducing other variables.
For a cinnamon version, add a small amount to the portion you are about to eat rather than inventing an oil or syrup coating for the main batch. You can cut larger rings into smaller pieces for oatmeal or carry them separately from nuts. Finishing the fruit properly comes before deciding how pretty the snack container looks.
Idea 2: zucchini and pepper pieces for a savory break
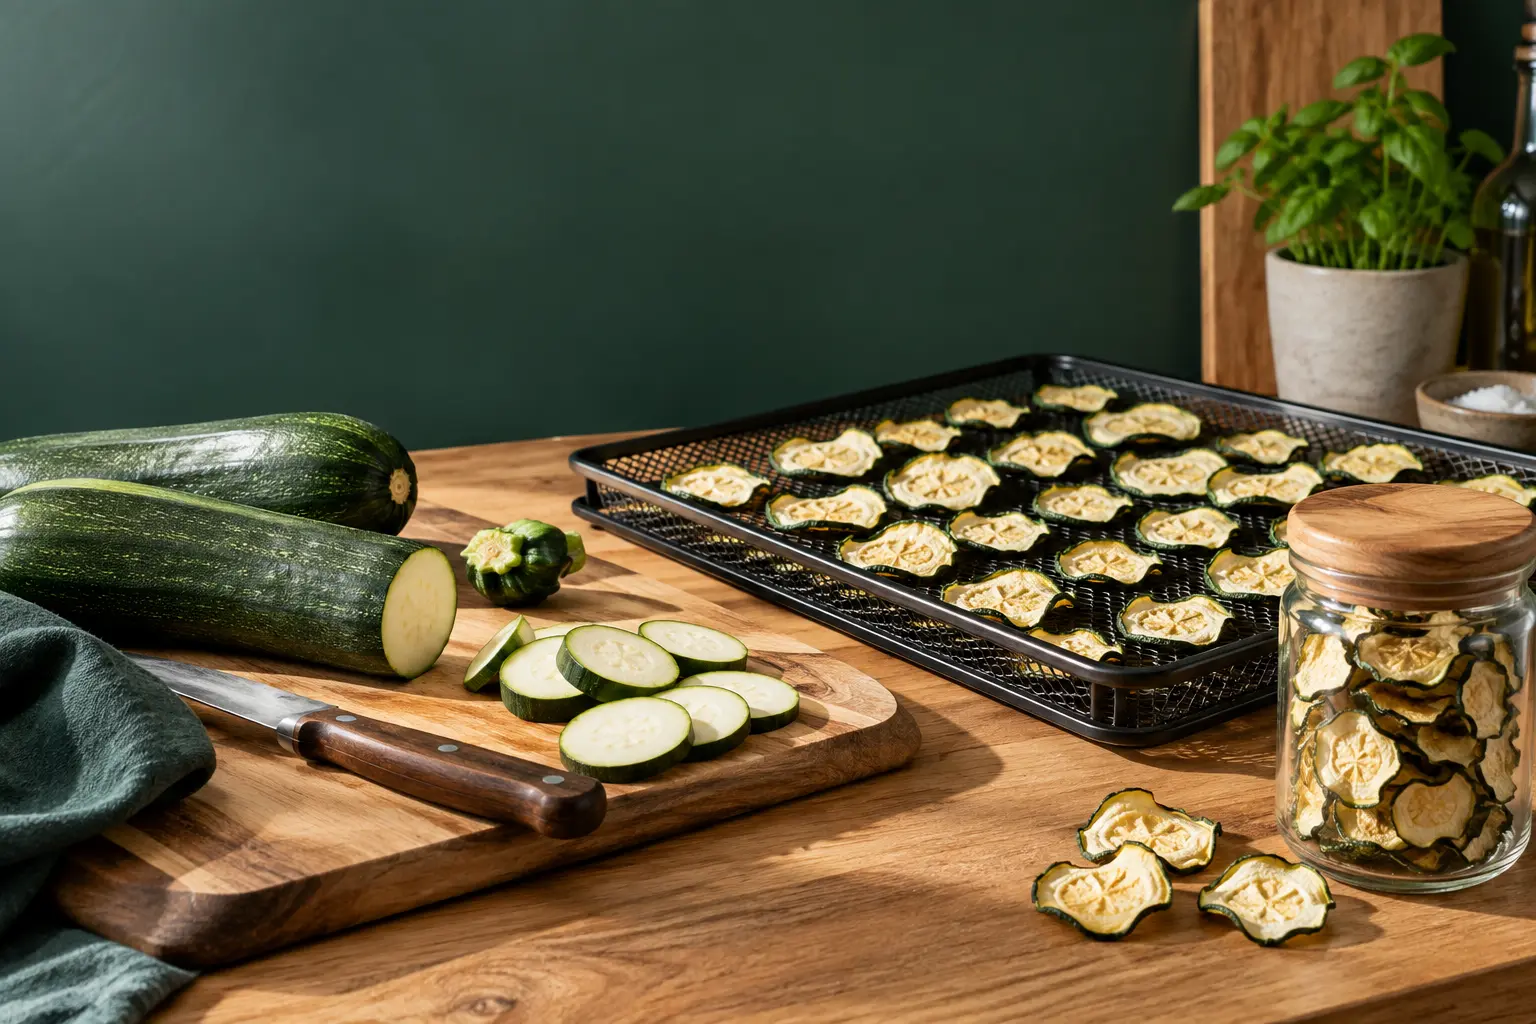
A savory snack need not mean a thick layer of oil and seasoning. Choose a specific vegetable method and decide whether you enjoy its plain dried texture. Zucchini drying gives you a starting point. Peppers are another separate ingredient, with their own preparation and dryness guidance.
Do not assume a plain dried vegetable will copy a fried potato chip. If you want a dressed, moist or oil-coated version, make it as a separate recipe with an appropriate storage plan. For your first workweek experiment, carry a small portion and decide whether it earns a place in the next prep session.
A seven-step plan for your snack week
Choose one snack
Select one recipe you want to eat during a real workday break.
Read its whole method
Check preparation, temperature, dryness criteria and storage before buying ingredients.
Prepare consistently
Wash and cut, or mix, exactly as the selected recipe requires.
Load the right trays
Use compatible trays or liners and keep the specified airflow clear.
Dry and monitor
Follow the food-specific process and inspect at the appropriate stages.
Finish the batch
Carry out its dryness check, cooling and any required conditioning or other finish.
Portion and label
Pack clean, dry work portions and follow the recipe’s storage instructions; record what you would change next time.
Idea 3: a fruit-leather project for chewy rolls
Fruit leather is a sheet of dried fruit puree, so its center needs a different check from an individual apple ring. Use the complete NCHFP fruit-leather recipe for the fruit preparation, tray and finish. Its process uses a roughly 1/8-inch layer at 140°F and checks the center, where drying finishes later than the edges.
Choose a plain fruit combination you already enjoy and use the recipe’s stated amounts. A smooth, even layer is easier to assess than an artistic pattern with thick ridges. While the leather is still warm, peel it from its liner and roll it; let it cool, then rewrap for storage as directed. If you add a moist filling such as cream cheese after drying, the source calls for refrigeration; that filled roll is a different storage product from the plain leather.
Idea 4: keep nuts and chickpea snacks as separate recipes
Nuts and chickpeas bring another texture to a snack selection, but they are not interchangeable with fruit slices. Soaking, cooking, oil and seasoning all change the project. Do not soak nuts or cook chickpeas and then assume a short low-temperature cycle makes them safe for prolonged room-temperature storage.
For a simple workday mix, use ready-to-eat nuts stored according to their label and add an already finished portion of dried fruit just before packing. For a homemade chickpea snack, choose a complete tested preparation and follow its handling directions. This guide does not provide a validated shelf-stable recipe for a soaked or cooked mixture. Keep any perishable version cold rather than treating crisp edges as proof of pantry stability.
Idea 5: vegetable crackers are a separate next-level project
Vegetable puree or juicing pulp can be the starting point for a cracker-style recipe, but the mixture determines the process. Seeds, flour, oil, leftover pulp and moist additions do not all dry the same way. A thin edge can become crisp while the center remains much wetter. Choose a complete recipe rather than combining leftovers and borrowing the apple timer.
If you enjoy that kind of experimentation, make a small fresh snack with suitable refrigerated storage and short-term use. Do not assign it a long cupboard life without a validated basis. Keeping this project separate from straightforward dried fruit prevents one ambitious recipe from complicating the entire week’s snack plan.
Keep the main supply separate from the daily portion
A well-organized snack station can be modest: one main container, a few clean portion boxes and a label. Keep the main supply away from steam, sunlight and a hot office drawer. Each food should already have passed its own checks before it reaches that station. A lid or a vacuum seal is a packaging choice, not a drying step.
Pack only the amount you expect to use for that day. Moist yogurt, dips or fresh fruit belong in separate compartments and appropriate cold storage. Mixing them with dry pieces changes the whole container. If something develops condensation, mold or an unexpected odor, investigate and discard spoiled food rather than covering the problem with stronger seasoning.
Use your first week to decide what equipment matters
A new dehydrator is most useful when you know which projects you will repeat. If apple rings are the favorite and you make them regularly, tray access and easy cleaning may matter more than a complicated display. If you rarely finish even a small batch, more shelves will not solve the planning problem.
At the end of the week, ask what you actually ate, what stayed in the box and what was awkward to carry. Adjust flavor, cut or portion size one thing at a time. Your own snack routine is a better buying guide than an appliance’s largest capacity number.
Frequently asked questions
Can all five ideas use one temperature and timer?
No. They involve different foods and mixtures. Use a complete food-specific method for each.
Are homemade dried snacks automatically healthier?
No general comparison is justified. Ingredients, portion size and your overall food needs matter; this guide focuses on preparation and convenience.
Can I dry fruit and onion together?
Consider flavor transfer and follow the appliance guidance. For a first snack batch, keeping sweet fruit separate makes the result easier to evaluate.
Can I add yogurt or a dip to the storage jar?
Keep moist additions separate and follow their refrigeration requirements. They change the storage needs of the combined snack.
Do I need a vacuum sealer?
Not for a small first batch. Choose clean, dry containers appropriate to the finished food and its storage directions.
Sources and editorial notes
The NCHFP fruit-leather and dried-food packaging references were reviewed on September 12, 2026. This is a snack-planning guide, not one shared recipe or a personally tested batch. Product comparisons are optional editorial guidance, not personal product tests. Accuracy cannot be guaranteed; verify the complete current source instructions for each food.
- NCHFP: Fruit Leathers
- Colorado State University: Drying Fruit
- Colorado State University: Drying Vegetables
- NCHFP: Packaging and Storing Dried Foods
AI-generated contextual illustration; not a photograph of our recipe or appliance tests.