If you want to learn how to make beef jerky in a dehydrator, the most important distinction is between flavor and food safety. Marinade, cut and drying time shape the taste and texture. Safety depends on handling the beef cold, heating it to the USDA-recommended internal temperature before dehydration, and then drying it with steady heat and airflow.
This guide walks you through a practical 2-pound batch using lean whole-muscle beef, a simple savory marinade, a 160°F preheating step, and a dehydrator held at 130–140°F. You will also learn how slice thickness and grain direction affect texture, how to judge doneness, what equipment actually helps, and how to store homemade jerky without relying on vague shelf-life promises.

Why Make Beef Jerky in a Dehydrator?
A dehydrator gives you something that is difficult to reproduce consistently in a standard oven: continuous airflow at a controlled low temperature. That matters because jerky needs moisture removed steadily after the meat has already completed its separate safety-heating step.
A good food dehydrator for jerky should have an adjustable thermostat, enough tray space for a single layer of meat, and airflow that reaches the whole batch. A timer is convenient, but it does not determine doneness for you. Thickness, moisture, tray load and the design of the appliance can all change the drying time.
- Controlled airflow: helps moisture leave the surface of each strip instead of collecting around crowded pieces.
- Adjustable temperature: lets you maintain the 130–140°F drying range after the beef has been heated to 160°F.
- Repeatable batches: consistent slicing and tray spacing make it easier to learn how your specific machine behaves.
- Useful capacity: multiple trays are especially helpful when you prepare several pounds of meat at once.

Three Dehydrator Formats for Homemade Jerky
Choose by batch size, tray format and the controls you actually need. For a broader comparison, see our Best Food Dehydrators guide.
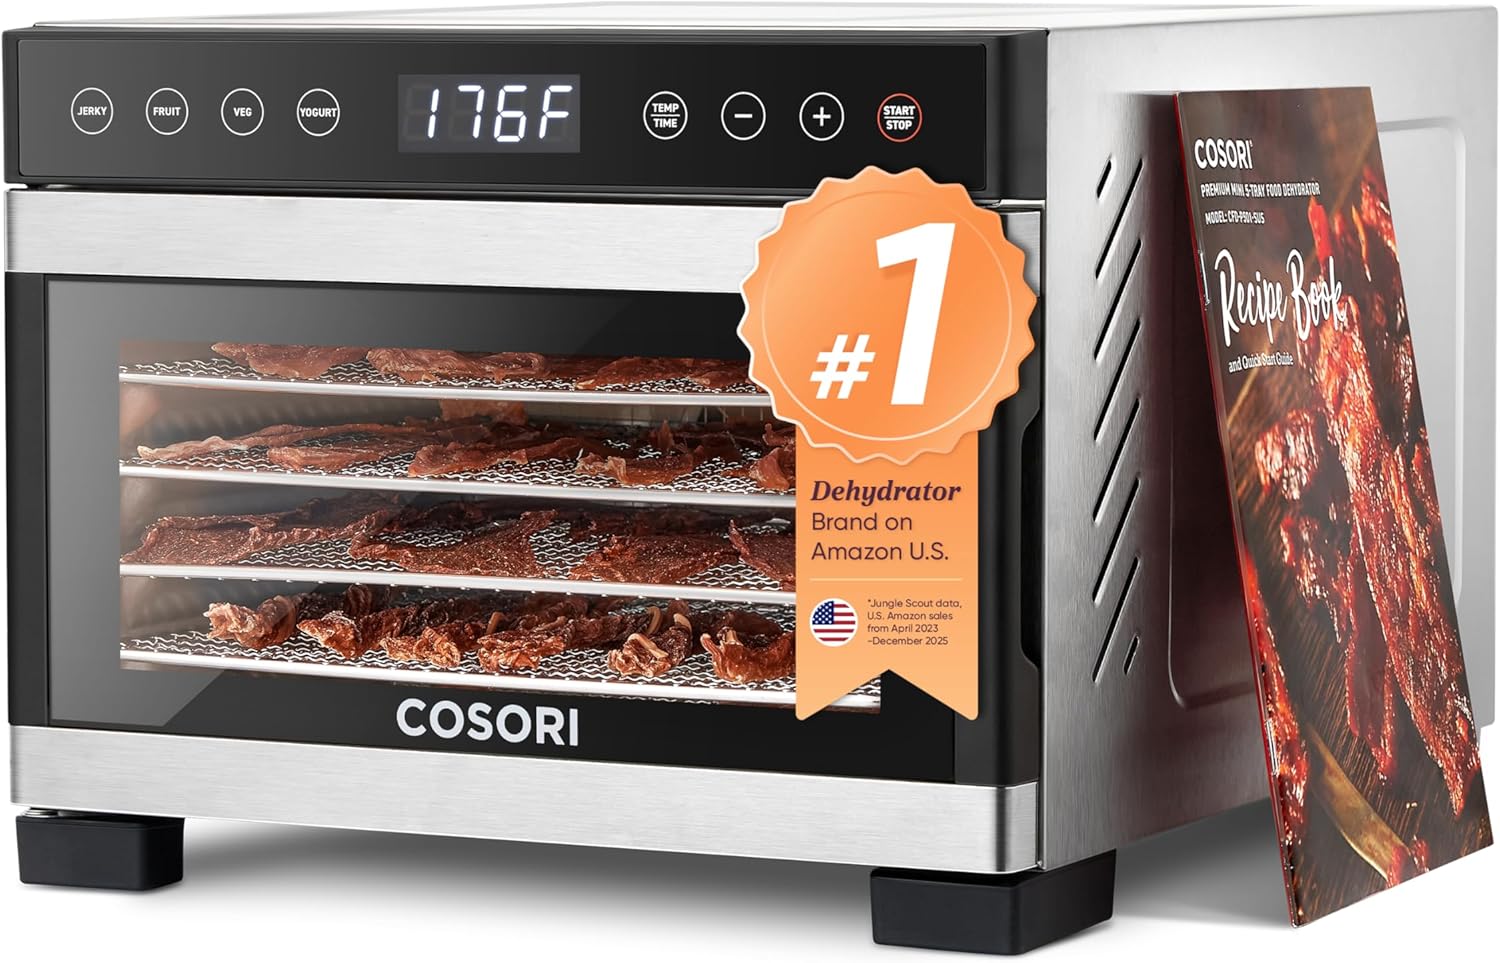
COSORI Food Dehydrator — 5 Stainless Steel Trays
Five stainless steel trays and 3.1 ft² of drying space make this a compact stainless-tray option for routine home batches.
View on Amazon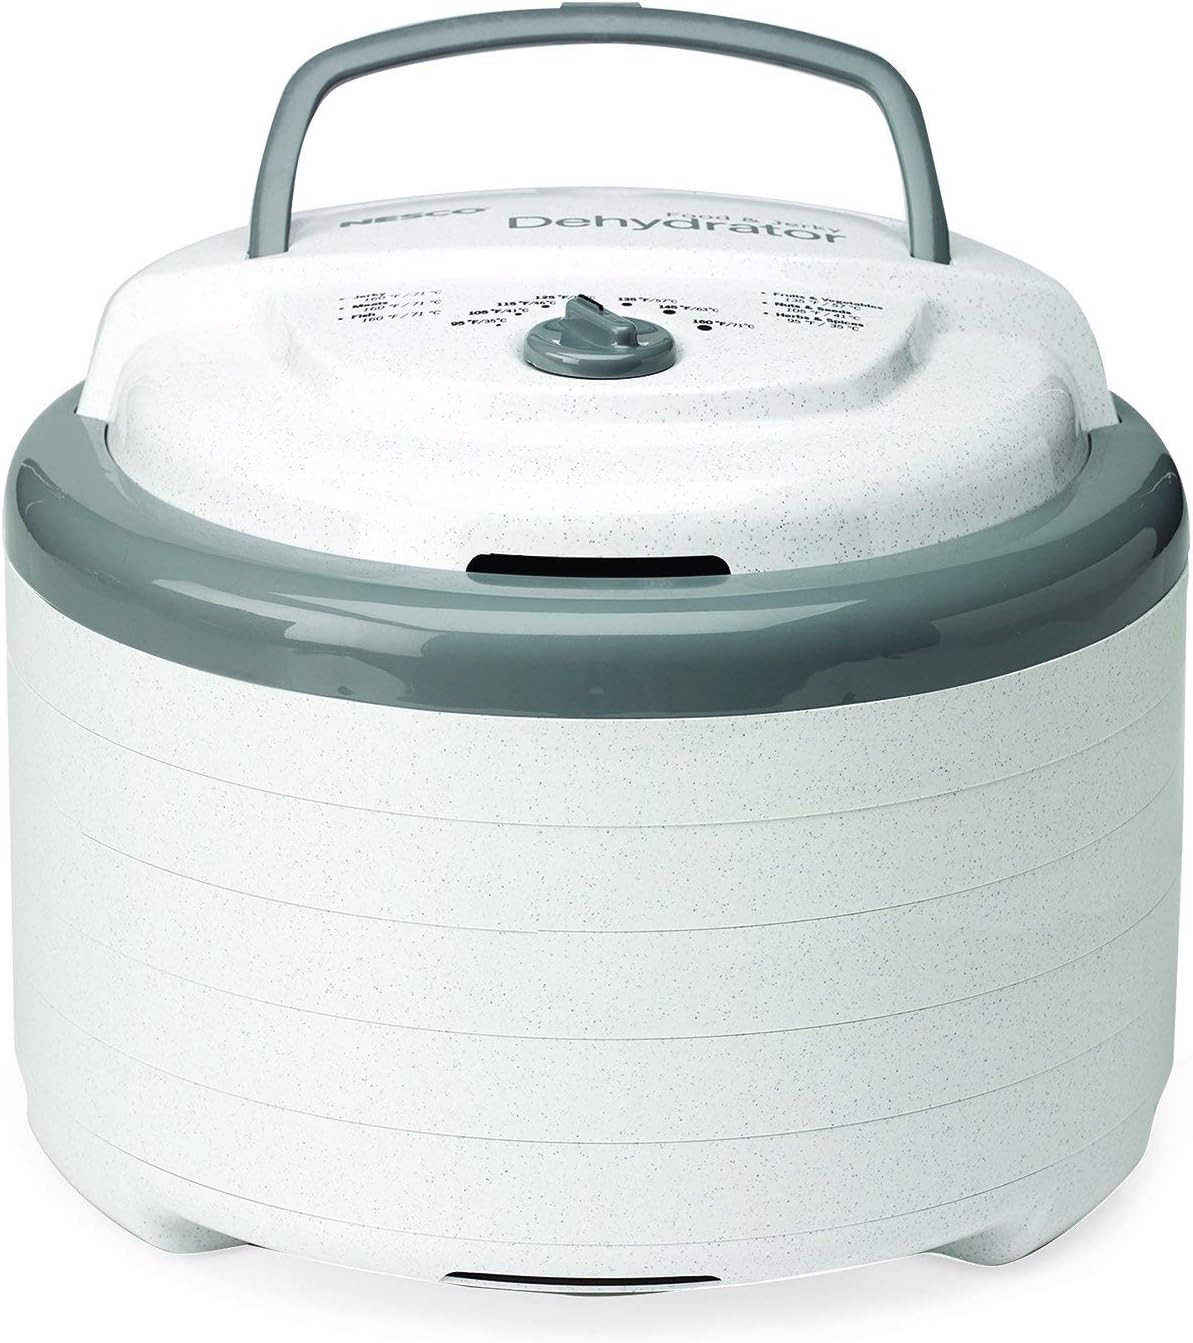
NESCO FD-75A Snackmaster Pro
A stackable dehydrator sold for snacks, fruit and beef jerky, with a straightforward format for smaller kitchens and starter batches.
View on Amazon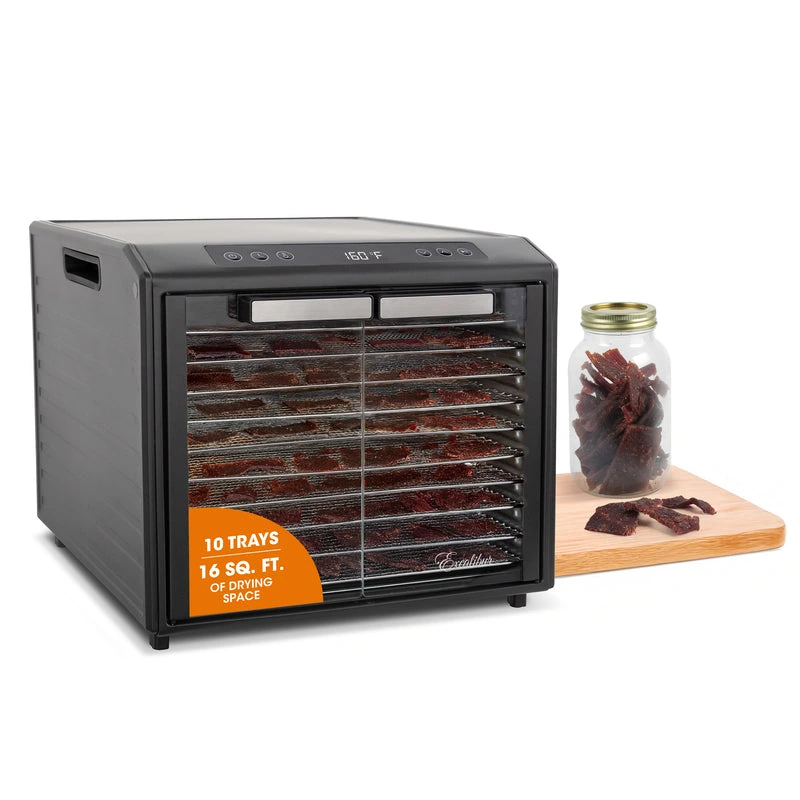
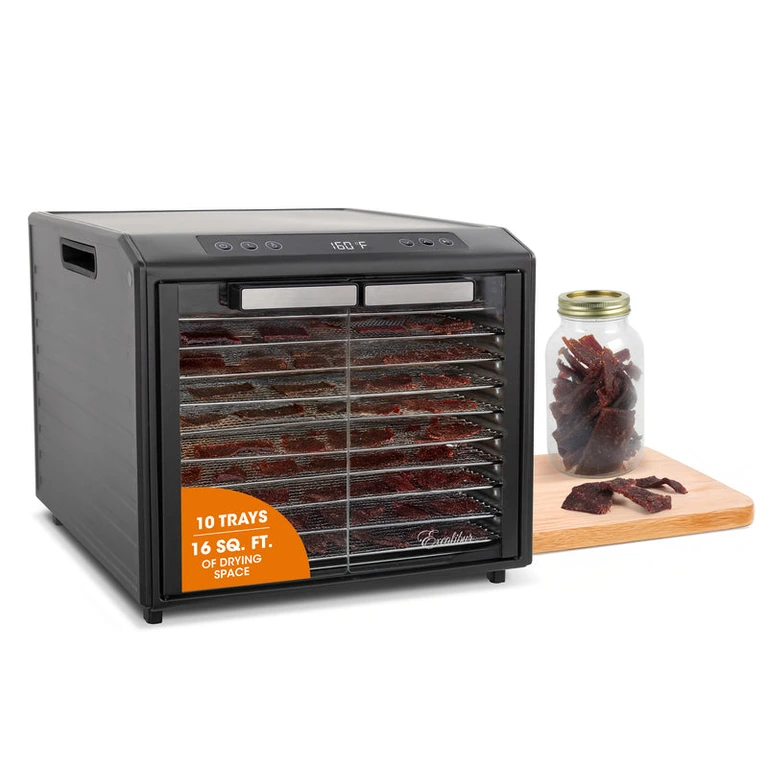
Excalibur Performance Series 10-Tray
Ten stainless steel trays, adjustable temperature control and a glass-door cabinet format suit readers who regularly prepare larger batches.
View on AmazonAffiliate links · Your price stays the same.
The Best Beef Cuts for Homemade Jerky
The best starting point is a lean, whole-muscle cut. Fat does not dry in the same way as lean muscle and can turn rancid sooner, so the goal is to choose a cut with little visible fat and then trim away what remains.
Eye of round is one of the easiest options because it is lean and naturally uniform. Top round and bottom round are also practical choices. Sirloin tip can work well too when it is trimmed carefully. You do not need an expensive steak cut; for jerky, leanness and even slicing matter more than heavy marbling.
How Thin Should You Slice Beef for Jerky?
Aim for strips about 1/8 to 1/4 inch thick. Thin strips generally dry faster; thicker strips take longer and make it more important to check several pieces from different parts of the dehydrator. Consistency is more valuable than chasing one “perfect” thickness.
For easier slicing, place the trimmed beef in the freezer for roughly 60–90 minutes, just until it firms up. It should be partially frozen, not rock solid. A firm piece of beef is easier to cut into clean, even strips with a sharp knife.
With or Against the Grain?
Cut against the grain if you prefer a more tender bite that tears more easily. Cut with the grain if you want a firmer, chewier strip. You can split one batch and try both directions; the food-safety process stays exactly the same.

A Jerky-Specific Slicing Tool
You do not need a special slicer for a small batch, but consistent thickness makes drying more predictable. This purpose-built board is an option if you want a repeatable manual setup.
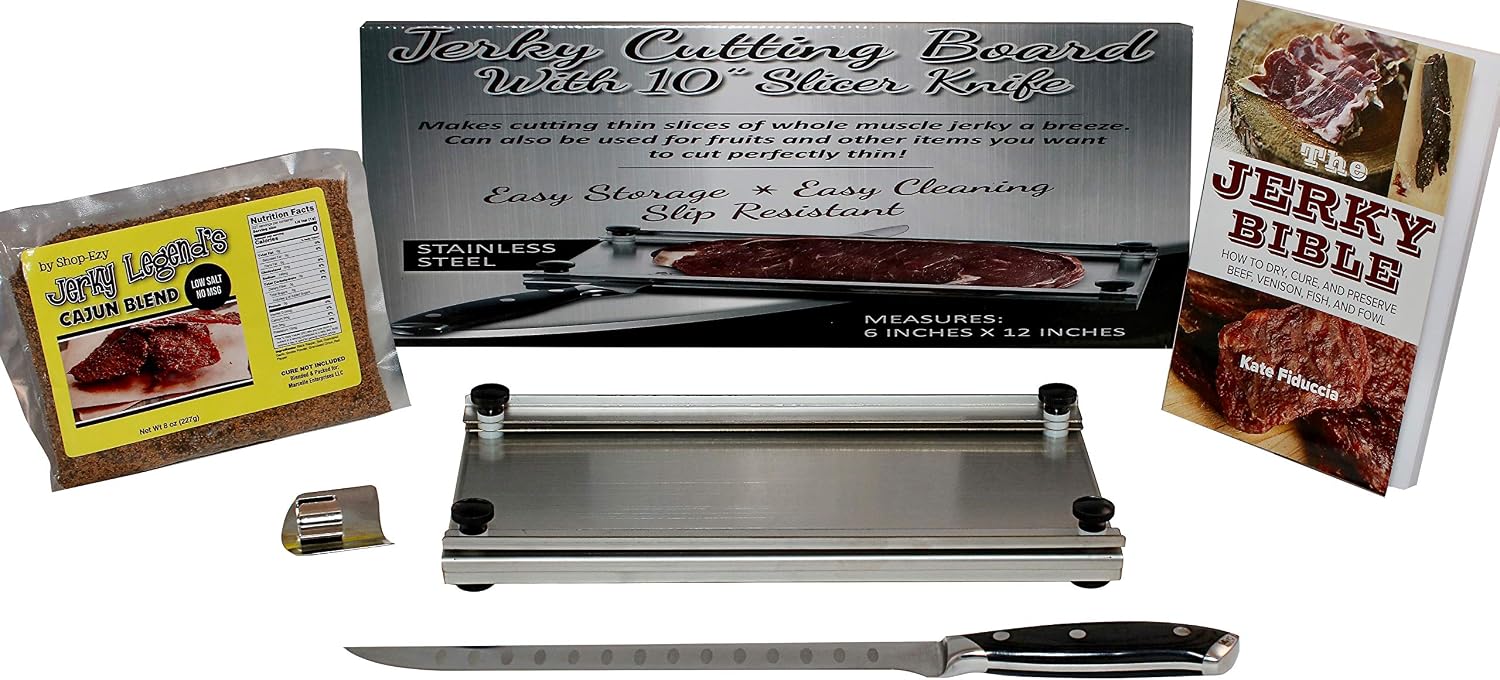
Jerky Maker Cutting Board with Slicing Knife
A jerky-focused cutting board and knife setup for readers who want more consistent manual slices without moving to an electric meat slicer.
View on AmazonBeef Jerky Ingredients and Marinade
This marinade is designed for flavor, not preservation. It does not replace the USDA safety-heating step. Keep the beef refrigerated while it marinates and discard marinade that has been in contact with raw meat.
- 2 lb lean beef, such as eye of round, top round or bottom round, trimmed of visible fat
- 1/2 cup soy sauce
- 1/4 cup Worcestershire sauce
- 1 tbsp brown sugar or honey (optional, for a lightly sweet balance)
- 1 tsp coarsely ground black pepper
- 1 tsp garlic powder
- 1/2 tsp onion powder
- Optional: 1/2 tsp smoked paprika or a small amount of liquid smoke
- Optional heat: 1/4–1/2 tsp red pepper flakes or cayenne
Simple Beef Jerky Marinade
Whisk the soy sauce, Worcestershire sauce and seasonings together in a non-reactive bowl or food-safe container. Add the sliced beef and turn the strips so every surface is coated. Cover and refrigerate for 6–24 hours. A longer soak gives the seasoning more time to penetrate, but marinating longer does not make raw meat safer.
If you use a bag, place it in a bowl or tray in the refrigerator in case it leaks. Do not reuse raw-meat marinade as a serving sauce. If you want extra sauce for another purpose, reserve a clean portion before the raw beef goes in.

Food Safety First: USDA Guidance for Homemade Jerky
This is the part of jerky making that deserves the most attention. The USDA warns that pathogenic bacteria can survive traditional low-temperature drying if raw meat is placed directly into a home dehydrator. Evaporating moisture can keep the meat itself cooler than the surrounding air, and bacteria may become more heat resistant as the meat dries.
For home jerky, USDA FSIS recommends that consumers steam or roast beef to an internal temperature of 160°F before dehydrating. Measure the temperature with a food thermometer. Once that step is complete, maintain a constant dehydrator temperature of 130–140°F while the meat dries.
The safety target is the meat’s internal temperature during the heating step—not the number printed on the dehydrator dial. A dehydrator may not heat raw meat to 160°F quickly or uniformly enough by itself, which is why the preheating step is treated separately.
- Keep beef refrigerated at 40°F or below until you are ready to work with it.
- Thaw in the refrigerator, not on the kitchen counter.
- Marinate in the refrigerator.
- Do not save raw-meat marinade for reuse.
- Heat beef to 160°F before drying, verified with a food thermometer.
- Dry at 130–140°F in a dehydrator that can maintain that range.

Jerky Cure and Seasoning Products
Important: the whole-muscle recipe in this guide does not require a commercial curing salt. If you choose to use a cure, follow the exact product label or a validated recipe; curing products are not interchangeable and should never be measured by eye. Do not assume a cure replaces the 160°F safety-heating step used in this guide.
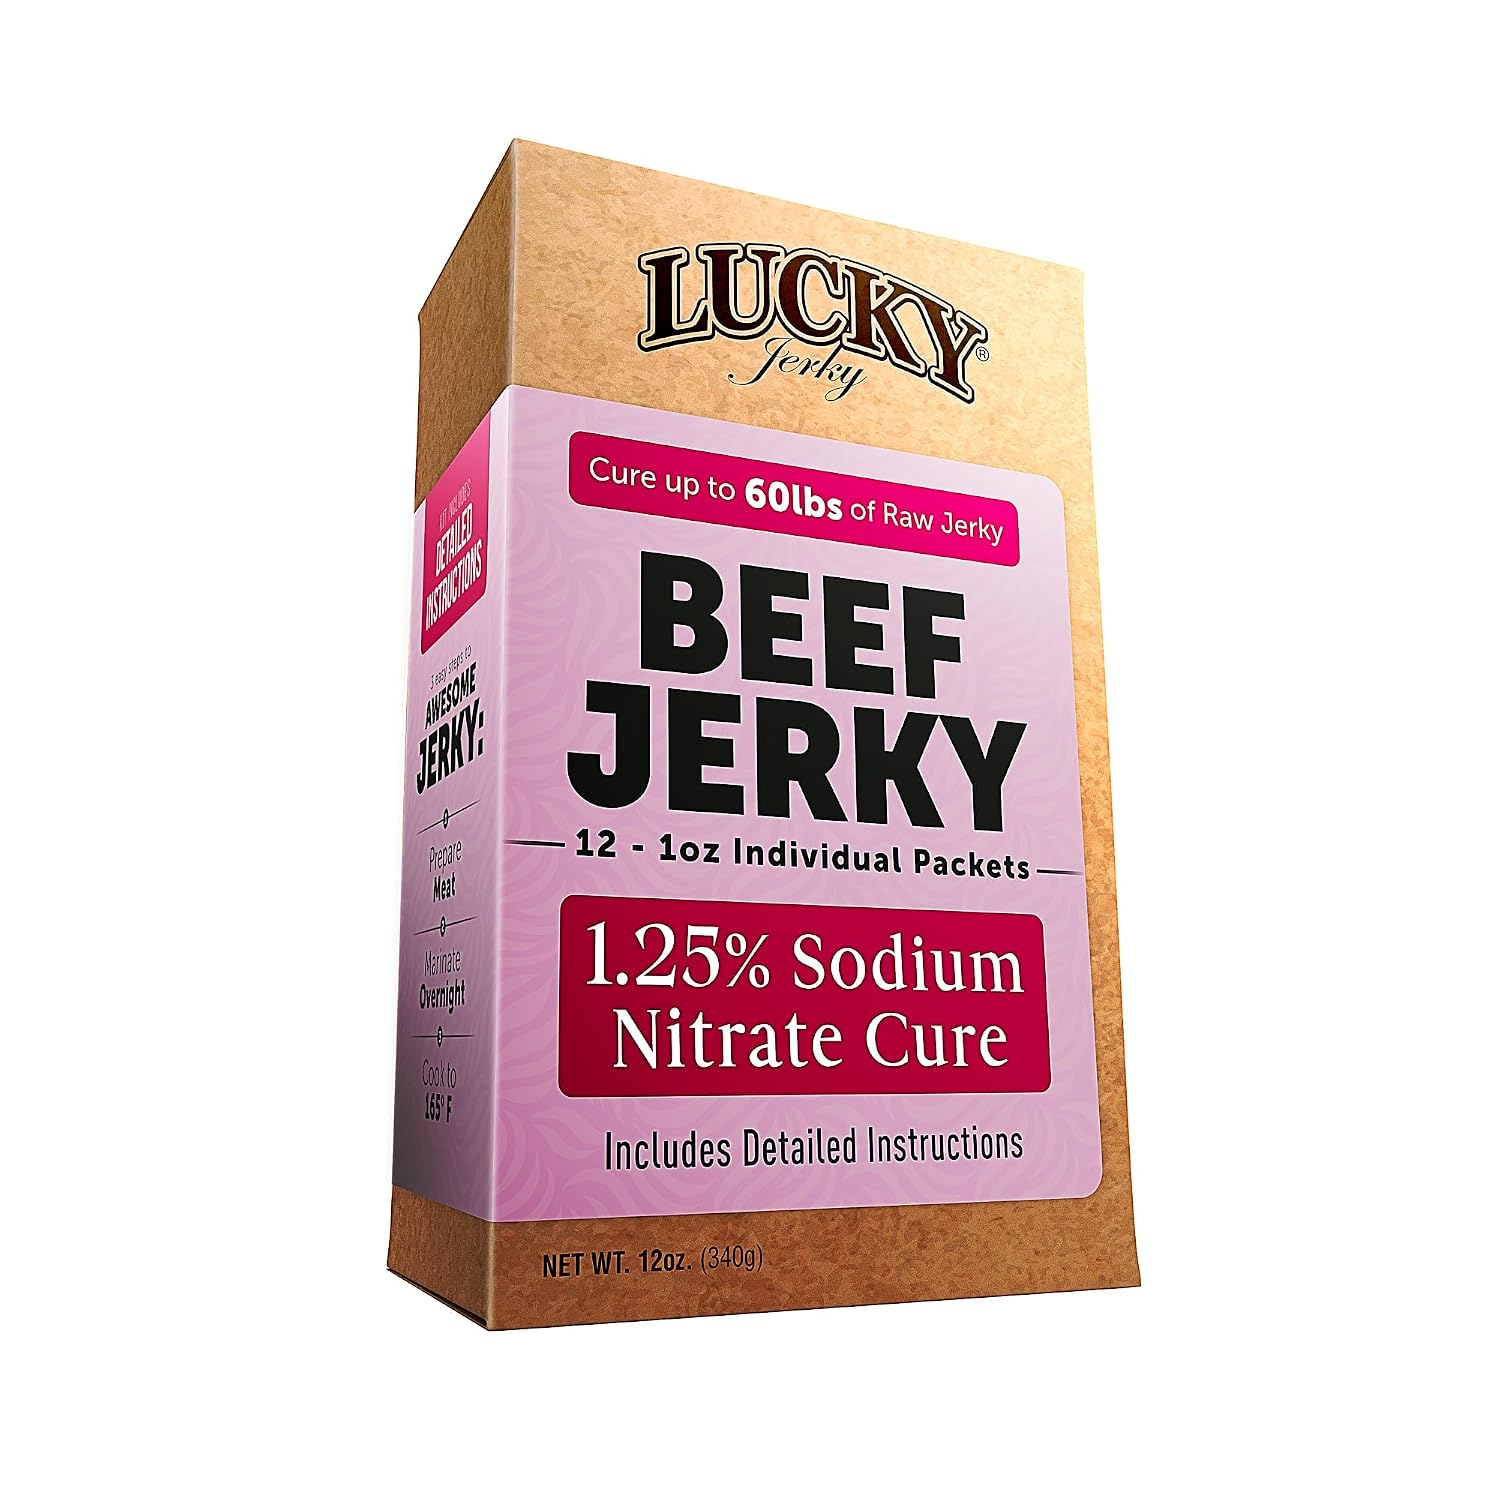
Lucky Jerky Sodium Nitrate Cure Kit
A commercial jerky cure option for readers following a curing method. Use only according to the product directions or a validated recipe.
View on Amazon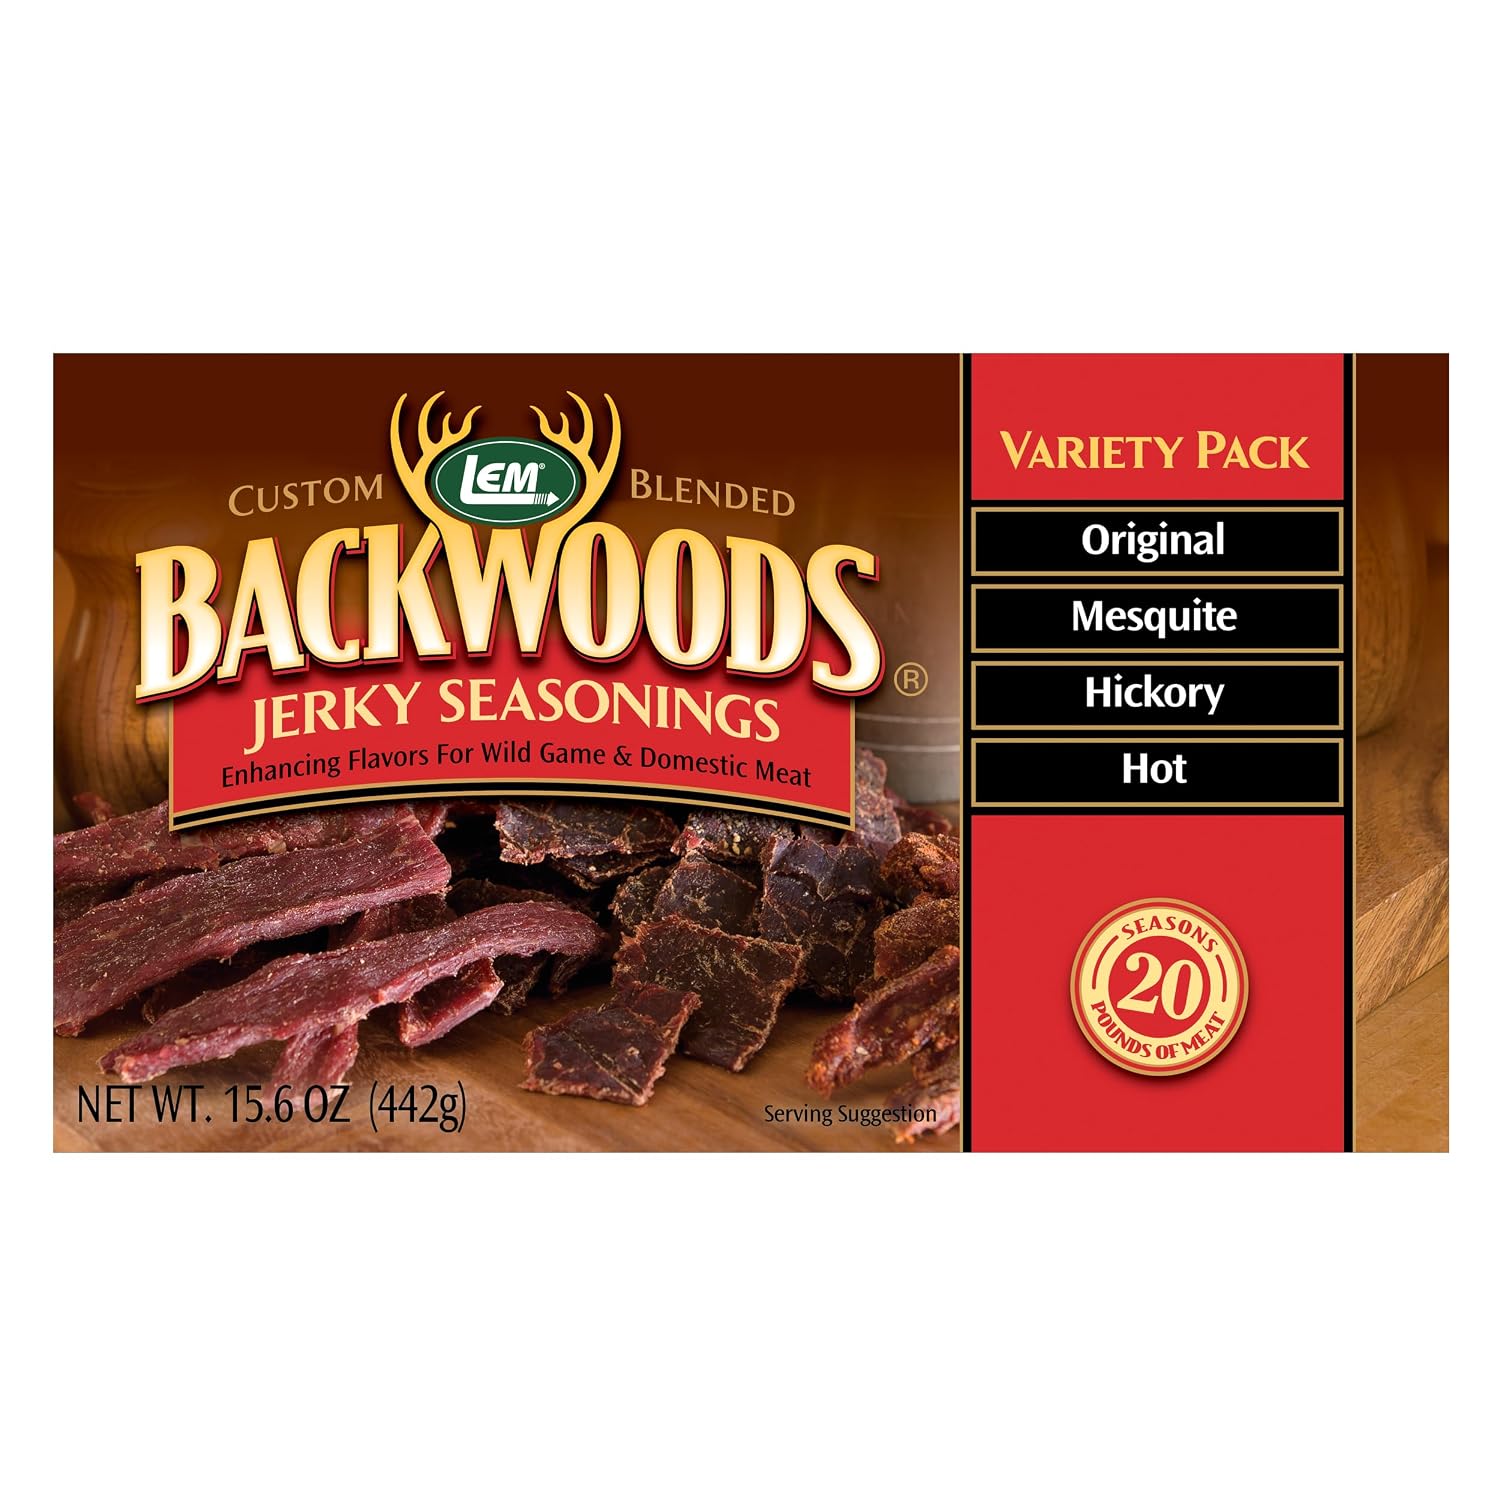
LEM Backwoods Jerky Seasoning Variety Pack
A multi-flavor seasoning pack for readers who want to compare different jerky profiles without building every blend from scratch.
View on AmazonHow to Make Beef Jerky in a Dehydrator: Step by Step
1. Trim and Slice the Beef
Trim away visible exterior fat and connective tissue. Partially freeze the beef until firm, then slice it into even 1/8- to 1/4-inch strips. Decide whether you want the easier chew of against-the-grain slices or the firmer texture of with-the-grain slices.
2. Marinate in the Refrigerator
Combine the marinade ingredients, coat the strips thoroughly, cover, and refrigerate for 6–24 hours. Keep the bowl or bag cold the entire time. When you are ready to continue, remove the strips and discard the used marinade.
3. Heat the Beef to 160°F
Before the strips go into the dehydrator, heat them until the thickest pieces reach an internal temperature of 160°F. USDA lists steaming or roasting as home methods for this step. Use a clean food thermometer to verify the temperature rather than judging by color.
Work in manageable batches so the strips heat evenly. After handling raw beef, wash hands, utensils and surfaces with hot, soapy water before they touch the heated meat.
4. Arrange the Strips on Dehydrator Trays
Place the heated strips in a single layer with a little space around them. Do not overlap pieces. If your dehydrator manual recommends rotating trays because airflow is not uniform, follow that appliance-specific instruction.
5. Dehydrate at 130–140°F
Set the dehydrator so it holds a constant temperature between 130°F and 140°F. Start checking thinner pieces around the four-hour mark, but treat time only as a progress check. Many home batches fall somewhere around 4–8 hours, while thicker strips, larger loads or lower-airflow machines may take longer.
6. Check for Doneness
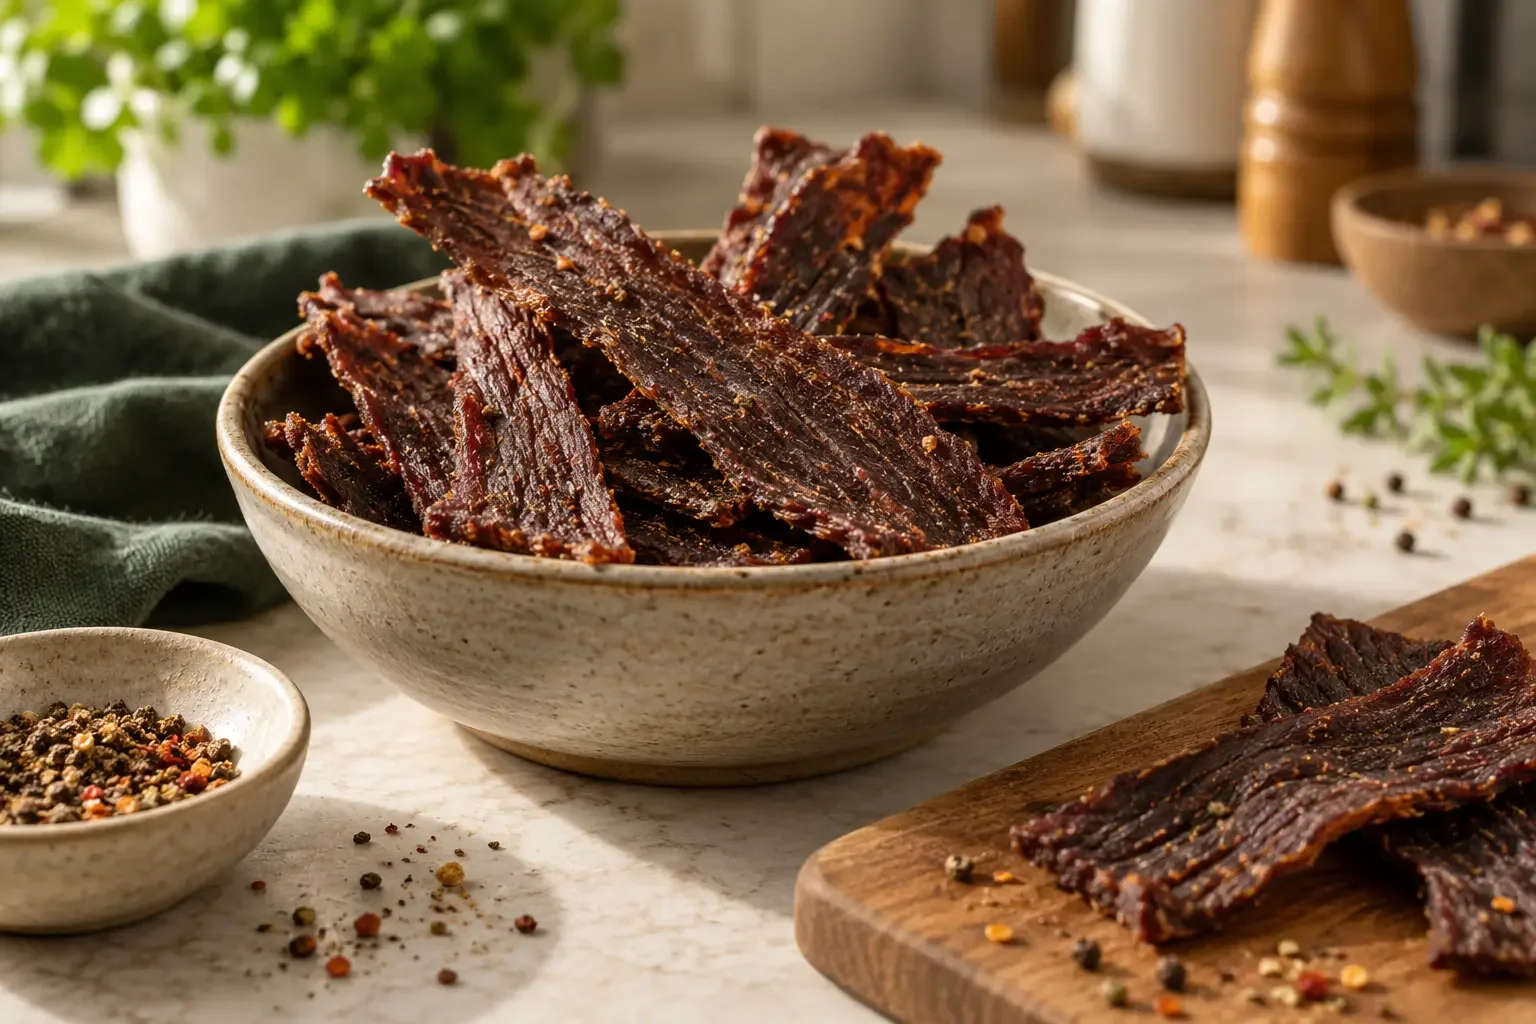
Properly dried jerky should feel dry and leathery. When a strip cools briefly and you bend it, it should flex and may show small cracks or fibers, but it should not feel wet or soft in the center. Check several pieces because edge positions and thicker strips may dry at different rates.
Doneness cues help you judge moisture removal; they do not replace the earlier 160°F safety step. If a piece still has a visibly moist center, return it to the dehydrator and continue drying.
7. Cool and Store Properly
Move finished strips to a clean rack or plate and let them cool completely before packaging. Sealing warm jerky can trap condensation, which works against the whole purpose of drying. Once cool, use an airtight container or vacuum-sealed bag and keep the jerky in a cool, dry place.

Beef Jerky Temperature & Time Guide
The table below separates the safety-heating target from the drying conditions. That distinction matters. A four-hour timer is not a safety test, and a 140°F dehydrator setting is not the same as confirming that the meat has reached 160°F internally before drying.
| Stage | Temperature | Timing | What to verify |
|---|---|---|---|
| Refrigerated marinating | 40°F or below | 6–24 hours for flavor | Meat stays refrigerated; marinade is not reused |
| Safety heating | 160°F internal beef temperature | Until verified by thermometer | Check the thickest pieces with a food thermometer |
| Dehydration | 130–140°F appliance temperature | Often about 4–8 hours; varies | Steady heat and airflow; no overlapping strips |
| Finished jerky | Cool before packaging | When fully dried | Dry/leathery texture, no wet center, no trapped condensation |
How to Store Homemade Beef Jerky
USDA FSIS lists a general storage time of 1–2 months for home-dried jerky. That guidance assumes properly prepared and dried jerky. Your exact moisture level, handling, packaging and storage conditions still matter, so storage time should never be used to “prove” that a questionable batch is safe.
For everyday use, cool the jerky fully, package it airtight and keep it in a cool, dry location. If you want to hold homemade jerky longer or simply prefer a more conservative approach, refrigeration or freezing can protect quality. A vacuum sealer can reduce air exposure, but it cannot make under-dried or contaminated jerky safe.
Discard jerky if you see mold, smell a clearly off or rancid odor, or notice unexpected moisture inside the package. Do not try to trim mold away and keep the rest of the batch.
5 Beef Jerky Flavor Variations
Once the basic process is reliable, flavor is the fun part. Keep the same refrigerated handling, 160°F safety-heating step and 130–140°F drying process for every variation.
- Classic peppered: add another 1/2–1 tsp coarsely cracked black pepper to the base marinade and press a little extra pepper onto the strips before heating.
- Smoky: add 1/2 tsp smoked paprika or a small amount of liquid smoke. Start light; the flavor becomes more concentrated as moisture leaves the meat.
- Spicy: add 1/4–1/2 tsp cayenne plus red pepper flakes to taste.
- Garlic-forward: increase garlic powder to 1 1/2–2 tsp and add a little extra black pepper.
- Lightly sweet: increase the brown sugar or honey modestly, keeping the marinade savory rather than syrupy.
Want More Jerky Flavor Ideas?
If you want to go beyond this basic beef recipe, a dedicated jerky cookbook can be useful for exploring other proteins and drying methods. Keep the safety process separate from recipe inspiration: when a book, appliance manual or seasoning packet differs from current USDA guidance, verify the safety-critical temperatures and handling before you start.
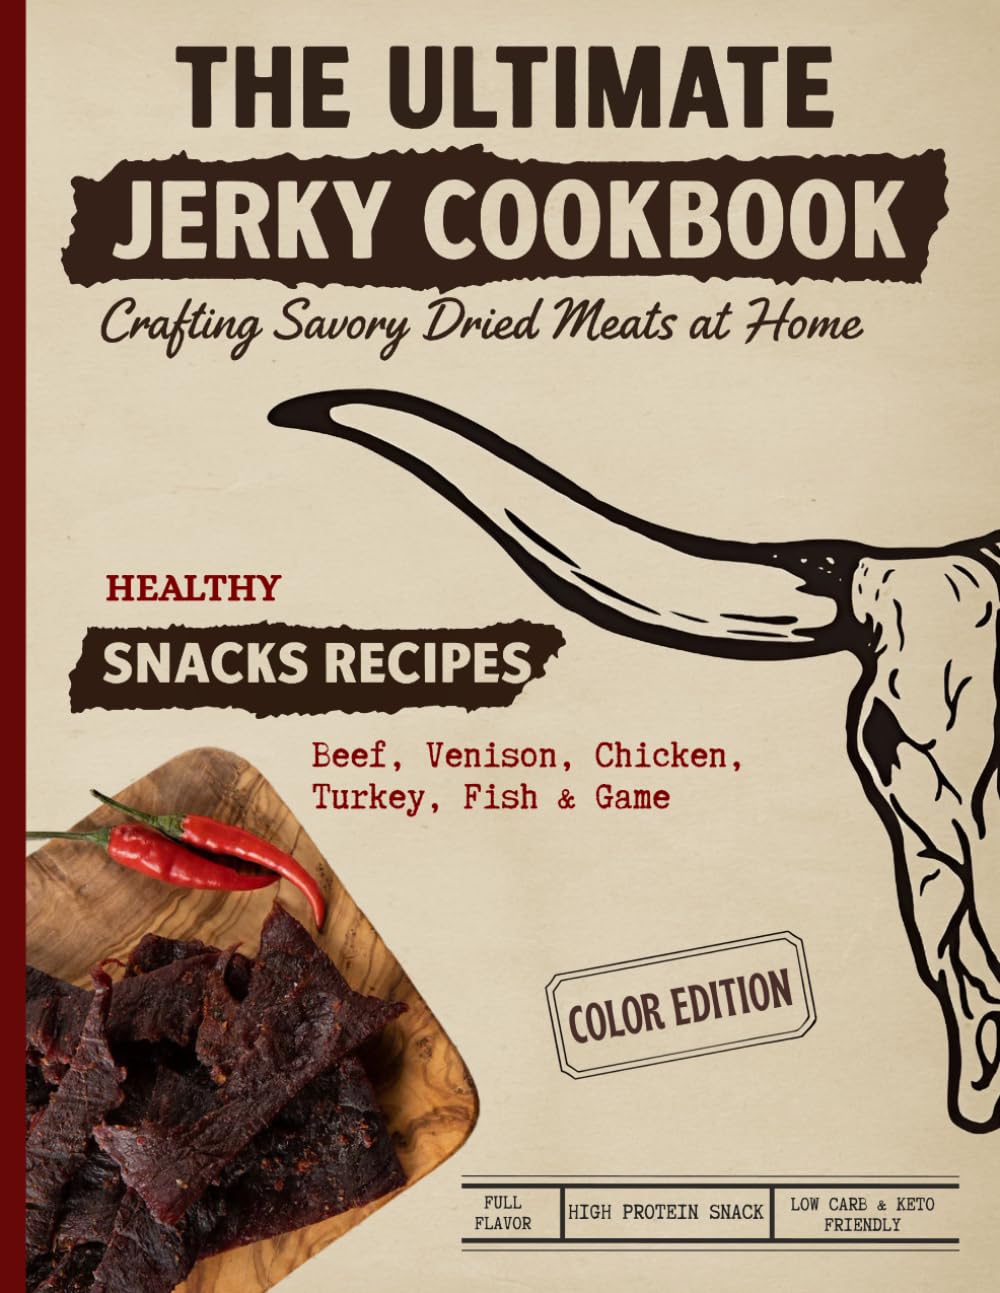
The Ultimate Jerky Cookbook
A recipe-focused book covering beef, venison, poultry, fish and game, with dehydrator, oven and smoker methods. Use it for flavor and method inspiration while continuing to verify safety-critical handling and temperatures with current USDA guidance.
View on AmazonWant to Make Ground Beef Jerky?
The main recipe above uses sliced whole-muscle beef. Ground-meat jerky is a different workflow, but a jerky gun or manual press can help form consistent strips. If you switch to ground meat, use a validated ground-jerky recipe and follow the tool, seasoning and cure directions that apply to that method rather than assuming every step is identical to sliced jerky.
Two Ways to Form Ground Jerky
These tools are for shaping seasoned ground meat into repeatable strips. They are optional and are not needed for the whole-muscle recipe above.
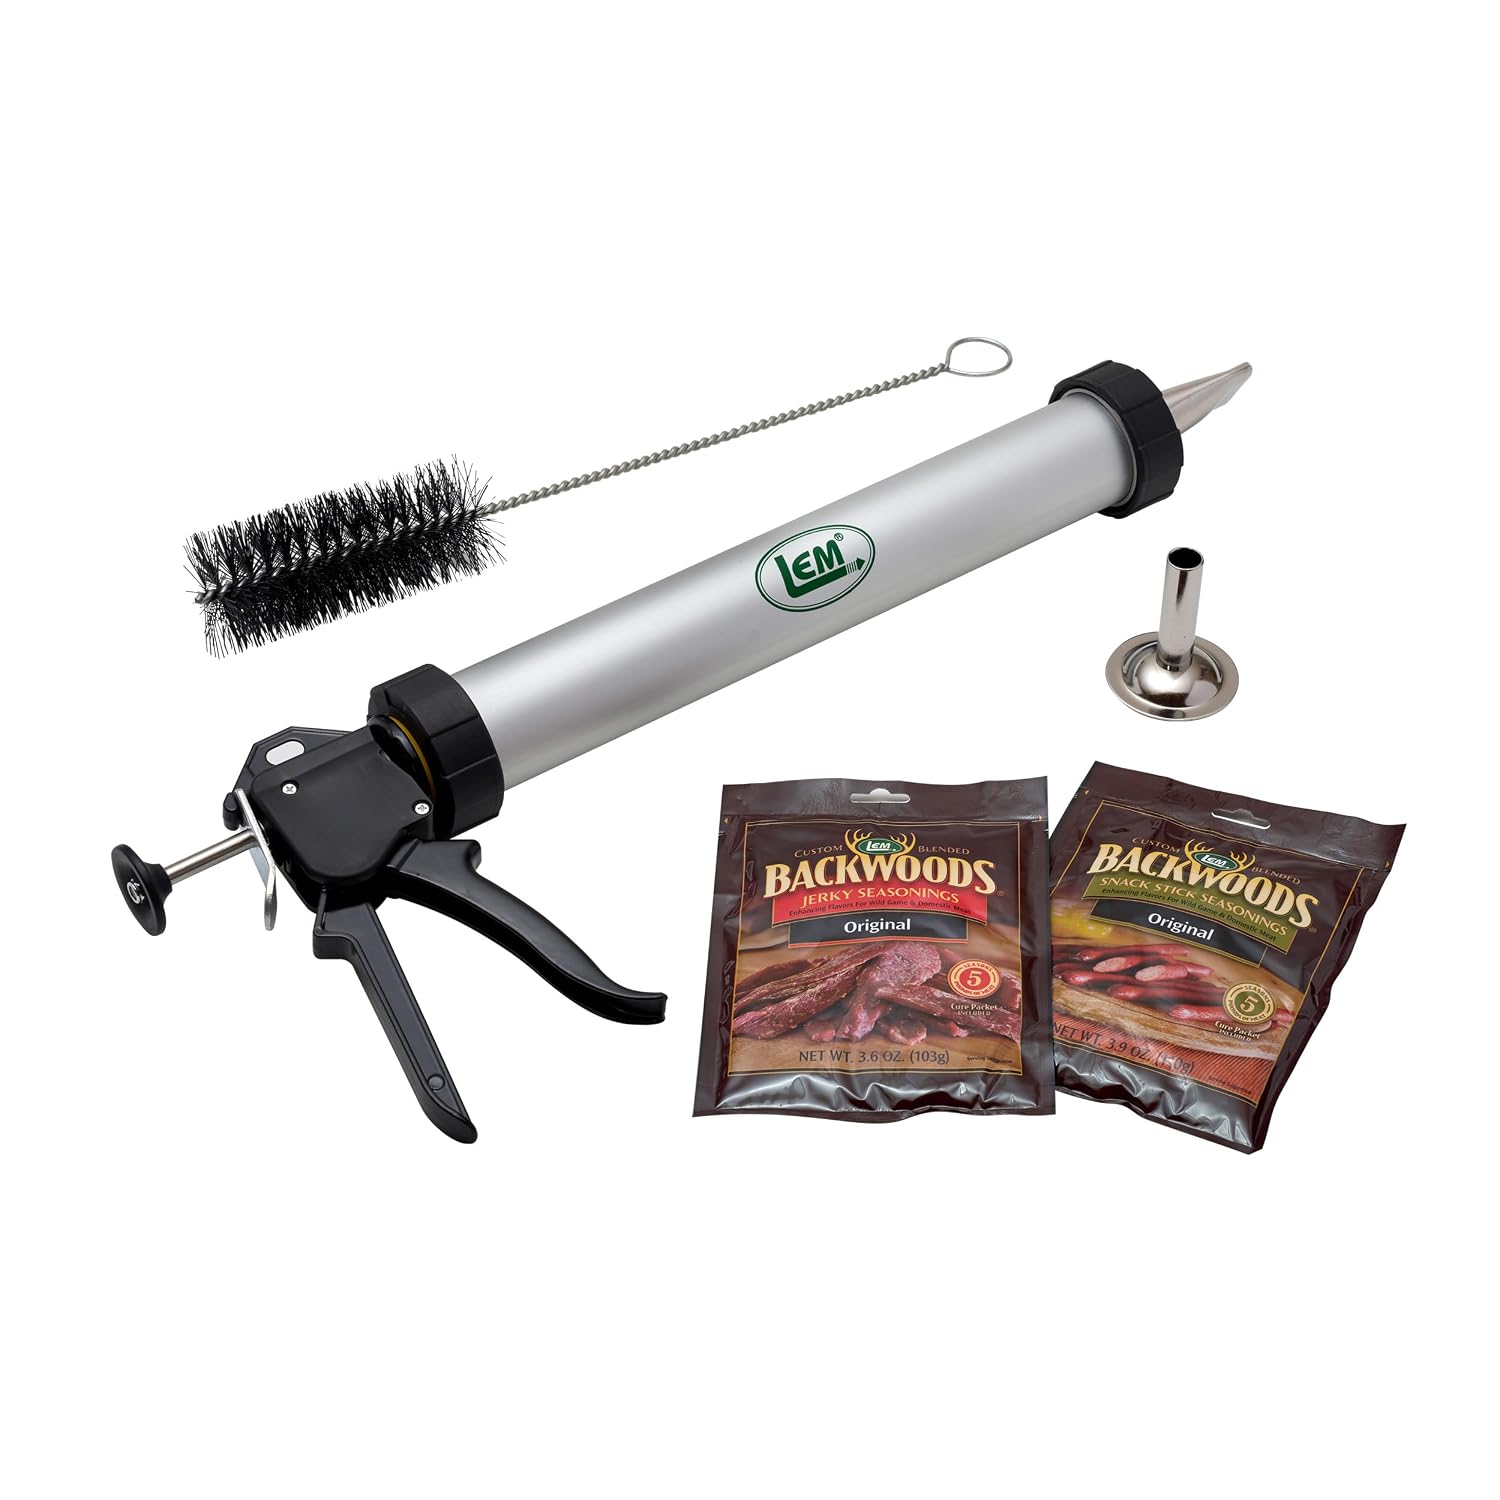
LEM Products Jerky Cannon and Accessories
An anodized aluminum jerky cannon setup for forming seasoned ground meat into consistent strips or sticks.
View on Amazon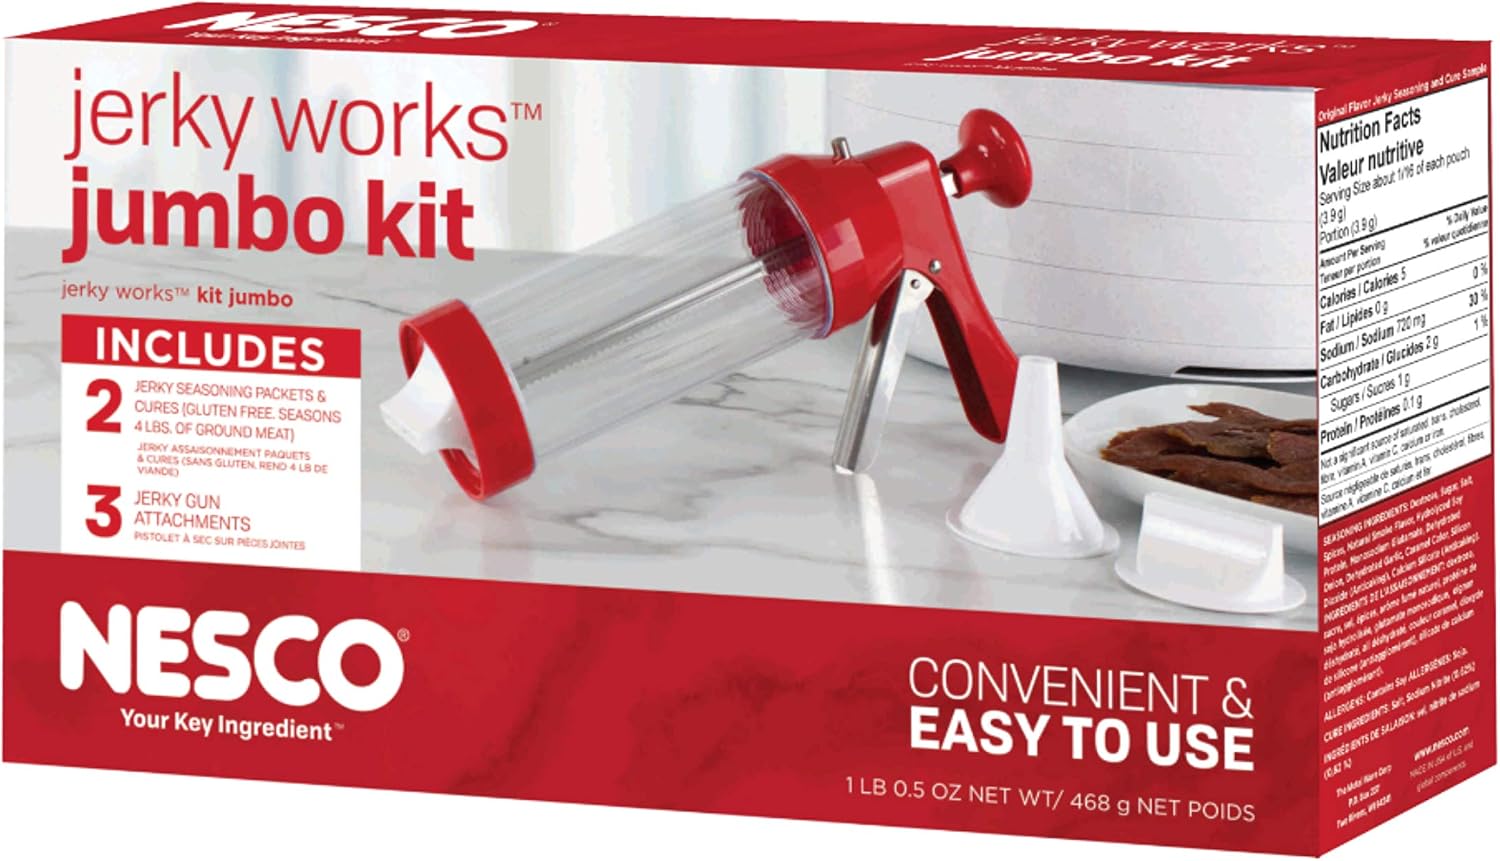
NESCO BJX-5 Jumbo Jerky Works Kit
A manual jerky press kit for shaping ground-meat jerky at home, useful if you prefer a simple hand-operated format.
View on AmazonCommon Beef Jerky Mistakes to Avoid
- Using heavily marbled meat: more visible fat means more trimming and can shorten quality during storage.
- Cutting uneven strips: thin pieces finish before thick ones and make the batch harder to manage.
- Marinating on the counter: raw beef should stay refrigerated while it marinates.
- Skipping the 160°F heating step: low-temperature dehydration alone is not the USDA-recommended home method for raw beef.
- Overlapping the trays: blocked airflow creates uneven drying.
- Trusting the clock instead of the food: drying time varies; check multiple strips for moisture and texture.
- Packaging while warm: trapped condensation can reintroduce moisture into a finished batch.
If your jerky is brittle and snaps immediately, it was probably dried longer than necessary or sliced very thin. If it remains soft or wet inside, continue drying. If mold develops during storage, discard the affected jerky rather than trying to rescue it.
Beef Jerky Equipment: What Is Actually Worth Buying?
You do not need a cabinet full of gadgets. The tools that matter are the ones that improve temperature verification, slice consistency, airflow or storage. A food thermometer is the safety-critical purchase; a slicer and vacuum sealer are convenience upgrades.
For the dehydrator itself, the most useful features are an adjustable thermostat, reliable airflow, enough tray area for your usual batch size, and easy cleanup after working with meat. Our full Best Food Dehydrators guide compares seven current options in more detail.
Nonstick Dehydrator Sheets
A reusable liner can be handy for sticky or small-piece dehydration projects and cleanup. For jerky, do not block the airflow pattern your dehydrator needs; check the tray size and manufacturer guidance before using a liner.
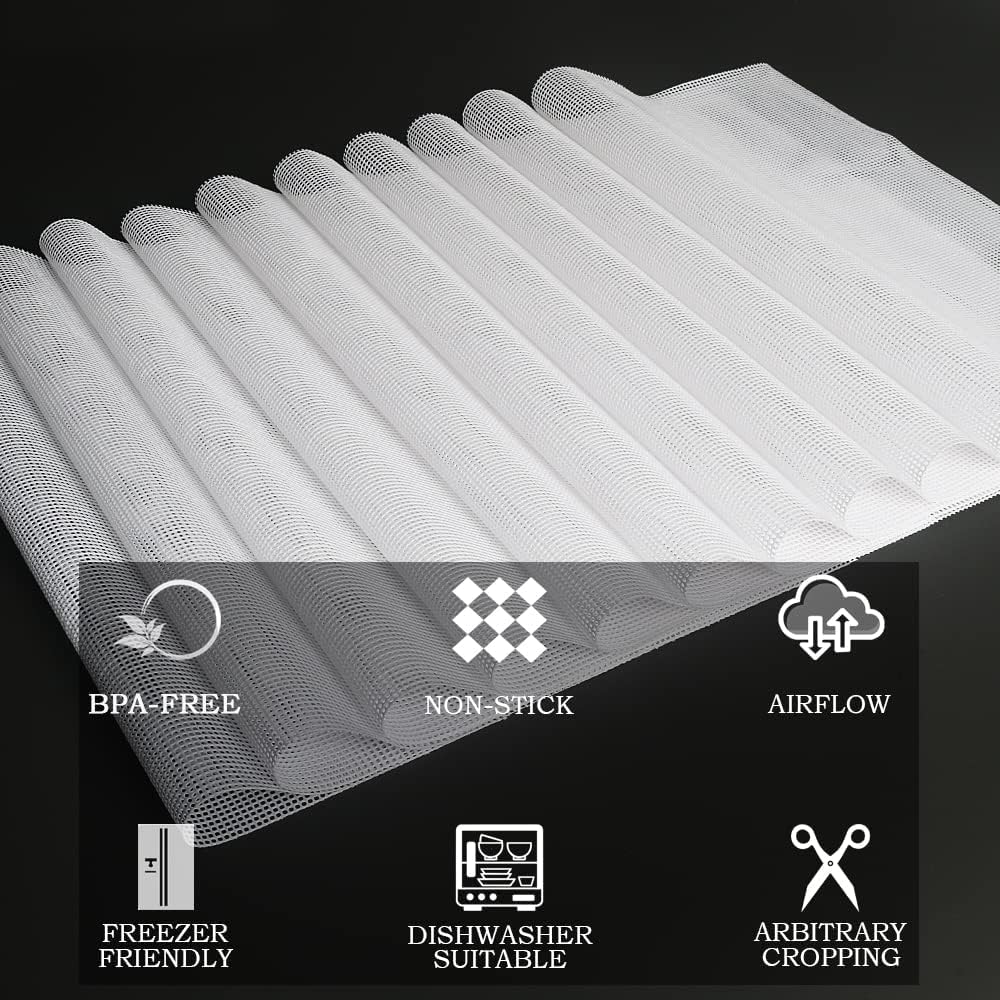
BPA-Free Nonstick Silicone Dehydrator Sheets
A 14 × 14 inch, 10-pack option made for Excalibur-style trays. Check fit and airflow needs for your exact dehydrator before ordering.
View on AmazonWhen a Meat Slicer Is Worth It
A meat slicer is useful if you make jerky often or process several pounds at a time. Uniform strips dry more predictably, so a slicer can reduce the number of pieces that finish much earlier or later than the rest. For occasional small batches, a sharp knife and partially frozen beef are enough.
Why a Digital Meat Thermometer Matters
This is the one accessory that directly supports the safety process. Use it to verify that the thickest beef strips reach 160°F before dehydration. Clean the probe with hot, soapy water before and after use so it does not cross-contaminate the heated meat.
Vacuum Sealing Homemade Jerky
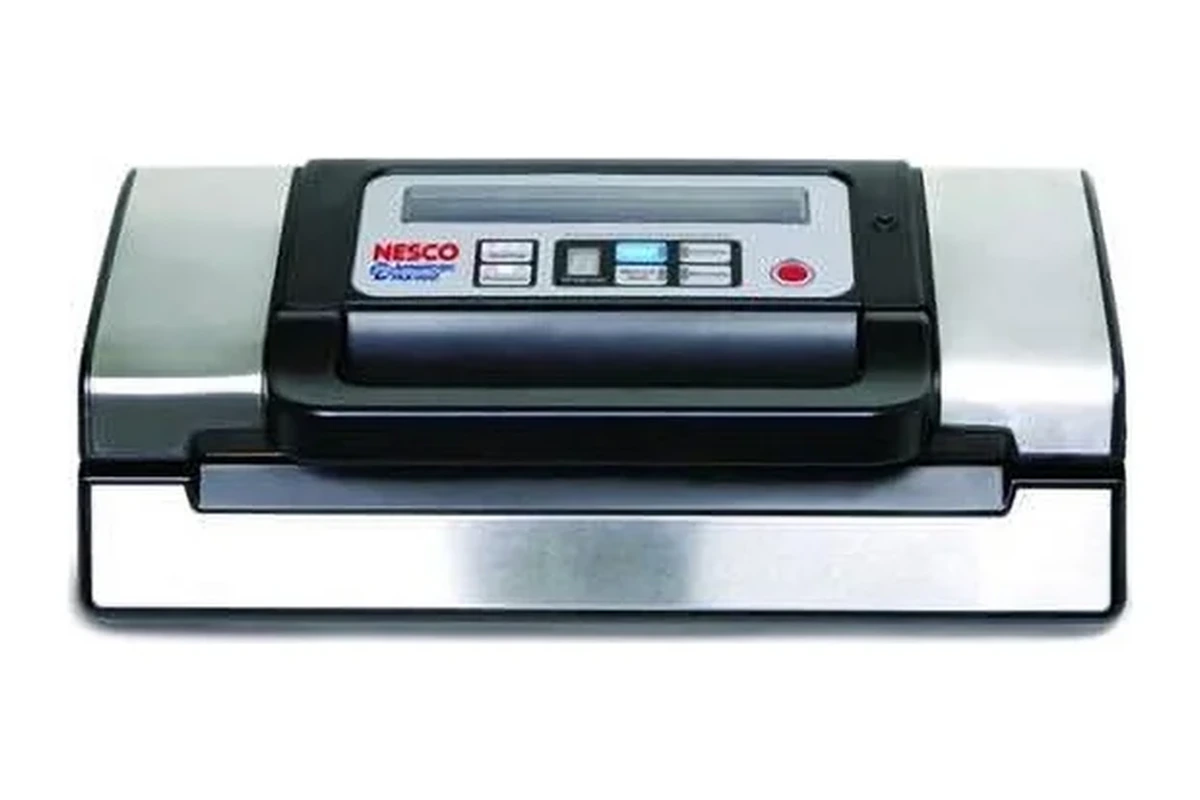
Vacuum sealing is useful for organization and reducing air exposure after the jerky has cooled completely. It is especially convenient for portioning hiking, travel or meal-prep packs. Treat it as packaging—not as a substitute for adequate heating, drying or clean handling.
Vacuum Sealer for Portioning Homemade Jerky
A vacuum sealer is useful after the jerky is fully dried and completely cooled. It can simplify portioning and reduce air exposure, but it does not make under-dried jerky safe and does not replace refrigeration or freezing when you choose a more conservative storage approach.
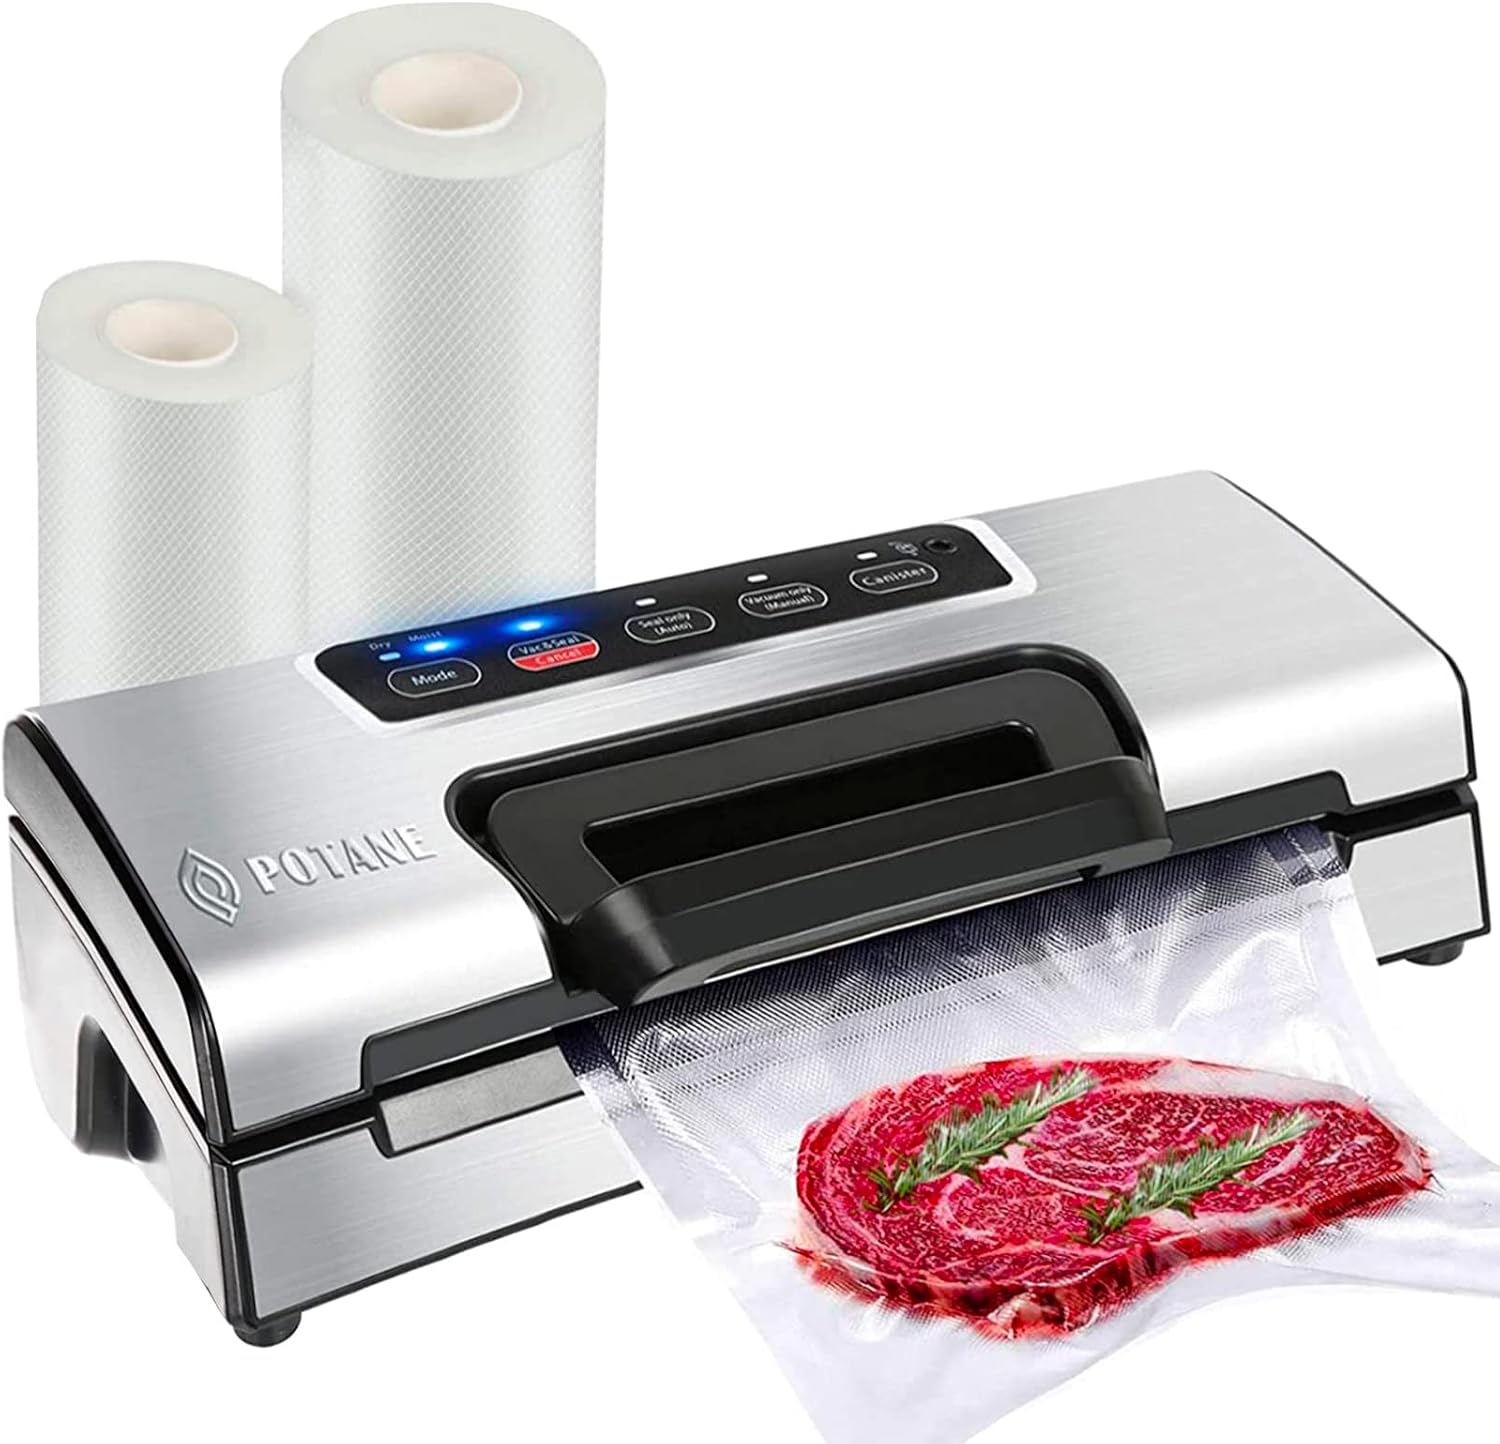
Potane Precision Vacuum Sealer
A compact food sealer with built-in cutter and bag storage, automatic and manual options, two modes, and two included bag rolls for portioning finished jerky.
View on AmazonBeef Jerky FAQ
How long does beef jerky take in a dehydrator?
A practical starting range is about 4–8 hours after the separate safety-heating step, but your actual time can be shorter or longer. Slice thickness, meat moisture, tray load, airflow and the dehydrator itself all matter. Check several strips rather than relying on a timer alone.
What temperature should I use for beef jerky?
For the USDA home method, first heat beef to an internal temperature of 160°F. After that, keep the dehydrator at a constant 130–140°F during drying. Those are two different temperature targets for two different stages.
Do you need to cook beef before dehydrating it?
USDA FSIS recommends heating meat to 160°F before dehydration. It specifically lists steaming or roasting as ways to heat meat before drying. A food thermometer is the reliable way to confirm that the target has been reached.
What is the best meat for beef jerky?
Choose a lean whole-muscle cut with little visible fat. Eye of round is especially convenient because it is lean and uniform; top round and bottom round are also good choices. Trim visible fat before slicing.
Should I slice with or against the grain?
Against the grain gives you a more tender, easier-to-tear strip. With the grain creates a firmer, chewier texture. The choice affects texture, not the safety process.
How long should beef marinate for jerky?
For flavor, 6–24 hours in the refrigerator works well for this recipe. Do not marinate raw beef at room temperature, and remember that marination alone is not a safety treatment.
How do I know when beef jerky is done?
Let a test piece cool briefly, then bend it. Properly dried jerky should feel dry and leathery and may show small cracks or fibers, but it should not be wet or soft in the center. Check multiple pieces because batches do not always dry uniformly.
How long does homemade beef jerky last?
USDA FSIS gives a general storage time of 1–2 months for home-dried jerky. Store only properly prepared, fully cooled jerky, and discard it if you find mold, an off odor or unexpected moisture. Refrigeration or freezing is a reasonable choice when you want a more conservative longer-storage approach.
Can you make beef jerky without a dehydrator?
Yes. An oven can be used, but a dehydrator is purpose-built for continuous low-temperature airflow and usually makes repeat batches easier. Whichever drying appliance you use, keep the USDA preheating recommendation separate from the drying stage.
Sources and food-safety notes
This article was editorially checked against USDA Food Safety and Inspection Service guidance for homemade jerky. Key points checked include refrigerated marinating, heating beef to 160°F before dehydration, maintaining 130–140°F during drying, using a food thermometer and the USDA general 1–2 month storage guidance for home-dried jerky.
Final thoughts: safe jerky comes from a repeatable process
Good jerky comes from a repeatable process, not from pushing the temperature lower or trying to “dry around” the safety step. Start with lean beef, trim the fat, make the slices even, marinate cold, heat the meat to 160°F, and then let steady 130–140°F airflow remove the remaining moisture.
Once you know how your dehydrator behaves, you can adjust grain direction, seasoning and batch size without changing the safety fundamentals. For another dehydration project, continue with How to Dehydrate Apples or How to Dehydrate Tomatoes. If you are choosing a machine for regular batches, use the Best Dehydrator for Beef Jerky comparison.