Is freeze-drying the right choice for your beets?
Start with the meals you actually want to make. This guide suits someone who already has access to a home freeze dryer and wants to turn a harvest into a compact cooking ingredient. A small first batch lets you decide whether the result earns a regular place in your pantry before committing the whole harvest.
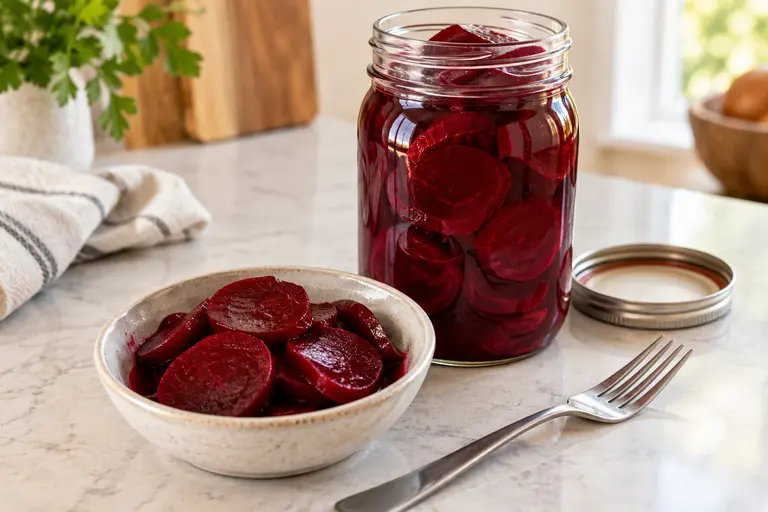
Freeze-drying and ordinary dehydration use different equipment and produce different textures. Your air fryer, oven or standard dehydrator cannot run the vacuum process described here. If that is the equipment you own, follow How to Dehydrate Beets instead. For a tangy side to serve soon, Quick Pickled Beets may fit dinner better. Choose the result first; buying another appliance is a separate decision.
What should you prepare before starting?
Set out a cooking pot, colander, clean knife and board, the appliance's food trays, and suitable packaging. Read the loading and end-of-cycle instructions before your hands are covered in beet juice. Check that the prepared trays fit your freezer as well as your freeze dryer.
Start with a manageable load rather than a full garden harvest. Reserve some fresh beets for another meal while you learn the workflow. Keep a short batch note with the variety, cut thickness, prepared weight and the tray layout. These are useful comparisons for your next attempt; they are not a replacement for checking that next batch.
- Fresh beets Sound, tender roots; prepare only the amount your trays can hold in one layer.
- Clean water For washing, cooking and prompt cooling; have cold water ready before cooking ends.
- Seasoning Keep this first batch plain. Add oil, dressings and other flavors when cooking a meal.
Yield varies with the roots and trimming. Note the prepared weight and the amount packed instead of expecting a fixed number of pouches.
Plan preparation, pre-freezing, a complete food cycle and possible additional drying. No universal beet cycle time is established by the sources used here.
Why does this guide start with cooked beets?
We use NCHFP's preparation for freezing beets: wash sound roots, cook until tender, cool promptly, then peel and cut. Applying that preparation to a home freeze dryer is an editorial combination with general Extension guidance. It is not a USDA-tested beet freeze-drying recipe, and the boiling step is not a promise of sterilization.
Plan the cold side of the job as carefully as the pot. Keep prepared beets at 40°F (4°C) or below while waiting. Refrigerate perishables within two hours, or one hour above 90°F. Do not leave cooked trays on the counter overnight because the machine is still busy.
What equipment do I need?
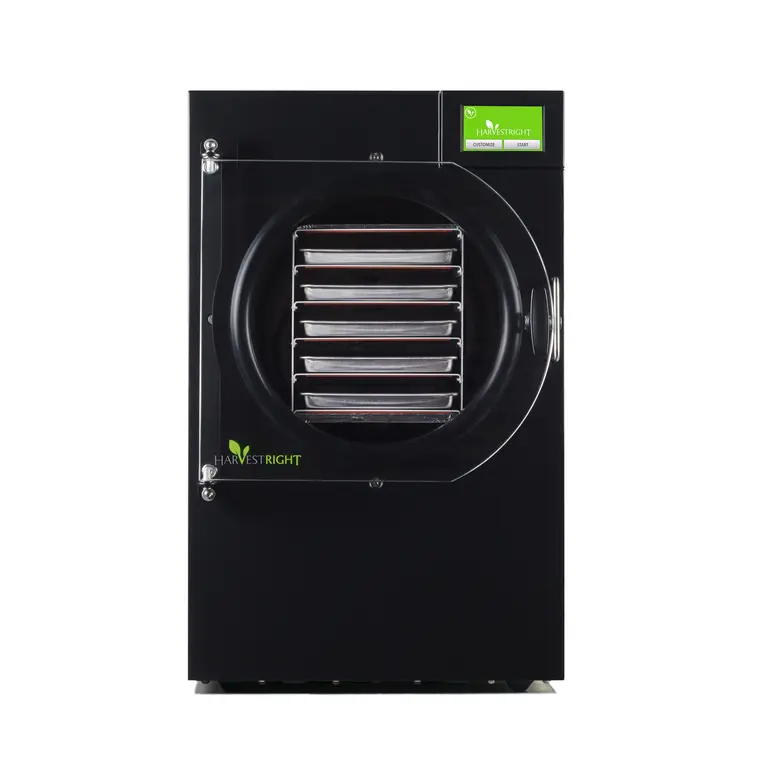
You need a food freeze dryer with its specified pump and trays, plus packaging suited to the length of storage you intend. Check what your machine purchase already includes before ordering a second sealer, another tray set or more bags.
If you are still choosing a machine, use our Harvest Right Freeze Dryer Buying Guide to consider batch size, space and running costs. The accessories below answer different needs: packing small portions, preparing another tray load and keeping a reference nearby. None is required simply because it appears here.
Useful accessories for your next batch
Choose an accessory for a specific job. Check your existing kit and the seller's current specifications before buying; additional packaging or a spare tray set should fit your actual workflow.

Wallaby 1-Pint Mylar Bags — 50 Count
Small pouches for portions you plan to use together. Check the current package contents and sealing instructions. Packaging belongs after complete drying; it cannot correct moisture left in the food.
View on Amazon
Medium Freeze Dryer Trays + Lids — 5 Set
A spare tray set can help organize another load. Confirm the seller's dimensions, shelf count and exact model compatibility before ordering: the word “Medium” alone does not establish a fit.
View on Amazon
Freeze-Drying the Harvest
A reference for planning future preservation projects. Read it alongside current Extension advice and your machine manual; a book does not verify the dryness or safety of an individual batch.
View on AmazonAffiliate links · Your price stays the same.
Already equipped? Keep using the tools that fit your machine and storage needs. Buy only what answers a gap in your setup.
Prepare and freeze-dry beets in 7 steps
Wash and cook
Wash sound beets; leave about ½ inch of stem and the taproot during cooking to limit color loss. Boil until tender, checking the center rather than using one cooking time for every root.
Cool, peel and keep cold
Cool promptly in cold water, then peel and trim with clean utensils. Refrigerate at 40°F or below while waiting; do not leave perishables out beyond two hours, or one hour above 90°F.
Make an even cut
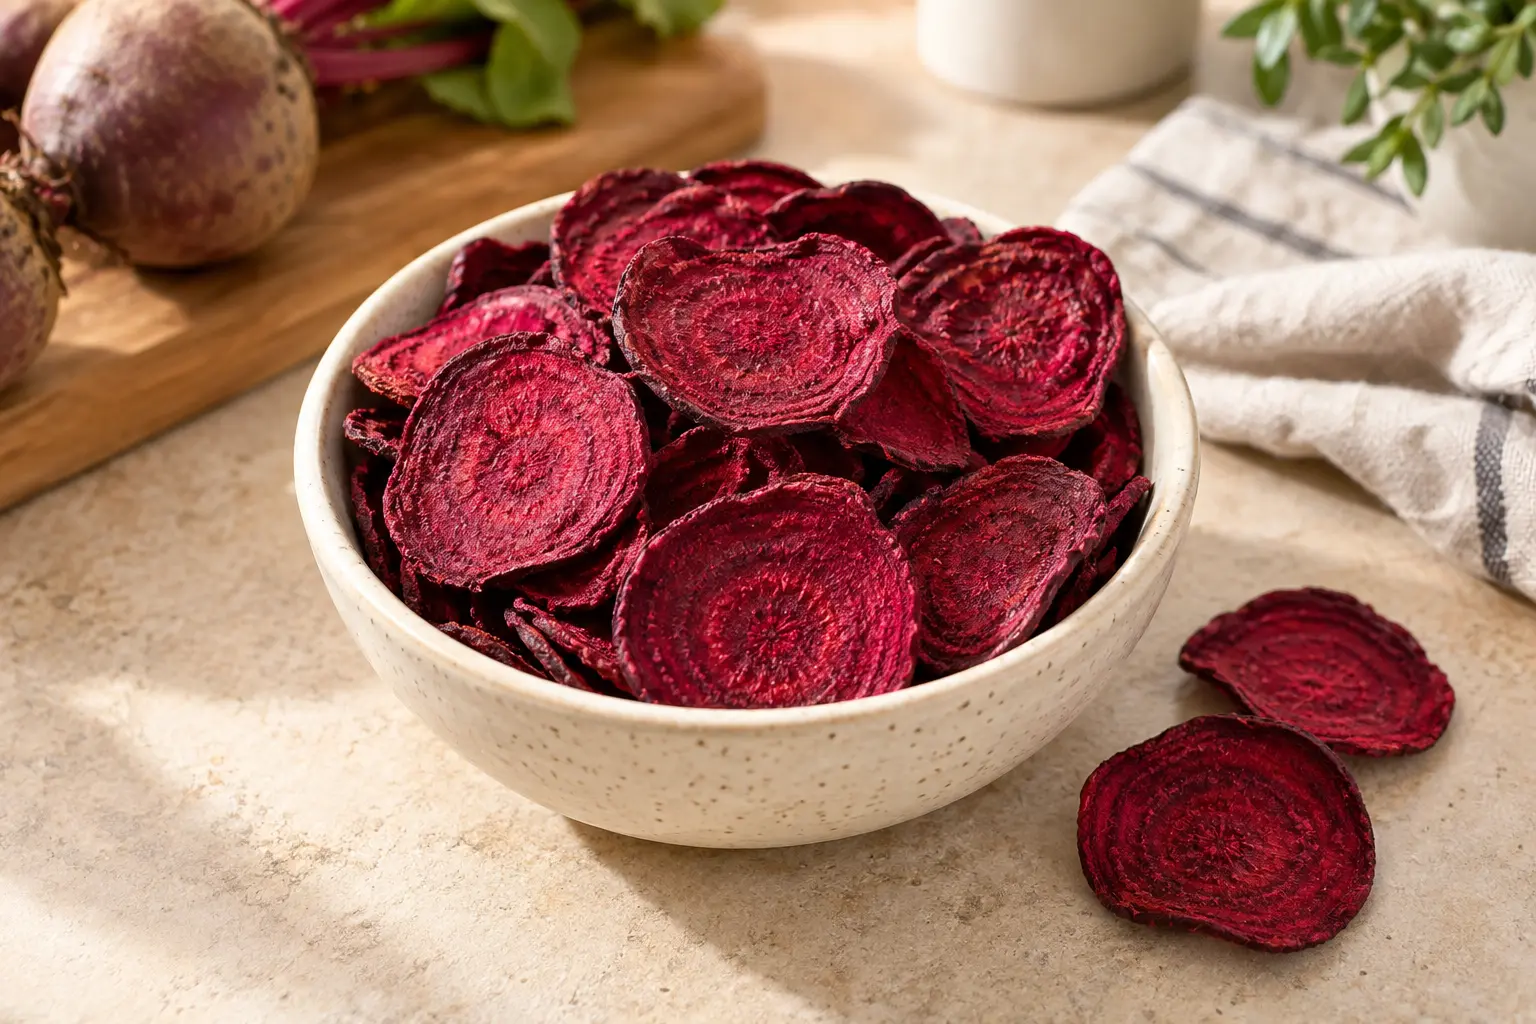
Cut plain cooked beets into consistent ¼-inch slices (about 6 mm). This is our practical choice within Extension's general produce guidance, not a validated beet-specific thickness. Avoid mixing thin edges with thick chunks.
Load and pre-freeze
Arrange slices in one layer without overlaps or exceeding tray limits. Pre-freeze solid in a household freezer at 0°F (-18°C), following your manual's timing and loading instructions. Keep food frozen until loading.
Run the regular food cycle
Use the machine's normal food program and follow all prompts. Do not use candy mode or bypass freezing because the slices were pre-frozen. Allow the complete cycle; no fixed duration guarantees finished beets.
Inspect and extend if needed
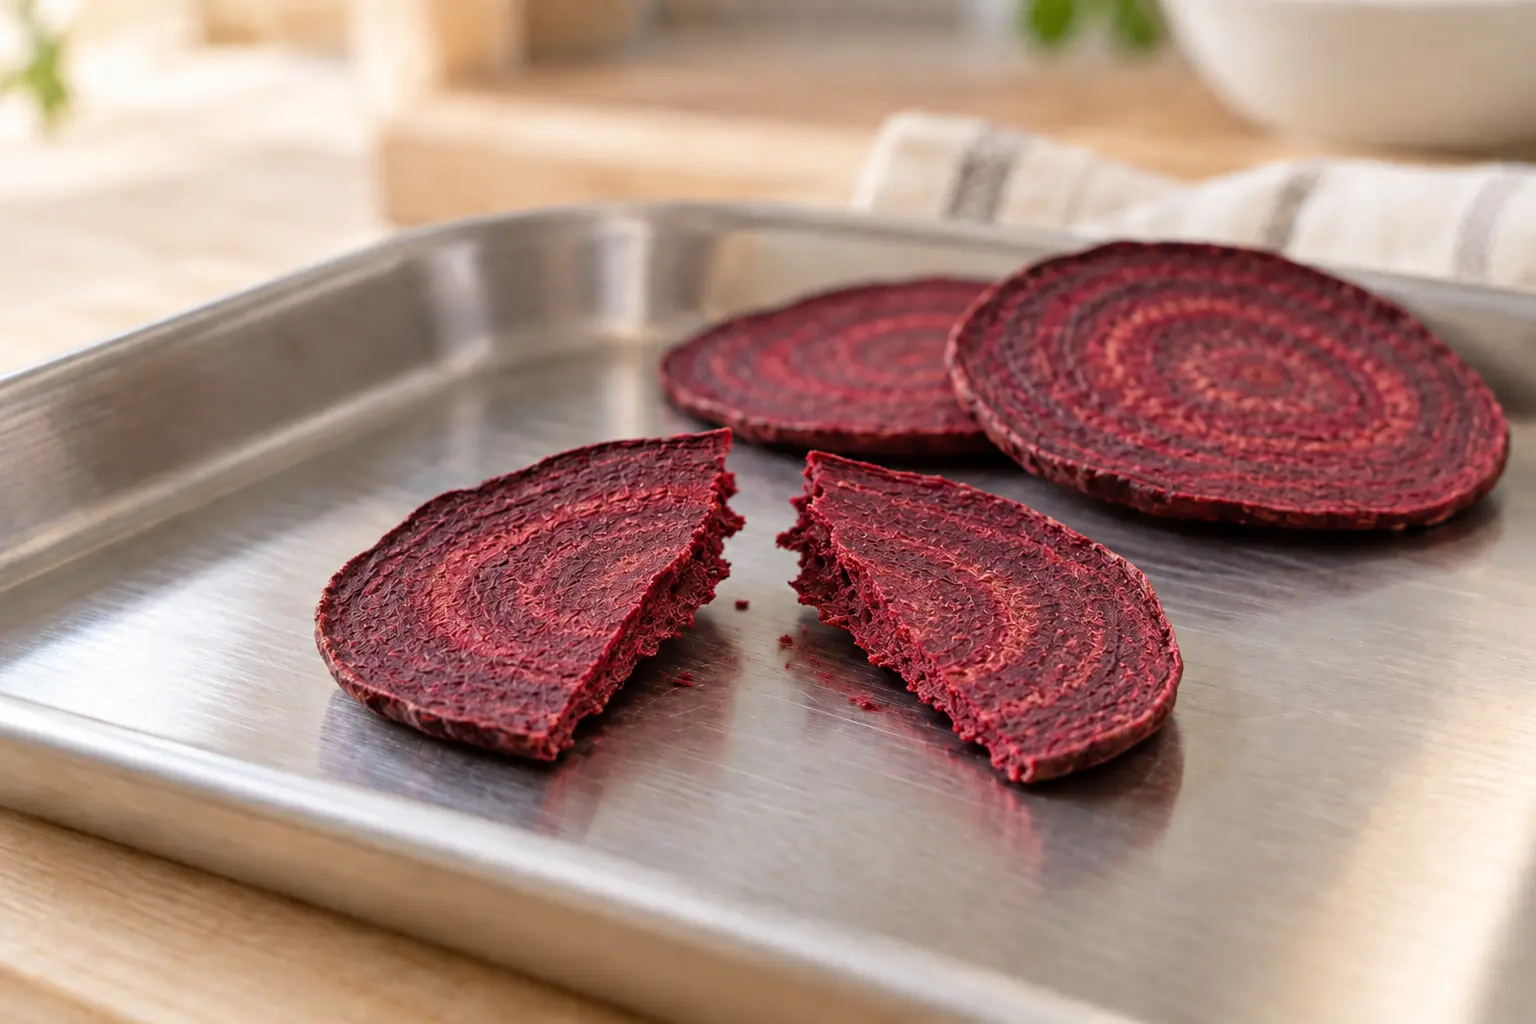
Following the manual, bring cold finished trays through its warming step before removal. Break larger pieces from every tray. Centers must be dry, without soft or cold spots. If any are unfinished, resume drying and check again.
Package promptly and label
Once thoroughly dry, package promptly in suitable moisture-barrier containers. Use a correctly sized oxygen absorber only with dry food and follow the packaging directions. Label cooked beets and the date. Store cool, dry and dark.
How do you know the centers are dry?
Examine the pieces most likely to finish last, not only a thin slice from the front. Include larger pieces and samples from every tray. Split them so you can inspect the middle. With red beets, their natural dark color makes a color-only rule unhelpful; also check for moisture, a soft center or an unexpectedly cold spot.
If a piece is unfinished at the end of the cycle, follow the machine's additional-drying procedure and recheck the load. Do this before sealing the batch. A recorded cycle time, crisp edge or dry-looking photograph cannot establish the water activity of your food or prove that pathogens are absent.
What if the machine finishes while you are away?
Find this out from the manual before starting. Some machines hold a completed batch cold and provide a tray-warming function. Removing very cold food straight into humid kitchen air can introduce condensation. Follow your model's sequence, then check and pack the food promptly.
When planning your first run, choose a finish window when you can handle the trays and packaging without rushing. Have labels and containers ready first. Open oxygen-absorber packets only when you are ready to use and reseal them. These small preparations make the final stage easier to manage.
Which packaging makes sense for this batch?
Pack the portions you expect to use together. A small container for a few meals may be more convenient than reopening one large pouch repeatedly. Suitable jars and properly sealed barrier pouches serve different storage plans; an everyday sandwich bag is not equivalent to long-term moisture-barrier packaging.
Oxygen absorbers remove oxygen; they do not remove the food's remaining water or complete an inadequate drying cycle. Use only suitable food-storage absorbers, sized according to the package and manufacturer directions, after confirming that the food is thoroughly dry. Moist food in a low-oxygen package can be hazardous.
Keep clear jars out of light and protect pouches from punctures and pests. Write the food, preparation date and cooked status on each package. We do not assign a multi-decade shelf life to this homemade beet batch.
What can you make with freeze-dried beets?
A vegetable soup: try a small portion in a meal you already cook, with enough liquid for the beets to soften. Cabbage, potato and dill are useful flavor partners. Treat the first pot as a cooking adjustment: add a little, taste the finished dish and record what you liked.
A warm bowl: rehydrate a portion in the refrigerator, then cook and combine with grains or beans. Add dressing after cooking. Plan only what you will eat; once moisture is added, the dry-storage conditions no longer apply.
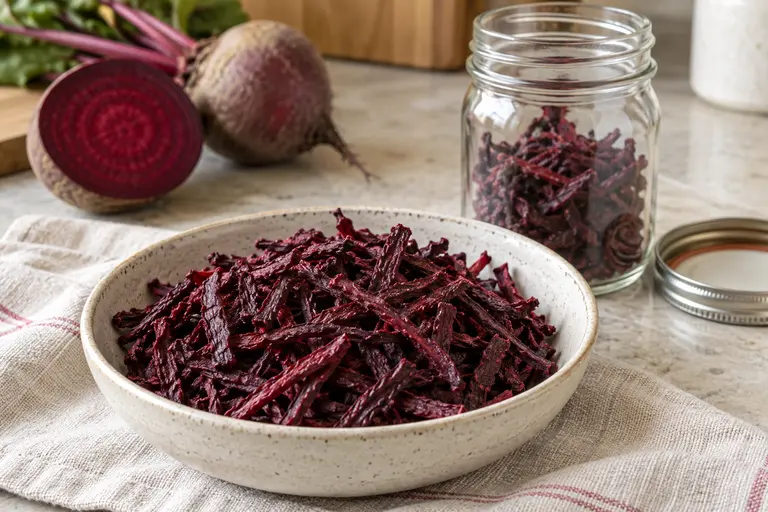
A cooking powder: grind a small amount from a properly dried batch using clean, dry equipment. Use it in a cooked sauce or soup rather than treating powder as a way to rescue underdried pieces. This guide makes no claims about blood pressure, exercise performance or nutrient retention.
What if stored beets become soft or damp?
Moisture discovered after storage is different from finding an unfinished piece immediately at the end of a cycle. A damaged seal, condensation or damp contents means you cannot assume the batch remained suitable for pantry storage. Discard suspect or moldy food; do not taste it to decide.
Re-drying is not a reliable way to make an uncertain stored batch safe. Keep any observations for improving the next run: package condition, storage location and when the problem appeared. A new batch needs its own complete preparation, drying checks and packaging.
Where should the rest of the harvest go?
You do not need to use one preservation method for every beet. Split the harvest around your meals and equipment: quick pickles for the refrigerator, dried pieces for cooking, or the separate Canning Beets guide when you have appropriate pressure-canning equipment. Each method keeps its own preparation and storage rules.
For another vacuum-drying project, browse the Freeze Drying hub. Compare what you enjoyed eating, how much preparation you wanted to do and which package size was convenient. Those answers are more useful than filling shelves with a form of beets your household will not use.
Questions about freeze-drying beets
Can I freeze-dry raw beets instead?
This guide deliberately uses cooked beets. It does not provide an equivalent raw-beet process. Freeze-drying itself is not a kill step, so do not treat raw dried pieces or raw powder as automatically safe to eat.
How long will my batch take?
That depends on the machine, the cut and the load. Follow its regular food program and check the finished food. We have not established a beet-specific drying time through an in-house test.
Can I use an oven or a regular freezer alone?
Neither supplies the controlled vacuum-drying process used here. A household freezer is useful for pre-freezing; it does not replace a freeze dryer. Use the separate dehydration guide for a dehydrator workflow.
Does a snap test prove the food is safe?
No. It helps identify incomplete drying, alongside checks from every tray and the manual's directions. It does not measure water activity or show that contamination was absent. Safe preparation and packaging still matter.
Do I need an oxygen absorber in every snack jar?
Not necessarily for short-term use; the appropriate setup depends on the container and storage plan. Follow the packaging guidance. Never add an absorber to compensate for a damp batch.
Can I use this as a commercial production recipe?
No. This is a home-use preparation guide, not a validated production process or shelf-life study. It does not establish requirements for selling packaged freeze-dried foods.
Sources and editorial notes
This editorial guide combines NCHFP's preparation for freezing beets with general university Extension freeze-drying advice and manufacturer instructions. It is not a USDA-tested freeze-drying recipe, an in-house appliance test or a shelf-life validation. The ¼-inch cut is an editorial choice within general Extension produce guidance. Verify current sources and the manual for your exact model.
- NCHFP: Freezing Beets — cooked-beet preparation
- University of Arizona Extension: Preparing and Storing Your Freeze Dried Products for Best Use (PDF)
- Utah State University Extension: Can I Freeze-Dry That?
- University of Minnesota Extension: Preserving Food at Home — Freeze-Drying
- Utah State University Extension: Buying a Home Freeze-Dryer — moisture and oxygen-removal limits
- FDA: Are You Storing Food Safely? — chilling and freezer temperatures
- Harvest Right: Owner's Manual — food cycle, additional drying and packaging (PDF)
- Harvest Right: Customer Support — model manuals and food preparation
AI-generated food illustration; not a photograph of an in-house freeze-drying test.