Choose a cut that matches the meal
Small rounds are easy to recognize in soup, while narrow strips can be convenient when you want smaller pieces dispersed through a cooked dish. Decide on one cut for the first batch. A tray containing both thick coins and fine shreds creates extra sorting and makes your end check less representative.
You do not need a large harvest to start. A few sound carrots are enough to learn how your knife, trays and appliance work together. Plan the first use before drying: perhaps a vegetable soup for lunch or a batch of rice cooked with broth. That gives you a practical reference for the size of the next batch.
Wash, peel and slice with care
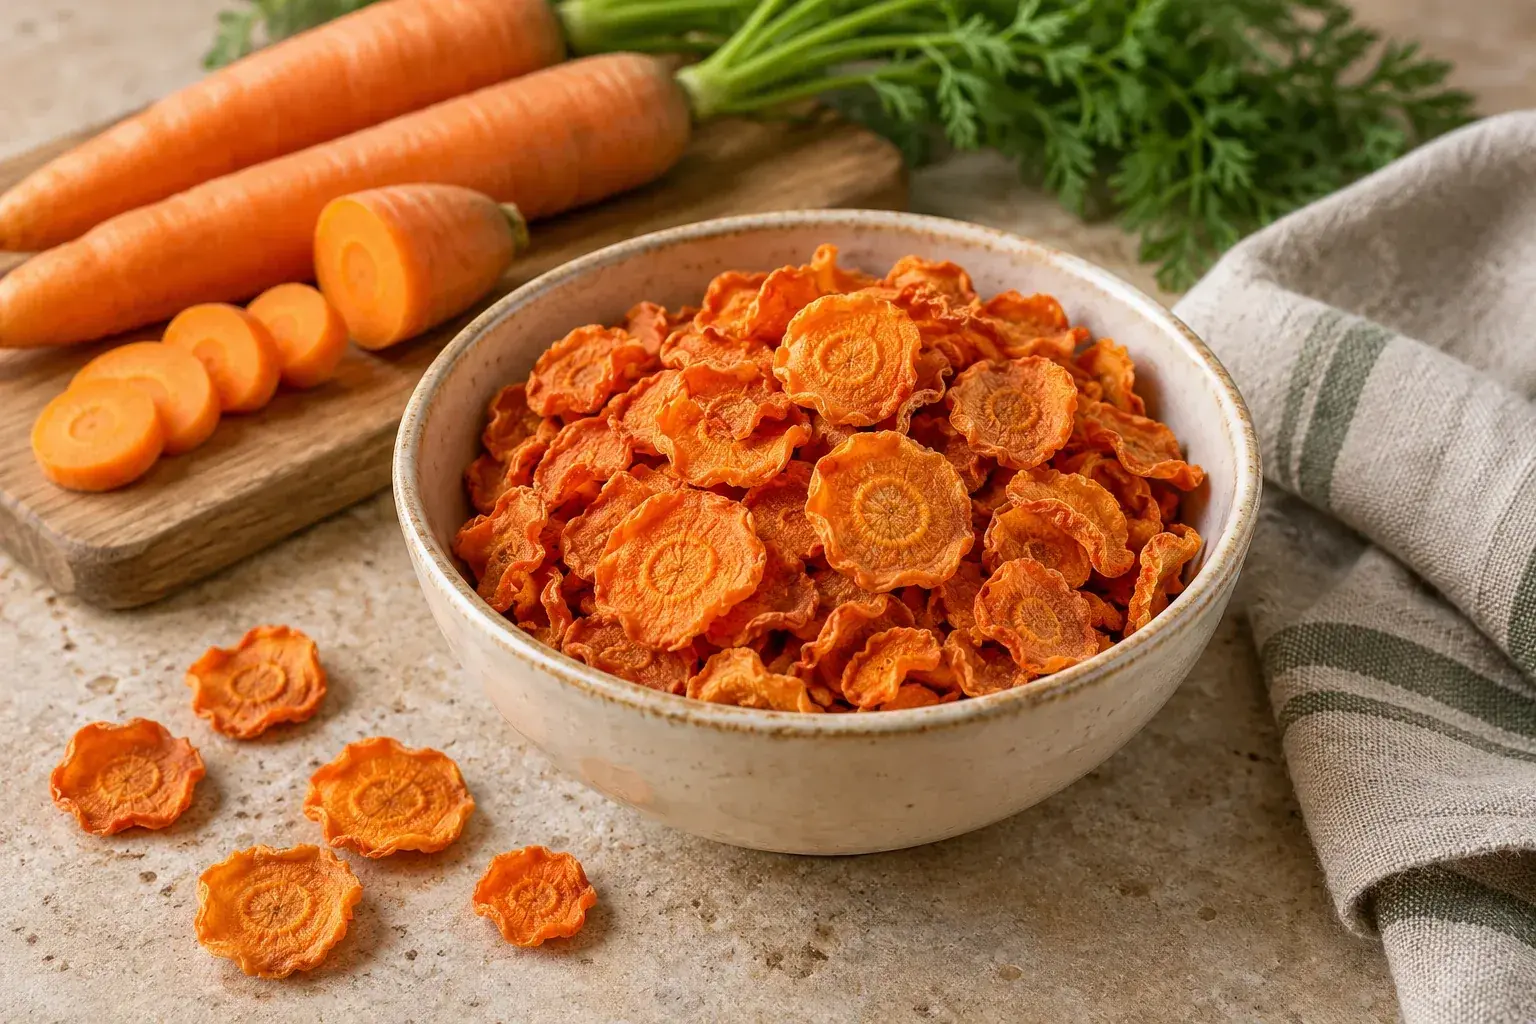
Choose crisp carrots without decay or mold, wash them, trim the tops and roots and peel. Cut slices or strips about 1/8 inch thick. If a carrot is very wide at one end, halve it lengthwise before slicing so the pieces are more manageable. Use a stable board and keep your fingers away from the cutting path.
A mandoline can help with repeated slices, but speed is not the main goal. Use its guard and stop when the remaining piece is too small to hold safely. Set aside awkward end pieces for another cooked meal. They do not need to be forced into the drying batch simply to avoid a small leftover.
- Crisp, sound carrots Wash, trim and peel before slicing.
- 1 gallon water per blanching batch Use no more than 4 cups prepared carrots in that batch.
- Ice water in a separate bowl For brief cooling immediately after blanching.
Yield varies with produce, trimming and final dryness. Record the weight of your own batch rather than assuming a fixed fresh-to-dried conversion.
CSU Preserve Smart lists about 10–12 dehydrator hours for its carrot process, followed by 4–10 days of conditioning after cooling. Use the drying time to plan monitoring, not as a guaranteed completion time.
Choose equipment for the batches you actually make
Start with a suitable appliance you already own. If you are buying for regular use, compare usable tray area, temperature control, cleaning and storage space. These optional products come from our existing US selection; we have not personally tested them.

COSORI CP267-FD Food Dehydrator
Front-access trays for inspecting blanched carrot slices as they dry. Compare tray openings and compatible screens before loading small pieces.
View on Amazon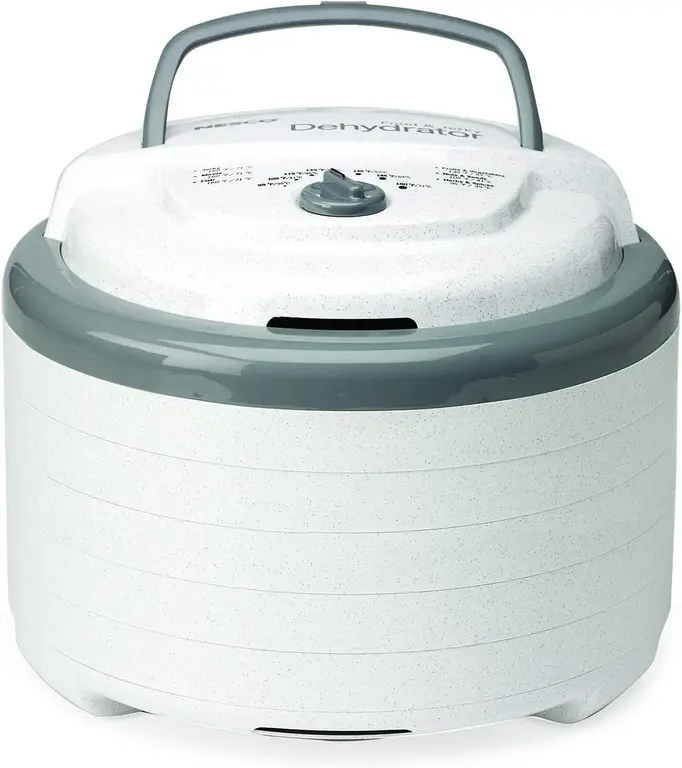
NESCO FD-75A Snackmaster Pro
A stackable alternative for carrot batches. Check access to every tray and whether the exact model needs a suitable screen for your chosen cut.
View on Amazon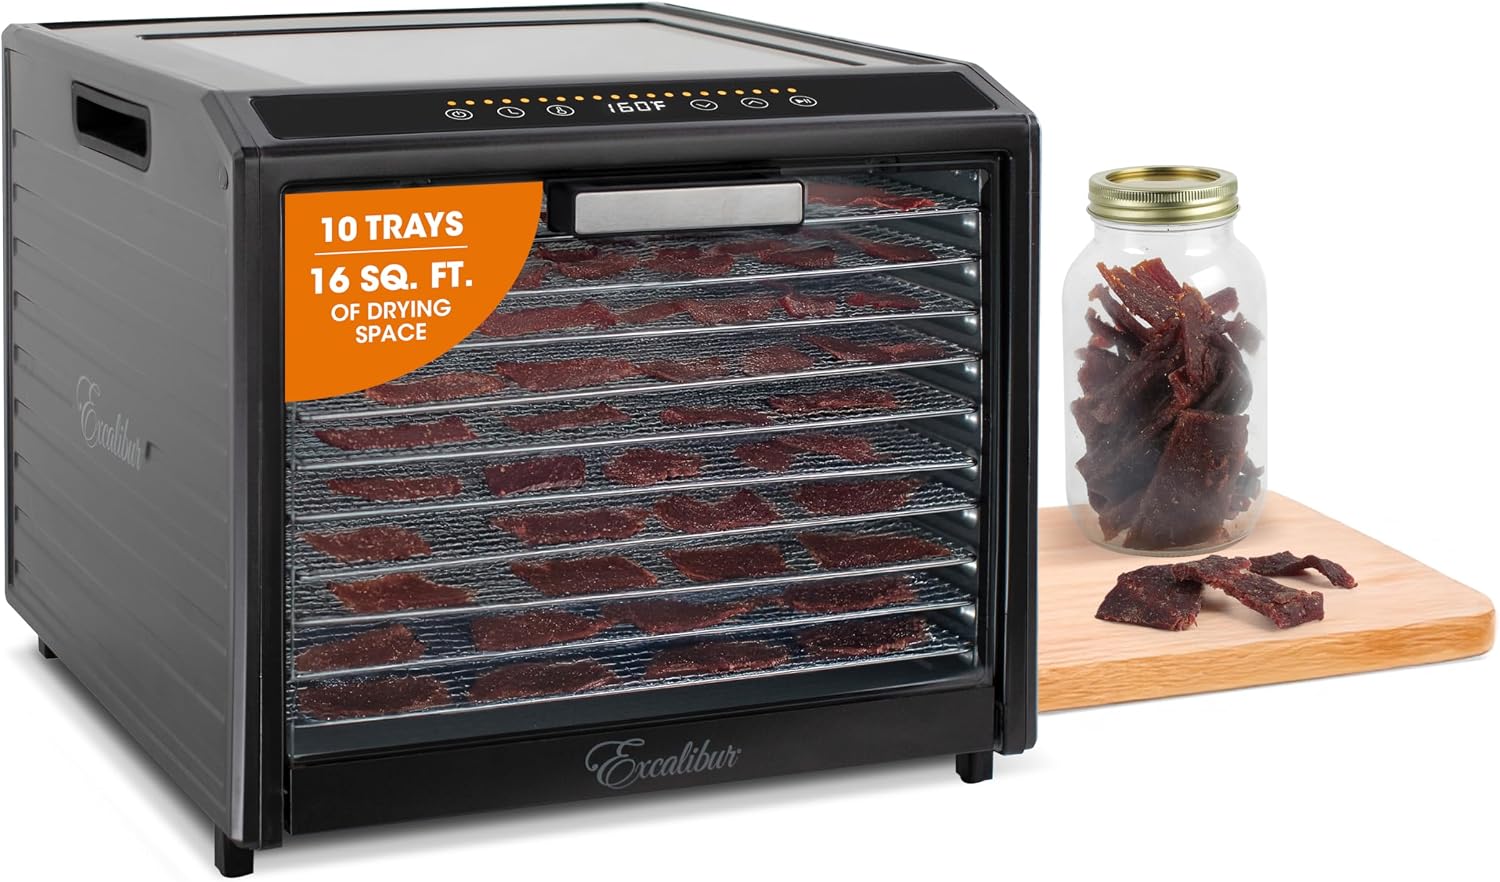
Excalibur Performance Series 10-Tray
Ten trays for repeated larger carrot batches. Match capacity to the amount you can wash, cut, blanch and spread without crowding.
View on AmazonAffiliate links · Your price stays the same.
For the wider equipment decision, see our food dehydrator comparison. For process basics, read dehydrating for beginners.
Water blanching: follow the method for your elevation
This article uses the current Colorado State University Preserve Smart carrot process. Bring 1 gallon of water to a rolling boil and lower in no more than 4 cups of prepared carrot pieces. Start timing when the water returns to the boil: 3½–4½ minutes below 5,000 feet, or 4½–5½ minutes at 5,000 feet and above.
Remove the carrots and briefly immerse them in ice water to stop cooking, then drain well. CSU specifies brief cooling rather than cooling all the way to room temperature at this stage. Keep that direction together with its preparation and blanching times. Different published methods can use different cuts and water or steam treatments; taking the shortest number from each is not a new validated method.
Load for observation, not maximum capacity
Spread the drained pieces in a single layer. When the tray openings are too wide for the chosen cut, use an appropriate food-grade liner approved for that appliance. Keep vents and required clearances open. The tray should make the food easy to inspect, not hide it under a solid blanket.
Write down the cut, approximate load and start time. If your machine calls for rotating trays, make that part of the process. An accessible upper tray is tempting to sample repeatedly, but it is not a substitute for checking the rest of the machine.
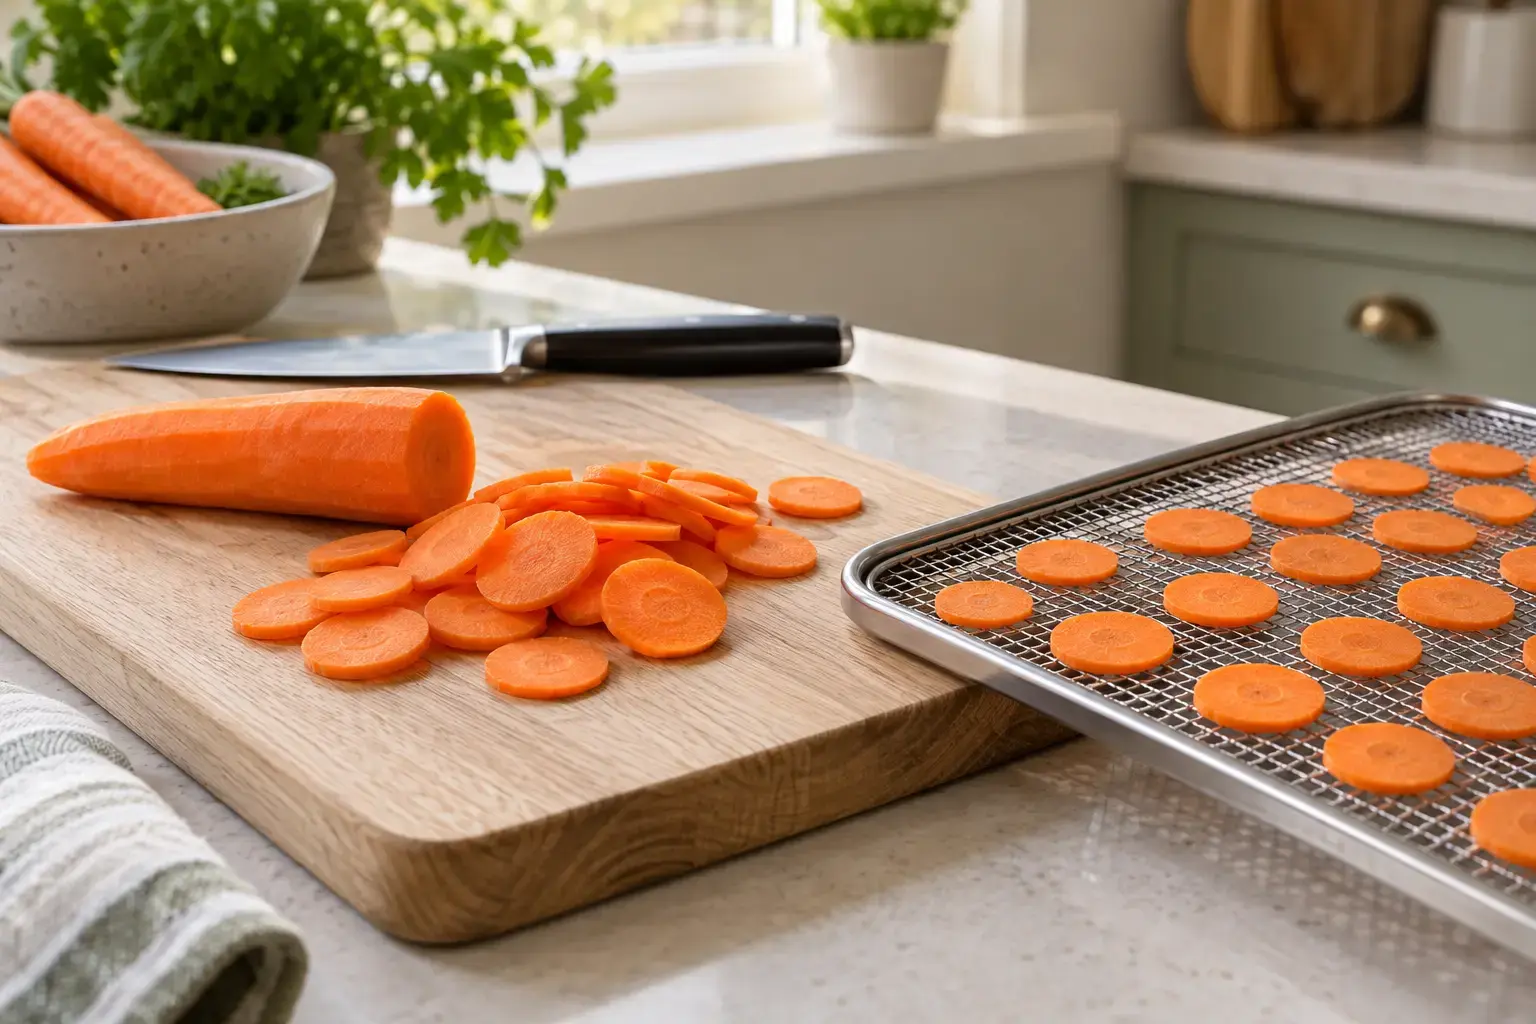
Dry carrots in seven steps
Select and wash
Use sound carrots. Wash, trim roots and tops, and peel.
Cut consistently
Slice or cut strips about 1/8 inch thick. Keep unusually thick pieces separate.
Blanch for your elevation
Use 1 gallon boiling water for no more than 4 cups carrots. Once boiling resumes, blanch 3½–4½ minutes below 5,000 ft, or 4½–5½ minutes at or above 5,000 ft.
Briefly chill and drain
Dip into ice water just long enough to stop cooking, then drain thoroughly.
Arrange and dry
Place in a single layer and dry at 140°F (60°C). Follow the appliance instructions and monitor the batch.
Test cooled samples
Check several thicker pieces for tough-to-brittle dryness and absence of damp centers; continue drying as necessary.
Condition, then pack
Cool the finished carrots completely. Loosely fill a clean container about two-thirds full, cover lightly and condition in a dry, well-ventilated place for 4–10 days. Stir or shake daily. If moisture beads appear, redry and repeat conditioning; discard moldy food. Then pack in dry moisture-resistant containers, label and store cool, dark and dry.
The timer tells you when to look
The listed drying window helps you plan your day, but it cannot inspect the food. Remove samples from different positions, let them cool and check the thicker areas. A warm sample can feel different from the cooled food you intend to store. Dry carrot pieces should be tough to brittle, without wet centers.
If a few pieces are lagging behind, separate them and keep drying them. Do not package the whole batch just because most pieces look done. At the next attempt, compare the cut and tray arrangement before changing temperature; increasing heat to finish before dinner can create another problem instead of solving the original one.
Store a useful amount in a dry container
Keep the finish with the CSU carrot method. After the carrots have cooled completely, place them loosely in a clean plastic or glass container, about two-thirds full. Cover lightly and keep in a dry, well-ventilated place for 4–10 days, stirring or shaking daily. If moisture beads form, return the carrots to the dryer and repeat conditioning. Discard moldy food. Only then use clean, dry moisture-resistant packaging for final storage.
There is a practical difference between a jar you open for every meal and portions packed for individual recipes. Choose smaller containers if you only use a little at a time. Mark the drying date and use your earlier batches first. Vacuum bags may be convenient for some kitchens, but a sealer is optional equipment and never a substitute for dryness or the conditioning check in this method.
Cook with your dried carrots
Soup is a forgiving first use. Add a modest portion to sufficient liquid and simmer until the carrots have the texture you want. For rice or grain dishes, consider the added hydration needs rather than treating dried vegetables as if they already contained water. Rehydrated food is perishable; handle the finished meal as you would other cooked food.
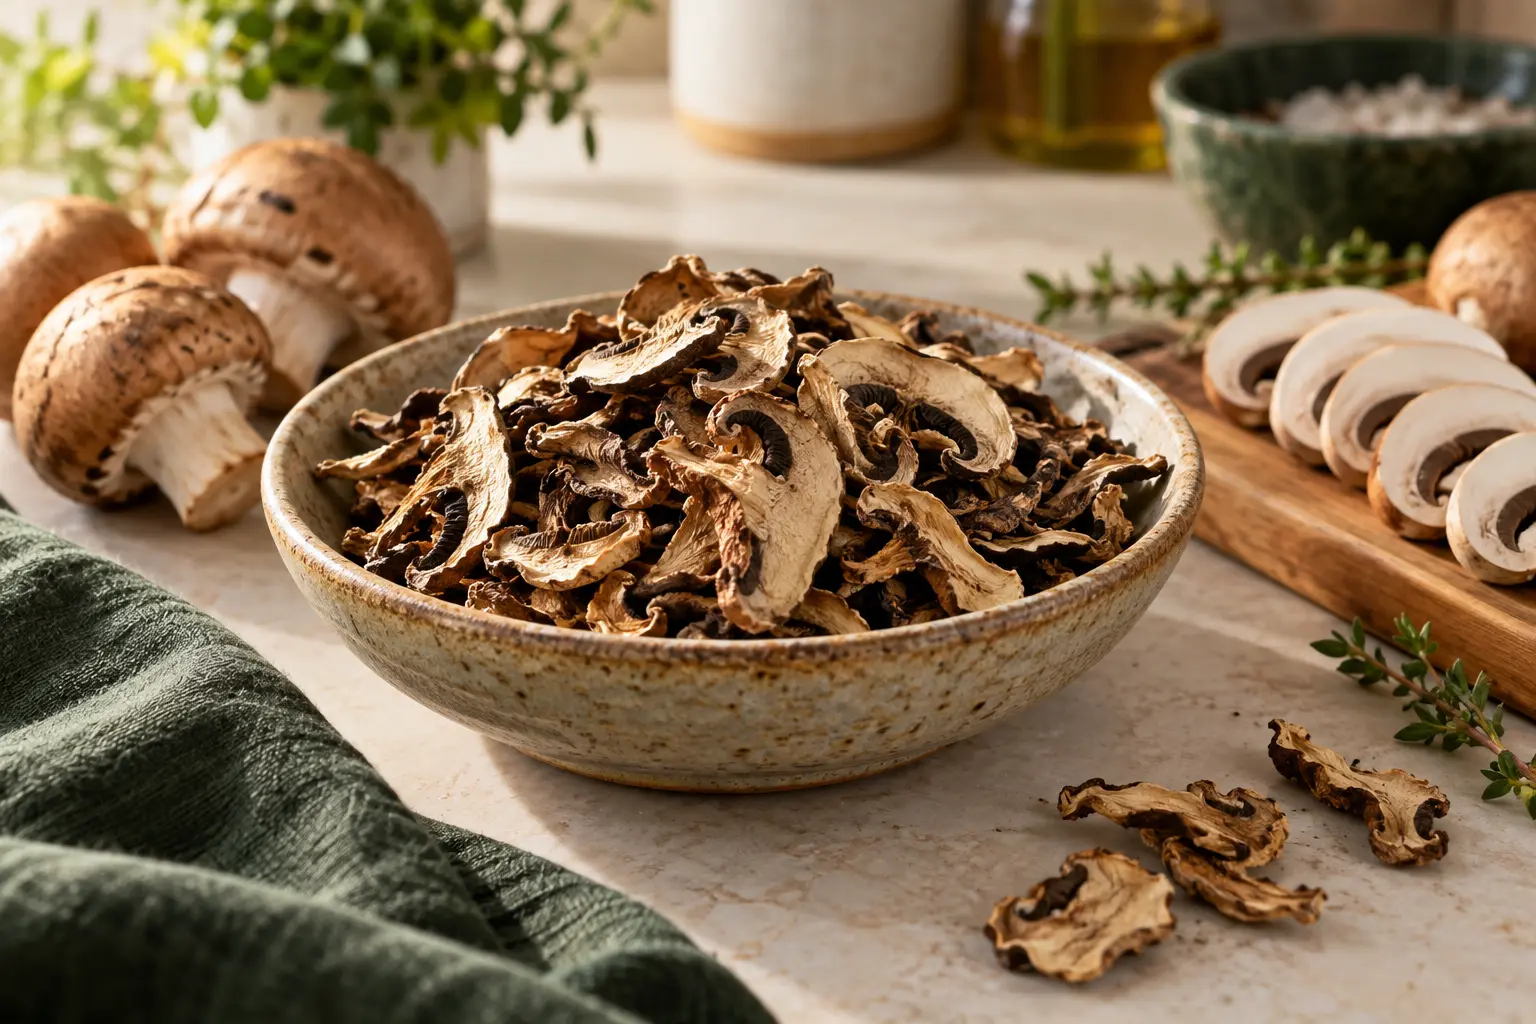
Keep your initial experiments simple. Carrot, onion and a few dried mushrooms can form a base for a vegetable soup, while a carrot-heavy mix may suit a sweeter broth. Store new ingredients separately until you know your preferred proportions. That avoids committing an entire jar to a mix you find too strong.
Buy for repeat tasks, not a single recipe
The most valuable equipment depends on where your actual work slows down. For occasional drying, an appliance you already understand may be enough. For frequent batches, easy-to-remove trays make checking less awkward. A guarded slicer helps only if you regularly prepare enough produce to justify cleaning and storing it.
Before ordering a larger machine, measure both its operating space and the cupboard where it will live. Consider the tray area you can use in a single layer. The capacity of a box or cabinet says little about how many evenly spread carrot slices you will actually inspect comfortably.
Frequently asked questions
Can I use the same time for water and steam blanching?
No. Keep the preparation, blanching method and time from one complete reference together. This article specifies a CSU water-blanching process with an elevation adjustment.
Why is my batch taking longer?
Thickness, load, airflow and humidity affect drying. Inspect cooled samples and the tray arrangement instead of declaring the batch finished at a set hour.
Should I add oil before drying?
Keep this batch plain. Oil-coated snack recipes have different characteristics and do not inherit the storage instructions for plain dried vegetables.
Can I powder the dried carrots?
Grind only fully dried carrots after completing the conditioning check, using equipment appropriate for dry ingredients. Powder creates another handling step and readily takes up moisture, so make modest portions and keep them dry.
Are these a complete meal for a dog?
No. This is a food-preservation article, not a complete pet-food recipe. A dog’s treats must fit its dietary needs and suitable piece size; ask its veterinary team when uncertain.
Do the carrots need conditioning?
Yes, this article follows the CSU carrot method, including 4–10 days of conditioning after cooling. Check daily for moisture, redry and repeat conditioning if needed, and discard moldy food before final packaging.
Sources and editorial notes
Prepared from the linked primary sources; this is not a personally tested recipe or product test. Product options are compared by their stated function and fit for this guide; they have not been tested by Einfach Haltbar. Accuracy cannot be guaranteed; please verify the cited guidance.
- Colorado State University Preserve Smart: Drying Carrots
- NCHFP: Packaging and Storing Dried Foods
- University of Alaska Fairbanks: Drying Fruits & Vegetables
AI-generated food illustration; not a photograph of a tested batch.