Choose pears you would enjoy eating
A ripe pear with a pleasant aroma and enough firmness to slice is a better starting point than a mushy fruit that collapses under the knife. Look over the entire fruit, including the stem end and any bruised areas. Put spoiled or moldy pears aside for disposal, not for the drying trays.
There is no need to begin with a particular fashionable variety. Buy or harvest a small quantity of sound pears you already like, then record the variety if you want to compare later batches. The first useful question is whether the result tastes good to you. A large bag of fruit becomes a large commitment if you do not enjoy its dried texture.
Peel, core and make an even cut
Wash the pears, peel them and remove the stem, core and seeds. Cut even slices, keeping a steady thickness through the rounded and narrower portions of the fruit. A thin slice and a thick wedge do not behave as one batch merely because both came from the same pear. Keep unusual pieces separate for another use.
A knife and stable board work well for a small batch. If you use a slicer, keep the hand guard engaged and stop before the remaining piece becomes unsafe to hold. Organize your work so the prepared fruit can go into its chosen pretreatment promptly rather than sitting in a heap while you finish an entire box.
- Ripe, sound pears Choose a quantity you can spread in a single layer.
- A fruit-drying anti-browning treatment Prepare according to its food-preservation label directions.
- Clean water For washing and any treatment that requires dilution.
Yield varies with produce, trimming and final dryness. Record the weight of your own batch rather than assuming a fixed fresh-to-dried conversion.
Allow several hours and plan to monitor the batch. Slice thickness, ripeness, airflow and loading affect the finish; no single timer value guarantees dryness.
Choose equipment for the batches you actually make
Start with a suitable appliance you already own. If you are buying for regular use, compare usable tray area, temperature control, cleaning and storage space. These optional products come from our existing US selection; we have not personally tested them.
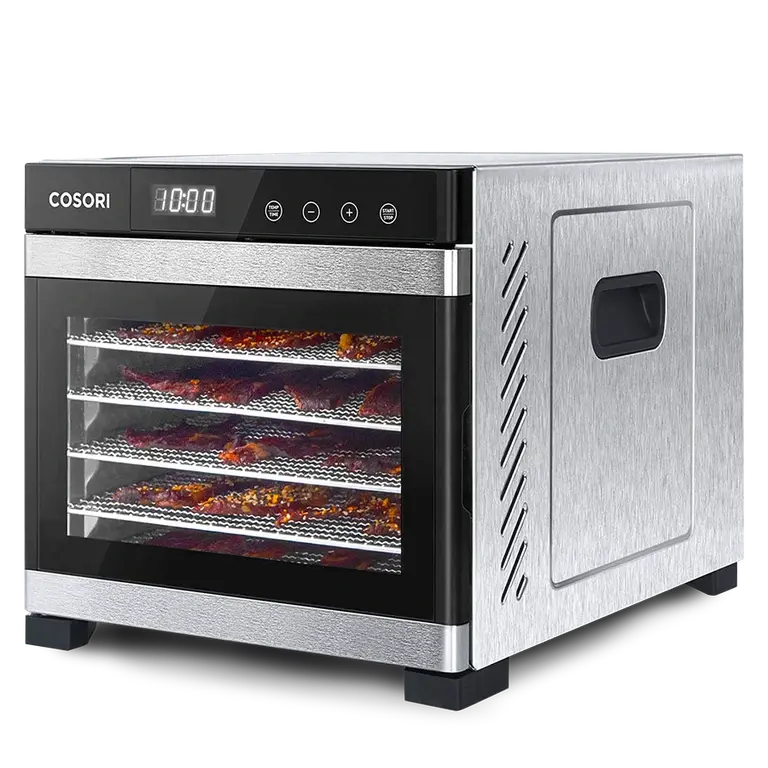
COSORI CP267-FD Food Dehydrator
Front-access trays help you inspect pear slices individually. Compare the usable area for a single layer with the amount of fruit you usually prepare.
View on Amazon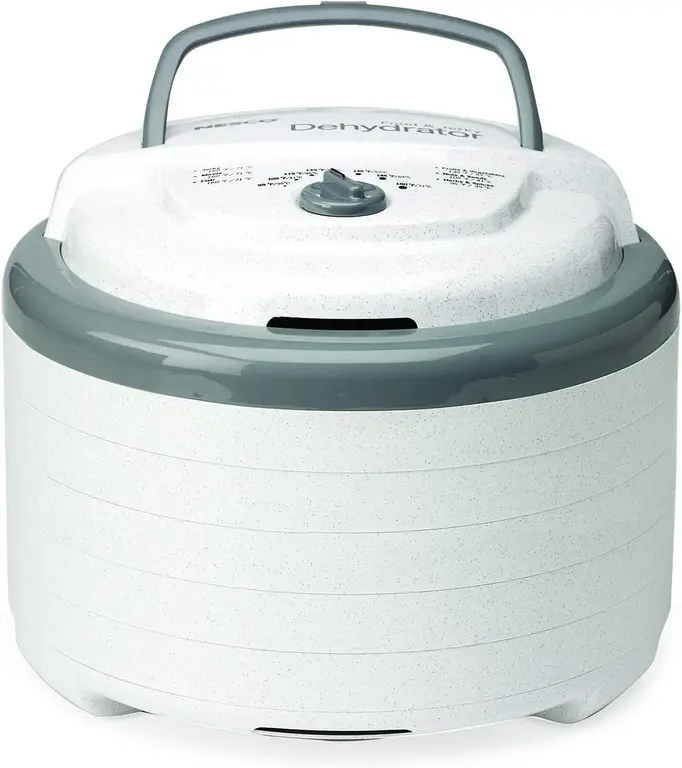
NESCO FD-75A Snackmaster Pro
A stackable alternative for seasonal pears. Compare the tray area and how you will check slices on each level during drying.
View on Amazon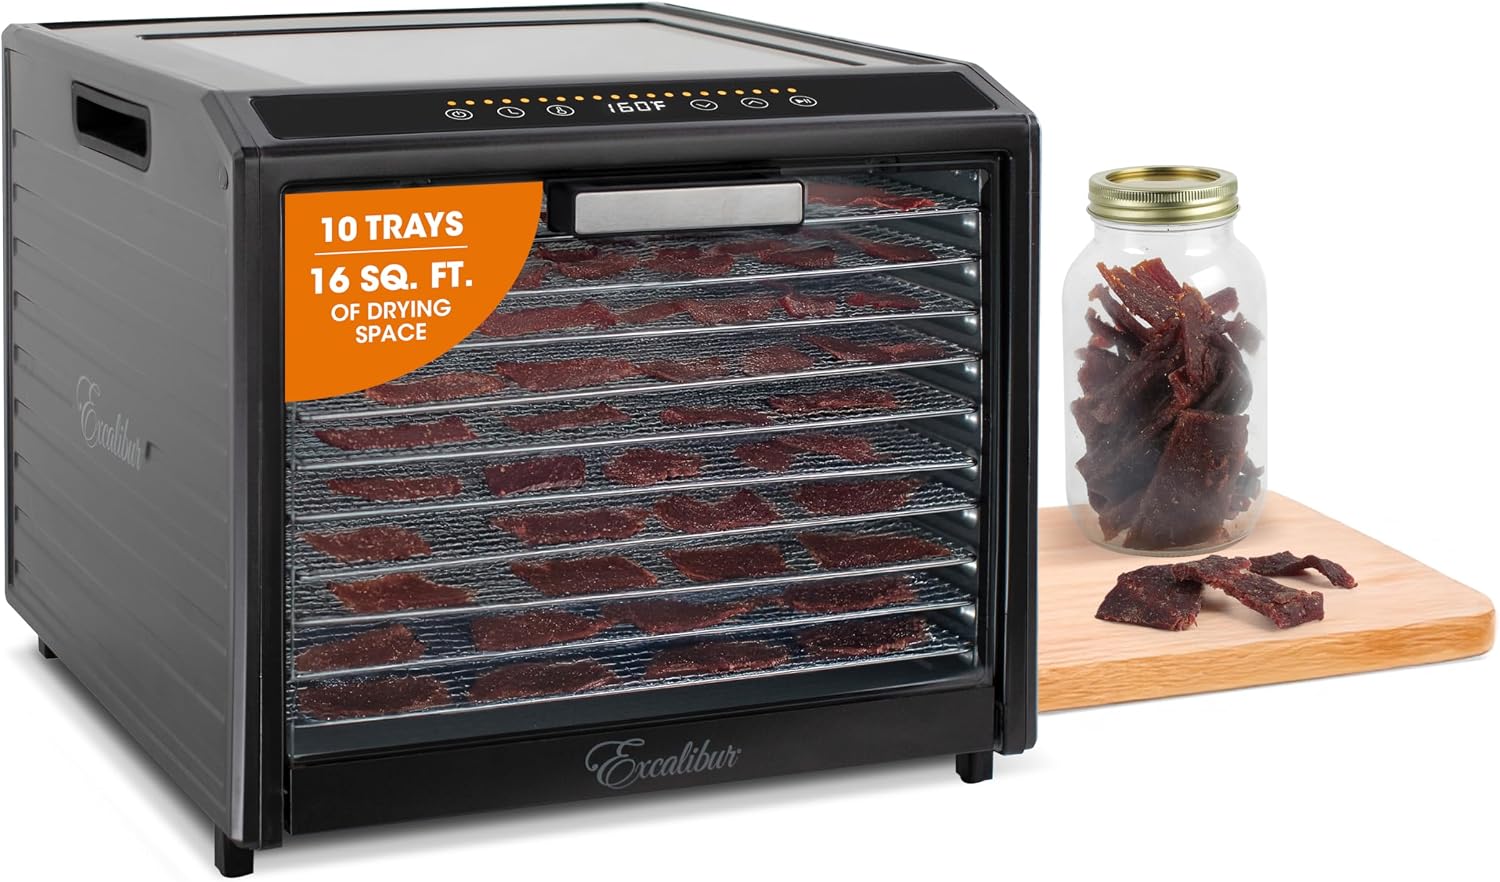
Excalibur Performance Series 10-Tray
Ten trays for a larger pear harvest. Choose it when you can use the drying area and have enough containers for conditioning and storing the finished fruit.
View on AmazonAffiliate links · Your price stays the same.
For the wider equipment decision, see our food dehydrator comparison. For process basics, read dehydrating for beginners.
Reduce browning without confusing it with dryness
A food-preservation ascorbic-acid or other recommended fruit pretreatment can reduce darkening. Follow that product’s instructions for concentration and treatment time; a casual squeeze of juice is not a measured process. Drain the slices before arranging them on the trays. CSU’s fruit-drying guidance discusses pretreatment and a 135–140°F drying range.
Color is a separate judgment from moisture. An attractive pale slice can still contain a damp center, while a darker slice may be properly dried. Your final check therefore needs both your eyes and your fingers. The goal is a consistent, pleasant dried fruit, not a promise that every pear stays exactly its fresh color.
Dehydrator or oven: start with the appliance
A dehydrator designed for prolonged low-temperature operation is straightforward for this project. Check that the trays and chosen setting suit fruit drying. If you are considering an oven, consult its manual before committing a batch; some ovens cannot operate steadily at the required low range, and instructions for ventilation vary. Never bypass a door switch or an appliance safety feature.
The practical limit is spreadable surface area. Place slices apart rather than overlapping them to fit an extra pear. Keep your test batch small enough that you can inspect pieces from all tray positions. A machine full of fruit is only convenient when you can still judge the fruit inside it.
Make dried pear slices in seven steps
Select and wash
Choose ripe, sound pears with enough structure for slicing. Wash them.
Peel and core
Remove peel, stems, cores and seeds. Set aside unsuitable fruit.
Slice consistently
Make even slices, avoiding a mixture of thin edges and thick wedges.
Pretreat and drain
Use your selected fruit-drying pretreatment exactly as directed, then drain.
Spread and dry
Arrange a single layer and dry at 135–140°F (57–60°C) in a suitable dehydrator. Monitor progress.
Cool and test
Check cooled thicker pieces for a leathery, pliable finish without moist pockets. Continue drying if necessary.
Condition, then package
Loosely fill closed containers with cooled fruit for 7–10 days, shaking and checking daily. Redry if condensation appears; discard moldy fruit. Then pack for dry storage.
Chewy pear slices and crisp pear chips are different goals
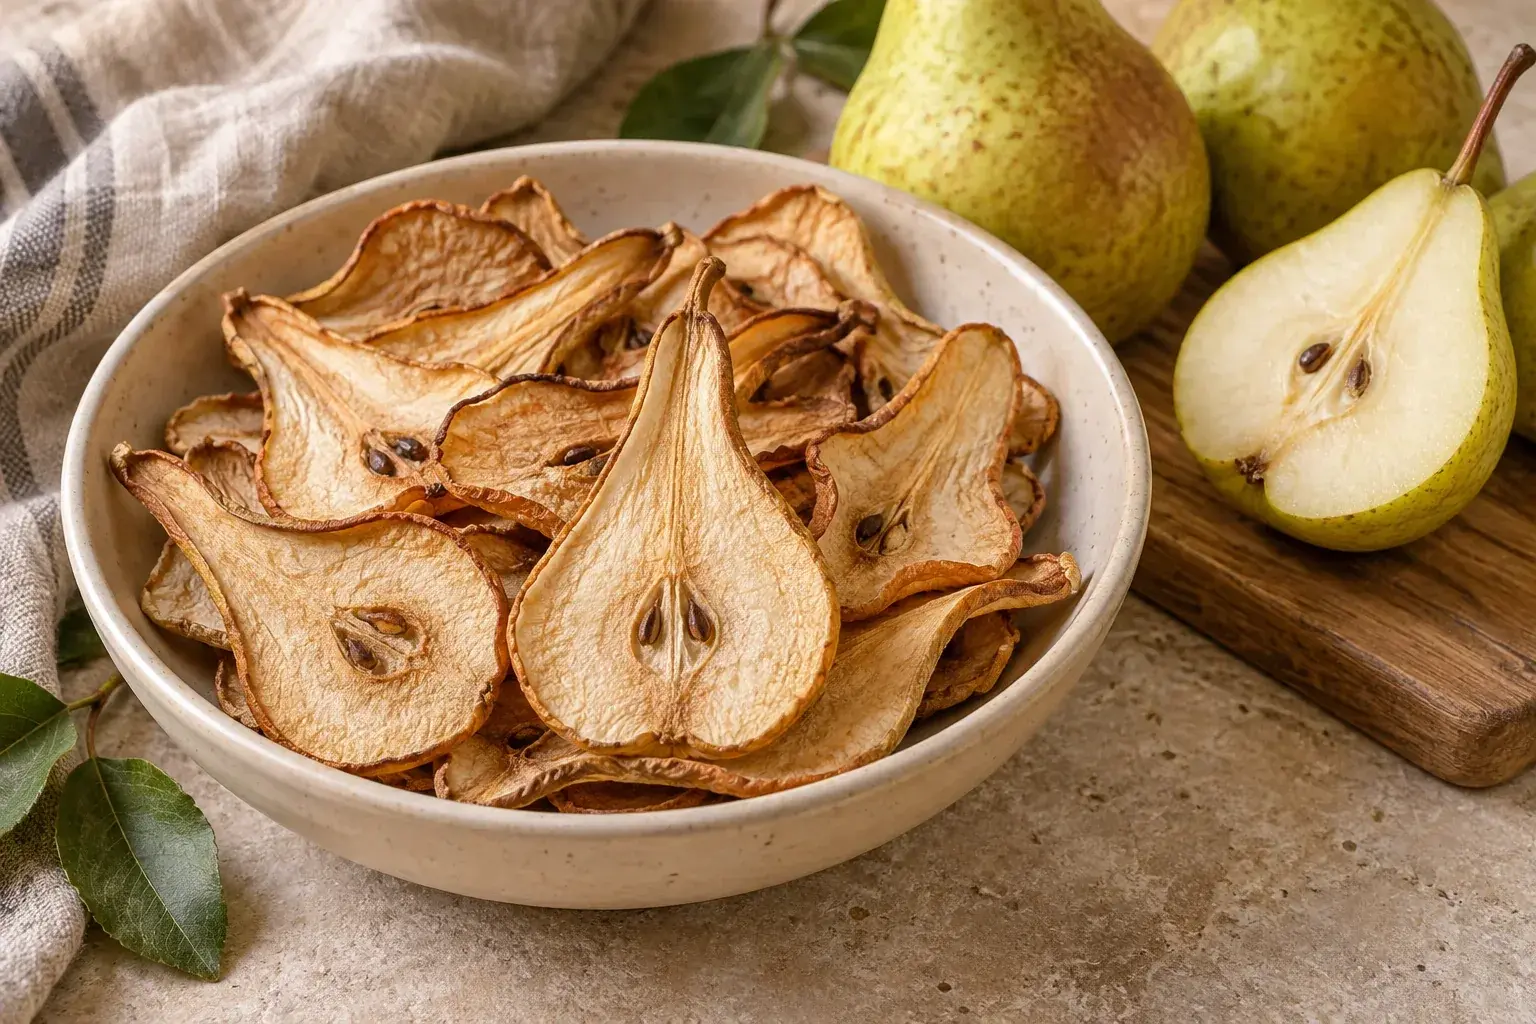
Plain dried pears commonly have a leathery, flexible texture. That can be exactly what you want for oatmeal or a snack mix. Do not assume that a piece must snap like a cracker to qualify as dried fruit. At the same time, flexibility is not permission to leave a wet pocket inside a thick slice.
If you prefer a firmer bite, experiment with a thinner, more consistent cut in your next small batch and assess it after cooling. Do not promise yourself a store-bought fried-chip texture from a plain fruit-drying process. Keep the first batch uncoated so that differences in ripeness and cutting are easier to understand.
Why the fruit gets a conditioning check
Pieces that seem equally dry can contain different amounts of moisture. NCHFP recommends conditioning dried fruit in loosely filled, closed containers for 7–10 days, shaking and checking them daily. Condensation means the fruit needs further drying. Moldy fruit is discarded rather than returned to the appliance.
Use a label or note to distinguish fruit undergoing this check from fruit already packed for storage. Choose containers you can easily inspect, and avoid filling them so tightly that the pieces cannot move. This is part of finishing the batch; it is not an invitation to leave visibly wet fruit standing around until it seems better.
Pack around the way you will use the pears
Small snack portions and a larger cooking portion serve different needs. Separate them after the fruit is properly dried and conditioned so you are not opening your entire supply every afternoon. Label with the ingredient and date, keep the packages away from light and heat and use the oldest suitable batch first.
A reusable snack box is convenient for a day’s portion, while the main supply needs a dry, tightly closed storage container. If your kitchen is humid or warm, refrigerator or freezer storage can be more practical than treating a cupboard as ideal. Check the contents whenever you take a portion and do not turn a general storage guideline into a guarantee for your own batch.
Three easy ways to use your first batch
For breakfast, cut a few pieces into oatmeal or soak them as part of the dish you are preparing. For a snack, portion the fruit before carrying it to your desk. For a cooked dessert, rehydrate a small amount with enough liquid and adjust sweetness only after tasting. You can decide whether you prefer plain pear flavor or a little cinnamon in the final meal.
If you are building a mixed fruit supply, keep new batches separate at first. Compare pear with dried apple slices or dehydrated bananas rather than assuming they all finish with the same texture. Mix only portions that are already appropriately dried and ready for the intended use.
Frequently asked questions
Do pears have to be crunchy?
No. A leathery, pliable texture is a normal dried-fruit goal. The important distinction is between properly dried fruit and a moist center.
Can I leave the skin on?
The base method here uses peeled pears. Skin can make the result tougher, so peeling is a straightforward starting point for a consistent first batch.
Why have the slices turned brown?
Cut fruit darkens with exposure to air. A suitable pretreatment can reduce this; color alone does not tell you whether a slice is dry.
Can I stop when the preset ends?
Inspect cooled samples first. A preset cannot account for the exact fruit, cut and load in your machine.
Can I mix pears and apples during conditioning?
Keep new batches separate so you can identify and correct a moisture issue in each one. Combine finished portions later if you want a snack mix.
Sources and editorial notes
Prepared from the linked primary sources; this is not a personally tested recipe or product test. Product options are compared by their stated function and fit for this guide; they have not been tested by Einfach Haltbar. Accuracy cannot be guaranteed; please verify the cited guidance.
- Colorado State University: Drying Fruit
- University of Alaska Fairbanks: Drying Fruits & Vegetables
- NCHFP: Packaging and Storing Dried Foods
AI-generated food illustration; not a photograph of a tested batch.