Freshness matters more than a fancy jar
Choose firm cucumbers with sound skin and no soft or slimy areas. Small pickling cucumbers are a useful choice because their shape is easy to slice and pack. Other fresh cucumbers can be pleasant in a refrigerator batch, but a large watery cucumber with a developed seed cavity gives a different texture from a small, firm one.
Buy only what you need for this batch and another planned meal. A pint takes a surprisingly modest quantity once the slices are measured. If you are harvesting your own cucumbers, sort them before starting: the small firm ones can go into pickles, while larger sound ones may be better chopped into a fresh salad. Pickling is not a way to recover produce that has already spoiled.
A small recipe with measured acidity
The quantities below follow Food Hero’s one-pint cucumber recipe. This is the same starting method used in our English beginner’s guide, so the two articles lead to the same jar rather than two conflicting formulas. Commercial white vinegar gives a clear, direct flavor; cider vinegar adds its own character. Check for a labeled acidity of 5% when buying the bottle for this version.
The modest sugar quantity balances taste without making the batch a sweet pickle. Use fresh dill as an uncomplicated first seasoning. If you prefer a different herb or a little garlic, use the source recipe’s seasoning allowance rather than filling half the jar with extra ingredients. You can learn more from one clearly flavored batch than from a mixture of many competing spices.
- 1½ cups cucumber slices
- ⅔ cup commercial white or cider vinegar, labeled 5% acidity
- ⅓ cup water
- 1 teaspoon salt
- 2–4 teaspoons sugar
- 1–2 tablespoons seasonings; fresh dill is a simple starting choice
1 pint.
Allow about 20 minutes for preparation, then 1–3 days in the refrigerator for flavor. Food Hero gives up to 3 months refrigerated for this cucumber recipe; keep the jar cold and use clean utensils.
Make slices that fit the next meal
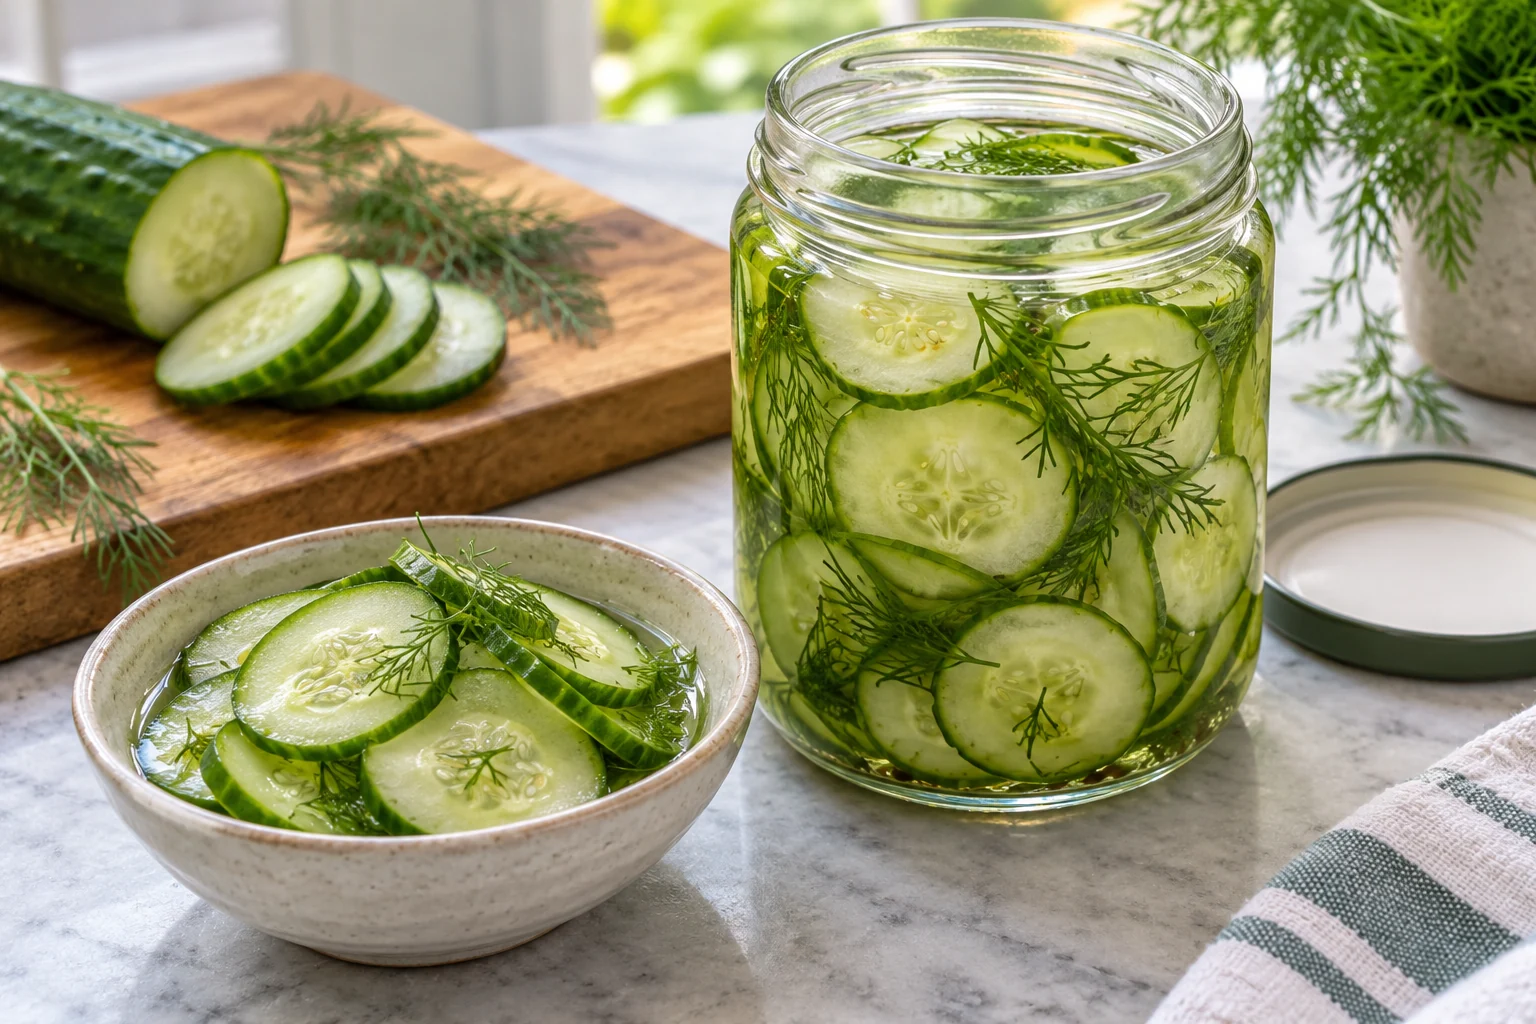
Rinse the cucumbers and trim the ends. Cut reasonably thin, even rounds for sandwiches and burgers, or slightly thicker rounds if you want to serve them as a side. Measure the prepared slices rather than estimating by the number of cucumbers: one large cucumber and one small pickling cucumber are not interchangeable quantities.
Keep one main thickness within the batch. Paper-thin slices fold easily and feel softer, while very thick pieces give a more substantial bite. A crinkle cutter is optional and changes the shape rather than the basic process. If you use a mandoline, secure the cucumber in its guard and stop before the remaining end becomes awkward to hold. Place the slices in a bowl while you heat the brine.
Useful tools for a small batch
A single pint jar, a small saucepan and a knife make a complete setup. Check the jar for chips and follow its maker’s temperature guidance when adding warm liquid. A jar funnel is convenient if you already own one, but is not essential.
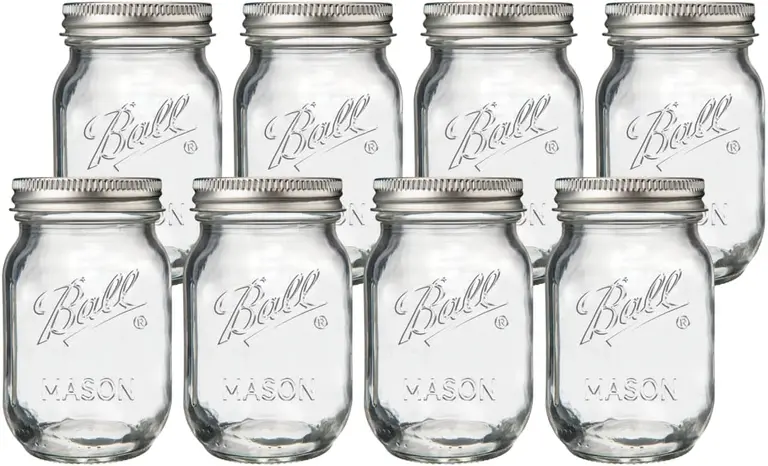
Ball Pint Mason Jars · 16 oz
A pint-size option for portioning cucumbers. Check how much your prepared batch holds and use an extra container instead of packing to the rim.
View on Amazon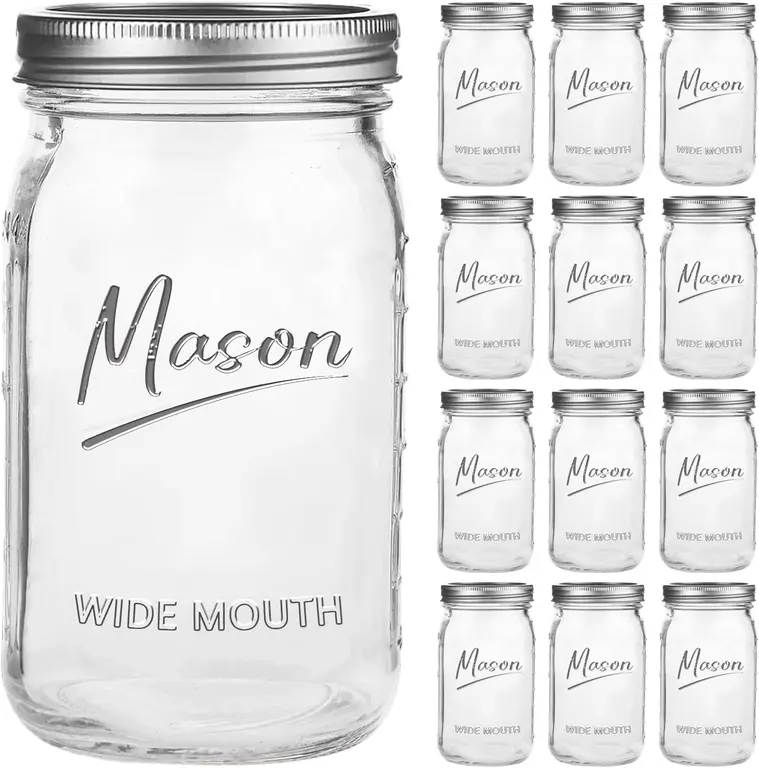
Wide-Mouth Mason Jars · 32 oz
A roomier serving or storage alternative; the small recipe itself is written for one pint jar. Buy the size you need and keep the pickles refrigerated.
View on Amazon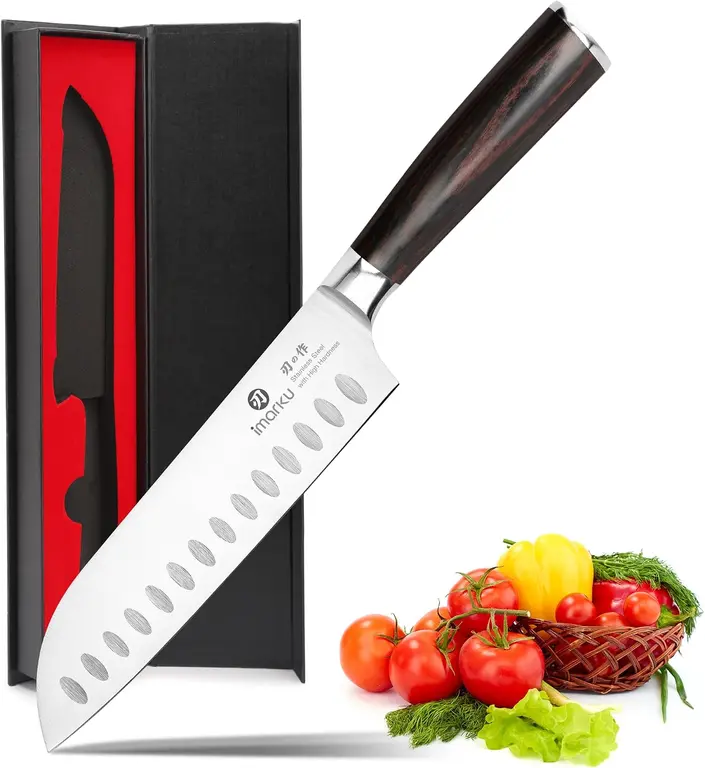
imarku Santoku Knife · 7 in
A knife option for preparing cucumbers on a stable board. A sharp knife you already own can do the same job; consistent thickness matters most.
View on AmazonAffiliate links · Your price stays the same.
Use food-safe containers suitable for acidic food. Follow the container manufacturer’s temperature guidance, especially when adding warm brine. You do not need a canner for a refrigerator recipe.
Pack closely without crushing the cucumbers
Start with the seasonings in the jar, then add the slices in small handfuls. A gentle tap or repositioning with a clean utensil helps settle them, but pressing hard can damage the pieces and make the contents difficult to remove later. Leave the specified space at the top instead of making the jar look fuller for the sake of appearance.
The warm vinegar mixture needs to reach around the slices and cover them. If your cut leaves large empty spaces, you may need to rearrange the pieces rather than adding extra cucumber. Prepare more liquid in the same measured proportions if necessary; plain water is not a suitable top-up. Keep the jar on a stable surface and avoid sudden temperature changes that its manufacturer advises against.
Make the batch in 7 steps
Wash and inspect
Wash your hands, rinse the cucumbers and use a clean, sound pint jar.
Slice and measure
Trim the ends and make even slices. Measure 1½ cups.
Heat the liquid
Simmer the vinegar, water, salt and sugar in a small saucepan until the salt and sugar dissolve. Remove from the heat.
Pack the jar
Add seasonings and cucumber slices, leaving about ½ inch at the top.
Cover with brine
Pour in the warm vinegar mixture to cover the slices. Fit a clean lid.
Refrigerate for flavor
Refrigerate promptly and allow 1–3 days for the flavor to develop.
Label and serve
Date the jar. Take out portions with a clean utensil and keep the remaining pickles refrigerated.
Keep the crunch in the finished meal
Drain a few slices before putting them on bread. A burger or bean sandwich gets plenty of contrast from a thin layer, especially if the filling already has mustard or another acidic sauce. Add the pickles after cooking so they keep their chilled, fresh character. Keep the main jar in the refrigerator while you eat.
For potato or grain salad, chop a serving of drained pickles and fold it in close to serving time. You can then taste the whole dish before deciding how much dressing it needs. A small side bowl also works with an omelet, grilled vegetables or a lunch plate. Serve only the amount you expect to eat instead of placing the entire jar out for a long meal.
What a texture problem can tell you
A soft pickle often begins with a soft cucumber or receives more heat than its intended recipe calls for. Avoid holding the slices in boiling brine just because a different canning recipe does so. For this batch, the vegetables are packed and the warm mixture is poured over them. Once a slice has softened, adding salt afterward will not rebuild it.
Very thin slices can be delicious even when they lack the snap of a thicker pickle; that is a serving choice rather than a failure. If the seasoning is too strong, make the next batch simpler. If the liquid becomes cloudy, do not use cloudiness alone as a safety test: ingredients can affect appearance, and an apparently clear jar can still have been handled badly. Follow the recipe and cold-storage rules throughout.
One preparation date, one continuous cold chain
The source’s storage advice applies to this measured cucumber recipe under refrigeration. It does not apply automatically to an improvised vinegar splash over vegetables or to a jar that has sat warm. Keep a preparation date on the container and use the pickles while their texture is enjoyable. There is no need to aim for the maximum storage period if a pint fits comfortably into a week of meals.
Do not add fresh cucumber slices to the old jar. That mixes preparation dates and changes the contents you originally measured. Discard a batch with mold, unusual gas, slime or an off smell without tasting it. For a larger harvest you want to keep outside the refrigerator, start over with an appropriate tested cucumber-pickle canning recipe, including its processing and altitude directions.
Frequently asked questions
Do these need to ferment?
No. Vinegar provides the sour flavor in this refrigerator recipe. Do not leave the jar at room temperature to wait for fermentation.
Can I use an English cucumber?
A firm, fresh English cucumber can make a useful sliced refrigerator pickle. Expect its texture to differ from small pickling cucumbers, and measure the prepared slices.
Can I reduce the vinegar because the flavor is sharp?
Keep the measured mixture as written. Serve a smaller amount beside mild food or choose a different complete refrigerator recipe for your next batch instead of diluting this jar.
Why did my pickles lose their crunch?
Start by checking the freshness of the cucumbers, slice thickness and whether you heated them more than the recipe required. Pickling cannot restore the firmness of deteriorated produce.
Can I keep them in the pantry?
No. This recipe is for refrigerator storage. A pantry batch requires its own tested recipe and processing instructions.
Sources and editorial notes
Adapted for US readers from the German counterpart. Recipe attribution and refrigeration boundaries are explained in the source notes.
- Oregon State University Food Hero: Refrigerator Pickled Cucumbers
- NCHFP: General Information on Pickling
AI-generated contextual illustration; not a photograph of our recipe or appliance tests.