Decide how you will use the cabbage first
A compact dried ingredient earns its place in the pantry when it belongs in meals you already enjoy. Think of a brothy potato soup, a bean and vegetable stew or a noodle bowl. If your goal is fresh, crunchy slaw, drying is the wrong preparation for that particular dish. The strips soften as they rehydrate and are most useful as part of a cooked meal.
Begin with the leftover portion of a sound cabbage rather than filling every tray on the first attempt. Plan one meal in which to try the result, then judge whether you want a larger supply. This also helps you choose package sizes: a small soup portion is more convenient than opening one oversized container repeatedly.
Prepare the cabbage and your workspace
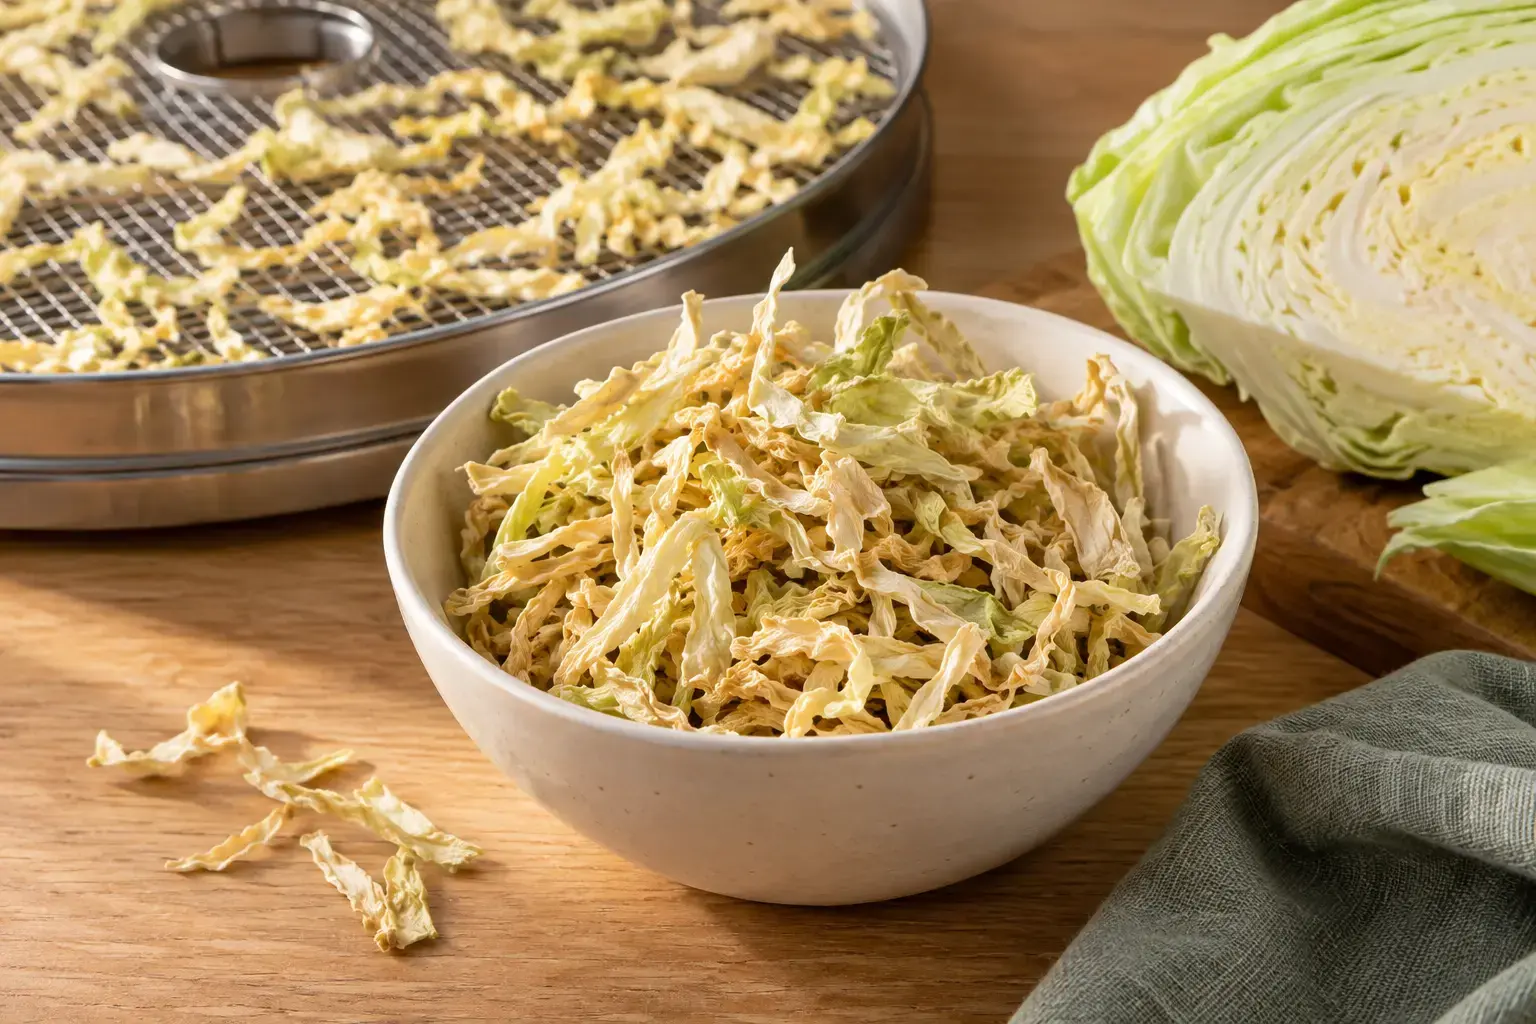
Remove damaged outer leaves, wash the cabbage, quarter it and cut out the firm core. Set the quarters flat on a stable board and slice across them. Aim for roughly 1/8-inch strips rather than a mixture of broad leaves and thick wedges. A sharp knife is enough; if you use a mandoline, keep its hand guard in place.
Set out a covered pot with a steamer basket, clean dehydrator trays, a colander and a heatproof landing space. Work in portions that fit the steamer loosely. A crowded basket makes it harder to handle the cabbage consistently. The drying method here follows the SDSU Extension cabbage guide; keep its steam blanching step together with the rest of the process.
- Fresh, sound green cabbage Start with a quarter or other manageable portion.
- Water for steam blanching Use a covered pot and a suitable steamer basket.
- No oil or dressing Season the finished meal when you use the cabbage.
Yield varies with produce, trimming and final dryness. Record the weight of your own batch rather than assuming a fixed fresh-to-dried conversion.
Allow a drying day: approximately 10–12 hours in a dehydrator, plus preparation and cooling. Actual drying time varies.
Choose equipment for the batches you actually make
Start with a suitable appliance you already own. If you are buying for regular use, compare usable tray area, temperature control, cleaning and storage space. These optional products come from our existing US selection; we have not personally tested them.
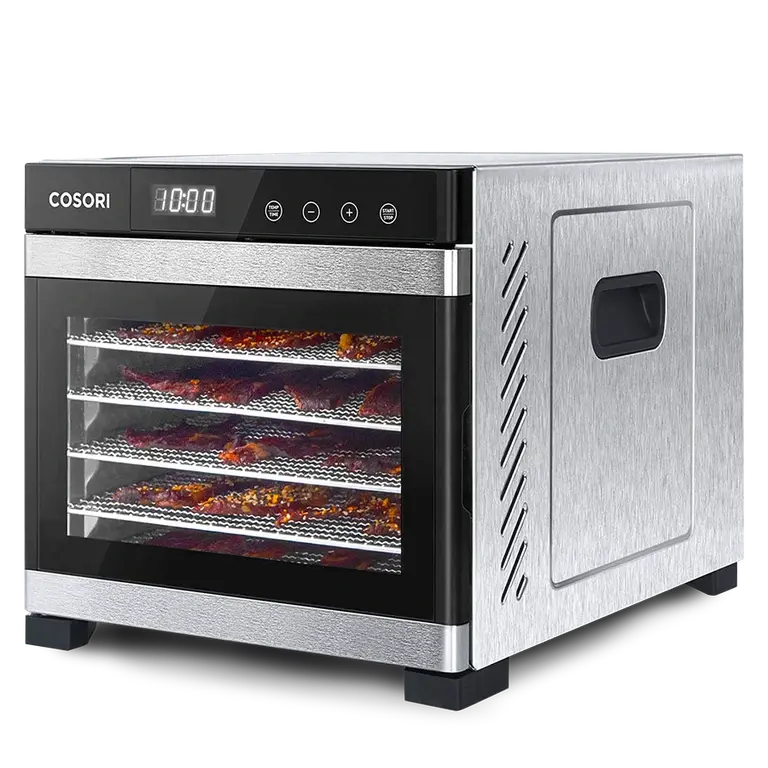
COSORI CP267-FD Food Dehydrator
Pull-out trays for spreading and checking cabbage strips in a single layer. Check for compatible fine-mesh screens if small pieces can fall through the trays.
View on Amazon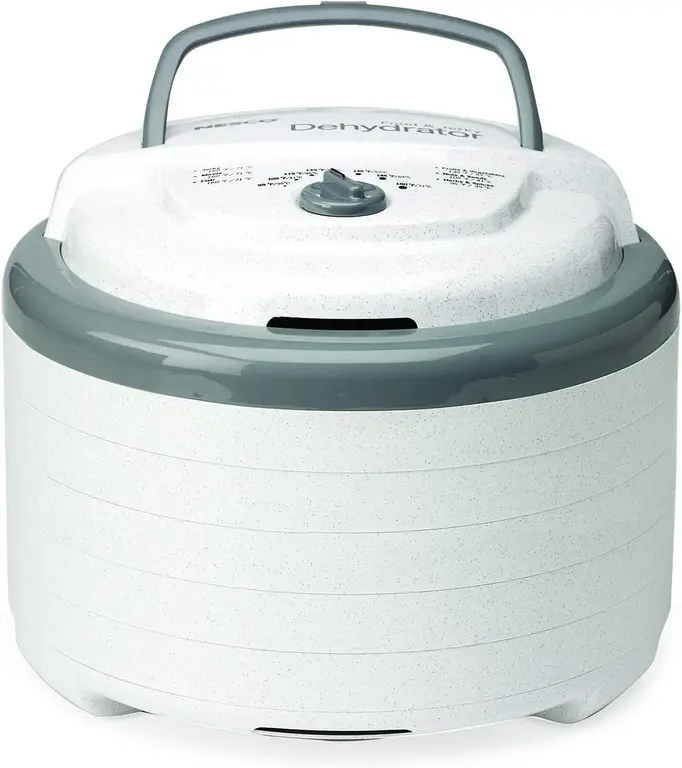
NESCO FD-75A Snackmaster Pro
A stackable format for repeated cabbage batches. Check tray openings, suitable screens and the access needed to inspect strips as they shrink.
View on Amazon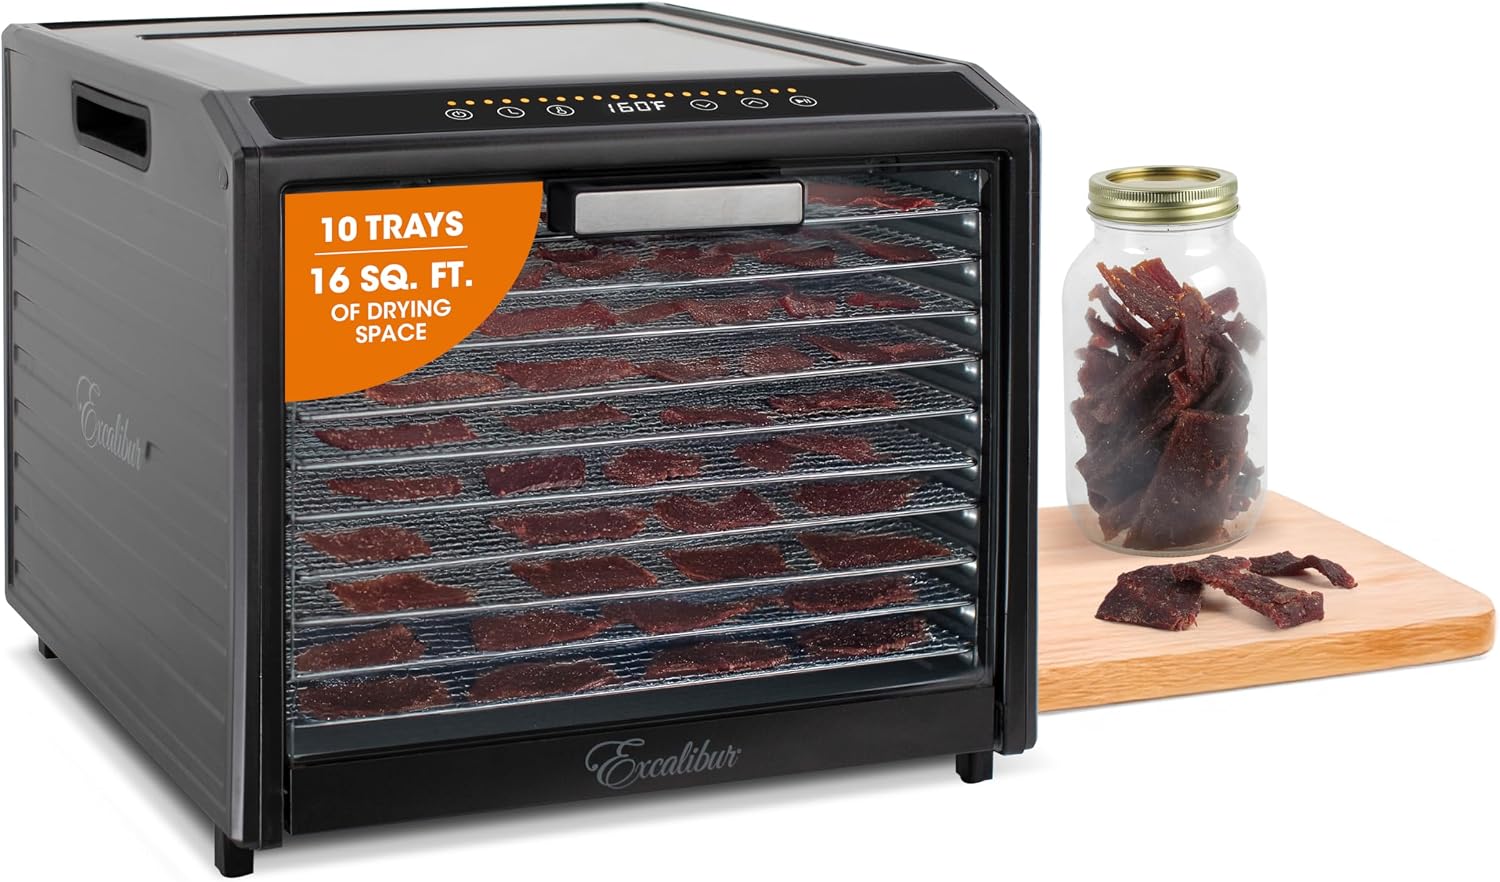
Excalibur Performance Series 10-Tray
Ten trays for larger cabbage harvests when you can use the area. Leave the spacing required by the manual rather than compressing more strips onto each tray.
View on AmazonAffiliate links · Your price stays the same.
For the wider equipment decision, see our food dehydrator comparison. For process basics, read dehydrating for beginners.
Steam, drain and spread the strips
Steam blanch the prepared strips for 2½–3 minutes, until wilted. Drain thoroughly and handle the hot basket carefully. Separate compressed nests as you spread the cabbage over the drying trays. Think of a loose single layer, with visible routes for moving air, rather than a mound that happens to fit inside the machine.
If some pieces are much broader than the others, separate or recut them. Keep track of a few of the thicker pieces so you can find them during the dryness check. Use only manufacturer-approved food-contact liners when needed for small strips, and keep the appliance vents clear. A solid sheet covering every opening can defeat the point of an open drying tray.
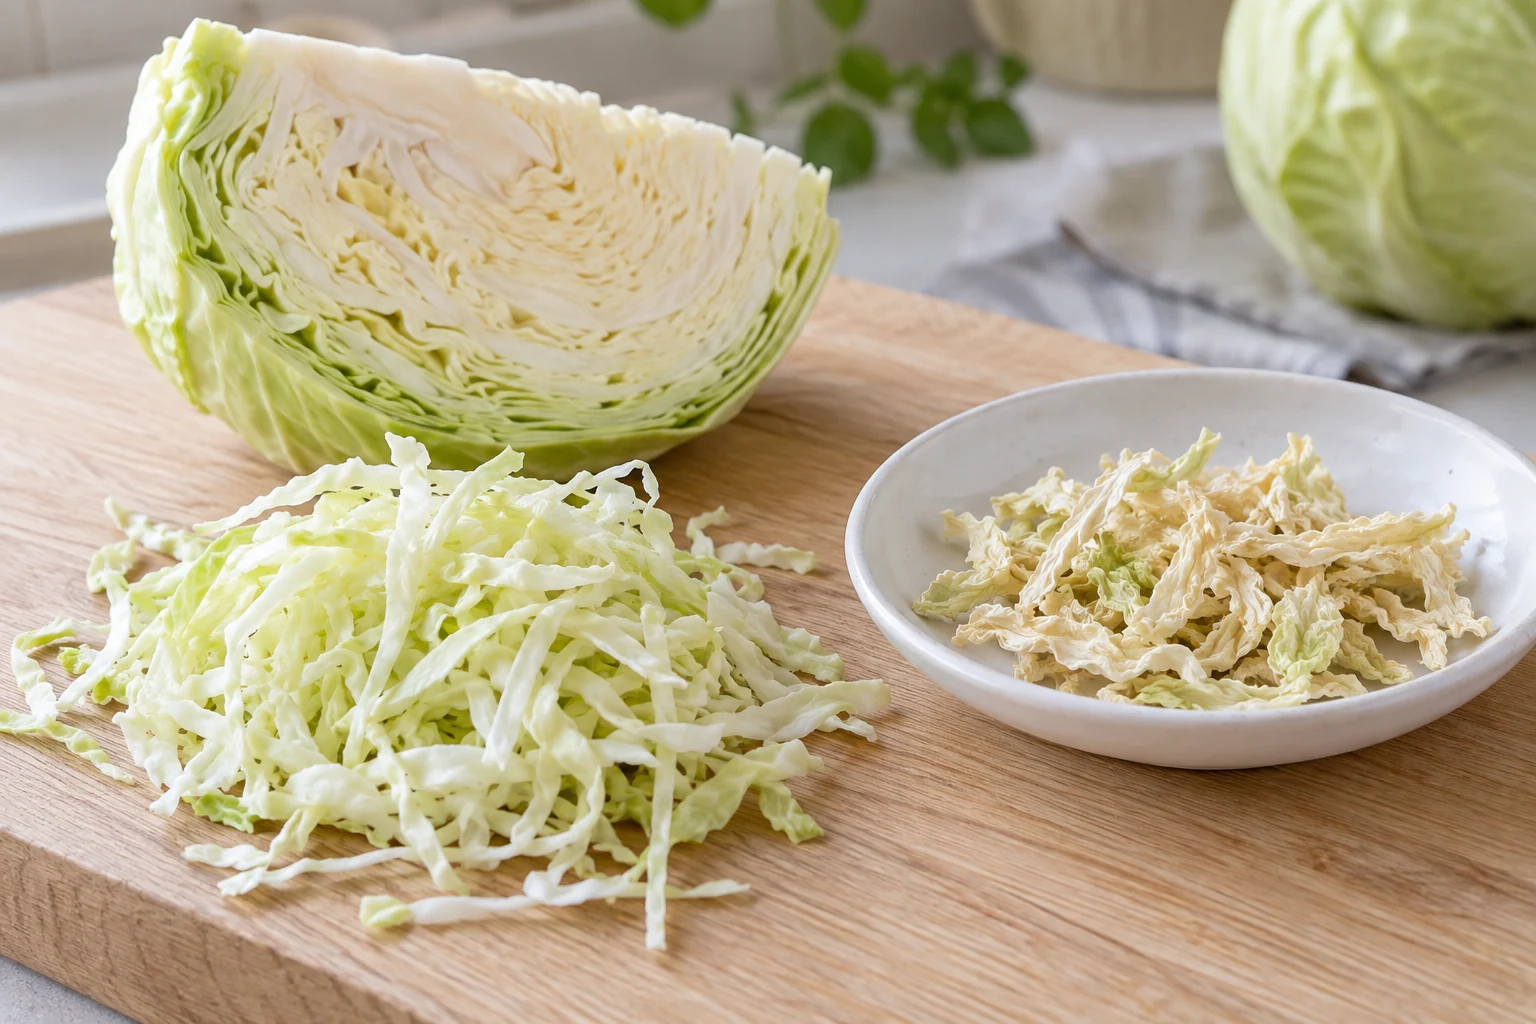
Dry green cabbage in seven steps
Choose and wash
Use sound green cabbage. Remove damaged outer leaves, wash, quarter and remove the core.
Slice evenly
Cut strips about 1/8 inch thick; separate unusually thick pieces.
Steam blanch
Steam the strips in a covered steamer for 2½–3 minutes, until wilted.
Drain and spread
Drain well, separate clumps and arrange a loose single layer on suitable drying racks.
Dry at 140°F
Use 140°F (60°C). About 10–12 hours is a planning range, not an automatic finish time. Follow the appliance instructions for tray rotation.
Check several cooled samples
Let samples cool and check for crisp, brittle pieces without moist centers. Continue drying where needed.
Pack and label
Let the finished batch cool completely. Pack in clean, dry, tight containers, label and keep in a cool, dark, dry location.
What does finished dried cabbage feel like?
A dry-looking edge is not enough to judge a whole tray. Take samples from different positions and include some of the sturdier strips. Let them cool before bending or breaking them. The goal is a crisp, brittle cooking ingredient, without soft, damp folds hidden inside a clump. Color alone does not establish dryness.
When a tray is uneven, investigate the arrangement before blaming the temperature setting. Pieces overlapping in a little nest may need more time than exposed strips. Separate them and continue the drying process. For your next batch, a note about tray loading or cutting thickness is more useful than simply writing down the number of hours.
Use a container that suits your cooking habits
Let all the cabbage cool before closing the container. A dry jar with a tight lid is a practical choice for a small supply; suitable moisture-resistant bags can work for portions you use all at once. Vacuum packaging is optional and does not compensate for incompletely dried food. NCHFP storage guidance explains the importance of cooling and keeping moisture out.
Write the ingredient and drying date on the label. Keep the main container away from the steam rising from a saucepan, and measure out what you need before cooking. During storage, investigate condensation or damp pieces immediately; discard moldy food. A homemade batch does not come with a guaranteed storage life simply because the lid closes firmly.
Bring the strips back into a meal
For the first use, choose a dish with plenty of liquid and a forgiving texture, such as vegetable soup. Add a modest amount, allow it to hydrate and cook until the pieces are tender enough for that dish. Taste the whole meal before adjusting salt or seasoning. The cabbage was dried plain so you can decide its role at the stove.
For a skillet meal, rehydrate the cabbage before expecting it to behave like cooked vegetables in the pan. Start with a small quantity and record what worked with your own slice thickness. Avoid assuming that one handful always equals a specific weight of fresh cabbage; your cut, batch and final dryness all affect that comparison.
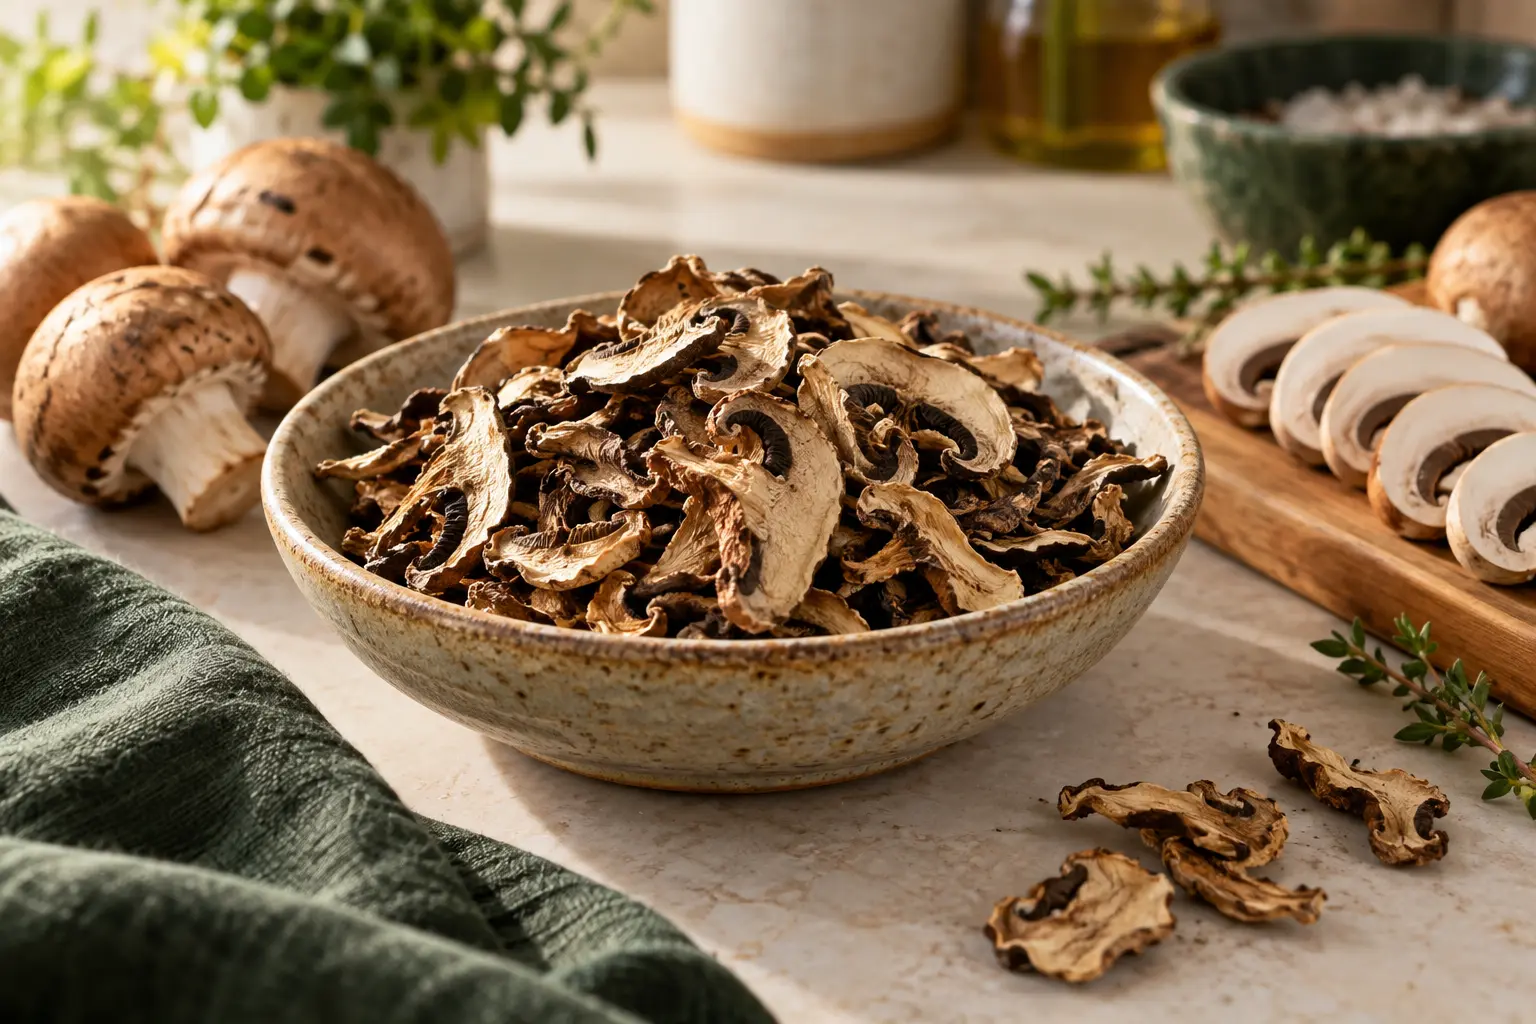
You can plan a soup with separate dried ingredients rather than premixing every new batch immediately. Keeping cabbage and dried mushrooms in separate containers lets you choose the balance for each meal. The same approach works when you want to compare a mild vegetable broth with a more substantial bean stew.
Solve the problem you can actually observe
Soft strips after the planned drying window need another check, not a new label saying they are finished. Look for thickness differences, overlapping layers or a damp room around the machine. If the appliance is malfunctioning or cannot hold the intended setting, stop relying on its timer and consult its instructions.
If you simply dislike the cooked texture, make a smaller next batch or choose a different cabbage project. Good pantry planning includes accepting that some vegetables fit your cooking style better fresh, frozen or fermented. The best first result is a useful ingredient you are happy to use again, rather than a shelf full of jars you never open.
Frequently asked questions
Can I skip blanching?
The method used here includes steam blanching. Follow that complete preparation rather than removing a step while keeping its temperature and timing.
Is this a kale-chip recipe?
No. These plain green cabbage strips are intended for cooked meals. Oil-coated kale chips or dressed cabbage snacks need their own preparation and storage guidance.
Can I dry red cabbage the same way?
This article describes green cabbage. Choose a source that specifically addresses the variety and product you want rather than treating all cabbage preparations as interchangeable.
Do I need to condition it like dried fruit?
NCHFP says vegetables dried to a crisp or brittle state do not require fruit-style conditioning. Continue to protect the finished cabbage from moisture during storage.
Can I use an oven instead?
Only if its instructions support suitable low-temperature drying and ventilation. The timing in this article is for a dehydrator; do not copy it as an oven setting.
Sources and editorial notes
Prepared from the linked primary sources; this is not a personally tested recipe or product test. Product options are compared by their stated function and fit for this guide; they have not been tested by Einfach Haltbar. Accuracy cannot be guaranteed; please verify the cited guidance.
- SDSU Extension: Cabbage — Preserve It
- University of Alaska Fairbanks: Drying Fruits & Vegetables
- NCHFP: Packaging and Storing Dried Foods
AI-generated food illustration; not a photograph of a tested batch.