Dehydrating bananas turns ripe fruit into a compact, naturally sweet snack without needing added sugar or frying oil. The process is simple, but the best results come from controlling four things: ripeness, slice thickness, drying temperature and the final moisture check.
For a practical home-dehydrator baseline, Utah State University Extension recommends drying banana slices at 135–140°F (57–60°C). Its home-drying guide gives about 6–10 hours for banana chips, while its banana guide notes roughly 8–10 hours as a general range. Treat time as a checkpoint rather than a promise: thinner rounds can finish earlier, thicker pieces can take longer, and the final texture should be judged only after a test piece cools.
This guide is part of the Einfach Haltbar Dehydrating collection. If you are new to food drying, start with Dehydrating for Beginners for airflow, doneness and storage basics, then use this banana-specific method for the actual batch.
How to dehydrate bananas: quick answer
Peel ripe but still firm bananas and cut them into uniform ¼–⅜-inch (6–10 mm) rounds or strips. If you want to slow browning, dip the pieces briefly in an ascorbic-acid solution or fruit juice, then drain them well. Arrange the slices in a single layer with space for airflow. Dehydrate at 135–140°F (57–60°C) and begin checking before the expected finish. Many batches fall in the 6–10 hour range, but thickness, ripeness, humidity, tray load and the machine can shift the actual time. Cool a test piece before judging doneness.
Which bananas are best for dehydrating?
Use bananas that are ripe enough to taste sweet but still firm enough to slice cleanly. Utah State University Extension recommends solid yellow bananas or fruit with light brown flecking and advises against bruised or overripe bananas. Very soft fruit is harder to cut evenly and tends to stick more during preparation.
- Best everyday choice: ripe, firm bananas with no soft bruised areas.
- Sweeter result: lightly speckled fruit is usually sweeter than green-tipped fruit.
- Avoid: leaking, fermented-smelling, moldy or badly bruised bananas.
- No added sugar needed: dehydration concentrates the banana’s natural sweetness.
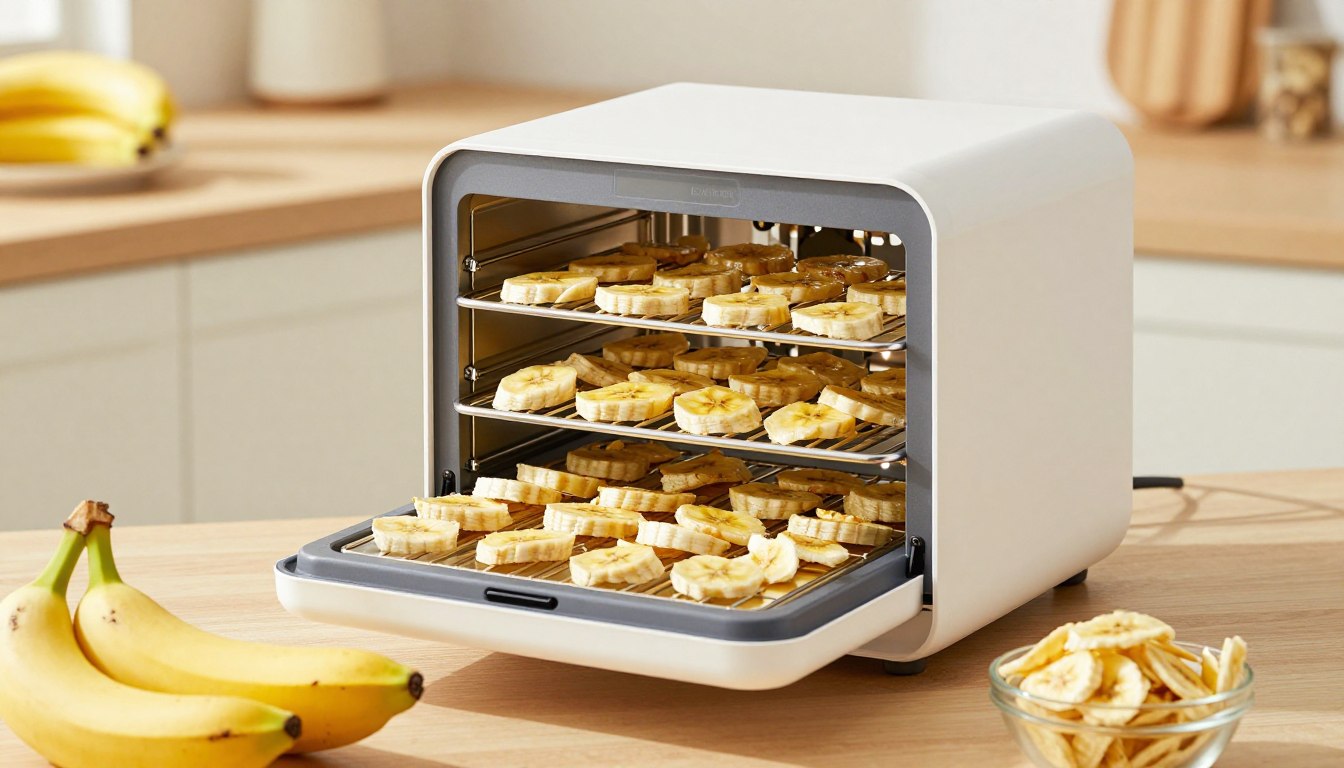
How to prepare bananas for dehydrating
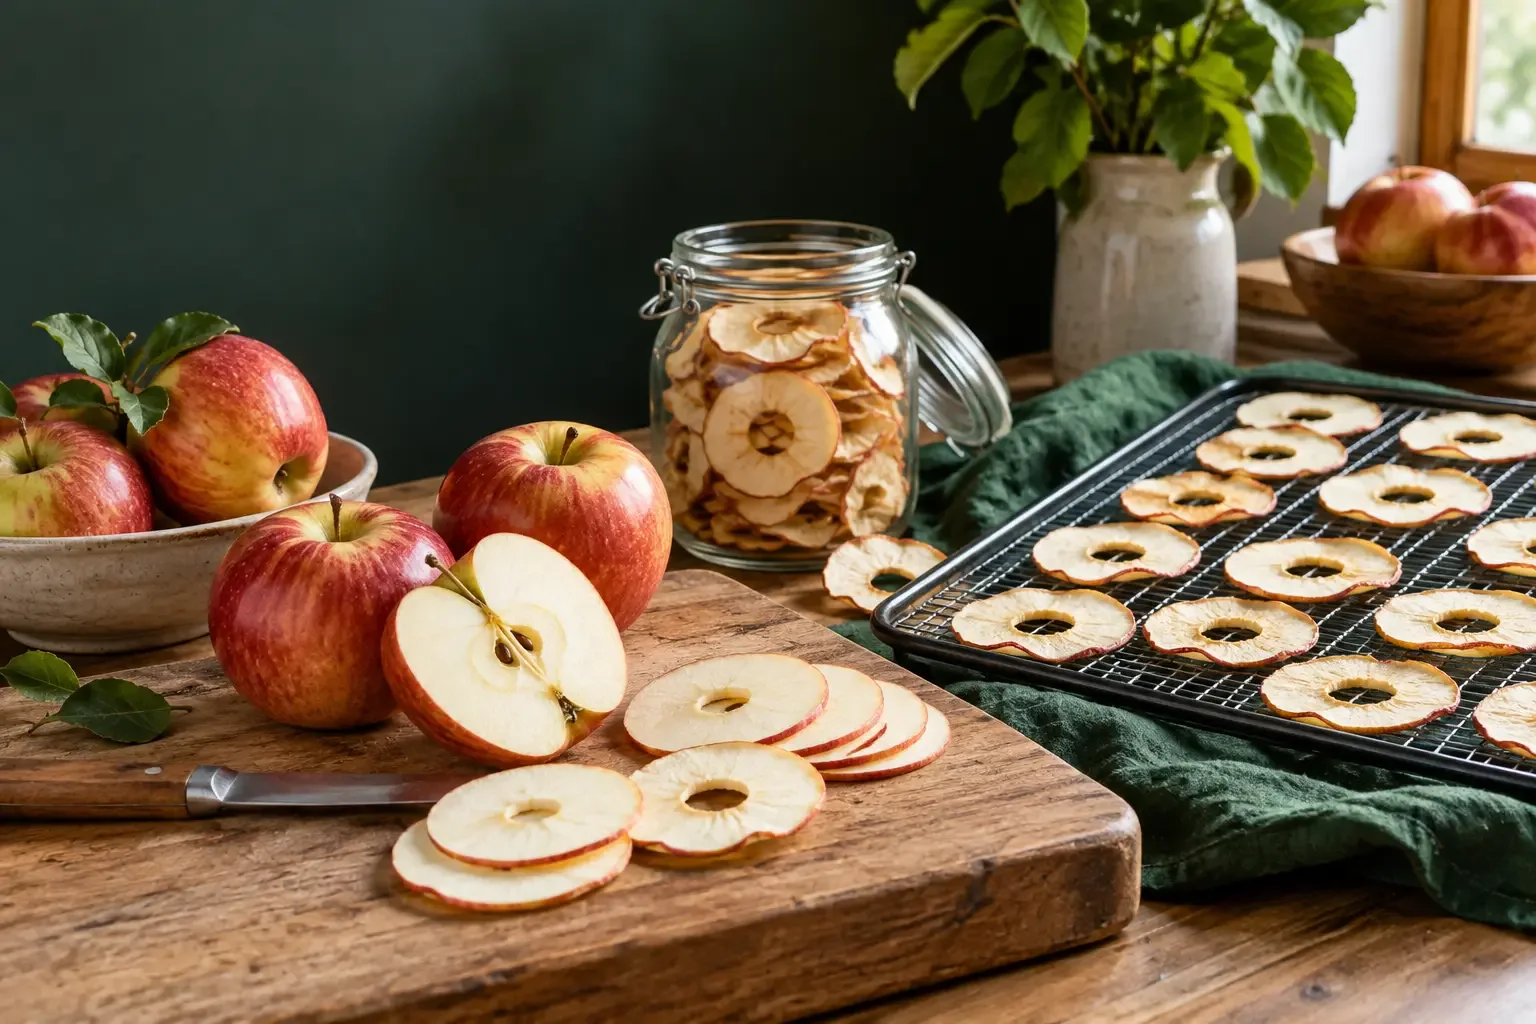
Peel the bananas and remove any damaged sections. Cut the fruit crosswise into rounds or lengthwise into strips. Uniformity matters more than the exact shape: pieces that are close to the same thickness dry more predictably than a tray that mixes paper-thin slices with thick chunks.
Best banana slice thickness
A useful starting point is ¼–⅜ inch (6–10 mm). At this thickness, the pieces are substantial enough to handle but still thin enough for controlled drying. If you cut thinner rounds for a firmer snack, start checking earlier. If you cut thicker pieces, expect a longer drying window and pay special attention to the center of the thickest cooled piece.
How to keep bananas from turning too brown
Bananas naturally darken after cutting. A pretreatment is optional for quality, not a substitute for proper drying. Utah State guidance suggests an ascorbic-acid treatment, while its home-drying guide also describes fruit-juice dips as an option to help limit darkening. Follow the directions on the ascorbic-acid product you use, or keep a juice dip brief so the slices do not become unnecessarily wet.
Drain treated slices well before loading the trays. Extra surface liquid has to be removed by the dehydrator and can lengthen the process.
Affiliate disclosure: As an Amazon Associate I earn from qualifying purchases. Product links may earn Einfach Haltbar a commission at no extra cost to you. We did not personally test these products; listing details, availability and images can change, so verify the exact linked listing before ordering.
How to dehydrate bananas in a food dehydrator
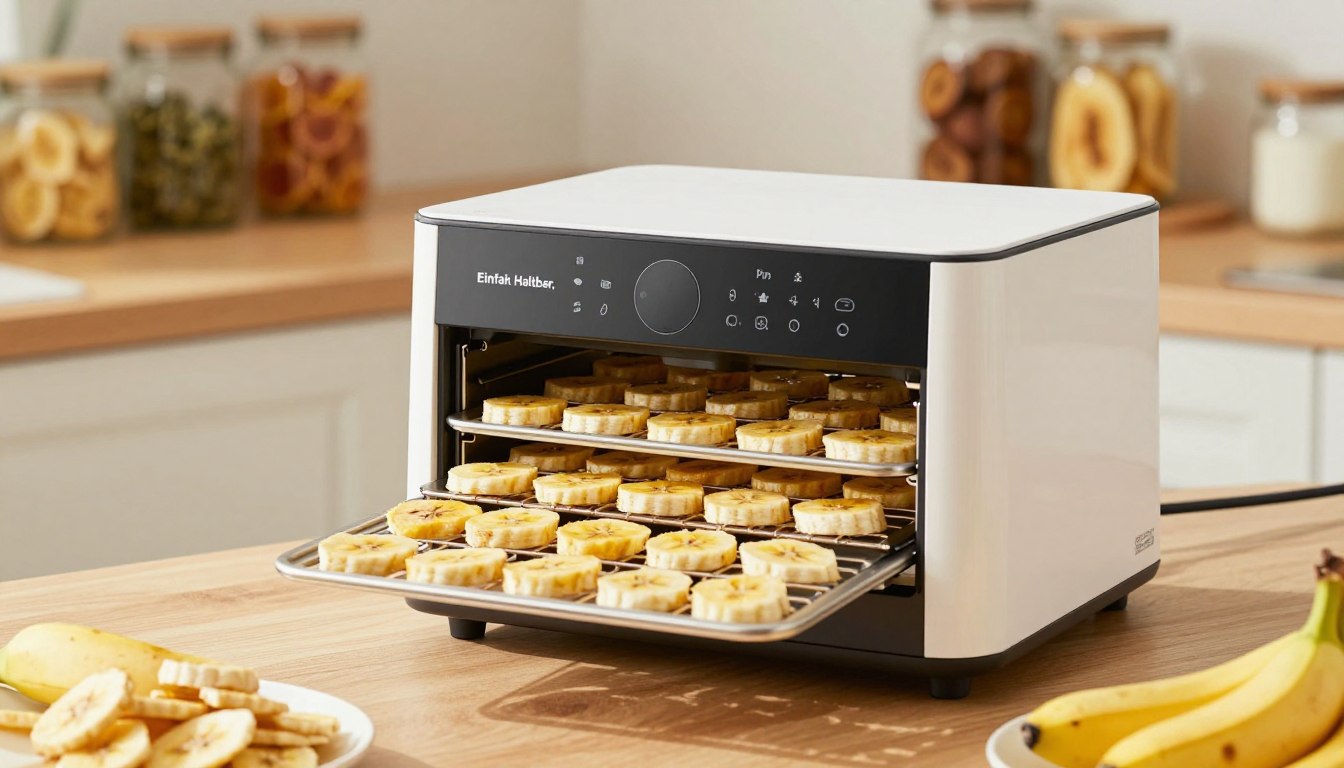
Step 1: Arrange the slices in one layer
Place the banana pieces on the trays without stacking them. A small amount of space between slices helps air move around the food. If your dehydrator manual recommends a specific tray liner for sticky fruit, follow the manufacturer’s instructions.
Step 2: Set 135–140°F
Use 135–140°F (57–60°C) as the working range for banana slices, while also following the operating instructions for your dehydrator. Raising the heat far above the recommended fruit-drying range is not a shortcut to an evenly dried center.
Step 3: Start checking before the timer says “done”
Use 6–10 hours as a practical reference rather than an exact finish time. Standard ¼–⅜-inch pieces often fall toward the 8–10 hour area, but a thin batch can finish sooner. Rotate trays only if your dehydrator’s design or manual calls for it.
Step 4: Cool a test piece
Take a few pieces from different trays and let them cool before judging texture. Warm fruit can feel softer and more flexible than it will at room temperature. The thickest cooled slice should not contain a wet, tacky center.
Three dehydrators for U.S. kitchens
Use a machine that holds the required temperature and provides steady airflow. Compare the exact U.S. model, usable tray area and temperature controls before buying.

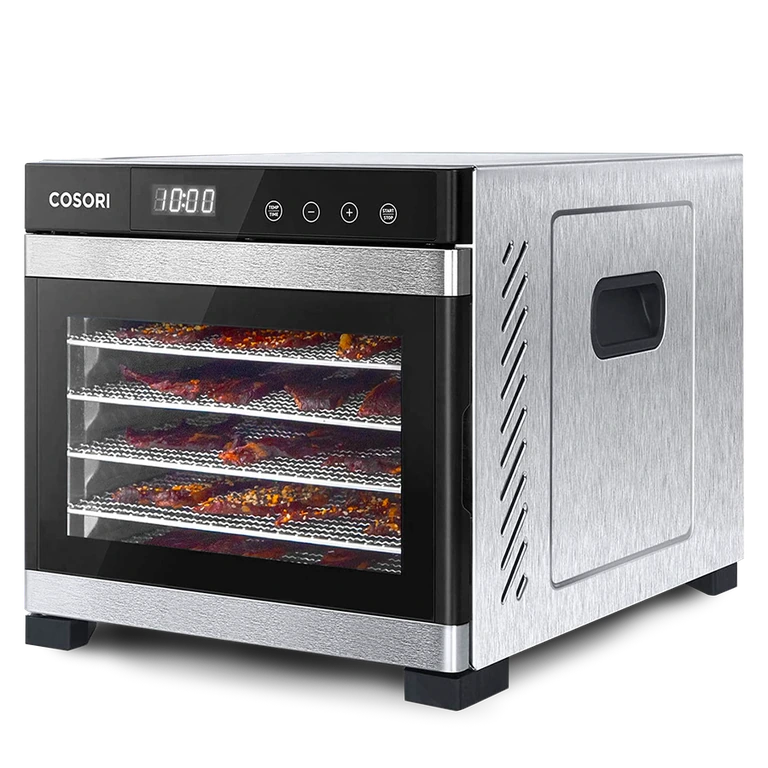
COSORI CP267-FD Food Dehydrator*
A six-tray, digitally controlled dehydrator from our U.S. dehydrator buying guide. Its adjustable temperature range covers the low-heat fruit-drying temperatures discussed in this guide.
View on Amazon
NESCO FD-75A Snackmaster Pro*
A stackable dehydrator that starts with five trays and can expand. It is a practical option when you want to begin with smaller apple batches and add capacity later.
View on Amazon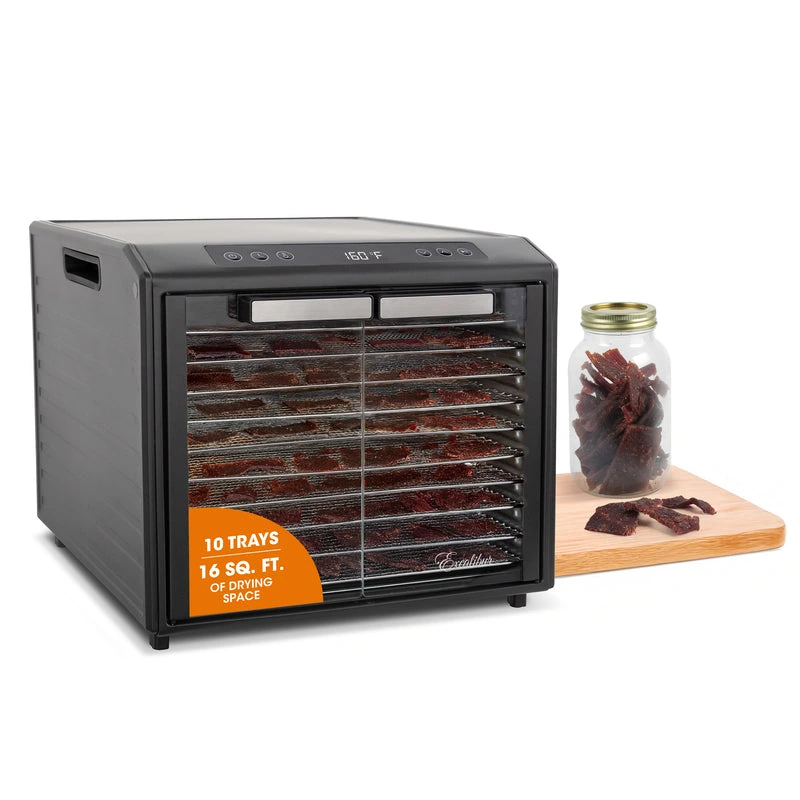
Excalibur Performance Series 10-Tray
Ten stainless steel trays, adjustable temperature control and a glass-door cabinet format suit readers who regularly prepare larger batches.
View on AmazonAffiliate links · Your price stays the same.
For a broader comparison focused on capacity, airflow, temperature control and use cases, see our Best Food Dehydrators guide instead of choosing a machine from a single recipe alone.
Banana dehydrating time and temperature chart
| Cut | Pretreatment | Temperature | Time checkpoint | Finished texture |
|---|---|---|---|---|
| ¼–⅜ inch / 6–10 mm rounds | Optional anti-browning dip | 135–140°F / 57–60°C | About 6–10 h; often 8–10 h | Dry, leathery to firm after cooling |
| Thin snack rounds | Optional | 135–140°F / 57–60°C | Check earlier | Firmer or crisper, no wet center |
| Thicker pieces | Optional | 135–140°F / 57–60°C | May take longer | Thickest cooled piece has no damp center |
Table notes
Do not use the table like a countdown clock. Banana variety, ripeness, slice thickness, pretreatment, tray loading, room humidity and the individual dehydrator can all change the actual finish time.
How do you know when dehydrated bananas are done?
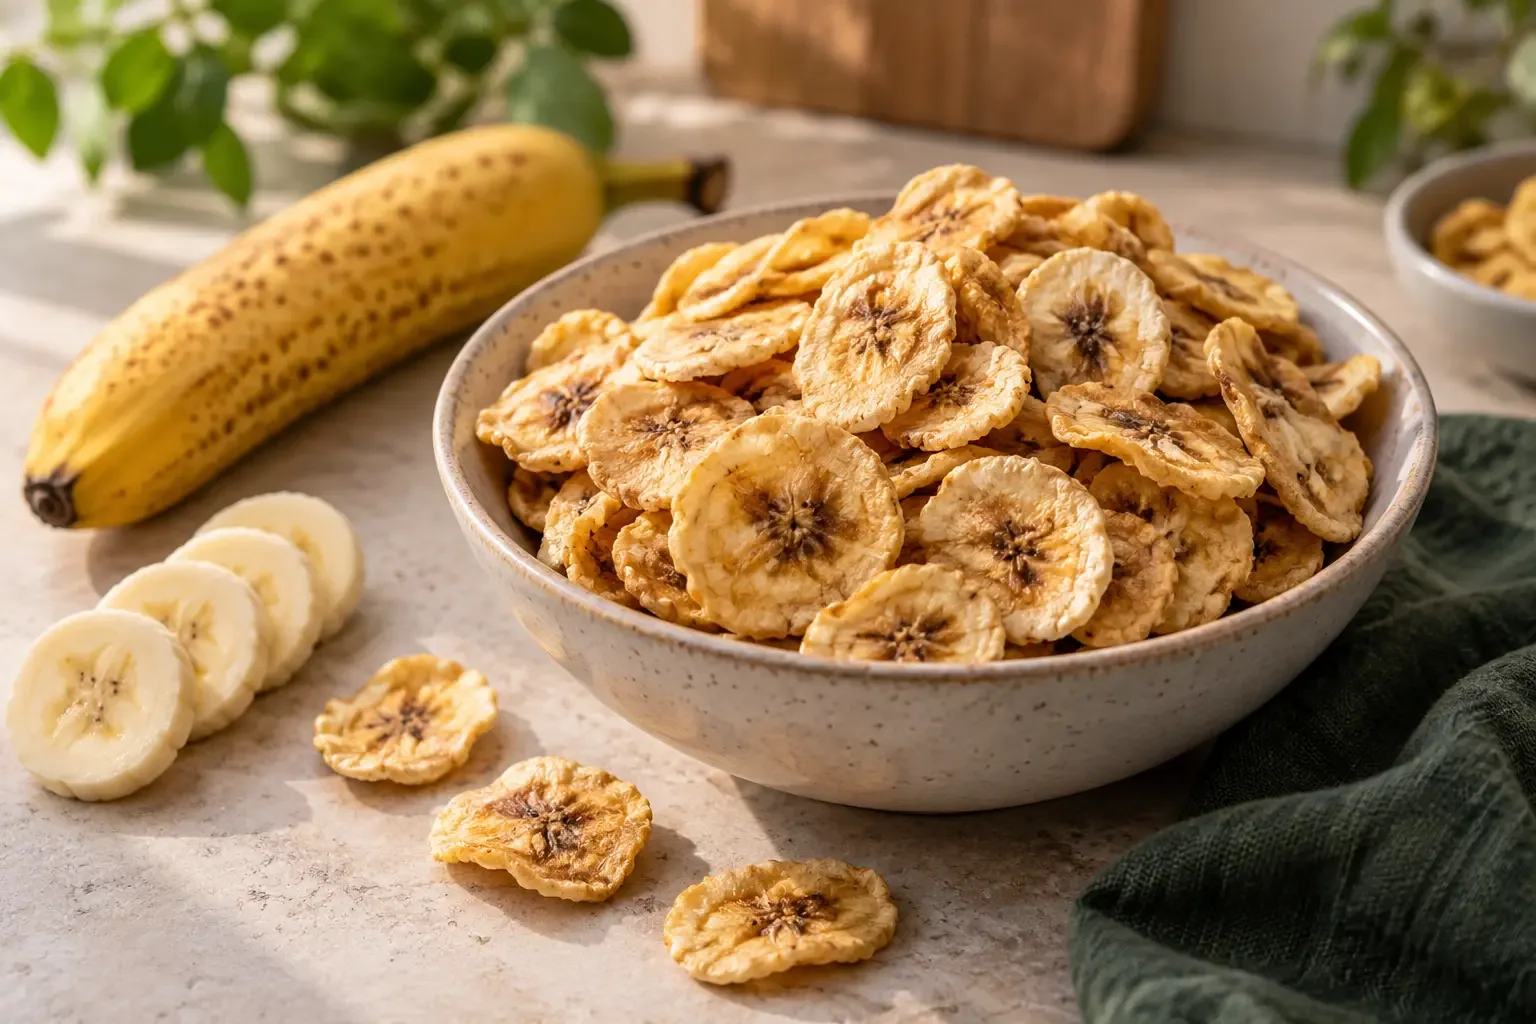
Finished dried bananas are usually leathery, chewy or firm rather than glass-hard. Let a test piece cool, bend or tear it, and inspect the center. It should not release visible moisture or feel wet inside. If the center is still tacky or obviously damp, return the batch to the dehydrator and check again later.
If your goal is a very crisp snack, use thinner slices and check them earlier. Do not confuse a naturally dried banana round with the hard, fried banana chips sold in many snack aisles.
Condition dried bananas before long-term storage
Because bananas are fruit, a short conditioning period of 7–10 days can help equalize small moisture differences between pieces before long-term storage. The National Center for Home Food Preservation recommends loosely packing cooled dried fruit in clean containers, closing them, and shaking or stirring daily during conditioning.
Watch the container for condensation. If moisture appears, return the fruit to the dehydrator and dry it further. Conditioning is a quality-control step; it does not rescue fruit that was packed while still obviously wet.
How to store dehydrated bananas
After conditioning, package the bananas in clean, dry, moisture-resistant containers with a tight closure. Keep them in a cool, dry, dark place. Heat, light, humidity and frequent opening shorten quality, so smaller containers can be useful when you snack from the batch regularly.
Avoid a universal shelf-life promise. Storage life changes with final moisture level, packaging, room temperature and handling. If you notice condensation, mold, an unusual odor or other spoilage signs, do not taste the food.
Storage choices for fully dried bananas
These products are for fully dried, cooled and conditioned bananas. A storage container cannot make under-dried fruit shelf-stable.

1-Gallon Glass Storage Jars*
Large clear jars for fully dried pantry ingredients. The transparent container makes it easy to spot unexpected condensation during routine checks.
View on Amazon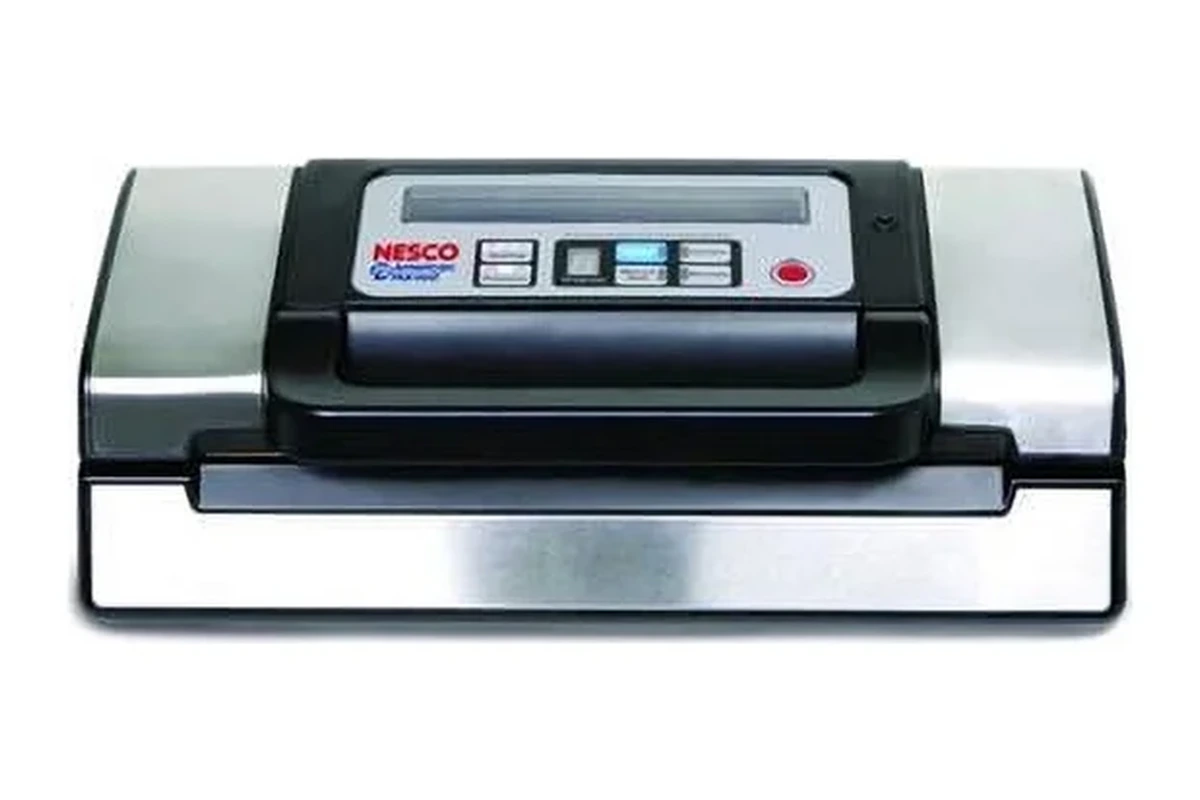
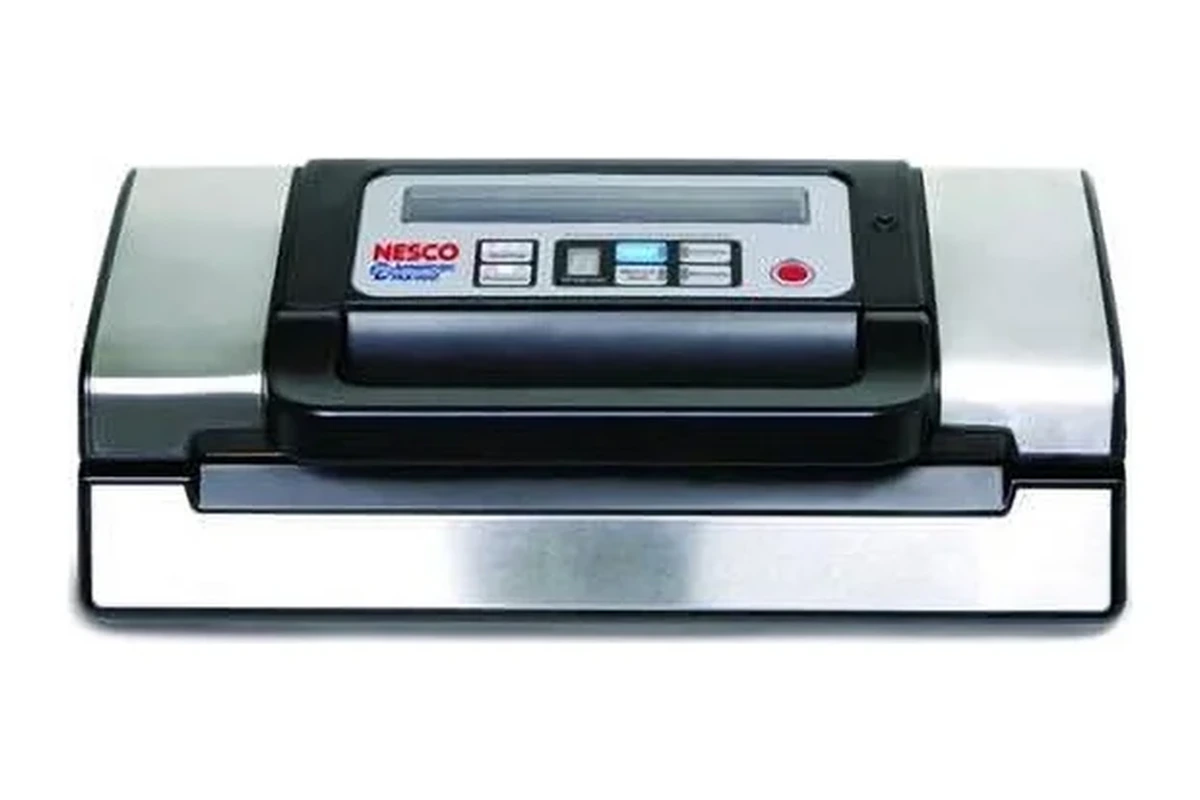
NESCO VS-12 Vacuum Sealer*
An external vacuum sealer with pulse control and double-seal capability. Use it only after the apples have been fully dried, cooled and conditioned.
View on Amazon
Wallaby 1-Pint Mylar Bags — 50 Count
Heat-sealable 1-pint Mylar bags for portioning a completely dry batch and limiting repeated humidity exposure.
Packaging cannot make under-dried food safe. Verify dryness first, then seal promptly.
View on AmazonAffiliate links · Your price stays the same.
Pack dried bananas as a small homemade gift
Fully dried and conditioned banana pieces can also be portioned as a small homemade food gift. Label the package with the drying date and keep the fruit protected from moisture until it is handed over.
Packaging small dried-fruit gifts
Can you dehydrate bananas in the oven?
An oven can dry banana slices if it can maintain a suitably low temperature and allow moisture to escape, but it is often less convenient than a dehydrator for long, low-temperature runs. Utah State’s home-drying guide gives an oven reference of roughly 8–12 hours for banana chips, but actual oven behavior varies substantially.
If your oven’s minimum setting is much higher than the recommended fruit-drying range, do not assume it is equivalent to a dehydrator. Follow the appliance manufacturer’s guidance and monitor the fruit closely.
Common banana dehydrating mistakes
- Using overripe, mushy fruit: it is harder to slice evenly and can stick more.
- Mixing slice thicknesses: thin pieces finish while thick pieces still hold moisture.
- Overlapping the trays: blocked airflow makes drying less even.
- Trusting only the timer: 6–10 hours is a reference range, not a guaranteed endpoint.
- Judging while warm: let a test piece cool before deciding whether it is done.
- Expecting fried-chip crunch: dehydrated bananas are commonly leathery or chewy.
- Skipping conditioning before long storage: small moisture differences between fruit pieces can show up as condensation later.
- Sealing fruit with visible moisture: if a piece is still wet inside, keep drying it.
Ways to use dehydrated bananas
Dried banana rounds work as a snack on their own, but they also fit into trail mix, granola, oatmeal toppings and lunchbox portions. Firmer pieces can be chopped into baking mixes, while thoroughly dried pieces can be ground for small amounts of banana powder.
For your next produce batch, compare the different finish textures in How to Dehydrate Apples, How to Dehydrate Zucchini, How to Dehydrate Tomatoes and How to Dehydrate Mushrooms. Meat uses a different safety process, so use the dedicated Beef Jerky in a Dehydrator guide for jerky.
FAQ
Frequently asked questions about dehydrating bananas
What temperature should I dehydrate bananas at?
Use 135–140°F (57–60°C) as a practical home-dehydrator range for banana slices, while also following your dehydrator manufacturer’s instructions.
How long do bananas take in a dehydrator?
About 6–10 hours is a useful reference range, with 8–10 hours commonly cited for standard slices. Treat time as a checkpoint because thickness, ripeness, humidity, tray load and the machine change the actual finish.
How thick should I slice bananas for dehydrating?
About ¼–⅜ inch (6–10 mm) is a practical starting point. Keep the pieces uniform; thinner slices can finish earlier and thicker pieces can take longer.
How do I stop bananas from turning brown?
An ascorbic-acid treatment or a brief fruit-juice dip can help reduce browning. Pretreatment is mainly for color and quality; it does not replace proper drying.
Why are my homemade banana chips chewy instead of crispy?
Home-dehydrated bananas are often leathery or chewy. Store-bought hard banana chips are commonly made with a different process, such as frying. Thinner dehydrated slices can become firmer, but the final texture varies.
Do dehydrated bananas need conditioning?
For dried fruit intended for longer storage, conditioning for 7–10 days helps equalize small moisture differences. Shake or stir the container daily and re-dry the fruit if condensation appears.
Can I store bananas that are still sticky in the center?
No. Cool a test piece and check the thickest section. If it still has a wet or obviously tacky center, continue drying before conditioning and storage.
Sources & method notes
- Utah State University Extension – Home Drying of Foods (PDF): banana-chip preparation, anti-browning dips, 135–140°F and dehydrator/oven time references.
- Utah State University Extension – Bananas: fruit selection, ¼–⅜-inch slices, ascorbic-acid pretreatment and general drying guidance.
- Penn State Extension – Let's Preserve: Drying Fruits and Vegetables: general dehydrator temperature, airflow and uniform-piece principles.
- National Center for Home Food Preservation – Packaging and Storing Dried Foods: 7–10 day fruit conditioning, condensation checks, moisture-resistant packaging and cool, dry, dark storage guidance.