Dried beets, beet chips or a jar of pickles?
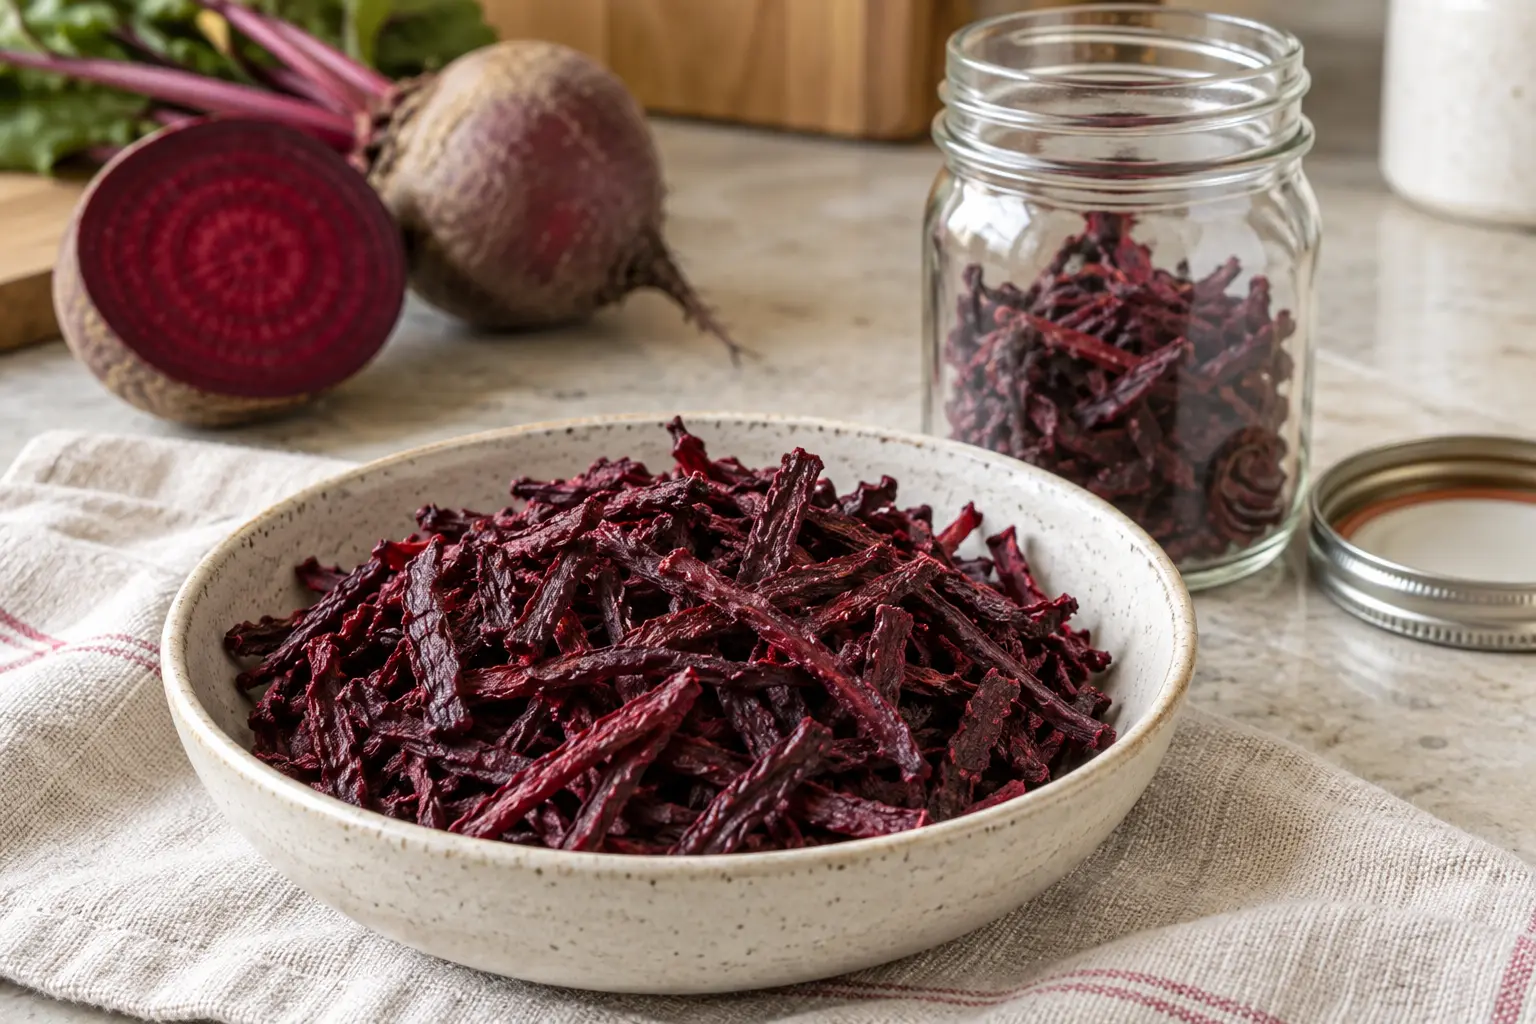
Choose drying when you want a small pantry ingredient to cook with later. Thin strips are convenient for soup; slices are another option if you keep them evenly cut. These plain dried pieces will not necessarily have the light crunch of fried snack chips.
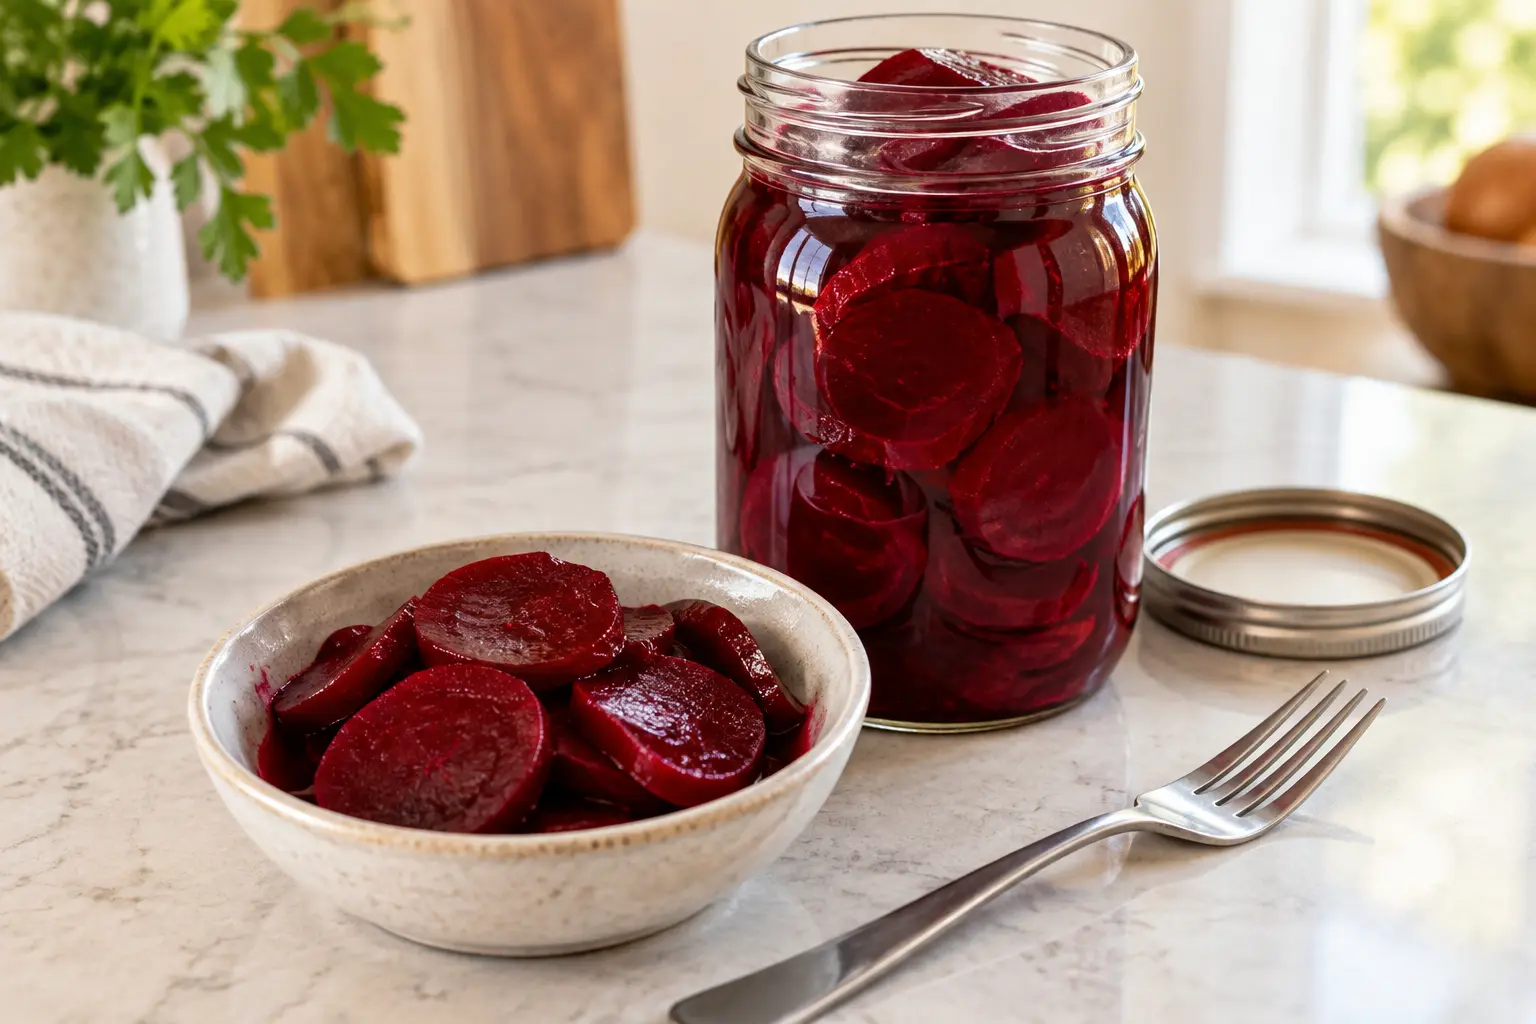
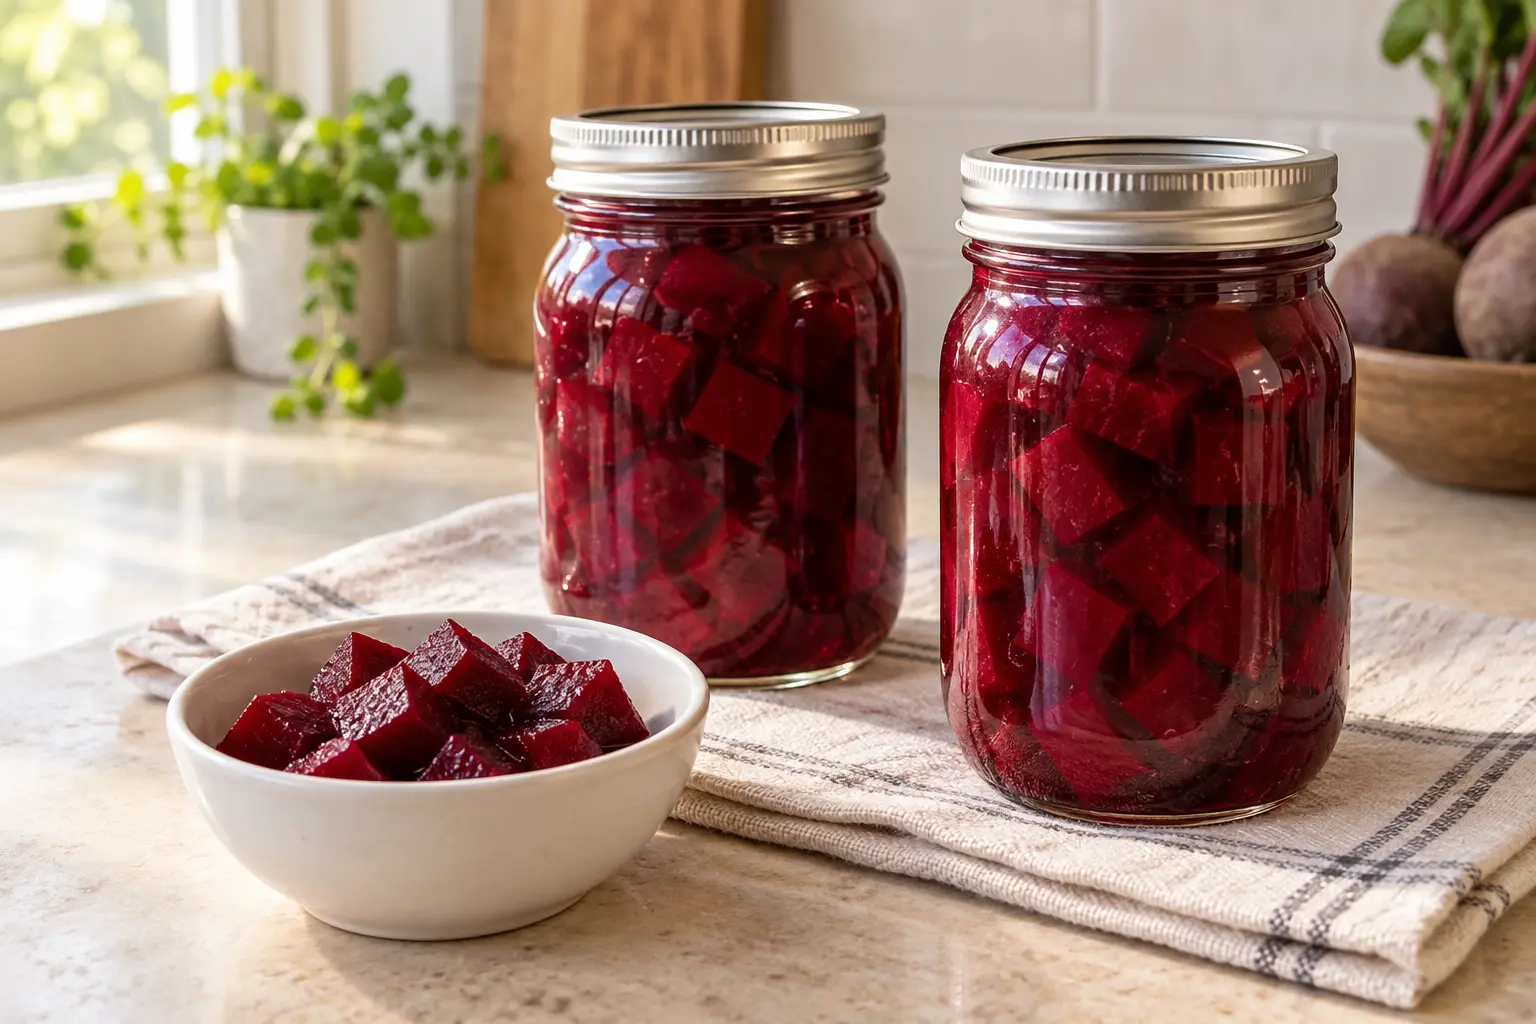
If you want a ready-to-serve, tangy side dish instead, make Quick Pickled Beets for the refrigerator. For plain beets preserved in water, follow the separate Canning Beets guide. Decide on the food you want to eat before choosing equipment.
Set up a manageable first batch
Choose sound roots and leave out any with mold or decay. A small trial batch lets you see how the beets fit your trays and whether you like their texture after rehydrating. Clean your knife, board, trays and storage containers before starting.
You need a pot, a bowl for ice water, a colander, a sharp knife and a dehydrator. Gloves are optional for keeping beet stains off your hands. Set aside a clean plate for testing a cooled sample.
- Fresh beets Start with about 1 lb (450 g) for a first batch, adjusting to the tray space available.
- Water and ice Water for cooking; ice water for cooling the cooked roots.
- Seasoning Keep the storage batch plain. Add dressing, oil or other flavors when preparing a meal.
The finished amount depends on trimming and the beets themselves. Record your starting and dried weights if you want to plan a larger batch.
Allow for cooking, cooling and slicing before the drying period. The 10–12-hour estimate is a planning range, not an automatic stop time.
Which setup makes regular drying easier?
Prioritize controllable low heat, usable tray space and straightforward cleaning. If you already have a suitable dehydrator, keep it: a sharp knife and dry storage containers may be all you need. Compare the options below against the job each one solves.

NESCO FD-75A Snackmaster Pro
A stackable starting point for smaller beet batches. It suits occasional drying when you want straightforward temperature controls and the option to add tray capacity later.
View on Amazon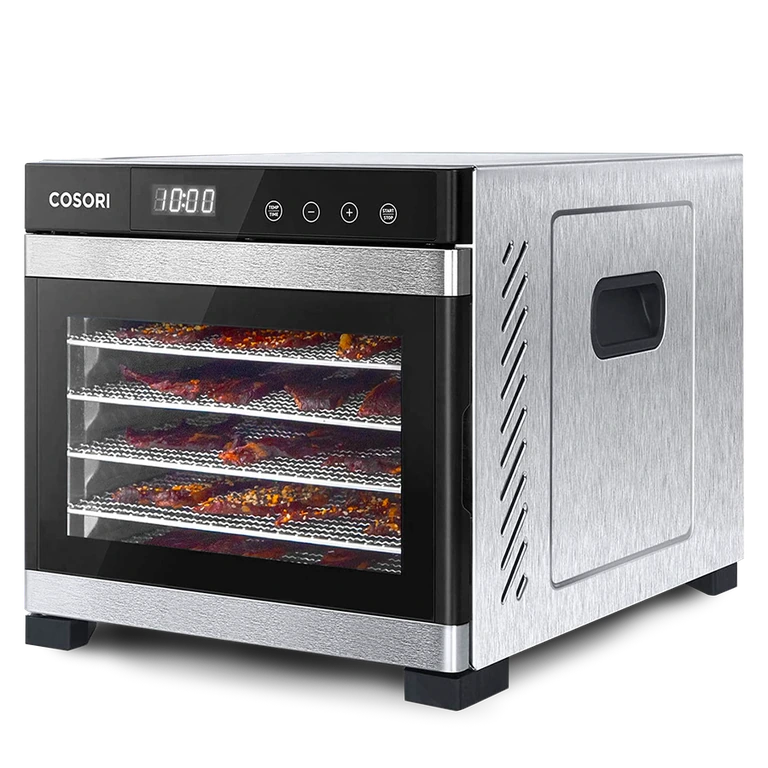
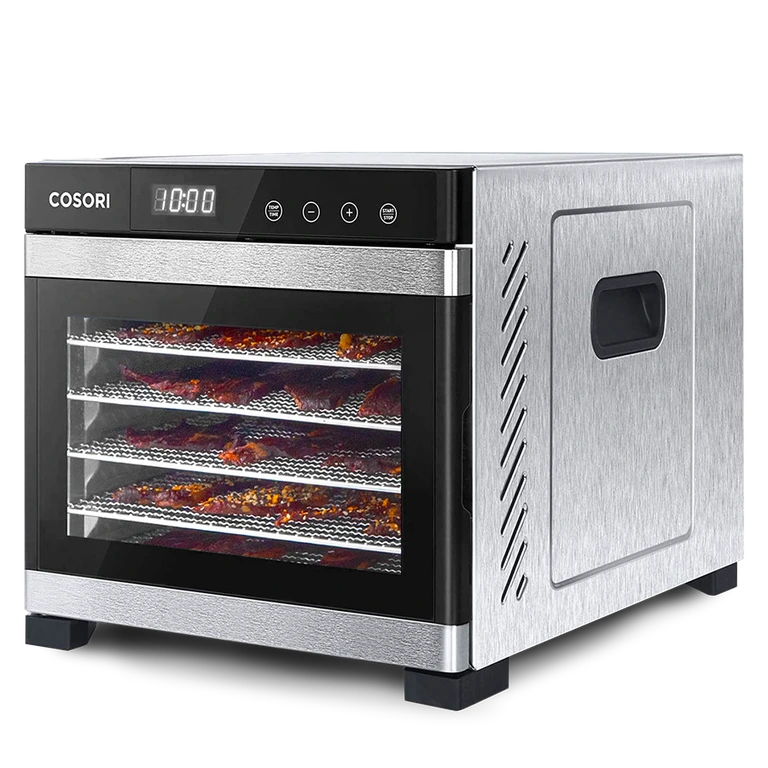
COSORI CP267-FD
A front-loading cabinet for regular vegetable batches. Spread beet strips across the removable trays in a single layer and check individual trays as they approach dryness.
View on Amazon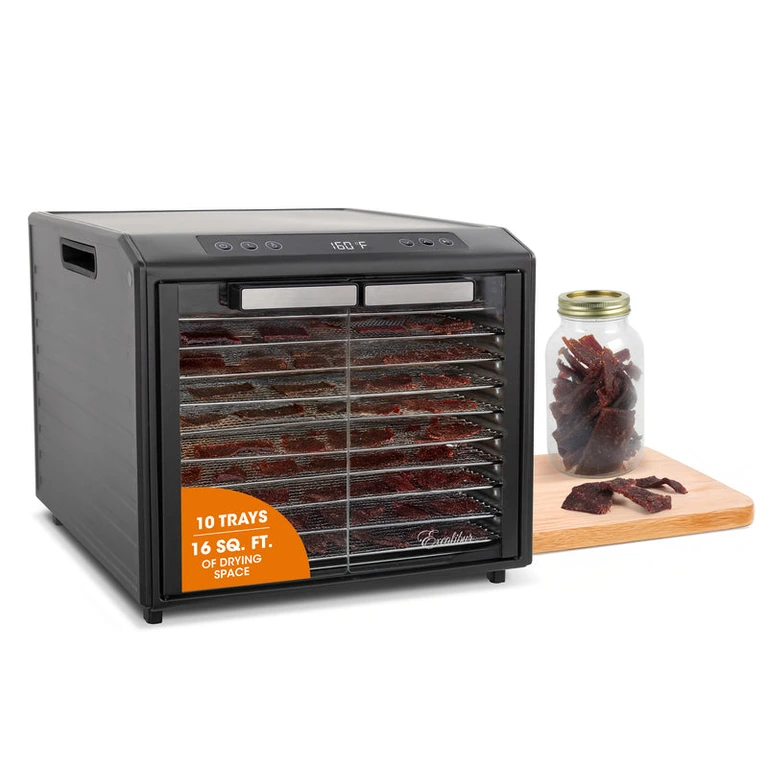
Excalibur DH10SCSS13
A larger front-loading option for frequent harvest batches. The generous tray area suits a bigger load of prepared beets; measure your counter and storage space before choosing it.
View on AmazonAffiliate links · Your price stays the same.
Need a closer look at size, tray layout and controls? Use the food dehydrator comparison to narrow down the model for your kitchen.
Why cook the beets before drying?
The beet directions from Colorado State University and North Dakota State University start with cooked beets. They list no additional blanching step after that preparation. Follow the sequence rather than borrowing a short blanching time from a different vegetable.
Aim for tender roots that you can still handle and cut. The cooking time depends on their size, so check the center instead of relying on one number for every bunch. Cool them in ice water, remove the skins and cut consistent pieces. An uneven handful of thick chunks and paper-thin slices makes the drying checks harder.
Dehydrate beets in 7 steps
Wash and cook
Scrub the roots, place them in a pot with water and cook until tender. Check with a knife. Use the cooked-beet preparation throughout this batch.
Cool and peel
Transfer the cooked beets to ice water to cool. Drain, remove the skins and trim away stem and root ends. Keep your work surface and utensils clean.
Cut evenly
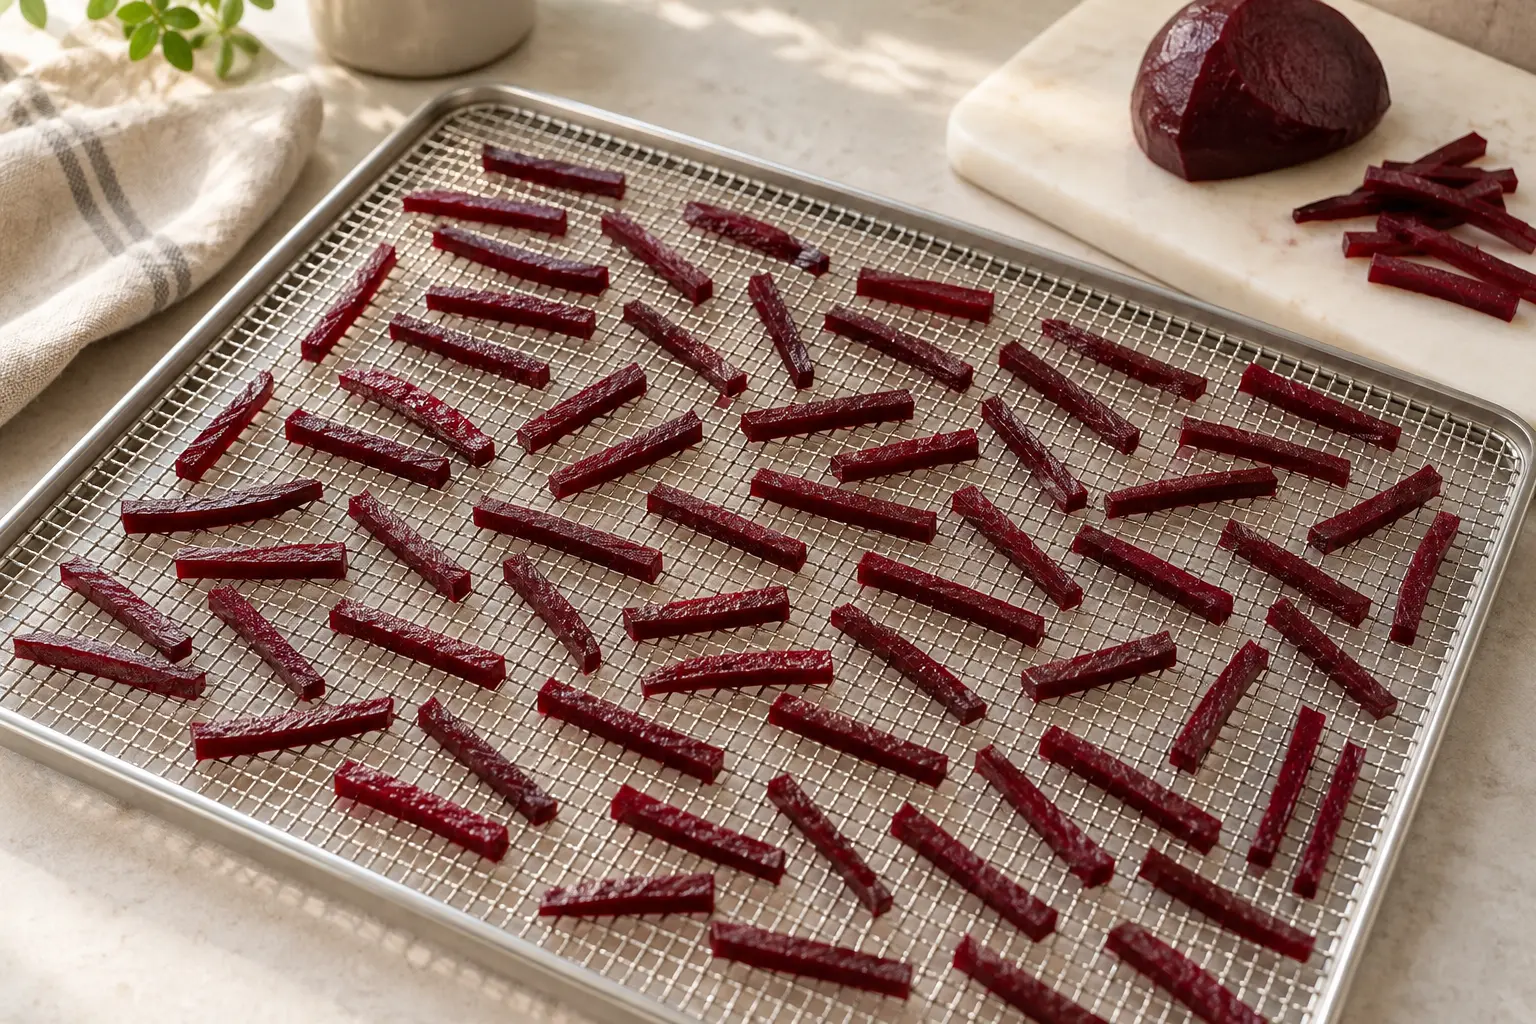
Cut the peeled beets into strips or slices about ⅛ inch (3 mm) thick. Drain away surface water. Keep the batch plain; seasoning can wait until serving.
Arrange the trays
Spread the pieces in a single layer, with space for air to move between them. Use only food-safe trays or liners approved for your appliance, and keep its vents clear.
Dry and monitor
Set the dehydrator to 140°F (60°C). Plan around 10–12 hours, while checking progress and following the manual for tray rotation. Watch closely near the end so thin pieces do not scorch.
Check the cooled texture
Take samples from several trays, including thicker pieces, and let them cool. They should be brittle, with no flexible or moist middle. Return underdried pieces to the appliance and test again.
Cool, package and label
Once the batch passes the test, cool it fully. Pack meal-sized amounts in clean, dry, tightly closing containers. Label with the contents and drying date; store away from heat, light and moisture.
Still bendy after 12 hours?
Continue drying. Humidity, food thickness, tray loading and the appliance all affect the finish time. Look for overlapping slices or crowded areas before simply turning up the heat. Higher heat can dry the outside too quickly while the center retains moisture.
For red beets, a dark red color is expected, but color alone does not prove dryness. Break a cooled sample and inspect its center. Write down the final time and cut thickness: that record makes your next batch easier to plan.
Planning other fruit and vegetable batches? Get the free dehydration chart for your next projects. Keep the cooked-beet preparation and dryness test in this guide with your beet batch.
Can you use an oven or air fryer?
An oven is an option only if it can maintain a low drying temperature around 140°F with suitable air circulation. Check with an oven thermometer and follow the appliance's instructions for dehydration and ventilation. A conventional oven may take substantially longer than a dehydrator. A higher minimum setting is not a reason to substitute roasting temperatures.
For an air fryer, check whether the exact model has a dehydration program that supports this temperature and a suitable operating duration. A normal air-fry cycle is not the setting described here. If the manual does not support drying vegetables under these conditions, use a dehydrator rather than improvising a cycle.
How to keep the dried beets dry
Small jars or moisture-resistant containers make it easier to take out one meal's worth without repeatedly opening the whole supply. Ordinary clean, dry jars work for this purpose; you are storing a dried ingredient, not processing a canned vegetable.
Check the supply regularly. If moisture appears but there is no spoilage, use it promptly or dry it again and repackage. Discard moldy food. A tight lid or vacuum seal cannot make a damp batch suitable for pantry storage.
Fully brittle dried vegetables do not need the fruit-conditioning routine described by NCHFP. Keep storage cool, dry and dark, and plan batches you will use. We do not assign every homemade jar the same shelf life.
What can you make with dried beets?
Soup or stew: add a small amount to a pot with enough cooking liquid and simmer until the pieces are tender. Try them in a vegetable soup with potatoes and cabbage, then finish your serving with dill or yogurt.
A warm grain bowl: cover a portion with hot water, let it soften, then simmer if needed. Drain and add to cooked grains with beans and a fresh dressing. Judge tenderness rather than expecting every batch to rehydrate in the same number of minutes.
Your next harvest project: learn how to dehydrate zucchini using its own preparation, or browse the Dehydrating hub for another ingredient. Keep beet-specific notes with this recipe.
Questions about dehydrating beets
Can I skip cooking and dry raw beets?
That would be a different preparation. This guide follows the published cooked-beet method; it does not provide an equivalent raw-beet process.
Do I need oil for beet chips?
No oil is included in this pantry method. If you want seasoned snack chips, treat that as a separate recipe rather than assuming the same storage instructions apply.
Can I store the beets in Mason jars?
Yes, clean and completely dry jars with tight lids are an option for fully dried, cooled beets. There is no water-bath or pressure-canning step in this drying method.
Can I grind them into beet powder?
You can grind thoroughly dried pieces for use as a kitchen ingredient. Start with a small portion you will use soon; a powder is not a way to fix an underdried batch.
Will dried beets taste exactly like fresh beets?
Expect a different texture after drying and rehydrating. Try a small batch in a cooked dish before preserving a large harvest this way.
Sources and editorial notes
The cooked-beet method follows Colorado State University Extension, cross-checked against the NDSU vegetable-drying table. NCHFP supplies the storage and vegetable-dryness guidance. This is an editorial guide, not a claim of an in-house test. Verify the current sources and the instructions for your appliance.
- Colorado State University: Preserve Smart — Drying Beets
- Colorado State University Extension: Drying Vegetables
- North Dakota State University Extension: Drying Vegetables (PDF)
- NCHFP: Packaging and Storing Dried Foods
- NCHFP: Food Dehydrators
- University of Illinois Extension: Drying Foods at Home (PDF)
AI-generated food illustration; not a photograph of an in-house recipe test.